
1. บทนำ
This manual provides instructions for the setup, operation, and maintenance of your Cuifati WiFi Digital Weather Clock. This device offers a versatile display for weather, time, and humidity, along with additional features like an animation display and photo gallery, all controlled via a simple touch interface and WiFi connectivity.
2. เนื้อหาบรรจุภัณฑ์
โปรดตรวจสอบว่าสินค้าทั้งหมดมีอยู่ในแพ็คเกจของคุณ:
- 1 x WIFI Time Weather Display Unit
- 1 x USB Supply Cord
3. สินค้าหมดview
The Cuifati WiFi Digital Weather Clock is designed for desktop use, providing essential information and entertainment features. It integrates seamlessly with various applications and offers intuitive touch controls.
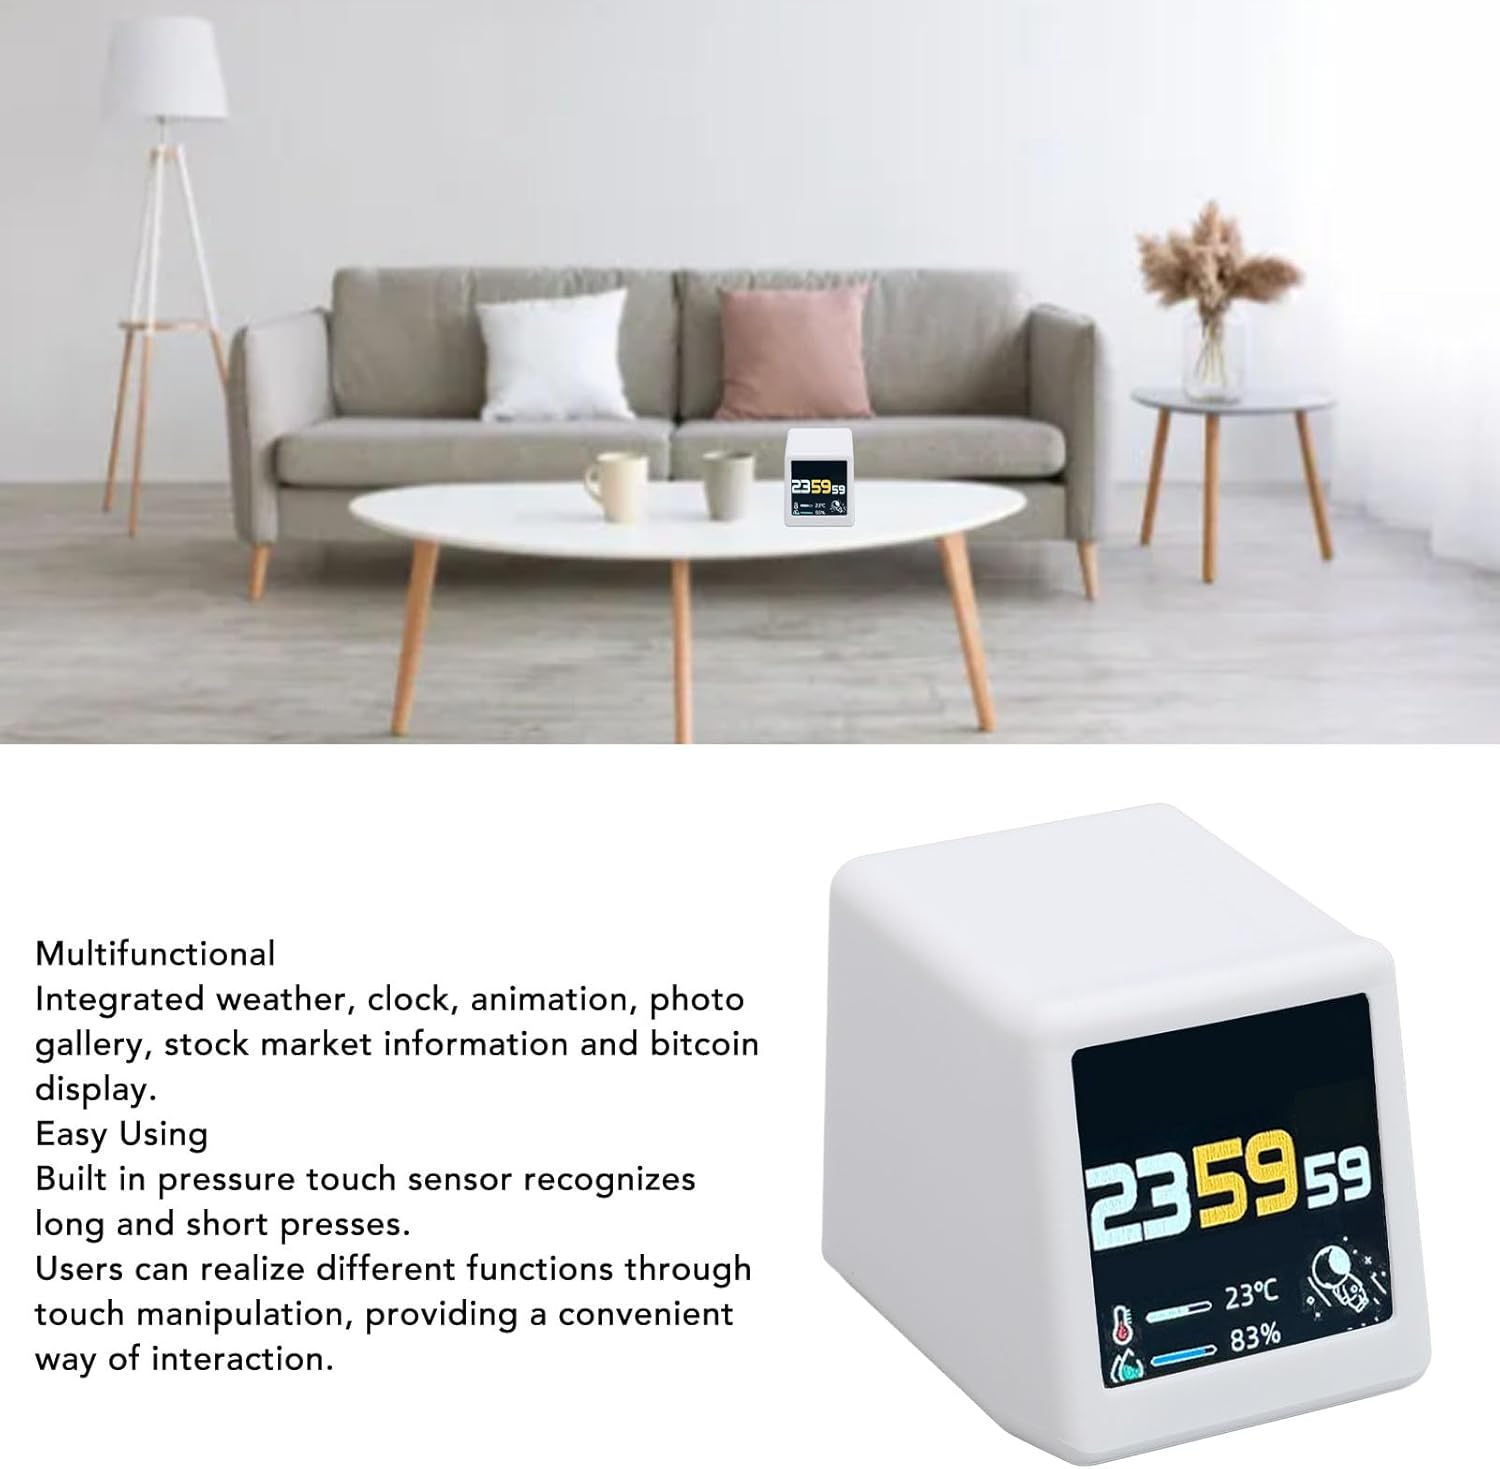
Image: The Cuifati WiFi Digital Weather Clock positioned on a dining table, showcasing its display with time, temperature, and humidity information.
คุณสมบัติหลัก:
- Versatile App Integration: Supports switching between weather, clock, animation, and photo gallery applications.
- Easy Touch Manipulation: Built-in pressure touch sensor recognizes both long and short presses for convenient interaction.
- Rich Photo Gallery Features: Supports full-screen GIF animation loops and automatic JPG image slideshows.
- เรียบง่าย Web ควบคุม: Connects via 2.4GHz WiFi and can be controlled through any web browser on the same network using its internal IP address.
- Wireless Firmware Upgrades: Ensures the device stays updated with the latest features and optimizations.
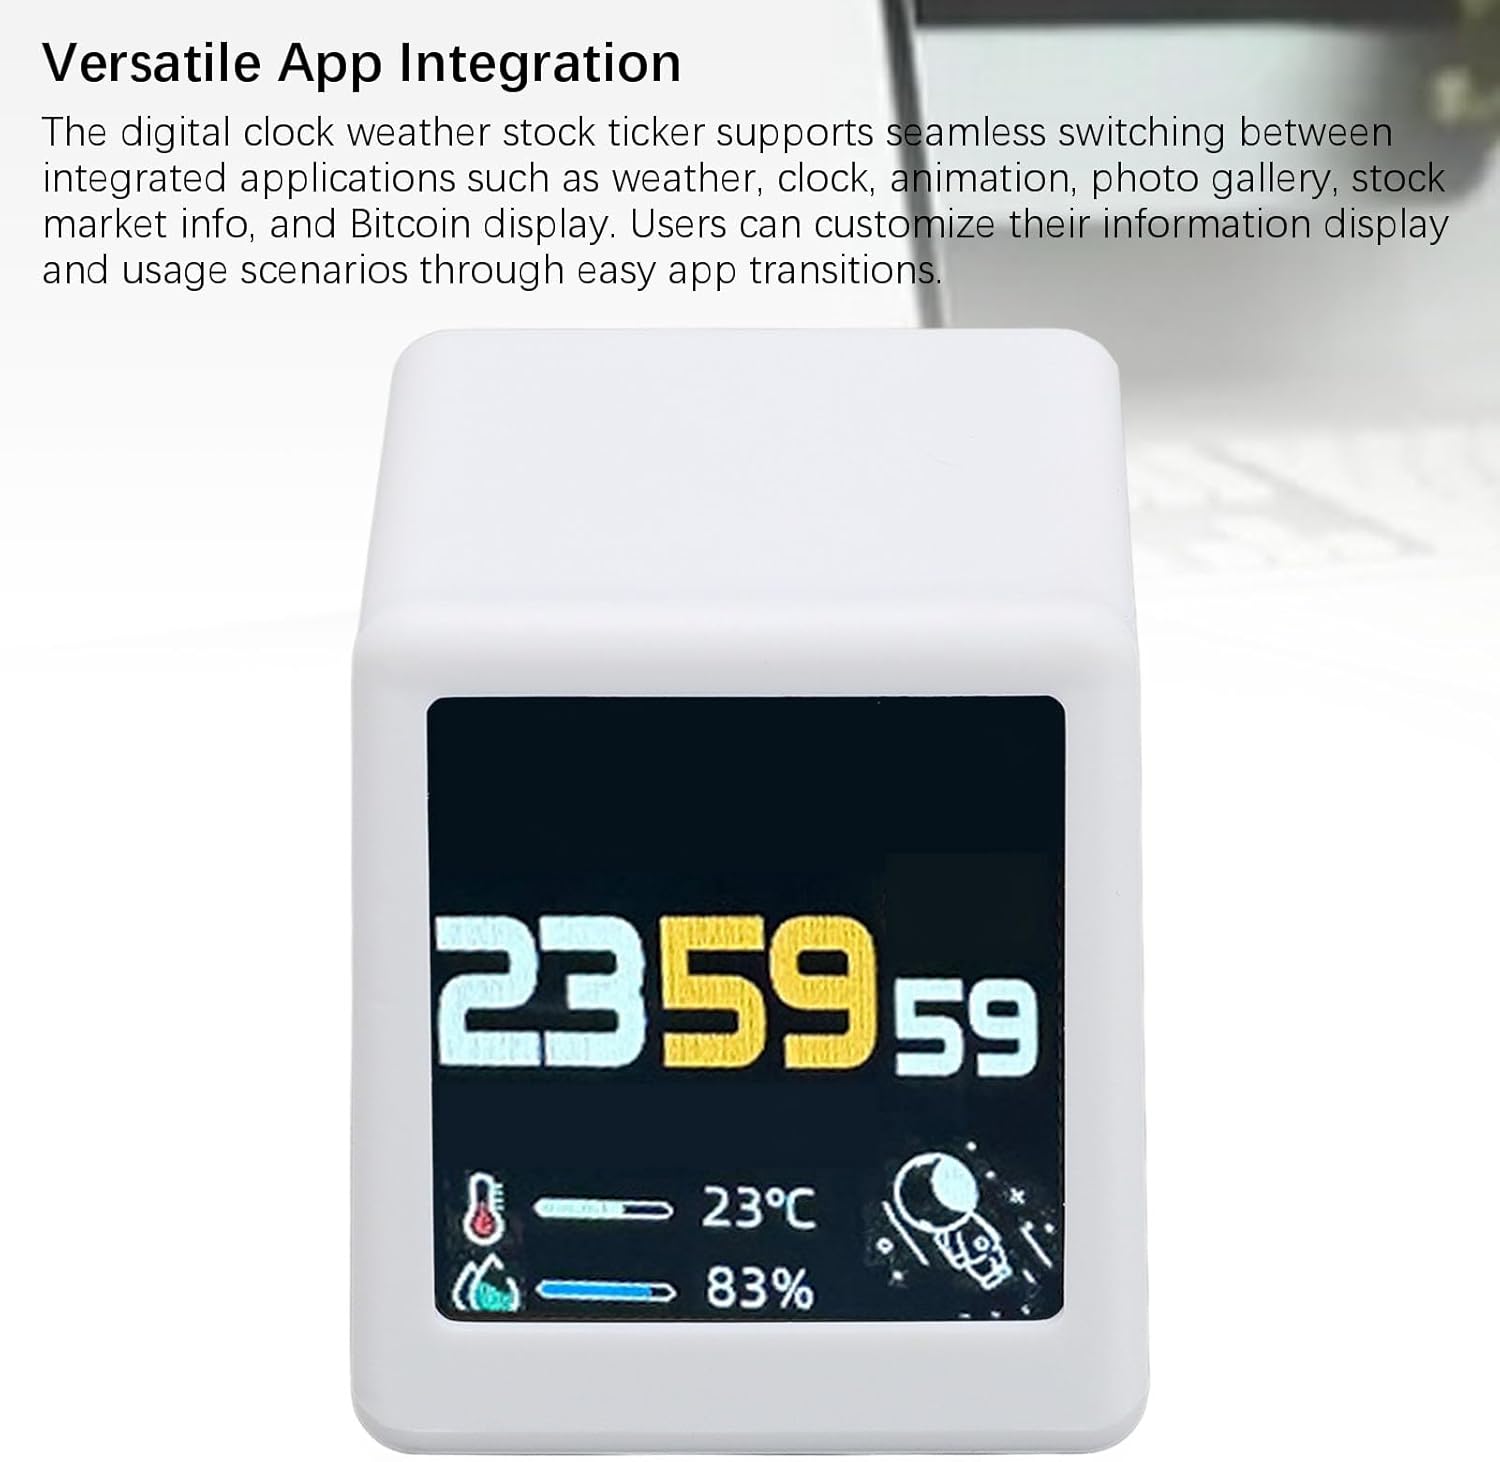
ภาพ: รายละเอียด view of the clock's display, illustrating the time, temperature, humidity, and a small astronaut graphic, highlighting the clear digital interface.
4. การตั้งค่า
Follow these steps to set up your Cuifati WiFi Digital Weather Clock:
- การเชื่อมต่อไฟฟ้า: Connect the provided USB supply cord to the USB-C port on the back of the device and plug the other end into a compatible USB power adapter (not included) or a powered USB port. The device will power on automatically.
- การเชื่อมต่อ WiFi: For initial setup and detailed instructions on connecting to your 2.4GHz WiFi network, please scan the QR code provided on the product packaging box. This QR code links to a comprehensive manipulation tutorial that guides you through the WiFi configuration process.

Image: The Cuifati WiFi Digital Weather Clock displayed alongside its USB-C power cable, illustrating the connection method.
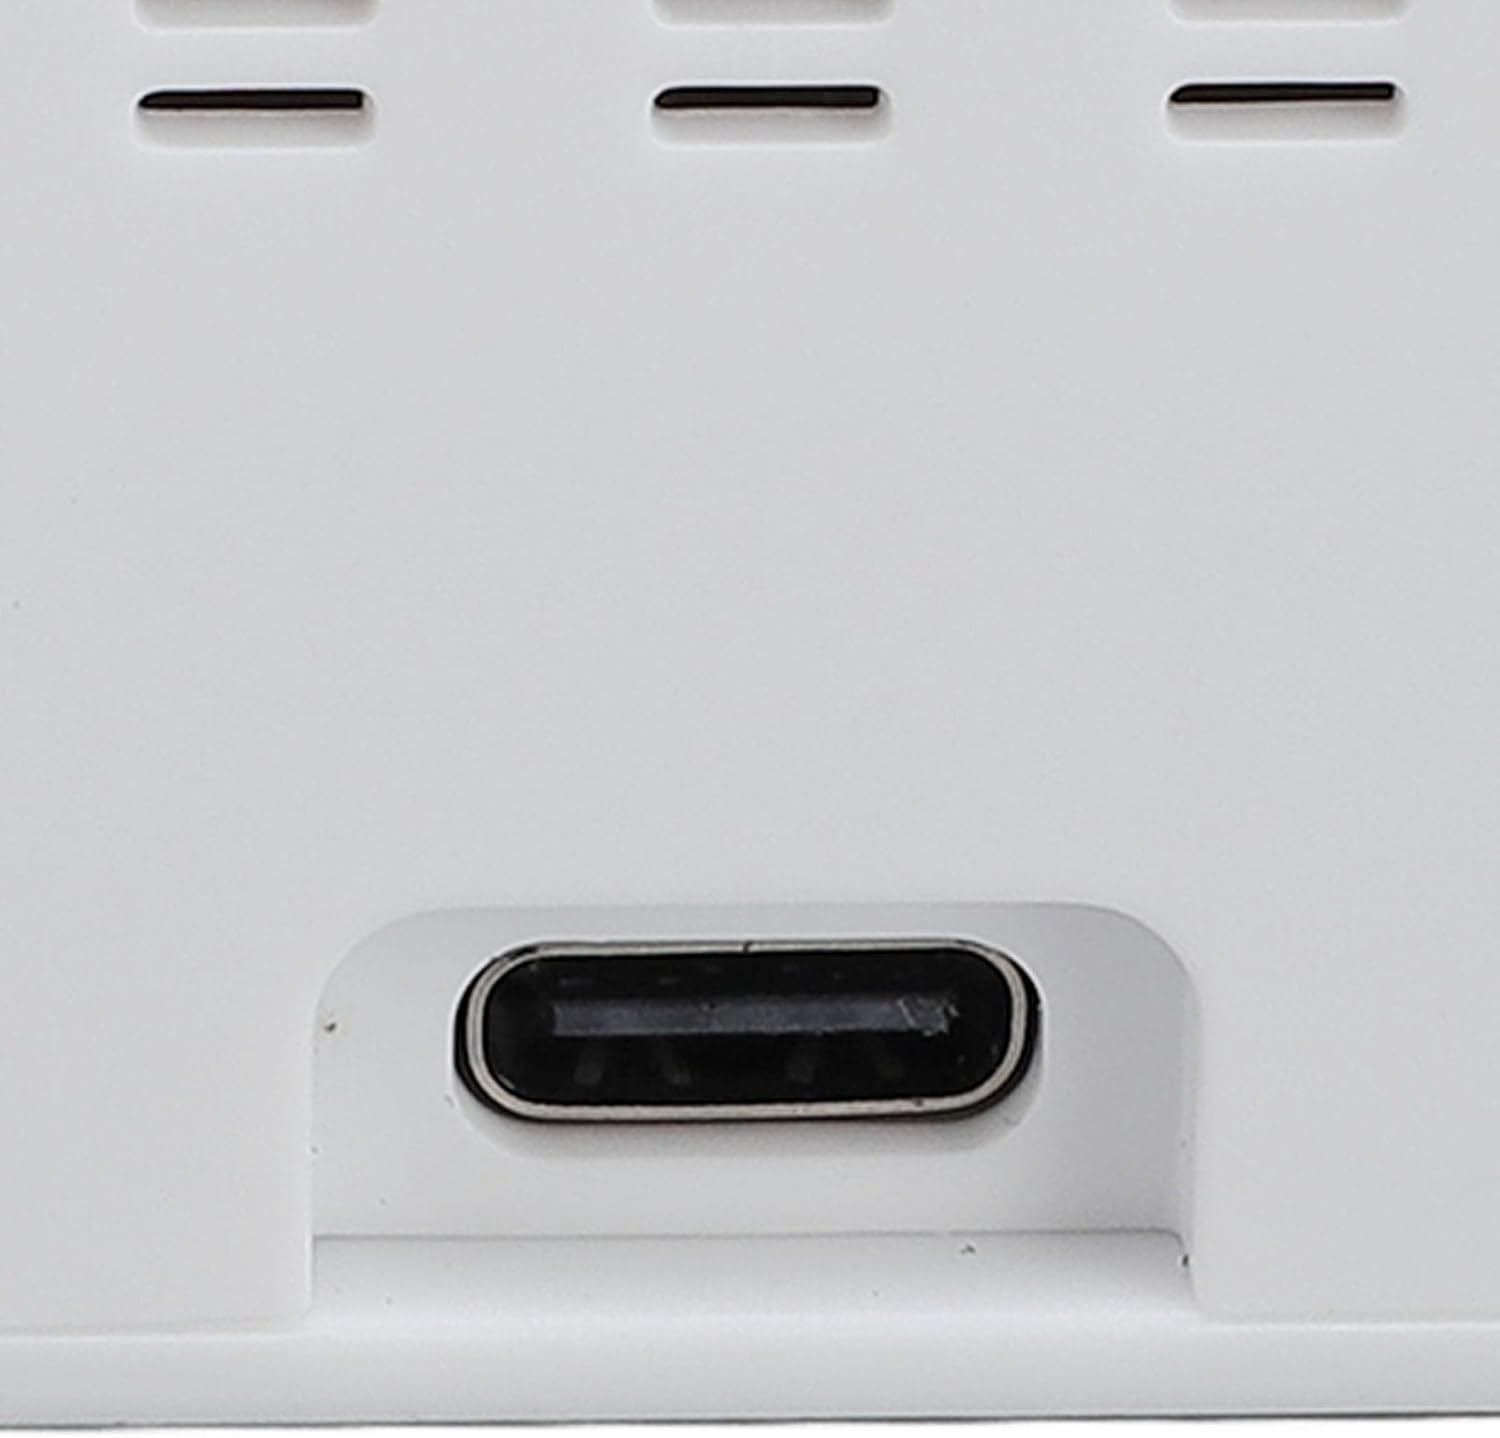
ภาพ: ภาพระยะใกล้ view of the USB-C port located on the rear of the device, indicating where the power cable should be connected.
5. คู่มือการใช้งาน
The Cuifati WiFi Digital Weather Clock features an intuitive touch interface and web-based controls.
5.1 ระบบควบคุมแบบสัมผัส
The device is equipped with a pressure touch sensor for interaction:
- ข่าวสารแบบสั้น: Typically used to switch between different applications (e.g., weather, clock, animation, photo gallery).
- กดแบบยาว: May be used for accessing settings or specific functions within an application. Refer to the online tutorial for precise long-press functionalities.
5.2 Application Switching
The device supports seamless transitions between various integrated applications:
- การแสดงสภาพอากาศ: Shows current weather conditions, temperature, and humidity.
- แสดงนาฬิกา: Presents the current time.
- Animation Display: Shows various animated graphics.
- แกลเลอรี่ภาพ: Displays personal photos.
Use a short press on the touch sensor to cycle through these applications.
5.3 Photo Gallery Features
When in Photo Gallery mode, the device can:
- Display full-screen GIF animation loops.
- Run automatic slideshows of JPG images.
Instructions for uploading and managing photos are available in the online tutorial.
5.4 Web-การควบคุมแบบอิงฐาน
Once connected to your 2.4GHz WiFi network, the device can be controlled via any web browser on a device connected to the same network. Simply enter the internal IP address of the weather clock into your browser's address bar. This provides an accessible and user-friendly control method without the need for a dedicated app.
5.5 Wireless Firmware Upgrades
The device supports wireless firmware upgrades. Ensure your device is connected to WiFi to receive the latest updates, which provide continued optimization and reliability improvements.

Image: A close-up of the device's screen, clearly showing the digital time, temperature, and humidity readings, along with a small graphic.
6. การบำรุงรักษา
To ensure the longevity and optimal performance of your Cuifati WiFi Digital Weather Clock:
- การทำความสะอาด: Use a soft, dry cloth to gently wipe the display and exterior surfaces. Avoid abrasive cleaners, solvents, or spray directly onto the device.
- การจัดวาง: Place the device on a stable, flat surface away from direct sunlight, extreme temperatures, and high humidity.
- พลัง: Always use the provided USB supply cord. Disconnect power during extended periods of non-use.

ภาพ: จากบนลงล่าง view of the Cuifati WiFi Digital Weather Clock, showing the smooth white casing and two small screws on the top surface.

ภาพ: ด้านหลัง view of the device, highlighting the ventilation slots and the USB-C power input port at the bottom.
7 การแก้ไขปัญหา
หากคุณพบปัญหาเกี่ยวกับอุปกรณ์ของคุณ โปรดพิจารณาสิ่งต่อไปนี้:
- อุปกรณ์ไม่ได้เปิดเครื่อง: Ensure the USB supply cord is securely connected to both the device and a working power source. Try a different USB power adapter.
- ไม่มีการเชื่อมต่อ WiFi: Verify that your router is broadcasting a 2.4GHz WiFi signal. Ensure the device is within range of your router. Re-enter WiFi credentials if necessary via the web interface or setup process.
- เวลา/สภาพอากาศไม่ถูกต้อง: Ensure the device is successfully connected to the internet. Time and weather data are synchronized online.
- ปัญหาการแสดงผล: If the display is unresponsive or frozen, try disconnecting and reconnecting the power supply to restart the device.
8. ข้อมูลจำเพาะ
| ข้อมูลจำเพาะ | รายละเอียด |
|---|---|
| ประเภทสินค้า | WIFI Time Weather Display |
| วัสดุ | พีซี เอบีเอส |
| หมายเลขรุ่น | CUIFATI2k4xus0gav |
| การเชื่อมต่อ | WiFi 2.4GHz |
| วิธีการควบคุม | Touch Sensor, Web Browser (via internal IP) |
9. การรับประกันและการสนับสนุน
For warranty information and technical support, please refer to the documentation included with your purchase or contact Cuifati customer service through their official channels. Keep your proof of purchase for warranty claims.