
ยูทา-231
Starlink Mini Internet Kit Satellite User Manual
รุ่น: UTA-231
การแนะนำ
This manual provides essential information for the setup, operation, maintenance, and troubleshooting of your Starlink Mini Internet Kit Satellite. Designed for portable, high-speed internet access, the Starlink Mini utilizes advanced satellite technology to deliver reliable connectivity in remote areas.
The Starlink Mini is a compact and travel-friendly solution, ideal for users requiring internet access on the go, such as during RV trips. It functions as a versatile internet router, capable of supporting various connectivity needs including wireless routing, modem router combinations, and gaming.
ประกาศสำคัญ
Regional Activation Fee: Be aware that a one-time activation fee of $300 may apply if you use your Starlink Mini outside of a specific service area. Please consult the Starlink application or website for detailed regional service information.
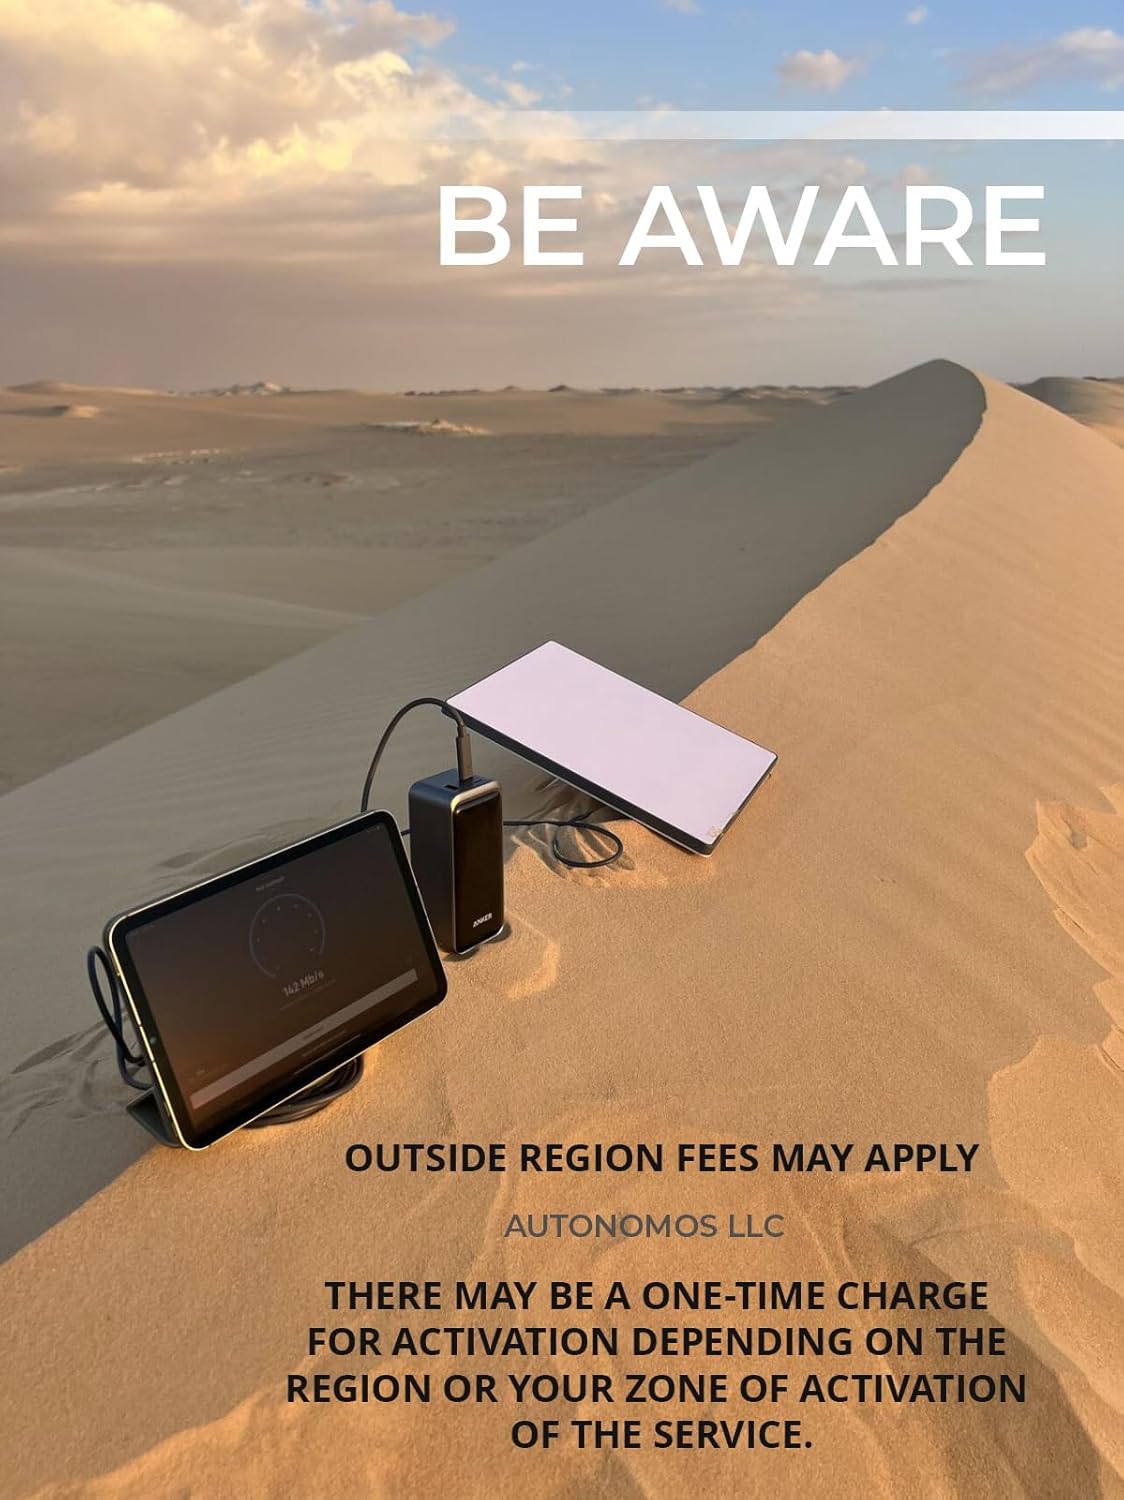
Image: Starlink Mini setup in a desert environment, highlighting the potential for outside region fees.
มีอะไรอยู่ในกล่อง
ก่อนเริ่มการติดตั้ง ให้แน่ใจว่ามีส่วนประกอบทั้งหมดครบถ้วน:
- Starlink Mini (with integrated WiFi)
- 15m (49.2 ft) DC Power Cable
- แหล่งจ่ายไฟ
- ขาตั้ง
- Mini Pipe Adapter and Flat Mount (if included in your kit)
- Starlink Plug (for power supply)

Image: Visual representation of the Starlink Mini kit contents, including the antenna, kickstand, adapter, DC power cable, power supply, and plug.
การติดตั้งและการตั้งค่า
- Assemble the Starlink Mini: Attach the kickstand to the Starlink Mini dish. Ensure it is securely fastened to provide stable support.

ภาพ: ด้านหลัง view of the Starlink Mini, illustrating the integrated kickstand for deployment.

Image: Step-by-step diagram showing the assembly of the kickstand and the connection of the power cable to the Starlink Mini.
- เชื่อมต่อพลังงาน: Plug the DC Power Cable into the Starlink Mini. Connect the other end of the DC Power Cable to the Power Supply, and then plug the Power Supply into a standard electrical outlet.

ภาพ: ไซด์โปรfile of the Starlink Mini, demonstrating its compact design when set up.
- การจัดวาง: Position the Starlink Mini in an open area with a clear view of the sky. The device will automatically align itself to the nearest satellite once powered on.

Image: The Starlink Mini deployed in an outdoor setting, ready for use with a laptop.
- ดาวน์โหลดแอป Starlink: For optimal setup and monitoring, download the official Starlink app from your device's app store. The app will guide you through the activation process and help you find the best placement for your Starlink Mini.
Video: An official installation guide for the Starlink Mini, demonstrating the setup process and use of the Starlink app for activation and monitoring. This video is provided by the seller, AUTONOMOS LLC.
- เปิดใช้งานบริการ: Follow the in-app instructions to activate your Starlink service. The app will assist in checking for obstructions and confirming a clear view ของท้องฟ้าเพื่อประสิทธิภาพสูงสุด

Image: Starlink availability map, illustrating service coverage areas globally. Users should check the Starlink app or website for current service availability in their region.
คำแนะนำการใช้งาน
Once set up and activated, the Starlink Mini provides high-speed internet access. It is designed for ease of use and portability.
- การจัดแนวอัตโนมัติ: The Starlink Mini automatically aligns itself to the optimal satellite constellation for the best signal. No manual dish adjustment is typically required after initial setup.
- ระบบ WiFi ในตัว: The device includes an integrated WiFi router, allowing multiple devices (up to 128) to connect wirelessly to the internet.
- การเชื่อมต่อ: Connect your devices (laptops, smartphones, tablets, etc.) to the Starlink Mini's WiFi network using the network name and password provided during setup or found in the Starlink app.
- ผลงาน: Expect high-speed transmission suitable for streaming, online gaming, video calls, and general web browsing, even in remote locations.
- ความสามารถในการพกพา: The compact design allows for easy transport. When moving to a new location, simply power down the device, pack it, and repeat the setup process at your new destination.

Image: A person hiking with the Starlink Mini attached to their backpack, illustrating the product's portability for on-the-go internet access.
การซ่อมบำรุง
The Starlink Mini is designed for minimal maintenance. Follow these guidelines to ensure longevity and optimal performance:
- ให้ชัดเจน: Ensure the dish surface is free from snow, ice, dirt, or other obstructions that could block the satellite signal. The dish has a self-heating capability to melt snow.
- ทำความสะอาดอย่างอ่อนโยน: หากจำเป็นต้องทำความสะอาด ให้ใช้ผ้านุ่มๆamp ผ้า. ห้ามใช้สารเคมีรุนแรงหรือวัสดุกัดกร่อน
- การจัดการสายเคเบิล: Ensure cables are not kinked or pinched, which can damage them over time.
- การอัปเดตซอฟต์แวร์: The Starlink Mini automatically receives software updates. Ensure your device is powered on and connected to the internet periodically to receive these updates, which improve performance and add new features.
การแก้ไขปัญหา
If you encounter issues with your Starlink Mini, try the following steps:
| ปัญหา | สาเหตุที่เป็นไปได้ | สารละลาย |
|---|---|---|
| ไม่มีการเชื่อมต่ออินเตอร์เน็ต | Power issue, obstruction, service not active. |
|
| ความเร็วอินเตอร์เน็ตช้า | Partial obstruction, network congestion, outdated software. |
|
| Device Not Connecting to WiFi | Incorrect WiFi password, device too far from router. |
|
For further assistance, refer to the Starlink app's support section or visit the official Starlink support webเว็บไซต์.
ข้อมูลจำเพาะ
| หมายเลขรุ่น | ยูทา-231 |
| ยี่ห้อ | ทั่วไป |
| ประเภทเสาอากาศ | Satellite (Phase Array Technology) |
| สี | สีขาวและสีเทา |
| ขนาดสินค้า (กว้าง x ยาว x สูง) | ยาว 10 นิ้ว x กว้าง 1 นิ้ว x สูง 12 นิ้ว |
| น้ำหนักสินค้า | 5 ปอนด์ |
| DC Power Cable Length | 15m (49.2 ฟุต) |
| จำนวนช่องสัญญาณ | 2 |
| อิมพีแดนซ์ | 4 โอห์ม |
| ระยะสูงสุด | 112 ฟุต (likely WiFi range) |
| ประเทศต้นกำเนิด | สหรัฐอเมริกา |
การรับประกันและการสนับสนุน
Specific warranty details for this product are not provided in the available information. Please refer to the product packaging or contact the seller, AUTONOMOS LLC, for warranty information and support inquiries.
For general Starlink service support, download the Starlink app or visit the official Starlink webเว็บไซต์.
Ask a question about this manual
Ask about setup, troubleshooting, compatibility, parts, safety, or missing instructions. Manuals+ will review the question and use this page’s manual context to help answer it.