
Coolski IM55BS-2
Coolski IM55BS-2 Under Counter Ice Maker Machine User Manual
Model: IM55BS-2 | Brand: Coolski
1. บทนำ
This manual provides essential information for the safe and efficient operation, installation, and maintenance of your Coolski IM55BS-2 Under Counter Ice Maker Machine. Please read all instructions carefully before use and retain this manual for future reference.
2. ข้อมูลด้านความปลอดภัย
- Ensure the unit is placed upright for at least 24 hours before initial operation.
- เสียบเข้ากับเต้ารับไฟฟ้าที่มีสายดิน
- ห้ามใช้งานเครื่องกับสายไฟหรือปลั๊กที่ชำรุด
- รักษาช่องระบายอากาศให้ไม่มีสิ่งกีดขวาง
- ห้ามเก็บวัตถุระเบิด เช่น กระป๋องสเปรย์ที่มีเชื้อเพลิงไวไฟไว้ในเครื่องใช้ไฟฟ้านี้
- Only use the ice maker for its intended purpose.
- ดูแลเด็กไม่ให้เล่นกับเครื่อง
3. อะไรอยู่ในกล่อง
Your Coolski IM55BS-2 Ice Maker package includes the following items:
- เครื่องทำน้ำแข็ง
- เครื่องกรองน้ำ
- สายยางน้ำ
- ท่อระบาย
- ที่ตักน้ำแข็ง

Image: All components included with the Coolski IM55BS-2 ice maker, laid out for inspection.
4. การติดตั้งและการตั้งค่า
The Coolski IM55BS-2 ice maker is designed for both built-in under-counter and freestanding installations. It measures 15"W x 21"D x 33"H.

Image: The ice maker shown in both under-counter and freestanding configurations, highlighting its compact design.
4.1 การติดตั้งท่อระบายน้ำ
Proper drain hose installation is crucial for preventing water leakage and ensuring smooth operation. The unit uses a gravity drain system.
- Ensure the entire drain pipe is positioned lower than the machine's drain outlet to allow for gravity drainage.
- Connect the drain hose to the designated outlet at the rear of the machine.
- Route the drain hose to a floor drain or an external pump if the drain is above floor level. If an external pump is needed, it must be purchased separately and positioned below the ice machine's floor level.
Video: Demonstrates the correct installation of the under-counter ice maker's drain hose, emphasizing the importance of gravity drainage.
4.2 Water Line and Filter Installation
Connect the water line to your kitchen water supply and install the inline water filter to improve ice quality.
- Attach the water inlet hose to the machine and to your water supply.
- Integrate the provided inline water filter into the water supply line as shown in the installation video.
- ตรวจสอบให้แน่ใจว่าการเชื่อมต่อทั้งหมดมีความปลอดภัยเพื่อป้องกันการรั่วไหล
Video: Provides comprehensive instructions for installing the under-counter ice maker, including water line and filter connections.
5. คู่มือการใช้งาน
Your Coolski ice maker features an intuitive LCD digital control panel for easy operation.

Image: The digital control panel, showing buttons for mode selection, cleaning, and ice thickness adjustment.
5.1 การผลิตน้ำแข็ง
The machine can produce up to 130 pounds of ice per day and store up to 30 pounds. Ice is typically ready within 8 to 16 minutes per cycle, depending on the selected thickness.
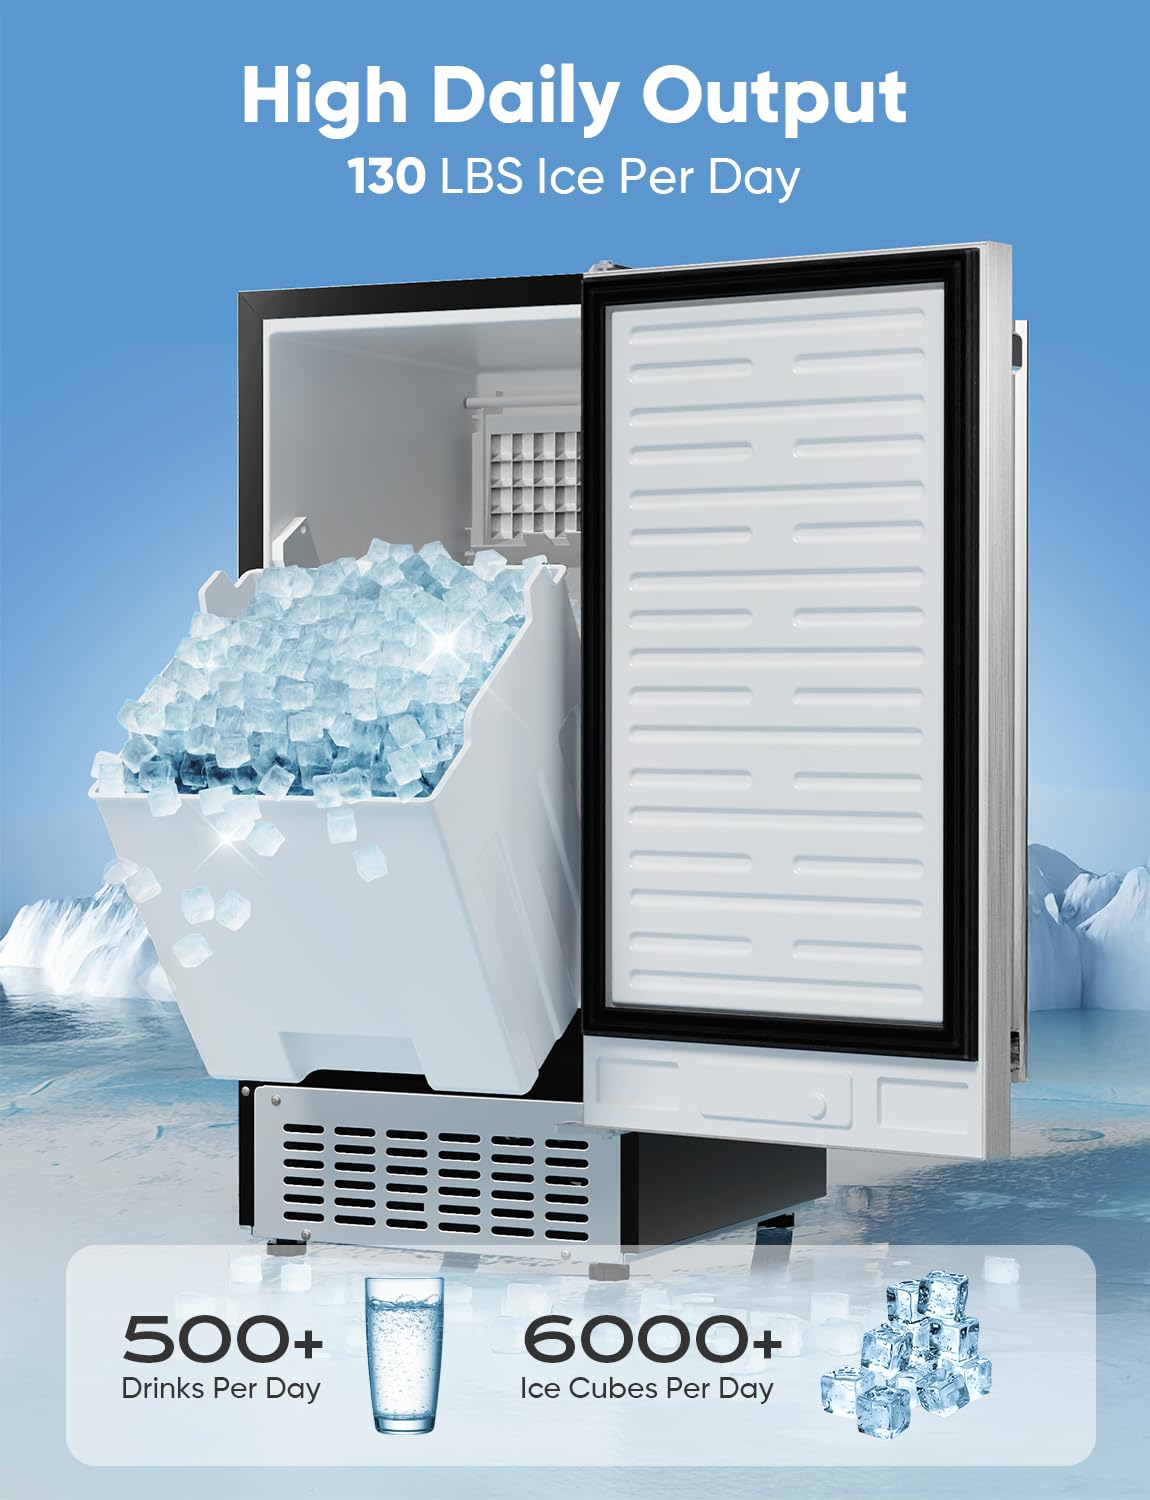
Image: A visual representation of the ice maker's high daily output and storage capacity.
5.2 Customizable Ice Thickness
You can select from three ice cube sizes (Thin, Medium, Large) using the control panel to suit your needs. Thin ice is ideal for smoothies, medium for drinks, and large for chilling seafood.
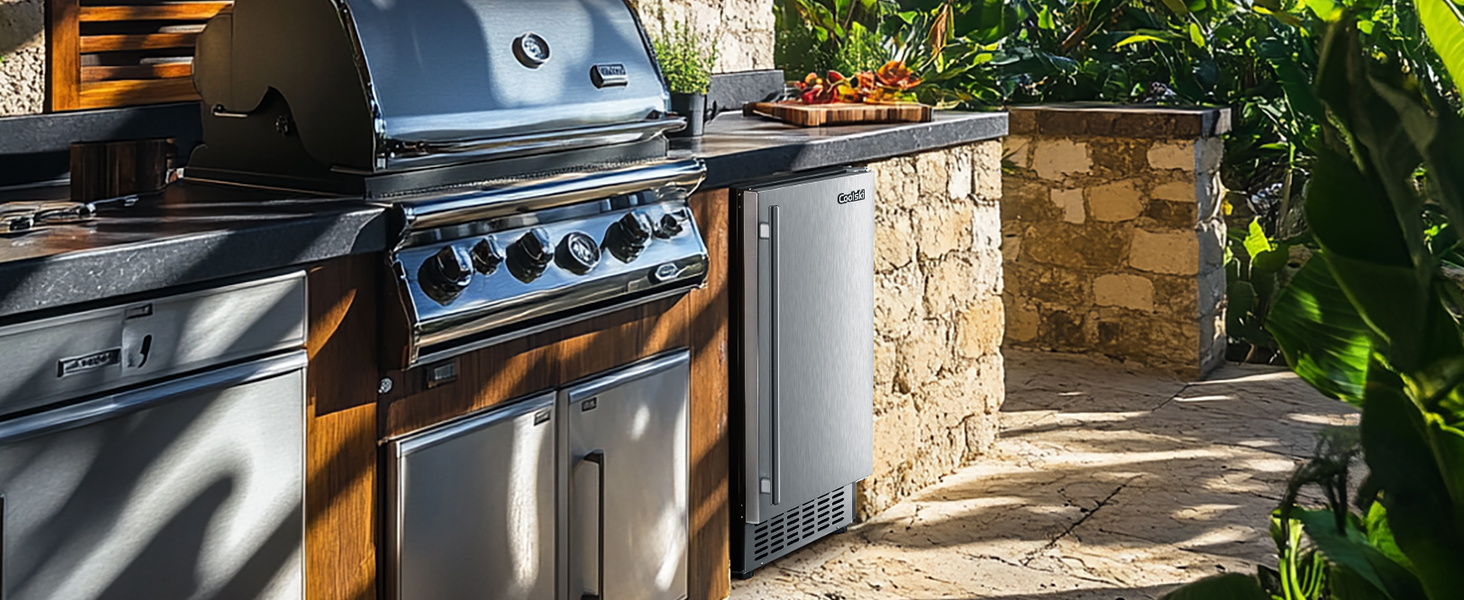
Image: Visual guide to selecting ice thickness settings and their corresponding production times and applications.
6. การบำรุงรักษา
การบำรุงรักษาอย่างสม่ำเสมอจะช่วยให้เครื่องทำน้ำแข็งของคุณมีอายุการใช้งานยาวนานและทำงานได้อย่างมีประสิทธิภาพสูงสุด
6.1 ฟังก์ชันทำความสะอาดตัวเอง
The ice maker features a self-cleaning function. To activate, press and hold the "Clean" button on the control panel for 3 seconds.
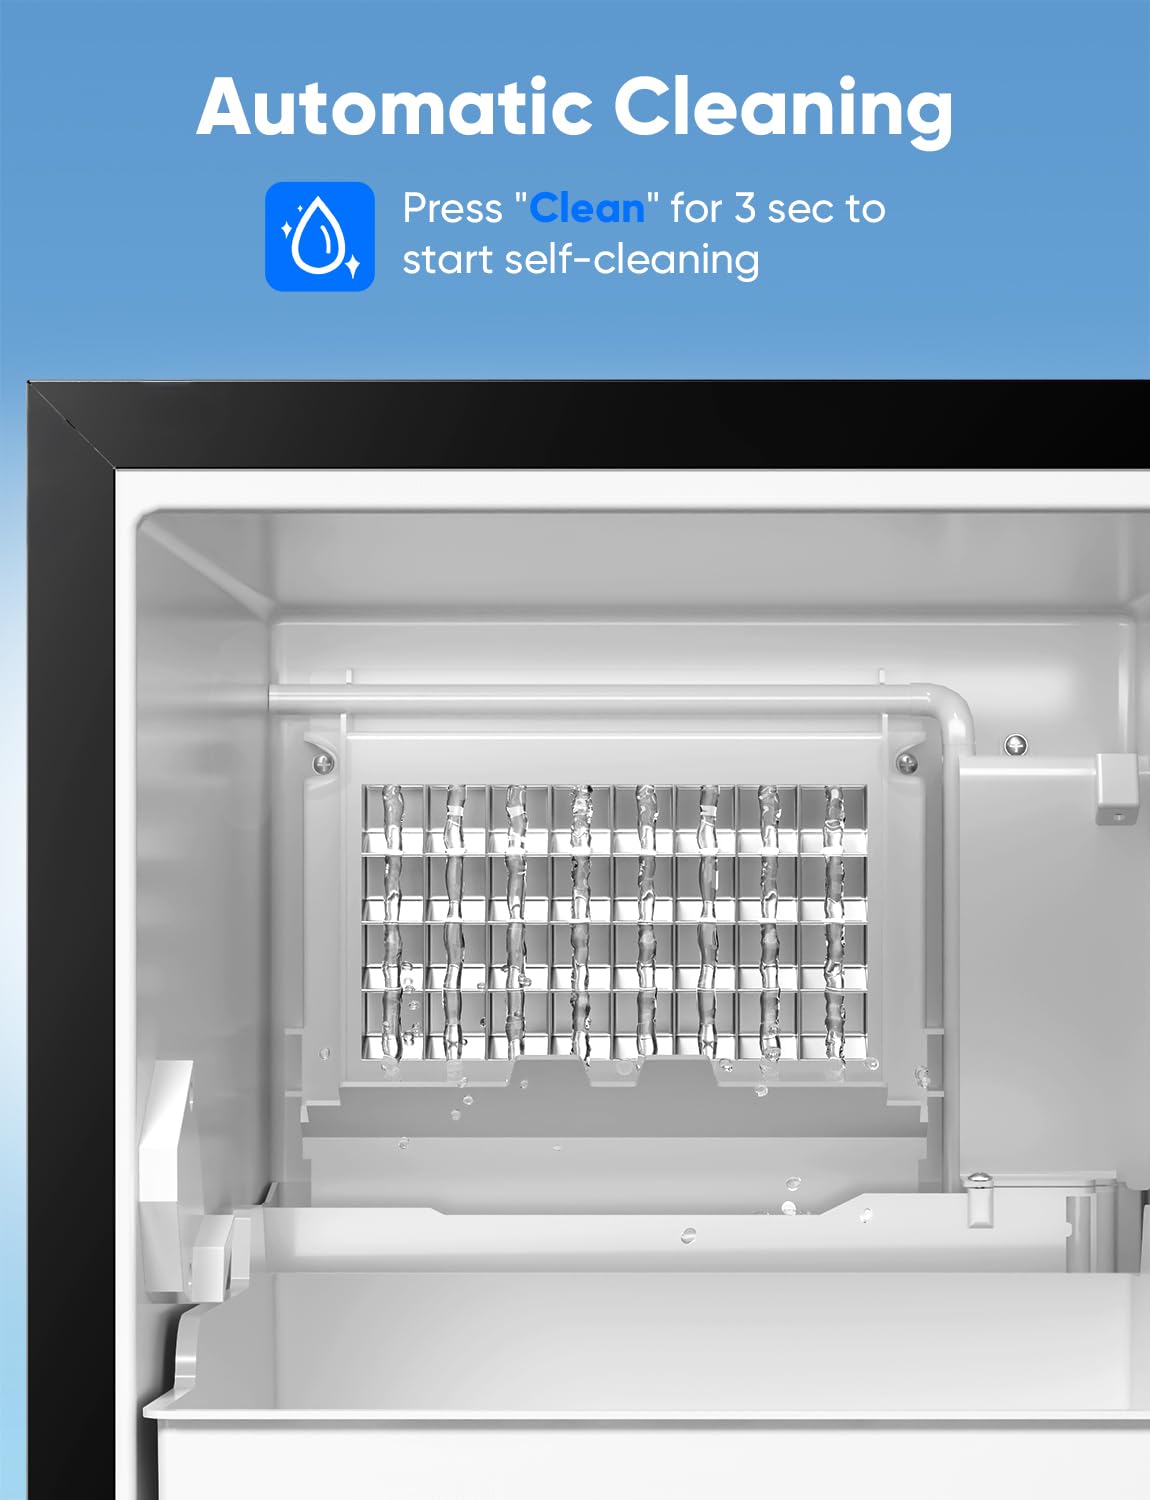
Image: The ice maker's interior during a self-cleaning cycle, showing water circulation.
6.2 การขจัดตะกรัน
Hard water can affect ice quality and machine performance. Descale your ice maker regularly based on your local water hardness:
- Slightly Hard Water (1-60mg/L): Descale once a month.
- น้ำกระด้างปานกลาง (61-120 มก./ลิตร): ขจัดคราบตะกรันทุกเดือน
- น้ำกระด้างถึงกระด้างมาก (121-250 มก./ลิตร): ควรขจัดคราบตะกรันทุกๆ สองถึงสามสัปดาห์

Image: A water hardness map of the USA with guidelines for descaling frequency.
6.3 การเปลี่ยนไส้กรอง
The inline water filter helps remove sediment and improve ice taste. Replace the filter as needed, typically every 3-6 months depending on water quality and usage.
7. ข้อมูลจำเพาะ
| คุณสมบัติ | ข้อมูลจำเพาะ |
|---|---|
| ยี่ห้อ | Coolski |
| ชื่อรุ่น | IM55BS-2 |
| ขนาดสินค้า | ลึก 21 นิ้ว x กว้าง 15 นิ้ว x สูง 33 นิ้ว |
| ความจุน้ำแข็ง | 30 ปอนด์ |
| ปริมาณการผลิตน้ำแข็งต่อวัน | 130 ปอนด์ |
| วัดtage | 285.00 วัตต์ |
| เล่มที่tage | 115 โวลต์ |
| สารทำความเย็น | R290a |
| วัสดุ | สแตนเลส |
| น้ำหนักสินค้า | 65 ปอนด์ |
8 การแก้ไขปัญหา
หากคุณพบปัญหาเกี่ยวกับเครื่องทำน้ำแข็ง โปรดดูขั้นตอนการแก้ไขปัญหาทั่วไปต่อไปนี้:
- ไม่มีการผลิตน้ำแข็ง: Check water supply connection, ensure the water valve is open, and verify the unit is powered on.
- Ice Melting Quickly: Ensure the door seal is intact and the unit is not exposed to excessive heat. The 8-hour insulation design helps maintain ice temperature.
- การรั่วไหลของน้ำ: Inspect drain hose installation to ensure it is lower than the machine's drain outlet and free of kinks. Check all water line connections for tightness.
- เสียงที่ผิดปกติ: Verify the unit is level and not vibrating against surrounding surfaces. If noises persist, consult customer support.
- Poor Ice Quality/Taste: Replace the water filter and perform a self-cleaning cycle. Consider descaling if you have hard water.
9. ข้อมูลการรับประกัน
The Coolski IM55BS-2 Ice Maker comes with a 5-year warranty on the compressor and a 3-year warranty on parts and labor. For warranty claims or service, please contact Coolski customer support.
10. การสนับสนุนลูกค้า
For further assistance, technical support, or to order replacement parts, please visit the official Coolski webเว็บไซต์หรือติดต่อฝ่ายบริการลูกค้าของพวกเขา
Ask a question about this manual
Ask about setup, troubleshooting, compatibility, parts, safety, or missing instructions. Manuals+ will review the question and use this page’s manual context to help answer it.