
การแนะนำ
This manual provides detailed instructions for the setup, operation, and maintenance of your MakerHawk ESP32 LoRa V3 Development Board with N30 Protective Case and 1100mAh Battery. This device features an ESP32-S3FN8 dual-core processor, integrated WiFi, LoRa, and Bluetooth capabilities, and a 0.96-inch 128x64 dot matrix OLED display. It is designed for various IoT applications, supporting development environments like Arduino and Meshtastic.

ภาพ: เหนือview of the MakerHawk N30 devices highlighting key functions, development environments, features, and application scenarios.
มีอะไรอยู่ในกล่อง
แพ็คเกจของคุณมีส่วนประกอบดังต่อไปนี้:
- 2 x ESP32 LoRa V3 Development Boards
- แบตเตอรี่ 2 x 1100mAh
- 2 x N30 Protective Cases
- 2 x 915MHz Antennas
- Necessary connection cables and accessories

ภาพ: รายละเอียด view of the package contents for the 2-pack MakerHawk N30 devices.
การติดตั้งและการตั้งค่า
Follow these steps to assemble your ESP32 LoRa V3 Development Board into the N30 protective case:
- เตรียมคดี: Gently pry open the N30 protective case. If it is too tight, use a small, non-metallic tool to assist.
- ติดตั้งแบตเตอรี่: Secure the 1100mAh battery inside the case using the provided double-sided adhesive foam to isolate and fix it. Ensure the battery wires are positioned correctly.
- Insert Development Board: Carefully insert the ESP32 LoRa V3 development board into the case, aligning the USB-C port and buttons with their respective cutouts.
- เชื่อมต่อเสาอากาศ: Connect the 915MHz antenna to the U.FL interface on the board. Route the antenna cable as needed and tighten the antenna screws.
- ปิดคดี: Close the lid of the protective case, ensuring all components are securely in place and no wires are pinched.
- ติดฟิล์มกันรอยหน้าจอ: Attach the transparent screen protector over the OLED display window.

Image: Visual guide demonstrating the assembly process of the development board, battery, and antenna into the protective case.
Video: This video demonstrates the assembly of the N30 Protective Case for the ESP32 LoRa V3 Board, including the antenna and battery installation.
คำแนะนำการใช้งาน
การเปิดเครื่องและการกำหนดค่าเริ่มต้น
To power on the device, ensure the battery is connected and charged, or connect it via the USB-C port. The OLED display will show boot information. For initial setup and flashing firmware (e.g., Meshtastic), connect the device to a computer using a USB-C cable. The integrated CP2102 USB-to-serial chip facilitates easy programming and debugging.
การเชื่อมต่อ
The ESP32 LoRa V3 board supports multiple communication protocols:
- โลร่า: For long-range, low-power communication between devices.
- ไวไฟ: For standard internet connectivity and local network communication.
- บลูทูธ: For short-range wireless communication, often used for connecting to mobile applications.

Image: Diagram explaining the communication methods (LoRa, Bluetooth, WiFi) between MakerHawk N30 devices, mobile phones, and computers.
Meshtastic Integration
The device is compatible with the Meshtastic network, allowing for off-grid, decentralized communication. You can flash Meshtastic firmware onto the board and use it with the Meshtastic mobile app or web อินเทอร์เฟซ
วิดีโอ: วิดีโอนี้ให้ข้อมูลโดยรวมview of the ESP32 LoRa V3 Development Board with its 915MHz antenna, demonstrating its features and potential applications.
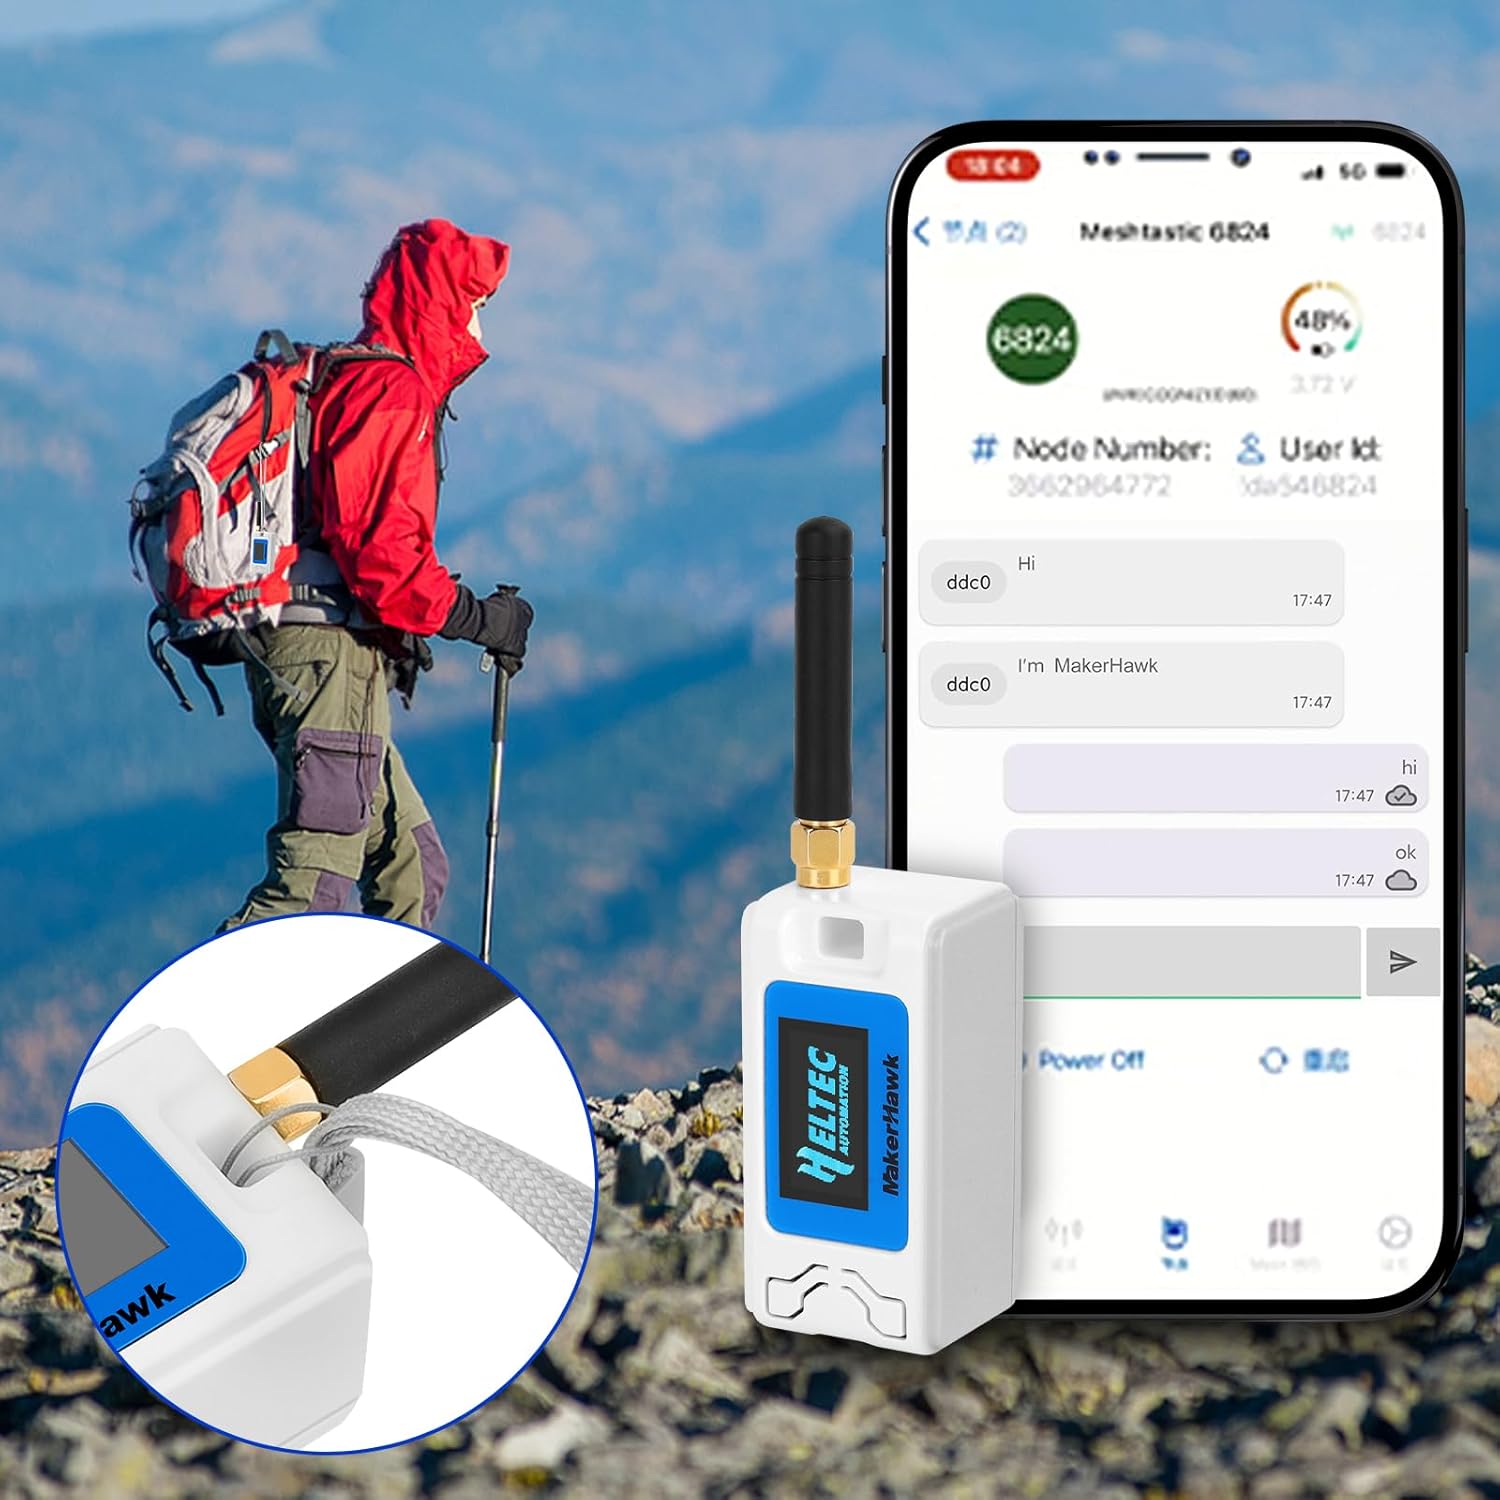
ภาพ: อดีตample of the MakerHawk N30 device in use during outdoor activities, displaying its screen and the Meshtastic app on a smartphone.
ข้อมูลจำเพาะ
| คุณสมบัติ | รายละเอียด |
|---|---|
| โปรเซสเซอร์ | ESP32-S3FN8 Dual-Core (up to 240 MHz) |
| การเชื่อมต่อ | Wi-Fi (802.11ac), LoRa (SX1262, 915MHz), Bluetooth, USB-C |
| แสดง | 0.96-inch 128x64 dot matrix OLED |
| แบตเตอรี่ | 1100mAh LiPo (with charge/discharge management, overcharge protection) |
| USB-to-Serial Chip | ซีพี2102 |
| การรองรับระบบปฏิบัติการ | Linux (for development environment) |
| ขนาด (แพ็คเกจ) | 6.1 x 5.35 x 1.34 นิ้ว |
| น้ำหนักสินค้า | 5.6 ออนซ์ |

Image: Pinout diagram for the ESP32 LoRa V3 Development Board, useful for advanced users and developers.
การซ่อมบำรุง
เพื่อให้มั่นใจว่าอุปกรณ์ของคุณจะมีอายุการใช้งานยาวนานและทำงานได้อย่างมีประสิทธิภาพสูงสุด:
- รักษาอุปกรณ์ให้สะอาดและปราศจากฝุ่นละอองและความชื้น
- หลีกเลี่ยงการให้อุปกรณ์สัมผัสกับอุณหภูมิที่ร้อนจัดหรือโดนแสงแดดโดยตรง
- Handle the antenna and USB-C port with care to prevent damage.
- Regularly check for firmware updates from the official Meshtastic or Heltec Automation websites to benefit from new features and bug fixes.
การแก้ไขปัญหา
หากคุณพบปัญหาเกี่ยวกับอุปกรณ์ของคุณ โปรดพิจารณาวิธีแก้ไขทั่วไปต่อไปนี้:
- อุปกรณ์ไม่เปิดเครื่อง: Ensure the battery is properly connected and charged, or try connecting via USB-C to a reliable power source.
- Connection issues (LoRa/WiFi/Bluetooth): Verify that antennas are securely attached. Check firmware settings for correct frequency and network configurations. Ensure no physical obstructions are blocking signals.
- Firmware flashing problems: Confirm that the correct drivers (e.g., CP2102) are installed on your computer. Try a different USB-C cable or port. Ensure the device is in bootloader mode if required by the flashing tool.
- หน้าจอ OLED ไม่ทำงาน: Check for physical damage. If recently assembled, ensure the display ribbon cable is properly seated.
For more advanced troubleshooting or specific error codes, refer to the official documentation for the ESP32 LoRa V3 board and the Meshtastic project.
การรับประกันและการสนับสนุน
สำหรับข้อมูลการรับประกันและการสนับสนุนทางเทคนิค โปรดดูที่เว็บไซต์อย่างเป็นทางการของผู้ผลิต website or contact MakerHawk customer service directly. Keep your purchase receipt as proof of purchase.