

1. บทนำ
This manual provides detailed instructions for the installation, operation, and maintenance of your SinoTrack P4 OBD2+GPS Smart Gauge Display. This device is designed to provide real-time vehicle data, including speed, RPM, coolant temperature, fuel consumption, and more, directly on your dashboard. It supports both OBD2 and GPS modes for broad vehicle compatibility and enhanced functionality.
2. เนื้อหาบรรจุภัณฑ์
โปรดตรวจสอบว่าสินค้าทั้งหมดมีอยู่ในแพ็คเกจของคุณ:
- SinoTrack P4 OBD2+GPS Smart Gauge Display Unit
- สาย OBD
- สาย USB
- คู่มือการใช้งาน (เอกสารนี้)
- Crowbar (for trim removal during installation)

Image: The SinoTrack P4 OBD2+GPS Smart Gauge Display unit, showing its front view และดีไซน์ที่ดูเรียบหรู
3. การตั้งค่า
- เชื่อมต่อสาย OBD: Locate your vehicle's OBD2 port, typically found under the dashboard on the driver's side. Connect one end of the provided OBD cable to the port and the other end to the P4 display unit. Ensure a secure connection.
- ติดตั้งจอแสดงผล: Place the P4 display unit on your dashboard in a position that does not obstruct your view of the road. Use the included anti-slip mat or adhesive if necessary to secure it.
- เปิดเครื่อง: Start your vehicle's engine. The P4 display unit should power on automatically. If it does not, check the cable connections.
- การตั้งค่าเริ่มต้น: Upon first power-on, the device may prompt you to select a language or operating mode (OBD2 or GPS). Use the control dial/buttons to navigate and confirm your selections.
- การเลือกโหมด: The P4 supports both OBD2 and GPS modes. OBD2 mode provides comprehensive vehicle data by connecting to your car's computer. GPS mode uses satellite signals for speed, direction, and other basic driving data, suitable for vehicles not fully compatible with OBD2 or for specific data needs.
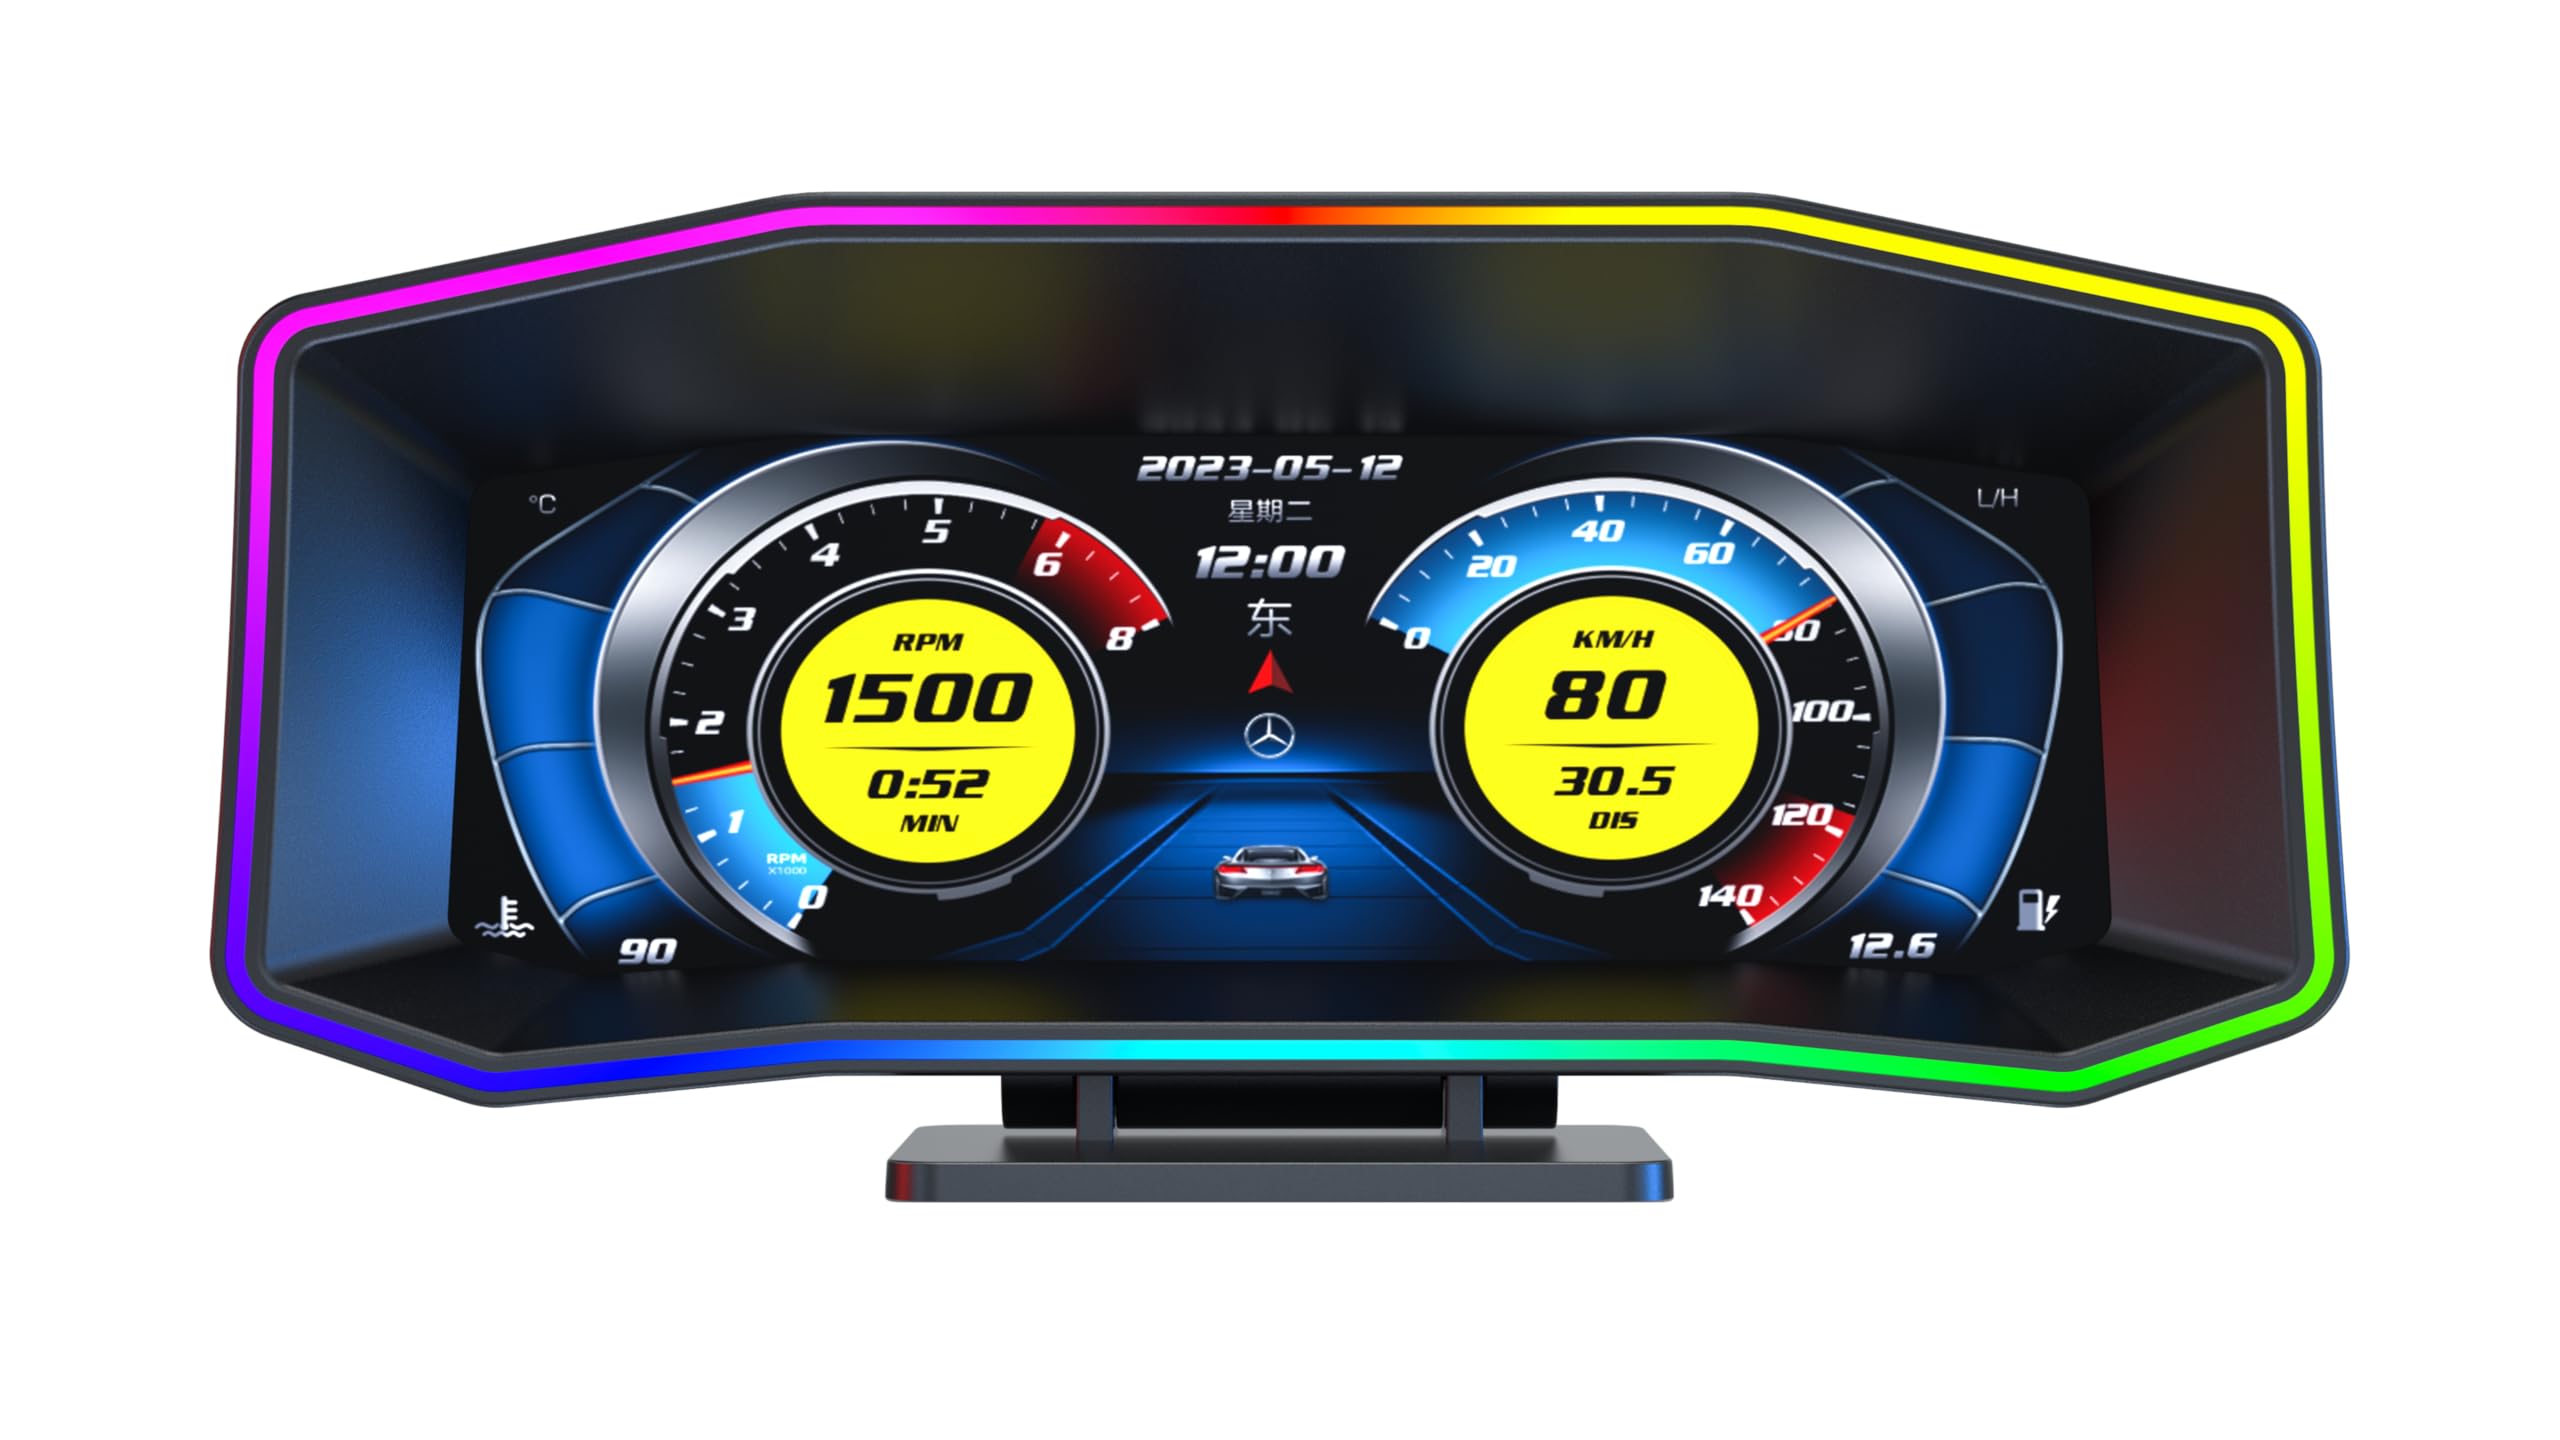
Image: The SinoTrack P4 display unit showing multiple language options, indicating the initial setup screen.
4. คู่มือการใช้งาน
- การนำทาง: The device typically features a multi-directional dial or buttons for menu navigation. Press to select, rotate/press up/down to scroll through options.
- โหมดการแสดงผล: The P4 offers various display interfaces and themes. You can switch between different layouts to view data such as RPM, speed, coolant temperature, fuel consumption, voltage, and more. Refer to the on-screen menu for customization options.
- ข้อมูลแบบเรียลไทม์: In OBD2 mode, the display will show real-time data from your vehicle's ECU. In GPS mode, it will display GPS-derived data.
- การล้างรหัสข้อผิดพลาด: The P4 unit can read and clear diagnostic trouble codes (DTCs) from your vehicle's engine management system. Navigate to the 'Clear DTC' or 'Error Code' section in the menu and follow the prompts.
- การปรับแต่ง: Personalize your display by selecting different themes, adjusting brightness, setting alarm thresholds (e.g., for overspeed, high coolant temperature), and changing units (e.g., km/h to mph, Celsius to Fahrenheit).
Video: An official SinoTrack video demonstrating the P4 OBD2 gauge display in a car, showcasing various display themes, real-time data, and dynamic color changes during operation.
5. การบำรุงรักษา
- การทำความสะอาด: Use a soft, dry cloth to clean the display screen and the unit's exterior. Avoid using abrasive cleaners or solvents, which can damage the surface.
- พื้นที่จัดเก็บ: If the device will not be used for an extended period, disconnect it from the vehicle's OBD2 port and store it in a cool, dry place away from direct sunlight.
- การดูแลสายเคเบิล: Ensure the OBD cable is not pinched or excessively bent during installation or use to prevent damage.
6 การแก้ไขปัญหา
- อุปกรณ์ไม่เปิดใช้งาน:
- Ensure the OBD cable is securely connected to both the P4 unit and the vehicle's OBD2 port.
- Verify that your vehicle's engine is running.
- Check your vehicle's fuse box for any blown fuses related to the OBD2 port.
- No Data Displayed / Inaccurate Readings (OBD2 Mode):
- The P4 is generally compatible with most vehicles manufactured after 2008. Compatibility with older vehicles, especially American models before 2005, can be inconsistent.
- Some specific vehicle models may not fully support all OBD2 parameters. If certain data points are missing, try switching to GPS mode for basic information.
- Ensure the correct protocol is selected in the device settings if applicable (though usually auto-detected).
- Error Codes Not Clearing:
- Some persistent issues in the vehicle may prevent codes from being cleared until the underlying problem is resolved.
- Ensure the vehicle is in a safe, stationary position with the engine off but ignition on when attempting to clear codes.
- ปัญหาสัญญาณ GPS:
- ตรวจสอบให้แน่ใจว่าอุปกรณ์มีความชัดเจน view of the sky for optimal GPS signal reception. Obstructions like tunnels, tall buildings, or heavy tree cover can interfere with the signal.
7. ข้อมูลจำเพาะ
- ยี่ห้อ: ซิโนแทร็ก
- แบบอย่าง: P4
- ขนาดจอแสดงผล: 6.2 inches (High-Definition LCD)
- วัสดุ: อะคริโลไนไตรล์ บิวทาไดอีน สไตรีน (ABS)
- ขนาดรายการ (ยาว x กว้าง x สูง): 7.73 x 2.57 x 3.54 นิ้ว
- น้ำหนักสินค้า: 1.05 ปอนด์
- การเชื่อมต่อ: OBD2, GPS
- ความเข้ากันได้: Most vehicles with an OBD2 port (generally 2008 and newer). GPS mode offers broader compatibility.
8. การรับประกันและการสนับสนุน
SinoTrack products are covered by a manufacturer's warranty. For specific warranty details, please refer to the warranty card included with your product or visit the official SinoTrack website. For technical support, troubleshooting assistance, or inquiries regarding your P4 Smart Gauge Display, please contact SinoTrack customer service through their official channels.