
การแนะนำ
ขอบคุณสำหรับการซื้อasing the Andoer Digital Camera H12. This manual provides detailed instructions for the proper use and maintenance of your camera. Please read this manual thoroughly before using the camera to ensure optimal performance and longevity.
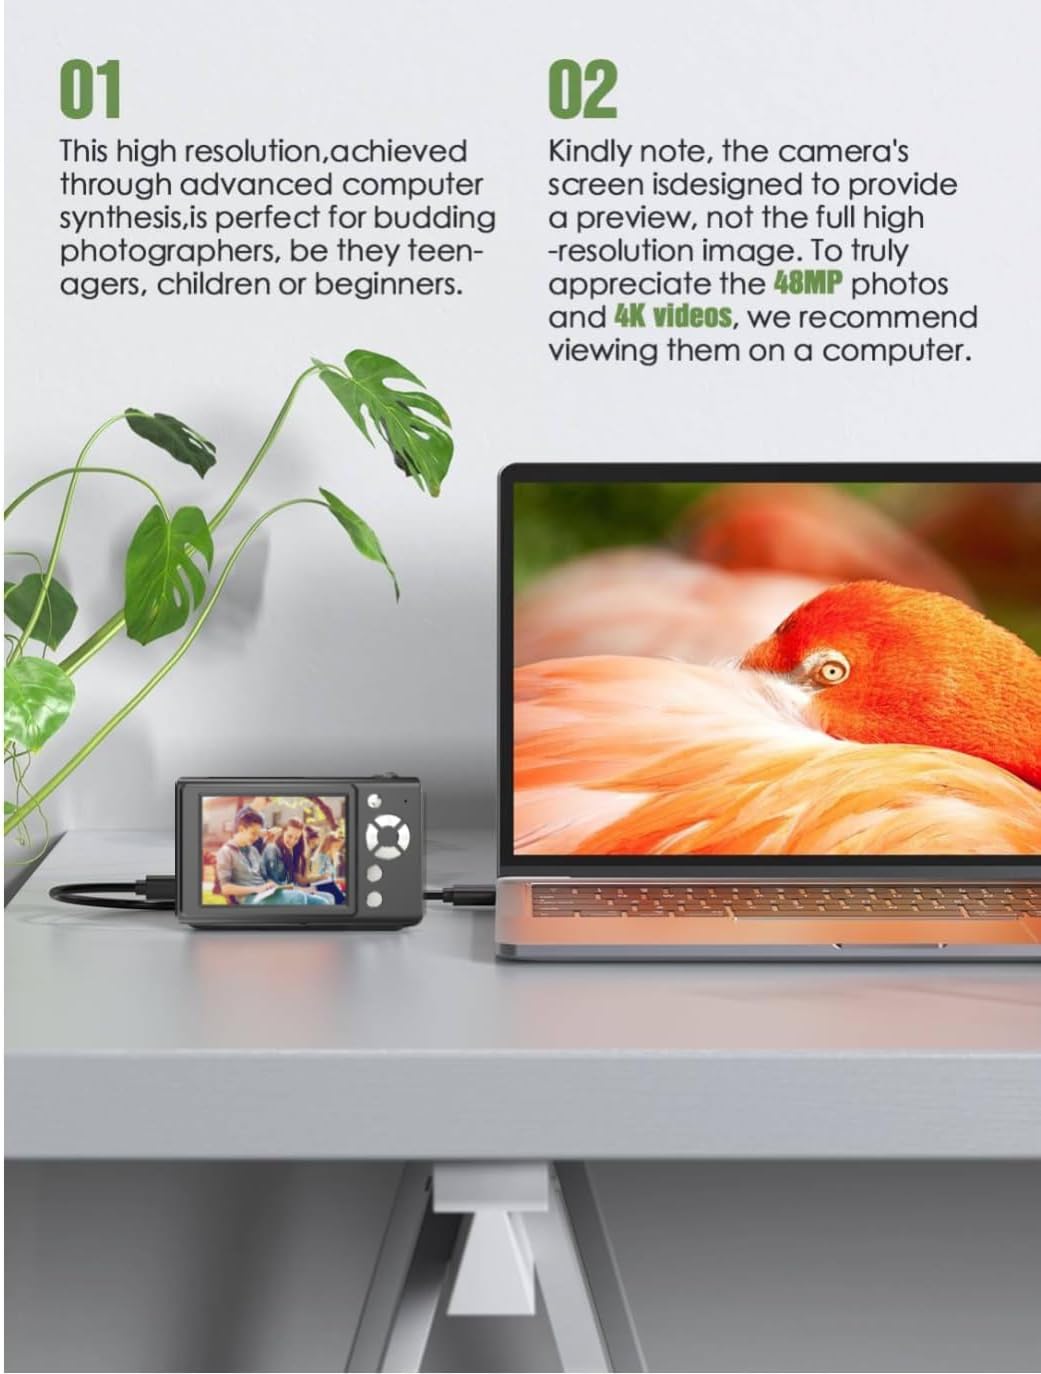
The Andoer H12 is a compact digital point-and-shoot camera featuring 1080P video recording, 48MP photo resolution, 16x digital zoom, autofocus, and an anti-shake function. It is designed for ease of use, making it suitable for various users.
เนื้อหาแพ็คเกจ
กรุณาตรวจสอบสิ่งของภายในบรรจุภัณฑ์เมื่อแกะกล่องเพื่อให้แน่ใจว่ามีสินค้าครบทั้งหมด:
- 1 x Andoer Digital Camera H12
- สาย USB 1 เส้น (Type-C)
- สายคล้องข้อมือ 1 x
- 1 x การ์ดหน่วยความจำ 32GB
- เครื่องอ่านบัตร 1 X
- 1 x คู่มือผู้ใช้
การตั้งค่า
1. การชาร์จแบตเตอรี่
The camera is equipped with a built-in 3.7V 700mAh lithium battery. Before first use, fully charge the battery.
- Connect the included Type-C USB cable to the camera's USB port.
- เชื่อมต่อปลายอีกด้านหนึ่งของสาย USB เข้ากับอะแดปเตอร์ไฟ USB (ไม่รวมอยู่ด้วย) หรือพอร์ต USB ของคอมพิวเตอร์
- The charging indicator light will illuminate. Once charging is complete, the indicator light will change or turn off.
บันทึก: A full charge typically takes approximately 2-3 hours. Do not use the camera while it is charging.
2. การใส่การ์ดหน่วยความจำ
The camera supports TF (MicroSD) cards up to 128GB. A 32GB memory card is included in the package.
- ค้นหาช่องเสียบการ์ดหน่วยความจำที่ด้านข้างของกล้อง
- Gently insert the TF card into the slot with the metal contacts facing the front of the camera until it clicks into place.
- To remove the card, gently push it in again until it springs out.

3. การติดสายรัดข้อมือ
Attach the included wrist strap to the camera for added security and to prevent accidental drops.
- Thread the thin loop of the wrist strap through the strap eyelet on the camera body.
- Pass the larger end of the strap through the thin loop and pull tight to secure it.
คำแนะนำการใช้งาน
1. เปิด/ปิดเครื่อง
- ในการเปิดเครื่อง ให้กดปุ่มเปิด/ปิดค้างไว้จนกว่าหน้าจอจะสว่างขึ้น
- หากต้องการปิดเครื่อง ให้กดปุ่มเปิด/ปิดค้างไว้จนกว่าหน้าจอจะดับลง
- The camera features an auto power-off function (off/3 mins/5 mins) which can be configured in the settings.
2.การถ่ายภาพ
- Turn on the camera. The camera will typically start in photo mode.
- Frame your shot using the 2.8-inch IPS display.
- Press the shutter button halfway down to activate autofocus. The camera will recognize and track subjects.
- Once focus is achieved (indicated by a green frame), press the shutter button fully to take the picture.

3. บันทึกวิดีโอ
- Switch to video mode (refer to the camera's on-screen interface for the mode switch button).
- Press the shutter button to start recording. A red indicator or timer will appear on the screen.
- กดปุ่มชัตเตอร์อีกครั้งเพื่อหยุดการบันทึก
The camera supports 1080P and 720P video resolutions in AVI format. Loop recording can be set for 3, 5, or 10 minutes.
4. ฟังก์ชั่นซูม
Use the zoom buttons (usually marked 'W' for Wide and 'T' for Telephoto) to adjust the 16x digital zoom. This allows you to magnify distant subjects.

5. ไฟส่องสว่าง LED
The camera features a built-in ring LED fill light with three lighting modes to assist in low-light conditions.
- แสงสีขาว: Bright, even, and soft illumination.
- แสงสีขาวอุ่น: Pure natural light, soft and comfortable.
- ไฟสีเหลือง: Warm color adjustment for a warm atmosphere.
Access and cycle through these modes via the camera's menu or a dedicated button (refer to the on-screen interface).

6. ฟังก์ชั่นอื่นๆ
- ตัวจับเวลาเซลฟี่: Options for off, 2s, 5s, or 10s delay before taking a photo.
- ถ่ายภาพต่อเนื่อง: Capture a series of photos rapidly.
- ป้องกันการสั่น: Helps reduce blur caused by camera movement.
- เอฟเฟกต์ฟิลเตอร์: Various built-in filters to enhance your photos.
- เกม: Includes 4 simple games for entertainment.
- การเล่น MP3: Download MP3 music to the memory card and play it through the camera.

การซ่อมบำรุง
- การทำความสะอาดตัวกล้อง: ใช้ผ้านุ่มและแห้งเช็ดตัวกล้อง สำหรับคราบสกปรกฝังแน่น ให้เช็ดเบาๆampen the cloth with water and then wipe dry. Avoid using chemical cleaners.
- การทำความสะอาดเลนส์และหน้าจอ: Use a specialized lens cleaning cloth or brush to gently remove dust and smudges. Do not use abrasive materials or excessive force.
- พื้นที่จัดเก็บ: When not in use for extended periods, store the camera in a cool, dry place away from direct sunlight and extreme temperatures. Remove the memory card if not in use.
- การดูแลแบตเตอรี่ หลีกเลี่ยงการใช้แบตเตอรี่จนหมดบ่อยๆ ควรชาร์จแบตเตอรี่เป็นประจำ แม้ว่าจะไม่ได้ใช้งานกล้องก็ตาม เพื่อรักษาประสิทธิภาพของแบตเตอรี่
- ความต้านทานน้ำ: กล้องนี้คือ ไม่กันน้ำหลีกเลี่ยงการสัมผัสกับน้ำ ฝน หรือความชื้นสูง
การแก้ไขปัญหา
| ปัญหา | สาเหตุที่เป็นไปได้ | สารละลาย |
|---|---|---|
| กล้องไม่สามารถเปิดได้ | แบตเตอรี่หมดหรือไม่ได้ชาร์จ | Charge the camera battery fully using the provided USB cable. |
| ไม่สามารถถ่ายภาพ/บันทึกวีดีโอได้ | Memory card is full, not inserted correctly, or corrupted. | Check if the memory card is inserted correctly. Delete unnecessary files or replace the memory card. Format the card if necessary (this will erase all data). |
| ภาพมีความเบลอ | Autofocus failed, camera shake, or dirty lens. | Ensure autofocus is engaged. Hold the camera steady or use the anti-shake function. Clean the lens with a soft cloth. |
| หน้าจอว่างเปล่าหรือค้าง | System error or temporary malfunction. | Press and hold the power button for 10 seconds to force a shutdown, then restart the camera. If the issue persists, contact customer support. |
| ไม่สามารถโอนได้ fileไปที่คอมพิวเตอร์ | Incorrect cable connection or driver issue. | Ensure the USB cable is securely connected. Try a different USB port or computer. Use the included card reader to transfer fileโดยตรงจากการ์ดหน่วยความจำ |
ข้อมูลจำเพาะ
| คุณสมบัติ | รายละเอียด |
|---|---|
| ชื่อรุ่น | H12 |
| แสดง | จอ IPS ขนาด 2.8 นิ้ว |
| ความละเอียดของภาพ | Up to 48MP (48M, 40M, 24M, 20M, 18M, 16M, 12M, 10M, 8M, 5M, 3M, 2M, 1M) |
| รูปแบบภาพถ่าย | JPG |
| ความละเอียดวิดีโอ | 1080P, 720P |
| รูปแบบวิดีโอ | เอวีไอ |
| ซูมดิจิตอล | 16X |
| ออโต้โฟกัส | Yes (Contrast Detection, 9 points) |
| ระบบป้องกันภาพสั่นไหว | ออฟติคอล |
| ประเภทเซนเซอร์ | CMOS (1/4 นิ้ว) |
| พื้นที่จัดเก็บ | TF card, max. 128GB (32GB included) |
| แบตเตอรี่ | Built-in Lithium Battery (3.7V 700mAh) |
| อินเตอร์เฟซการชาร์จ | ยูเอสบี ไทป์ ซี |
| ตัวจับเวลา Selfie | Off/ 2s/ 5s/ 10s |
| ปิดเครื่องอัตโนมัติ | Off/ 3 mins/ 5 mins |
| การบันทึกแบบวนซ้ำ | 3 mins/ 5 mins/ 10 mins |
| คุณสมบัติในตัว | LED Fill Light (3 modes), Filter Effects, 4 Games, MP3 Playback |
| ขนาดสินค้า | 103 x 31 x 65 มม. |
| น้ำหนักผลิตภัณฑ์ | 149g (camera body) / 260g (item weight including packaging/accessories) |
| ระดับความต้านทานต่อน้ำ | ไม่ทนน้ำ |
ข้อมูลการรับประกัน
The Andoer Digital Camera H12 comes with a รับประกัน 1 ปี นับจากวันที่ซื้อสินค้า การรับประกันนี้ครอบคลุมถึงข้อบกพร่องจากการผลิตและการทำงานผิดปกติภายใต้การใช้งานปกติ ไม่ครอบคลุมถึงความเสียหายที่เกิดจากการใช้งานผิดวิธี อุบัติเหตุ การซ่อมแซมโดยไม่ได้รับอนุญาต หรือภัยพิบัติทางธรรมชาติ
โปรดเก็บหลักฐานการซื้อของคุณไว้เพื่อเรียกร้องการรับประกัน
การสนับสนุนลูกค้า
If you encounter any issues or have questions not covered in this manual, please contact Andoer customer support. You can typically find support contact information on the official Andoer webเว็บไซต์หรือผ่านผู้ค้าปลีกของคุณ
หากต้องการความช่วยเหลือเพิ่มเติม โปรดไปที่ ร้าน Andoer บน Amazon.