
VIKIO HOME VK-RB12-30
VIKIO HOME Range Hood Insert User Manual
Model: VK-RB12-30 | Brand: VIKIO HOME
1. บทนำ
Thank you for choosing the VIKIO HOME 30-inch Range Hood Insert. This manual provides essential information for the safe and efficient installation, operation, and maintenance of your new kitchen appliance. Please read this manual thoroughly before installation and use, and keep it for future reference.

Figure 1.1: VIKIO HOME 30-inch Range Hood Insert, showcasinด้วยดีไซน์สแตนเลสสตีลที่เรียบหรูและระบบไฟส่องสว่างในตัว
2. ข้อมูลด้านความปลอดภัยที่สำคัญ
เพื่อลดความเสี่ยงจากไฟไหม้ ไฟฟ้าช็อต หรือการบาดเจ็บ โปรดปฏิบัติตามข้อต่อไปนี้:
- อ่านคำแนะนำทั้งหมดก่อนใช้งานเครื่องใช้ไฟฟ้านี้
- งานติดตั้งและเดินสายไฟฟ้าจะต้องดำเนินการโดยบุคลากรที่มีคุณสมบัติตามมาตรฐานและมาตรฐานที่เกี่ยวข้องทั้งหมด รวมถึงการก่อสร้างที่ทนไฟด้วย
- จำเป็นต้องมีอากาศที่เพียงพอสำหรับการเผาไหม้และการระบายก๊าซอย่างเหมาะสมผ่านปล่องควันของอุปกรณ์เผาเชื้อเพลิง เพื่อป้องกันการย้อนกลับ
- เมื่อทำการตัดหรือเจาะผนังหรือเพดาน อย่าทำให้สายไฟฟ้าและสาธารณูปโภคอื่นๆ ที่ซ่อนอยู่เสียหาย
- พัดลมท่อจะต้องระบายอากาศออกสู่ภายนอกเสมอ
- ห้ามใช้หน่วยนี้ร่วมกับอุปกรณ์ควบคุมความเร็วแบบโซลิดสเตตใดๆ
- หน่วยนี้จะต้องต่อลงดิน
- ควรทำความสะอาดแผ่นกรองไขมันบ่อยๆ ไม่ควรปล่อยให้ไขมันสะสมบนพัดลมหรือแผ่นกรอง
- อย่าปล่อยให้อุปกรณ์พื้นผิวถูกตั้งค่าสูงโดยไม่มีใครดูแล Boilovers ทำให้เกิดการสูบบุหรี่และการรั่วไหลของไขมันที่อาจจุดไฟ
- Always turn hood ON when cooking at high heat or when flaming foods.
- เลือกใช้กระทะที่มีขนาดเหมาะสม ควรใช้ภาชนะประกอบอาหารที่มีขนาดเหมาะสมกับขนาดของเตาเสมอ
3. อะไรอยู่ในกล่อง
ตรวจสอบว่าส่วนประกอบทั้งหมดมีอยู่ก่อนเริ่มการติดตั้ง:
- VIKIO HOME Range Hood Insert Unit
- 2 x ตัวกรองแผ่นกั้นสแตนเลส
- Ducting Adapter (if applicable for ducted setup)
- ฮาร์ดแวร์สำหรับติดตั้ง (สกรู, พุก)
- คู่มือการใช้งาน
- สายไฟ
รูปที่ 3.1: อดีตample of the power plug included with the range hood unit.
4. การตั้งค่าและการติดตั้ง
This range hood insert is designed for built-in installation within a cabinet. Ensure you have the necessary tools and that the installation area meets the required dimensions (refer to Section 7: Specifications).
4.1 การตรวจสอบก่อนการติดตั้ง
- Confirm cabinet opening dimensions are suitable for a 30-inch insert.
- Ensure electrical supply is available and meets product requirements (110 Volts).
- Decide between ducted or ductless (recirculating) ventilation. For ductless operation, charcoal filters (not included) are required.
4.2 ขั้นตอนการติดตั้ง
- Prepare the cabinet opening according to the provided dimensions.
- Carefully lift the range hood insert into the prepared opening.
- Secure the unit using the provided mounting hardware. Ensure it is level and firmly attached to the cabinet structure.
- For ducted installation, connect the ducting to the top exhaust outlet and vent to the outside. For ductless, install charcoal filters (sold separately) and ensure the top vent is clear for air recirculation.
- ต่อสายไฟเข้ากับเต้ารับไฟฟ้าที่มีสายดิน

Figure 4.1: The range hood insert seamlessly integrated into kitchen cabinetry, demonstrating a typical installation scenario.
4.3 วิดีโอสาธิตการติดตั้ง
Video 4.1: An official demonstration video from VIKIO HOME showing the step-by-step process for installing the range hood insert. This video covers the built-in installation procedure, including placement and securing the unit.
5. คู่มือการใช้งาน
Your VIKIO HOME Range Hood Insert features both gesture and touch controls for convenient operation.
5.1 แผงควบคุมโอเวอร์view
The control panel is located on the front of the unit and includes icons for power, light, fan speed, and gesture control activation.
5.2 การควบคุมด้วยท่าทาง
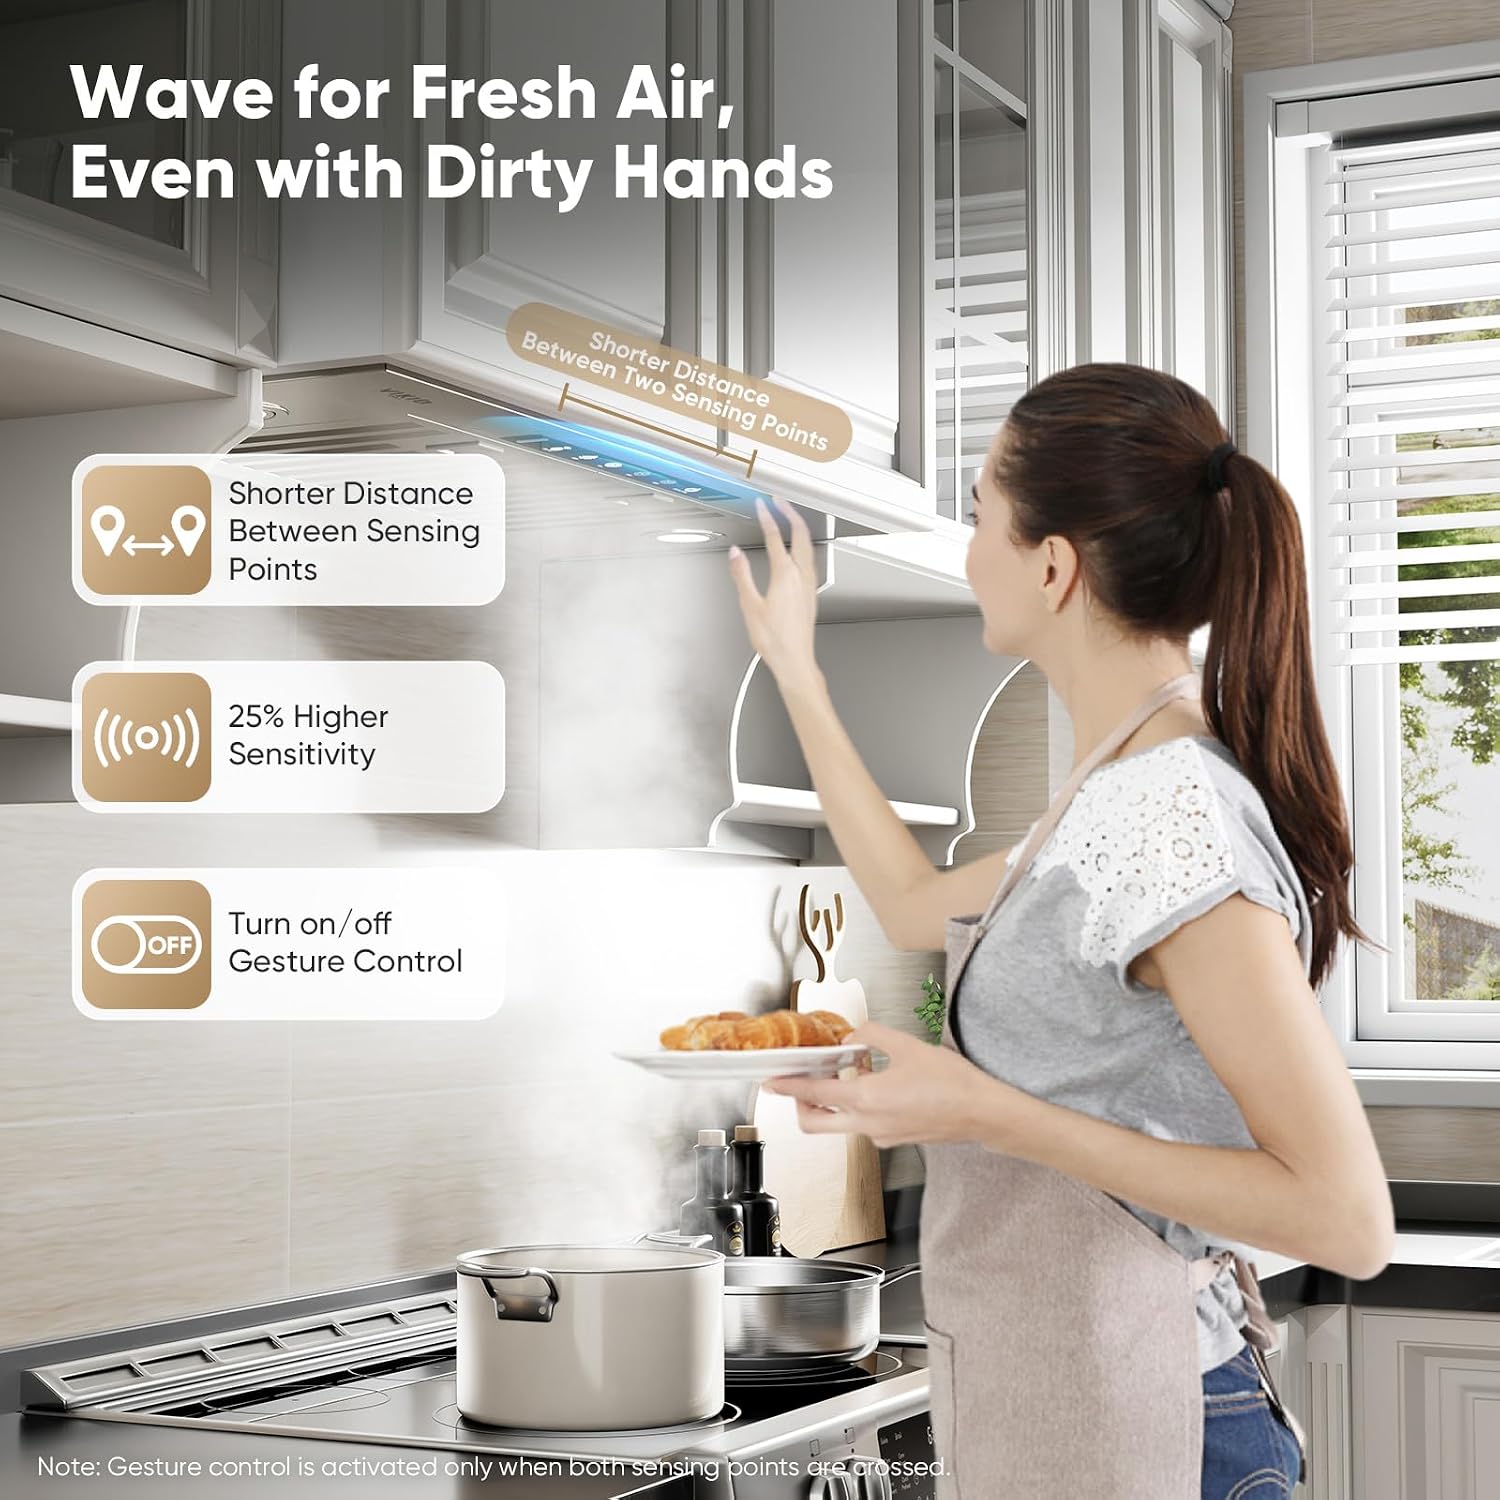
The advanced gesture control allows for hands-free operation. Simply wave your hand in front of the sensor to turn the unit on/off or adjust fan speeds. The sensor detection is highly accurate to prevent accidental triggers.

Figure 5.1: Illustration of the gesture control feature, allowing users to operate the range hood with a simple hand wave, ideal for maintaining hygiene during cooking.
5.3 การปรับความเร็วพัดลม
The range hood offers 3 fan speed levels to accommodate various cooking needs. Use the touch controls or gesture control to cycle through low, medium, and high speeds. The powerful 980 CFM dual-intake motor ensures efficient smoke and odor removal.

Figure 5.2: Visual representation of the range hood's powerful suction, effectively clearing smoke and steam from the cooking area.
5.4 การให้แสงสว่าง
The integrated LED lights provide bright illumination for your cooking surface. Activate or deactivate the lights using the dedicated touch button on the control panel.

Figure 5.3: The range hood's LED lights illuminating the stovetop, ensuring clear visibility while cooking.
6. การบำรุงรักษา
การบำรุงรักษาตามปกติจะช่วยให้เครื่องดูดควันของคุณมีประสิทธิภาพสูงสุดและมีอายุการใช้งานยาวนาน
6.1 การทำความสะอาดแผ่นกรองแบบแผ่นกั้น
The stainless steel baffle filters are dishwasher-safe and designed for easy removal and cleaning. It is recommended to clean them regularly, depending on cooking frequency, to maintain effective grease capture.
- Turn off the range hood and disconnect power.
- Locate the filter release latches and carefully remove the filters.
- Place filters in a dishwasher or wash by hand with warm, soapy water.
- ปล่อยให้ตัวกรองแห้งสนิทก่อนติดตั้งกลับเข้าไป

Figure 6.1: The removable, dishwasher-safe stainless steel filters, designed for easy cleaning and maintenance.
6.2 Cleaning the Exterior Surface
Wipe the exterior stainless steel surface with a soft cloth and a non-abrasive cleaner designed for stainless steel. Avoid harsh chemicals or abrasive pads that could scratch the finish.
7 การแก้ไขปัญหา
หากคุณพบปัญหาเกี่ยวกับเครื่องดูดควัน โปรดดูปัญหาทั่วไปและวิธีแก้ไขต่อไปนี้:
| ปัญหา | สาเหตุที่เป็นไปได้ | สารละลาย |
|---|---|---|
| เครื่องดูดควันไม่ทำงาน | No power supply; Circuit breaker tripped; Power cord not plugged in. | Check power connection; Reset circuit breaker; Ensure plug is fully inserted. |
| กำลังดูดต่ำ | Grease filters are dirty; Ducting is obstructed or too long; Incorrect fan speed. | Clean filters; Check ducting for obstructions; Select a higher fan speed. |
| เสียงดังเกินไป | Loose parts; Obstruction in fan; Improper installation. | Check for loose screws or components; Remove any obstructions; Verify proper installation. |
| ไฟไม่ทำงาน | หลอดไฟเสีย; ปัญหาการเชื่อมต่อทางไฟฟ้า | Replace LED bulb (GU10 LED); Check wiring connections. |
| Gesture control unresponsive | Sensor obstructed or dirty; Incorrect gesture. | Clean sensor area; Ensure proper hand motion as described in manual. |
8. ข้อมูลจำเพาะผลิตภัณฑ์
| คุณสมบัติ | ข้อมูลจำเพาะ |
|---|---|
| หมายเลขรุ่น | VK-RB12-30 |
| ความจุการไหลของอากาศ | 980 ลูกบาศก์ฟุตต่อนาที (CFM) |
| วัสดุ | สแตนเลส |
| ระดับเสียง | 35 dBA (low speed) to under 65 dBA (high speed) |
| ประเภทการติดตั้ง | การติดตั้งแบบเสียบ |
| ประเภทการควบคุม | Gesture & Touch |
| เล่มที่tage | 110 โวลต์ |
| จำนวนความเร็ว | 3 |
| น้ำหนักสินค้า | 25.4 ปอนด์ |
| ประเภทแหล่งกำเนิดแสง | หลอด LED (GU10) |
| ประเภทตัวกรอง | Baffle (Dishwasher-Safe Stainless Steel) |
| ประเภทการระบายอากาศ | แบบมีท่อลม/ไม่มีท่อลม (ปรับเปลี่ยนได้) |
| ขนาดสินค้า (ลึก x กว้าง x สูง) | 11.75" x 27.7" x 13.63" |
9. การรับประกันและการสนับสนุนลูกค้า
VIKIO HOME is committed to providing high-quality products and excellent customer service. Your range hood insert comes with a hassle-free purchase guarantee, including free replacements for accessories like filters and lights whenever needed.
For any questions, concerns, or technical assistance, please do not hesitate to contact our professional and friendly customer service team. Refer to your purchase documentation for specific contact details or visit the official VIKIO HOME webเว็บไซต์.
Ask a question about this manual
Ask about setup, troubleshooting, compatibility, parts, safety, or missing instructions. Manuals+ will review the question and use this page’s manual context to help answer it.