1. บทนำ
Thank you for choosing the LiebeWH ZT-300AB Wireless Digital Multimeter. This device is a high-precision, 6000-count True RMS multimeter designed for a wide range of electrical measurements. It features wireless connectivity, allowing real-time data recording, analysis, and processing via a mobile application. This manual provides essential information for the safe and effective use of your multimeter.
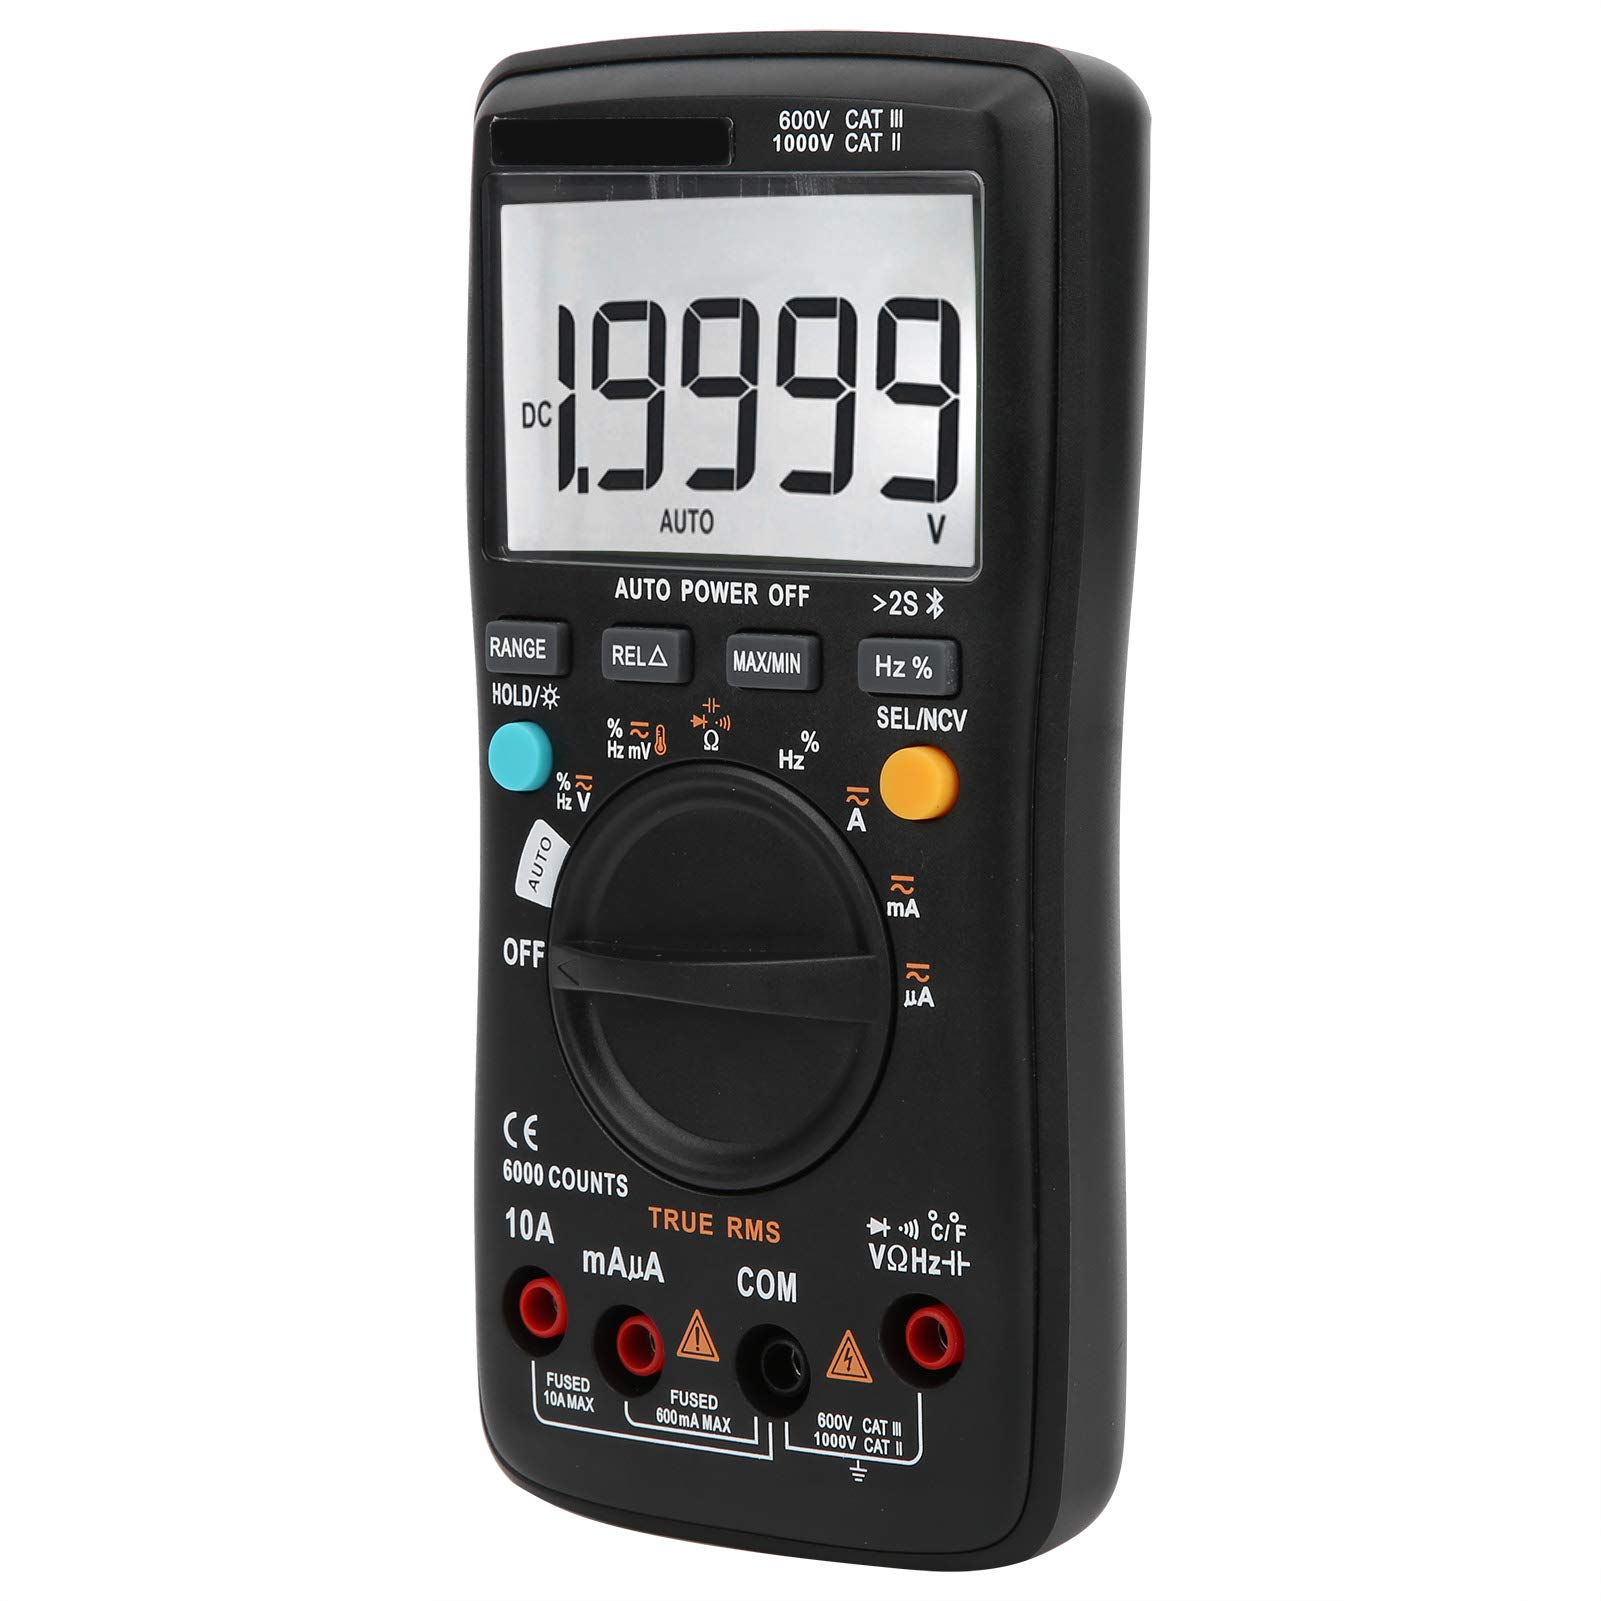
ภาพที่ 1.1: ด้านหน้า view of the LiebeWH ZT-300AB Wireless Digital Multimeter, showing the large LCD display and function dial.
2. ข้อมูลด้านความปลอดภัย
เพื่อให้การทำงานและการบริการของมิเตอร์เป็นไปอย่างปลอดภัย ให้ปฏิบัติตามคำแนะนำเหล่านี้ การไม่ปฏิบัติตามคำเตือนเหล่านี้อาจส่งผลให้ได้รับบาดเจ็บสาหัสหรือเสียชีวิตได้
- ควรตัดการเชื่อมต่อสายทดสอบออกจากวงจรทุกครั้งก่อนเปลี่ยนฟังก์ชันการทำงาน
- ห้ามใช้เกินปริมาณที่กำหนดtage ตามเครื่องหมายบนมิเตอร์ ระหว่างขั้วหรือระหว่างขั้วใดๆ กับกราวด์
- ใช้ความระมัดระวังเมื่อทำงานกับ voltages สูงกว่า 30V AC RMS, 42V peak หรือ 60V DC ปริมาตรดังกล่าวtagอาจทำให้เกิดอันตรายจากการช็อตได้
- ควรใช้ขั้วต่อ ฟังก์ชัน และช่วงการวัดที่ถูกต้องเสมอ
- อย่าใช้มิเตอร์หากพบว่ามีความเสียหายหรือหากตัวเครื่องเปิดอยู่
- ควรเปลี่ยนแบตเตอรี่ทันทีที่ไฟแสดงสถานะแบตเตอรี่ต่ำปรากฏขึ้น เพื่อหลีกเลี่ยงการอ่านค่าที่ไม่ถูกต้อง
- ห้ามใช้งานมิเตอร์ในบริเวณที่มีก๊าซ ไอระเหย หรือฝุ่นละอองที่อาจก่อให้เกิดการระเบิดได้
- Ensure test leads are in good condition, with no damaged insulation.
3. การตั้งค่า
3.1 เนื้อหาบรรจุภัณฑ์
ตรวจสอบว่าแพ็คเกจของคุณมีรายการต่อไปนี้:
- LiebeWH ZT-300AB Digital Multimeter
- สายทดสอบ (สีแดงและสีดำ)
- หัววัดอุณหภูมิ
- คู่มือการใช้งาน

Image 3.1: The multimeter shown with its included test leads and temperature probe.
3.2 การติดตั้งแบตเตอรี่
มัลติมิเตอร์ต้องใช้แบตเตอรี่ในการทำงาน วิธีการติดตั้งหรือเปลี่ยนแบตเตอรี่:
- ตรวจสอบให้แน่ใจว่ามัลติมิเตอร์ปิดอยู่ และถอดสายวัดทั้งหมดออก
- ค้นหาฝาครอบช่องใส่แบตเตอรี่ที่ด้านหลังของเครื่อง
- ใช้ไขควงเปิดช่องใส่แบตเตอรี่
- ใส่แบตเตอรี่ใหม่ โดยสังเกตขั้วให้ถูกต้อง (+ และ -)
- ใส่ฝาปิดช่องใส่แบตเตอรี่และขันให้แน่นด้วยสกรู
3.3 การเชื่อมต่อสายทดสอบ
เชื่อมต่อสายวัดทดสอบเข้ากับช่องเสียบที่เหมาะสมบนมัลติมิเตอร์:
- เชื่อมต่อ สีดำ การทดสอบนำไปสู่ คอม (แจ็ค) ทั่วไป
- เชื่อมต่อ สีแดง การทดสอบนำไปสู่ VΩเฮิร์ตซ์ แจ็คสำหรับปริมาตรtagการวัดค่าต่างๆ ได้แก่ ความต้านทาน ความถี่ ความจุ ไดโอด และความต่อเนื่อง
- สำหรับการวัดกระแสไฟฟ้า (mA/µA) ให้เชื่อมต่อ สีแดง การทดสอบนำไปสู่ มิลลิแอมป์ แจ็ค.
- สำหรับการวัดกระแสไฟฟ้าสูง (สูงสุด 10A) ให้เชื่อมต่อ... สีแดง การทดสอบนำไปสู่ 10เอ แจ็ค.
3.4 Wireless Function and Mobile App
The ZT-300AB can connect to your smartphone via its wireless function for real-time data monitoring and analysis.
- Download the dedicated mobile application from your device's app store. (App name not specified, refer to product packaging or manufacturer's webเว็บไซต์).
- Enable wireless on your smartphone and the multimeter.
- Open the app and follow the on-screen instructions to pair your multimeter.
- The app allows real-time data display, recording, and curve graphing. It can connect to and monitor up to four wireless multimeters simultaneously.

Image 3.2: The multimeter displaying a reading, with a smartphone screen showing the companion application for data monitoring.
4. คู่มือการใช้งาน
4.1 เปิด/ปิดเครื่อง
Turn the rotary dial from the OFF position to any measurement function to power on the multimeter. To power off, turn the dial back to the OFF position. The multimeter also features an automatic power-off function to conserve battery life.
4.2 การเลือกฟังก์ชัน
หมุนแป้นหมุนตรงกลางเพื่อเลือกฟังก์ชันการวัดที่ต้องการ (เช่น V~ สำหรับ AC Vol)tage, V- สำหรับ DC Voltage, Ω for Resistance, A~ for AC Current, A- for DC Current, Temp for Temperature, etc.).
4.3 ฟังก์ชันปุ่ม
- พิสัย: Switches between automatic and manual ranging. In manual range, press repeatedly to cycle through available ranges.
- HOLD/☀: Press once to hold the current reading on the display. Press again to release. Long press to activate/deactivate the backlight.
- REL△: Relative measurement mode. Displays the difference between the current reading and a stored reference value.
- สูงสุด/นาที: Records and displays the maximum and minimum values measured during a session.
- เฮิรตซ์%: สำหรับการวัดความถี่และรอบการทำงาน
- SEL/NCV: Selects between different sub-functions within a dial position (e.g., AC/DC, Diode/Continuity). Long press to activate Non-Contact Voltagการตรวจจับ e (NCV)
4.4 การดำเนินการวัดผล
Always ensure the test leads are connected to the correct jacks and the function dial is set to the appropriate measurement type before connecting to a circuit.
- เล่มที่tagการวัด (AC/DC): Select V~ for AC or V- for DC. Connect test leads in parallel with the circuit or component.
- การวัดกระแสไฟฟ้า (AC/DC): Select A~ for AC or A- for DC. Connect test leads in series with the circuit. Ensure the correct current jack (mAµA or 10A) is used.
- การวัดค่าความต้านทาน (โอห์ม): Select Ω. Connect test leads across the component when it is de-energized.
- การวัดความจุ: Select the capacitance function. Connect test leads across the capacitor when it is de-energized.
- การทดสอบไดโอด: เลือกฟังก์ชันไดโอด ต่อสายวัดทดสอบคร่อมไดโอด
- การทดสอบความต่อเนื่อง: Select the continuity function. Connect test leads across the circuit. A beep indicates continuity.
- ความถี่ (เฮิร์ตซ์) / รอบการทำงาน (%): Select the Hz% function. Connect test leads to the signal source.
- การวัดอุณหภูมิ: Connect the temperature probe to the appropriate jacks (usually VΩHz and COM). Select the temperature function.
- แบบไม่สัมผัส Voltagอี (NCV): Long press the SEL/NCV button. Bring the top of the multimeter near an AC voltagแหล่งกำเนิดไฟฟ้า มิเตอร์จะแสดงการมีอยู่ของแรงดันไฟฟ้าtagอีโดยไม่ต้องมีการสัมผัสโดยตรง

Image 4.1: The multimeter in use, positioned on its integrated kickstand for convenient viewขณะทำการวัด
5. การบำรุงรักษา
5.1 การทำความสะอาด
เช็ดเคสด้วยโฆษณาamp ใช้ผ้าและผงซักฟอกอ่อนๆ เช็ดทำความสะอาด ห้ามใช้สารขัดถูหรือตัวทำละลาย รักษาขั้วต่อให้ปราศจากสิ่งสกปรกและความชื้น
5.2 การเปลี่ยนแบตเตอรี่
โปรดดูคำแนะนำในการเปลี่ยนแบตเตอรี่ในหัวข้อ 3.2 เปลี่ยนแบตเตอรี่ทันทีเมื่อไฟแสดงสถานะแบตเตอรี่ต่ำปรากฏขึ้นบนหน้าจอแสดงผล
5.3 การเปลี่ยนฟิวส์
If the current measurement functions stop working, the fuse may need replacement. Fuses are located inside the multimeter. Fuse specifications are typically printed near the current input jacks (e.g., FUSED 10A MAX, FUSED 600mA MAX). To replace a fuse:
- ตรวจสอบให้แน่ใจว่ามัลติมิเตอร์ปิดอยู่ และถอดสายวัดทั้งหมดออก
- Open the back case of the multimeter (this may require removing screws).
- Carefully locate and remove the blown fuse.
- Replace it with a fuse of the exact same type and rating. Using an incorrect fuse can damage the meter or pose a safety hazard.
- Reassemble the multimeter, ensuring all screws are securely fastened.
6 การแก้ไขปัญหา
- ไม่มีจอแสดงผลหรือจอแสดงผลจางๆ: ตรวจสอบการติดตั้งแบตเตอรี่และระดับประจุ เปลี่ยนแบตเตอรี่หากจำเป็น
- การอ่านค่าที่ไม่ถูกต้อง: Ensure test leads are properly connected to the correct jacks. Verify the function dial is set to the appropriate measurement type and range. Check for damaged test leads.
- การวัดกระแสไฟฟ้าไม่ทำงาน: Check the fuse (refer to Section 5.3). Ensure the red test lead is connected to the correct current input jack (mAµA or 10A).
- ปัญหาการเชื่อมต่อไร้สาย: Ensure wireless is enabled on both the multimeter and your smartphone. Restart both devices and try pairing again. Check the mobile app for troubleshooting tips.
- มิเตอร์ไม่ตอบสนอง: Turn the meter off and then on again. If the issue persists, remove batteries for a few minutes and then reinsert them.
7. ข้อมูลจำเพาะ
| คุณสมบัติ | ข้อมูลจำเพาะ |
|---|---|
| แสดง | 6000 นับ |
| การกำหนดช่วง | อัตโนมัติ/แมนนวล |
| Sampลิงอัตรา | 3 วินาที/ครั้ง |
| ค่า RMS ที่แท้จริง | รองรับ |
| การเก็บข้อมูล | รองรับ |
| แสงไฟแบ็คไลท์ | รองรับ |
| การบ่งชี้แบตเตอรี่ต่ำ | รองรับ |
| ปิดเครื่องอัตโนมัติ | รองรับ |
| DC ฉบับที่tagอี (วี) | 6 โวลต์ 60 โวลต์ 600 โวลต์ 1000 โวลต์ |
| DC ฉบับที่tagอี (เอ็มวี) | 60mV |
| ขนาด | 20 x 12 x 5 ซม. (7.9 x 4.7 x 2 นิ้ว) |
| น้ำหนัก | 374 กรัม (0.82 ปอนด์) |
| ผู้ผลิต | ลีบีWH |
| หมายเลขรุ่นผลิตภัณฑ์ | LiebeWHso0iq29gfn |

Image 7.1: Dimensions of the LiebeWH ZT-300AB Multimeter, showing its compact size.
8. การรับประกันและการสนับสนุน
For warranty information and technical support, please refer to the documentation included with your purchase or contact the manufacturer directly. Contact details can typically be found on the product packaging or the official LiebeWH webเว็บไซต์.