
วค.367
WKR Coin Microscope Model 367 Instruction Manual
Comprehensive guide for setup, operation, and maintenance of your WKR Digital Microscope.
1. บทนำ
Thank you for choosing the WKR Coin Microscope Model 367. This digital microscope is designed to provide clear, magnified views of various objects, from coins and jewelry to plants and electronic components. Featuring a 4.3-inch LCD display, up to 1000X magnification, and 8 adjustable LED lights, it offers an enhanced viewing experience. This manual will guide you through the assembly, operation, and maintenance of your new microscope.
2. อะไรอยู่ในกล่อง
กรุณาตรวจสอบเนื้อหาในแพ็คเกจของคุณเพื่อให้แน่ใจว่ามีสินค้าครบทั้งหมด:
- Digital Microscope Unit
- ฐานตั้งปรับระดับได้
- Adjustable Stand Rod
- Microscope Holder
- สายชาร์จ USB
- คู่มือการใช้งาน

3. การตั้งค่า
Follow these steps to assemble your WKR Coin Microscope:
- Attach the Stand Rod to the Base: Insert the metal stand rod into the designated hole on the base. Ensure it is securely seated.
- Install the Microscope Holder: Slide the microscope holder onto the stand rod from the bottom. Align the groove on the rod with the internal mechanism of the holder. Tighten the knob on the holder to secure it at your desired height.
- Mount the Digital Microscope Unit: Gently slide the digital microscope unit into the ring of the microscope holder. Ensure the lens is facing downwards towards the base. Tighten the small knob on the holder to firmly secure the microscope unit.
- Remove Screen Protector: Carefully peel off the protective film from the 4.3-inch LCD screen.
- ค่าใช้จ่ายเริ่มต้น: Before first use, fully charge the device using the provided USB charging cable. Connect the USB-C end to the microscope and the USB-A end to a compatible power adapter (not included) or computer.

หากต้องการดูขั้นตอนการประกอบอย่างละเอียด โปรดดูวิดีโอด้านล่าง:
Video 1: Demonstrates the step-by-step installation of the WKR digital microscope, including attaching the stand and mounting the unit.
4. คู่มือการใช้งาน
Operating your WKR Coin Microscope is straightforward:
- เปิด/ปิดเครื่อง: Press and hold the Power button (usually the leftmost button on the front panel) to turn the device on or off.
- Place Object: Position the object you wish to examine on the base plate directly under the microscope lens.
- ปรับความสูง: Use the large knob on the microscope holder to adjust the vertical height of the microscope unit. This changes the distance between the lens and the object, affecting the magnification range.
- จุดสนใจ: Rotate the focusing ring on the microscope lens to achieve a clear, sharp image on the LCD screen. The microscope offers 50X-1000X magnification.
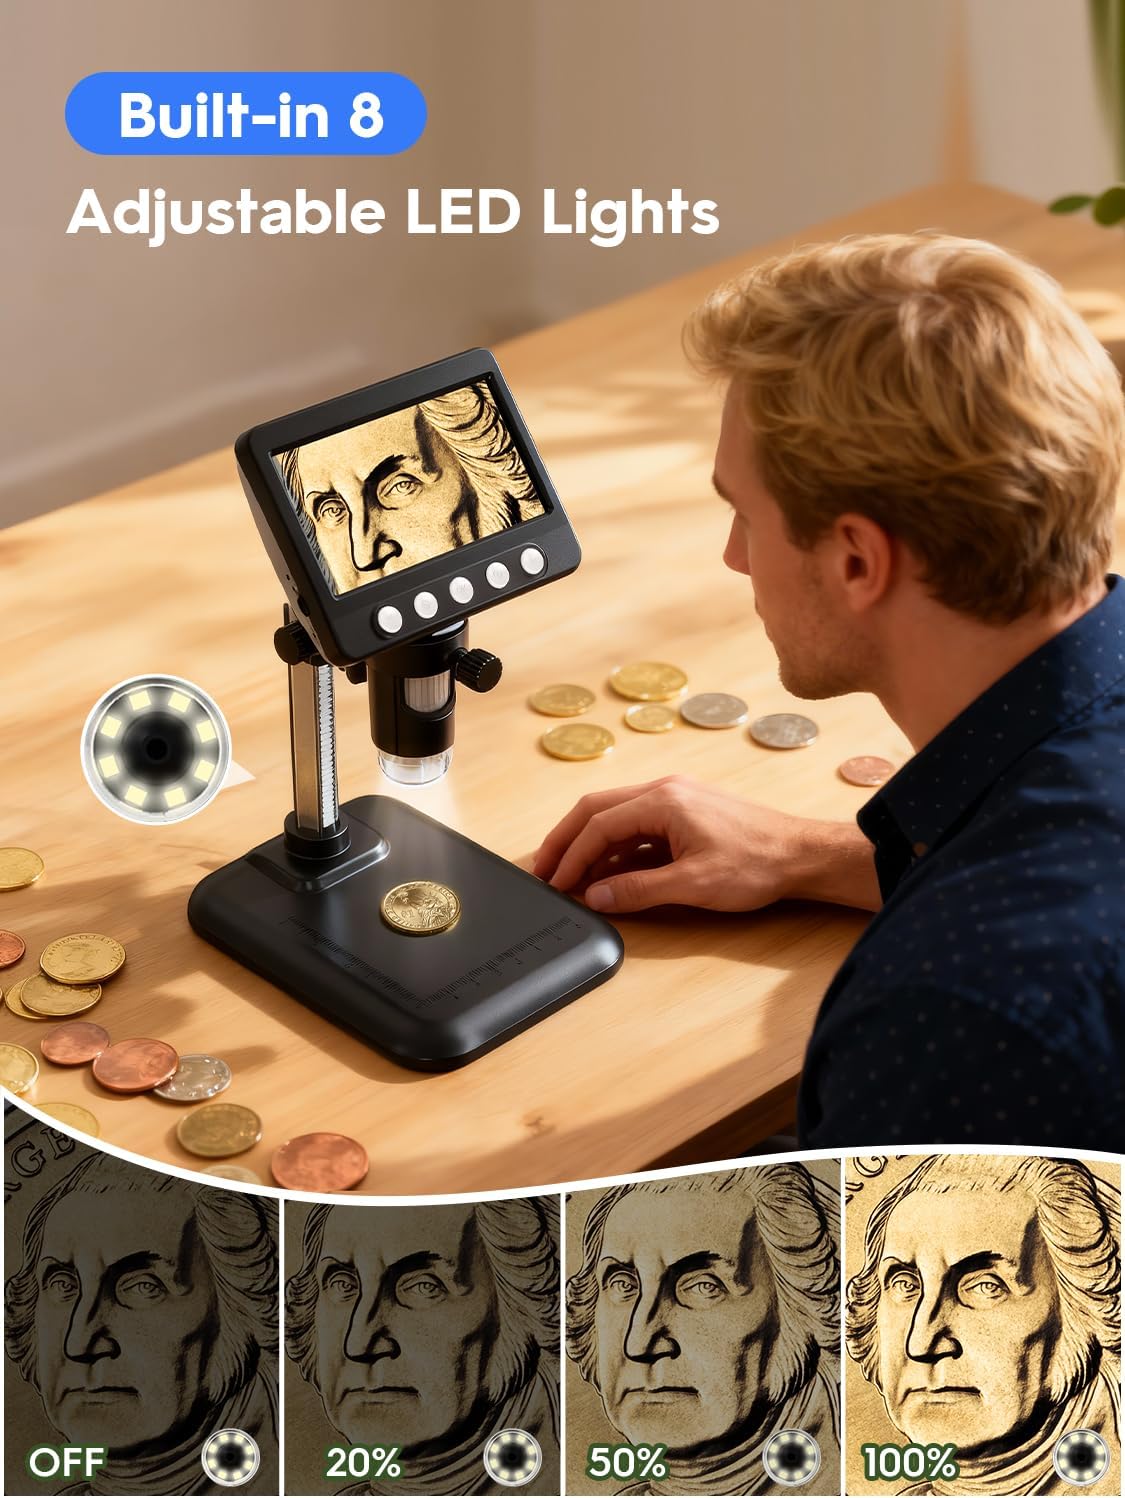
- ปรับไฟ LED: The microscope features 8 adjustable LED lights. Use the light adjustment knob (typically on the side of the microscope unit) to control the brightness for optimal illumination.
- ถ่ายภาพ/วิดีโอ:
- Press the "Photo/Video" button (usually the rightmost button) to switch between photo and video modes.
- In photo mode, press the "OK" button to capture an image.
- In video mode, press the "OK" button to start/stop recording.
- The device supports up to 200 photos storage and memory card expansion (card not included).
- Zoom/Rotate: Use the dedicated zoom buttons (often labeled with '+' and '-') to digitally zoom in or out. Some models also allow image rotation.


5. PC/Mac Connection
ถึง view magnified images on a larger screen or save them directly to your computer, follow these steps:
- เชื่อมต่อกล้องจุลทรรศน์: Use the provided USB cable to connect the microscope to your Windows PC or MacBook.
- เลือกโหมดกล้อง PC: On the microscope unit, navigate to the settings menu and select "PC camera" mode. Confirm your selection.
- Download Software (Windows): For Windows users, you may need to download a compatible camera software. Visit http://www.inskam.com/download/camera.zip to download the necessary application. Unzip the file and run "camera.exe".
- Use Photo Booth (MacBook): For MacBook users, open the "Photo Booth" application. The microscope feed should appear automatically.
- View และบันทึกภาพ: เมื่อเชื่อมต่อแล้ว คุณสามารถ view the live feed on your computer screen, capture photos, and record videos directly from the software.

Watch this video for a detailed guide on connecting your WKR Microscope to a computer:
Video 2: Tutorial on how to connect the WKR Microscope to both Windows and MacOS computers.
6. การบำรุงรักษา
- การทำความสะอาดเลนส์: Use a soft, lint-free cloth or a specialized lens cleaning wipe to gently clean the microscope lens. Avoid abrasive materials or harsh chemicals.
- การทำความสะอาดหน้าจอ: Wipe the LCD screen with a soft, dry cloth. Do not use liquid cleaners directly on the screen.
- พื้นที่จัดเก็บ: When not in use, store the microscope in a dry, dust-free environment. Keep it away from direct sunlight and extreme temperatures.
- การดูแลแบตเตอรี่ To prolong battery life, avoid fully discharging the battery frequently. Charge the device regularly, especially if it will not be used for an extended period.
7 การแก้ไขปัญหา
- ไม่มีภาพบนหน้าจอ:
- ตรวจสอบให้แน่ใจว่าอุปกรณ์เปิดอยู่
- ตรวจสอบว่าแบตเตอรี่ชาร์จอยู่หรือไม่
- ปรับวงแหวนปรับโฟกัส
- Ensure the object is correctly positioned under the lens.
- ภาพเบลอ:
- Rotate the focusing ring on the lens until the image is sharp.
- Adjust the height of the microscope unit using the stand knob.
- ตรวจสอบให้แน่ใจว่าเลนส์สะอาดและไม่มีฝุ่นหรือรอยเปื้อน
- Difficulty Connecting to PC/Mac:
- Verify the USB cable is securely connected to both the microscope and the computer.
- Ensure "PC camera" mode is selected on the microscope unit.
- For Windows, confirm the camera software is correctly installed and running.
- For Mac, ensure "Photo Booth" or a similar camera application is open.
8. ข้อมูลจำเพาะ
| ชื่อรุ่น | 367 |
| ยี่ห้อ | WKR |
| แสดง | จอ LCD ขนาด 4.3 นิ้ว |
| การขยายภาพ | 50X-1000X |
| ปณิธาน | ความคมชัดระดับ 1080P |
| แหล่งกำเนิดแสง | ไฟ LED ปรับได้ 8 ดวง |
| แบตเตอรี่ | แบตเตอรี่ลิเธียมไอออน 1 ก้อน (รวมอยู่ด้วย) |
| เวลาทำงาน | ประมาณ 3.5 ชั่วโมง |
| อุปกรณ์ที่รองรับ | Windows PC, MacBook |
| ขนาดสินค้า | 6.8 x 5.1 x 3.6 นิ้ว |
| น้ำหนักสินค้า | 1 ปอนด์ |
| วัสดุ | พลาสติก |
9. การรับประกันและการสนับสนุน
WKR products are designed for quality and reliability. For warranty information, product registration, or technical support, please refer to the contact details provided in your product packaging or visit the official WKR webโปรดเก็บใบเสร็จรับเงินไว้เพื่อใช้ในการเคลมประกันสินค้า
Ask a question about this manual
Ask about setup, troubleshooting, compatibility, parts, safety, or missing instructions. Manuals+ will review the question and use this page’s manual context to help answer it.