
Ashfly 366C
Ashfly LCD Digital Coin Microscope User Manual
Model: 366C | Brand: Ashfly
การแนะนำ
The Ashfly LCD Digital Coin Microscope is a versatile and powerful tool designed for detailed observation and analysis. Featuring a 4.3-inch IPS screen and up to 1000x magnification, it allows users to explore the microscopic world with clarity. It is ideal for inspecting coins, circuit boards, textiles, plants, and jewelry, and can also be connected to a PC for real-time viewing and recording. Its portable design and adjustable LED lighting make it suitable for various applications, from educational purposes to professional inspections.
มีอะไรอยู่ในกล่อง
- Microscope Device (with 4.3-inch LCD screen)
- Adjustable Stand (Base, Pole, Bracket)
- สายชาร์จ USB-C
- คู่มือการใช้งาน
การตั้งค่า
Follow these steps to assemble your Ashfly Digital Microscope:
- ติดเสาเข้ากับฐาน: Insert the metal pole into the designated slot on the plastic base. Ensure it is firmly seated.
- ติดวงเล็บ: Slide the adjustable bracket onto the metal pole. This bracket will hold the microscope unit.
- ติดตั้งชุดกล้องจุลทรรศน์: Secure the microscope unit to the bracket. Use the tightening knobs on the bracket to firmly hold the microscope in place.
- ถอดฟิล์มป้องกันออก: Gently peel off the protective plastic film from the LCD screen.

Figure 1: Fully assembled Ashfly Digital Microscope.

Figure 2: Step-by-step assembly guide for the microscope.
คู่มือวิดีโอการตั้งค่า
Video: Easy to install motherboard repair magnifier. This video demonstrates the assembly process and initial setup of the microscope, including attaching the unit to the stand and adjusting its position.
คำแนะนำการใช้งาน
การทำงานพื้นฐาน
- เปิด/ปิดเครื่อง: Press and hold the power button (usually marked with a circle and vertical line) to turn the device on or off.
- ปรับการขยาย: Use the zoom in/out buttons (often marked with '+' and '-' or arrows) on the unit to adjust the digital magnification. The optical magnification is fixed at 1000x.
- การปรับโฟกัส: Rotate the focus knob located on the microscope body to achieve a clear image of your specimen. Adjust the height of the microscope on the stand for coarse focus, then use the knob for fine-tuning.
- ไฟ LED: The microscope features 8 adjustable LED lights. Use the dedicated control (often a dial or button) to adjust the brightness for optimal illumination of your subject.

Figure 3: Adjusting the 8 LED lights for optimal viewการไอเอ็นจี

Figure 4: Stepless adjustment of the 8 high-brightness LED ring lights.
การเชื่อมต่อพีซี
ถึง view the microscope's feed on your computer:
- Connect the microscope to your PC using the provided USB-C cable.
- On the microscope's screen, select "PC Camera" mode when prompted.
- On your computer, open a camera application (e.g., Windows Camera app or a third-party software like Inskam Camera). The microscope feed should appear.
- You can capture photos and record videos directly from your computer's software.

Figure 5: Real-time zoomed-in view on a PC via USB-C connection.

Figure 6: Microscope connected to a PC, displaying a coin for detailed inspection.
การถ่ายภาพและวิดีโอ
- The microscope has built-in storage for approximately 100 photos.
- To capture a photo, press the "OK" or "Photo/Video" button on the unit.
- To record video, press the "Photo/Video" button again to switch to video mode, then press "OK" to start/stop recording.
- For extended storage, insert a TF Card (up to 64GB, Class 10 recommended) into the designated slot.
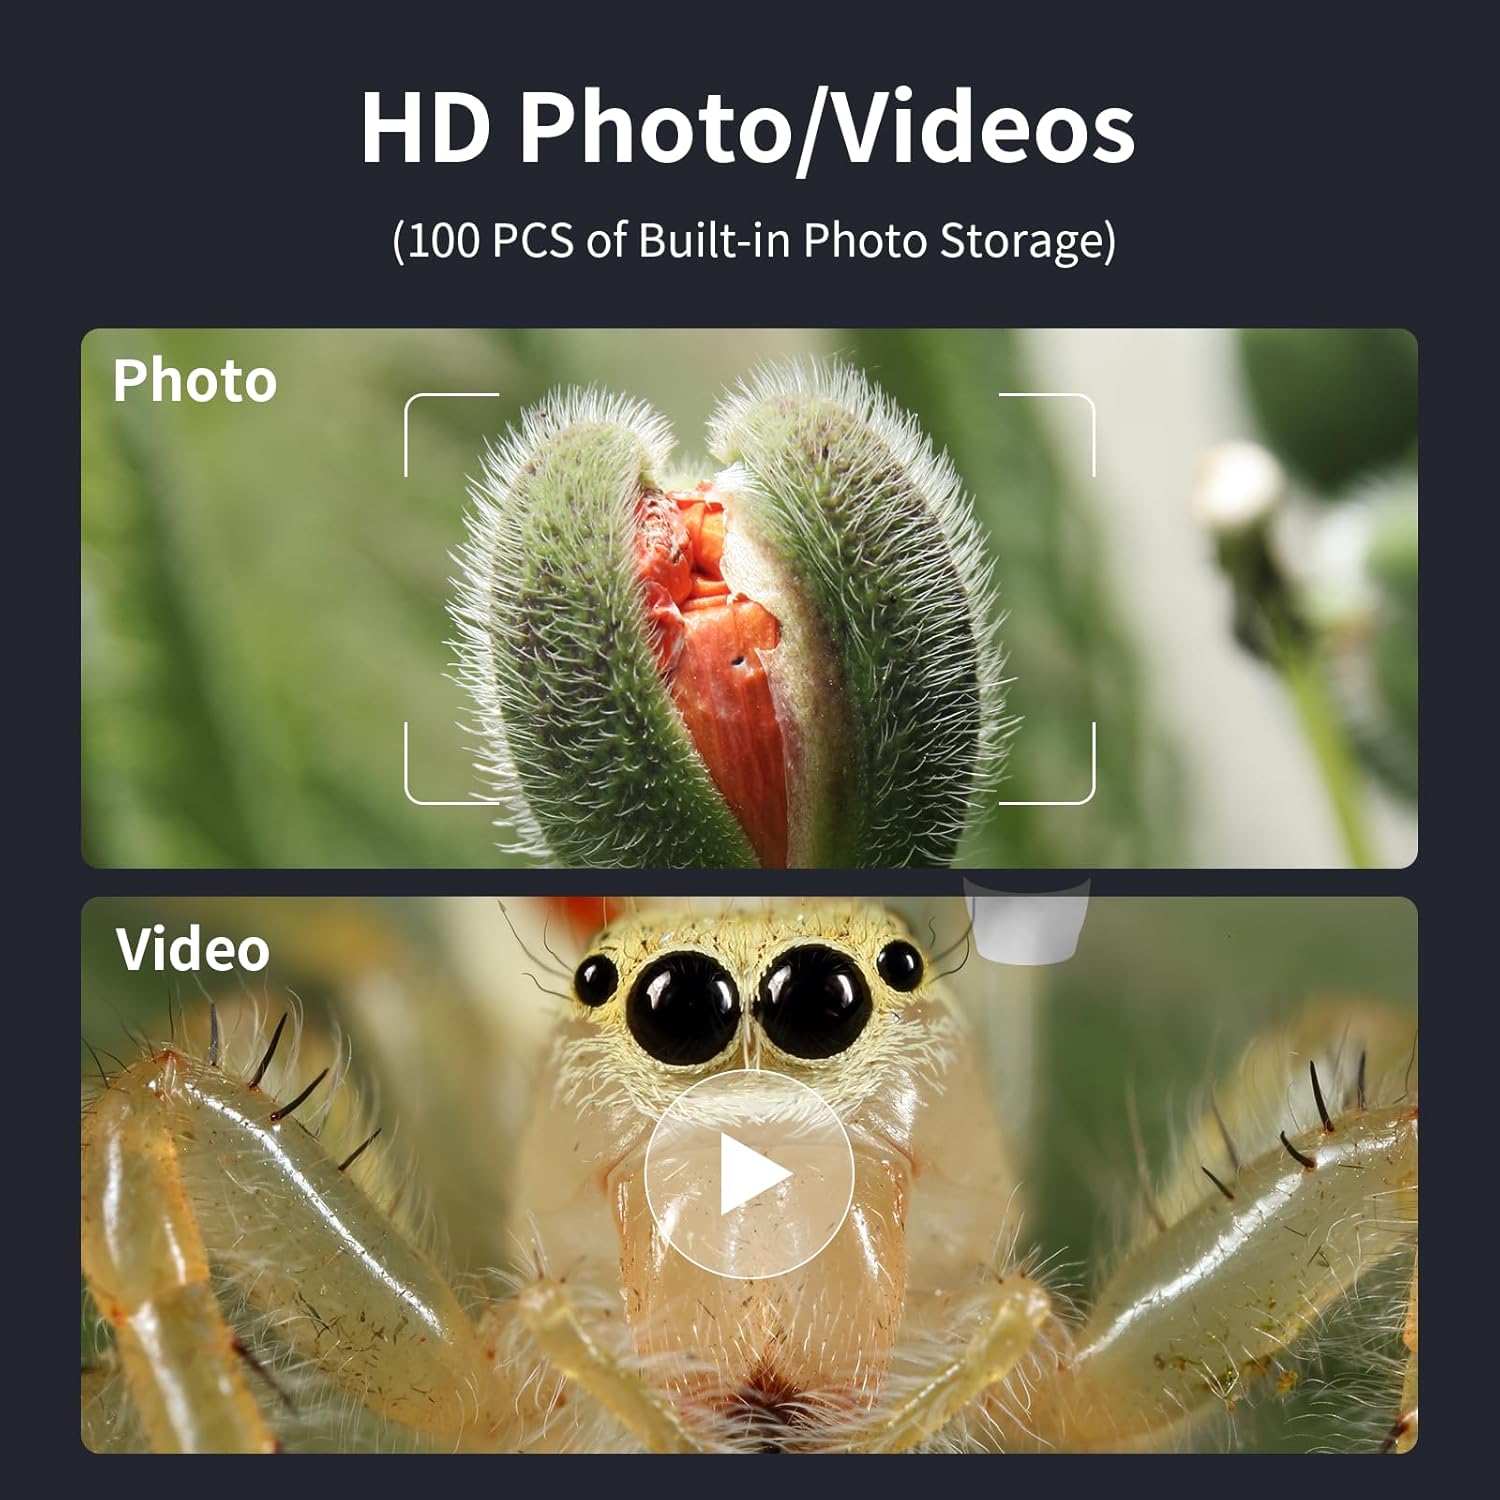
Figure 7: Options for capturing high-definition photos and videos.
การซ่อมบำรุง
- Keep the microscope lens clean using a soft, lint-free cloth. Avoid abrasive materials.
- เก็บอุปกรณ์ไว้ในสภาพแวดล้อมที่แห้งและปราศจากฝุ่นเมื่อไม่ได้ใช้งาน
- Charge the internal battery using a 5V-1A charger. Do not charge via PC to prevent potential damage.
- หลีกเลี่ยงการให้อุปกรณ์สัมผัสกับอุณหภูมิที่ร้อนจัดหรือโดนแสงแดดโดยตรง
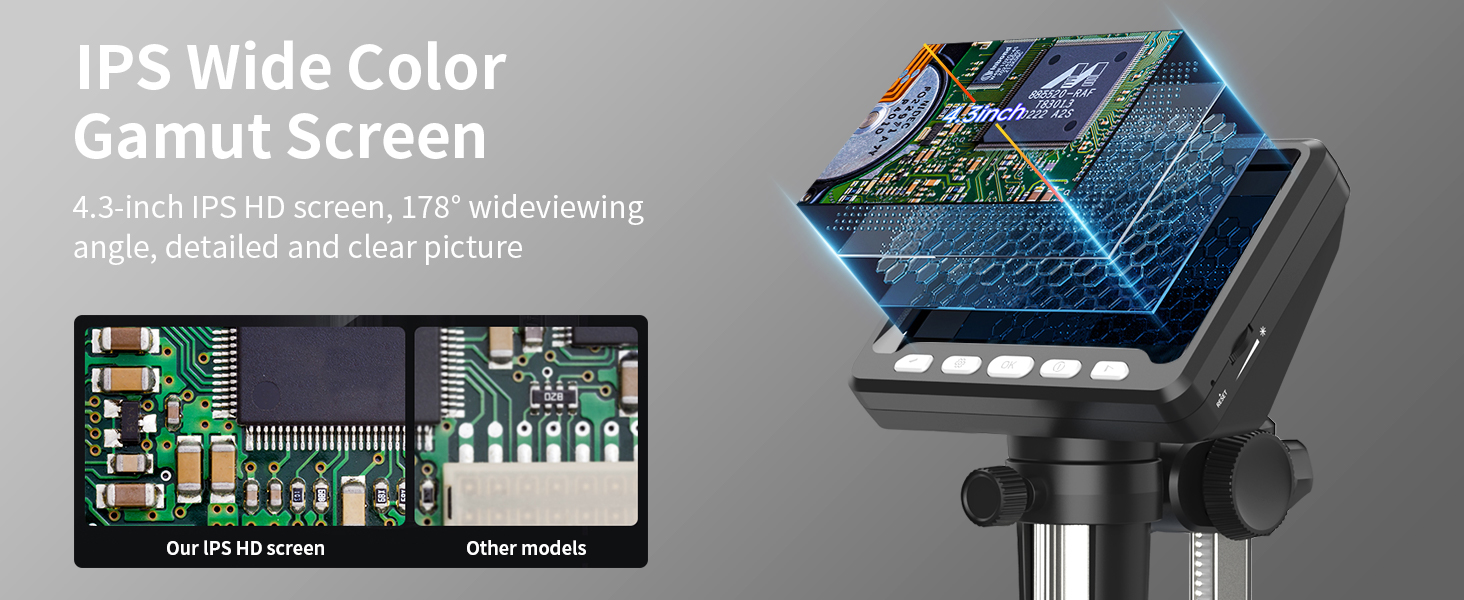
Figure 8: Charging the microscope for optimal battery life.
การแก้ไขปัญหา
- ไม่มีภาพบนหน้าจอ: Ensure the device is powered on and fully charged. Check if the lens cap is removed.
- ภาพเบลอ: Adjust the focus knob and the height of the microscope on the stand. Ensure adequate lighting from the LED lights.
- ปัญหาการเชื่อมต่อพีซี: Verify the USB-C cable is securely connected. Ensure "PC Camera" mode is selected on the microscope. Try restarting the camera application on your computer.
- อายุการใช้งานแบตเตอรี่สั้น: Ensure the device is fully charged before use. Reduce LED brightness if not needed.
ข้อมูลจำเพาะ
| คุณสมบัติ | รายละเอียด |
|---|---|
| หมายเลขรุ่น | 366 องศาเซลเซียส |
| ขนาดหน้าจอ | 4.3 Inch IPS HD Screen |
| การขยายภาพ | สูงถึง 1000x |
| ปณิธาน | 1080P (for display) |
| แหล่งกำเนิดแสง | ไฟ LED ปรับได้ 8 ดวง |
| ประเภทแบตเตอรี่ | ลิเธียมไอออน (รวมอยู่ด้วย) |
| เวลาดำเนินการ | นานถึง 3.5 ชั่วโมง |
| เวลาในการชาร์จ | ประมาณ 3.0 ชั่วโมง |
| ความเข้ากันได้ของพีซี | MacOS, Windows (Vista, XP, 7, 8, 10, 11) |
| ขนาดสินค้า | 5 x 5 x 5 นิ้ว |
| น้ำหนักสินค้า | 1.01 ปอนด์ |
| วัสดุ | พลาสติก |
| สี | สีดำ |
ข้อมูลด้านความปลอดภัย
- Do not look directly into the LED lights for extended periods.
- เก็บอุปกรณ์ให้ห่างจากน้ำและของเหลวอื่นๆ
- อย่าพยายามถอดประกอบหรือซ่อมแซมอุปกรณ์ด้วยตนเอง ติดต่อฝ่ายสนับสนุนลูกค้าเพื่อขอความช่วยเหลือ
- เก็บให้พ้นมือเด็กเล็กที่ไม่มีผู้ใหญ่ดูแล
การรับประกันและการสนับสนุน
For warranty information, technical support, or any inquiries regarding your Ashfly LCD Digital Coin Microscope, please refer to the contact details provided on the product packaging or visit the official Ashfly webไซต์ โปรดเก็บหลักฐานการซื้อไว้เพื่อใช้ในการเรียกร้องการรับประกัน
Ask a question about this manual
Ask about setup, troubleshooting, compatibility, parts, safety, or missing instructions. Manuals+ will review the question and use this page’s manual context to help answer it.