
1. ข้อมูลด้านความปลอดภัย
Please read all instructions carefully before installation and operation. Failure to follow these instructions may result in damage to the product, vehicle, or personal injury. Keep this manual for future reference.
- Ensure the vehicle's ignition is off and the negative battery terminal is disconnected before installation to prevent electrical shorts.
- ปรึกษาผู้เชี่ยวชาญเกี่ยวกับการติดตั้งหากคุณไม่แน่ใจเกี่ยวกับขั้นตอนใดๆ
- อย่าใช้งานอุปกรณ์ในลักษณะที่รบกวนสมาธิในการขับขี่ ให้ความสำคัญกับความปลอดภัยบนท้องถนนเสมอ
- ควรหลีกเลี่ยงการวางเครื่องไว้ในที่ที่มีอุณหภูมิสูงหรือต่ำเกินไป แสงแดดโดยตรง หรือความชื้น
- ใช้เฉพาะสายไฟและอุปกรณ์เสริมที่ระบุไว้เท่านั้น
2. เนื้อหาบรรจุภัณฑ์
ตรวจสอบว่ามีรายการทั้งหมดอยู่ในบรรจุภัณฑ์ก่อนดำเนินการติดตั้ง

Image: Components included in the UNITOPSCI A3612A3 package, including the main unit, wiring harnesses, and accessories.
- UNITOPSCI A3612A3 Car Stereo Unit
- Power Cable & Speaker Cable Harnesses
- รีโมทควบคุมพวงมาลัย
- ไมโครโฟน
- กล้องหลัง 12LED
- เสาอากาศ
- คู่มือการใช้งาน (เอกสารนี้)
- ขายึด
3. การติดตั้ง
Proper installation is crucial for optimal performance. Refer to the wiring diagram and consult a professional if needed.
3.1 แผนผังการเดินสายไฟ

Image: Detailed wiring connections for the car stereo unit.
Connect the power and speaker cables according to the diagram. Ensure all connections are secure to prevent malfunctions.
- สีแดง (ACC): Connect to ignition switch +12V.
- Yellow (BATTERY+): Connect to constant +12V.
- สีดำ (GND): Connect to vehicle ground.
- สีน้ำเงิน (ANT): Connect to antenna power.
- Orange (ILLUMINATION): ต่อเข้ากับสายไฟของไฟส่องสว่างของรถยนต์
- Pink (REVERSE): Connect to reverse light signal for backup camera activation.
- Brown (KEY): Connect to steering wheel control wire.
- Speaker wires (White, Gray, Green, Purple) should be connected to corresponding vehicle speakers (Front Left, Front Right, Rear Left, Rear Right).
3.2 การติดตั้งเครื่อง
Use the provided mounting brackets to secure the double din unit into your vehicle's dashboard opening. Ensure a snug fit to prevent vibrations.
3.3 การติดตั้งกล้องสำรอง
Mount the backup camera at the rear of your vehicle. Connect its video output to the 'CAM IN' input on the stereo and its power to the reverse light circuit.
4. การตั้งค่า
4.1 การเปิดเครื่องครั้งแรก
After installation, reconnect the vehicle battery. Turn on the ignition. The unit should power on and display the main interface.
4.2 การตั้งค่าพื้นฐาน
Navigate to the 'Settings' menu to configure basic parameters such as language, time, and date.
4.3 Display Backlight Adjustment
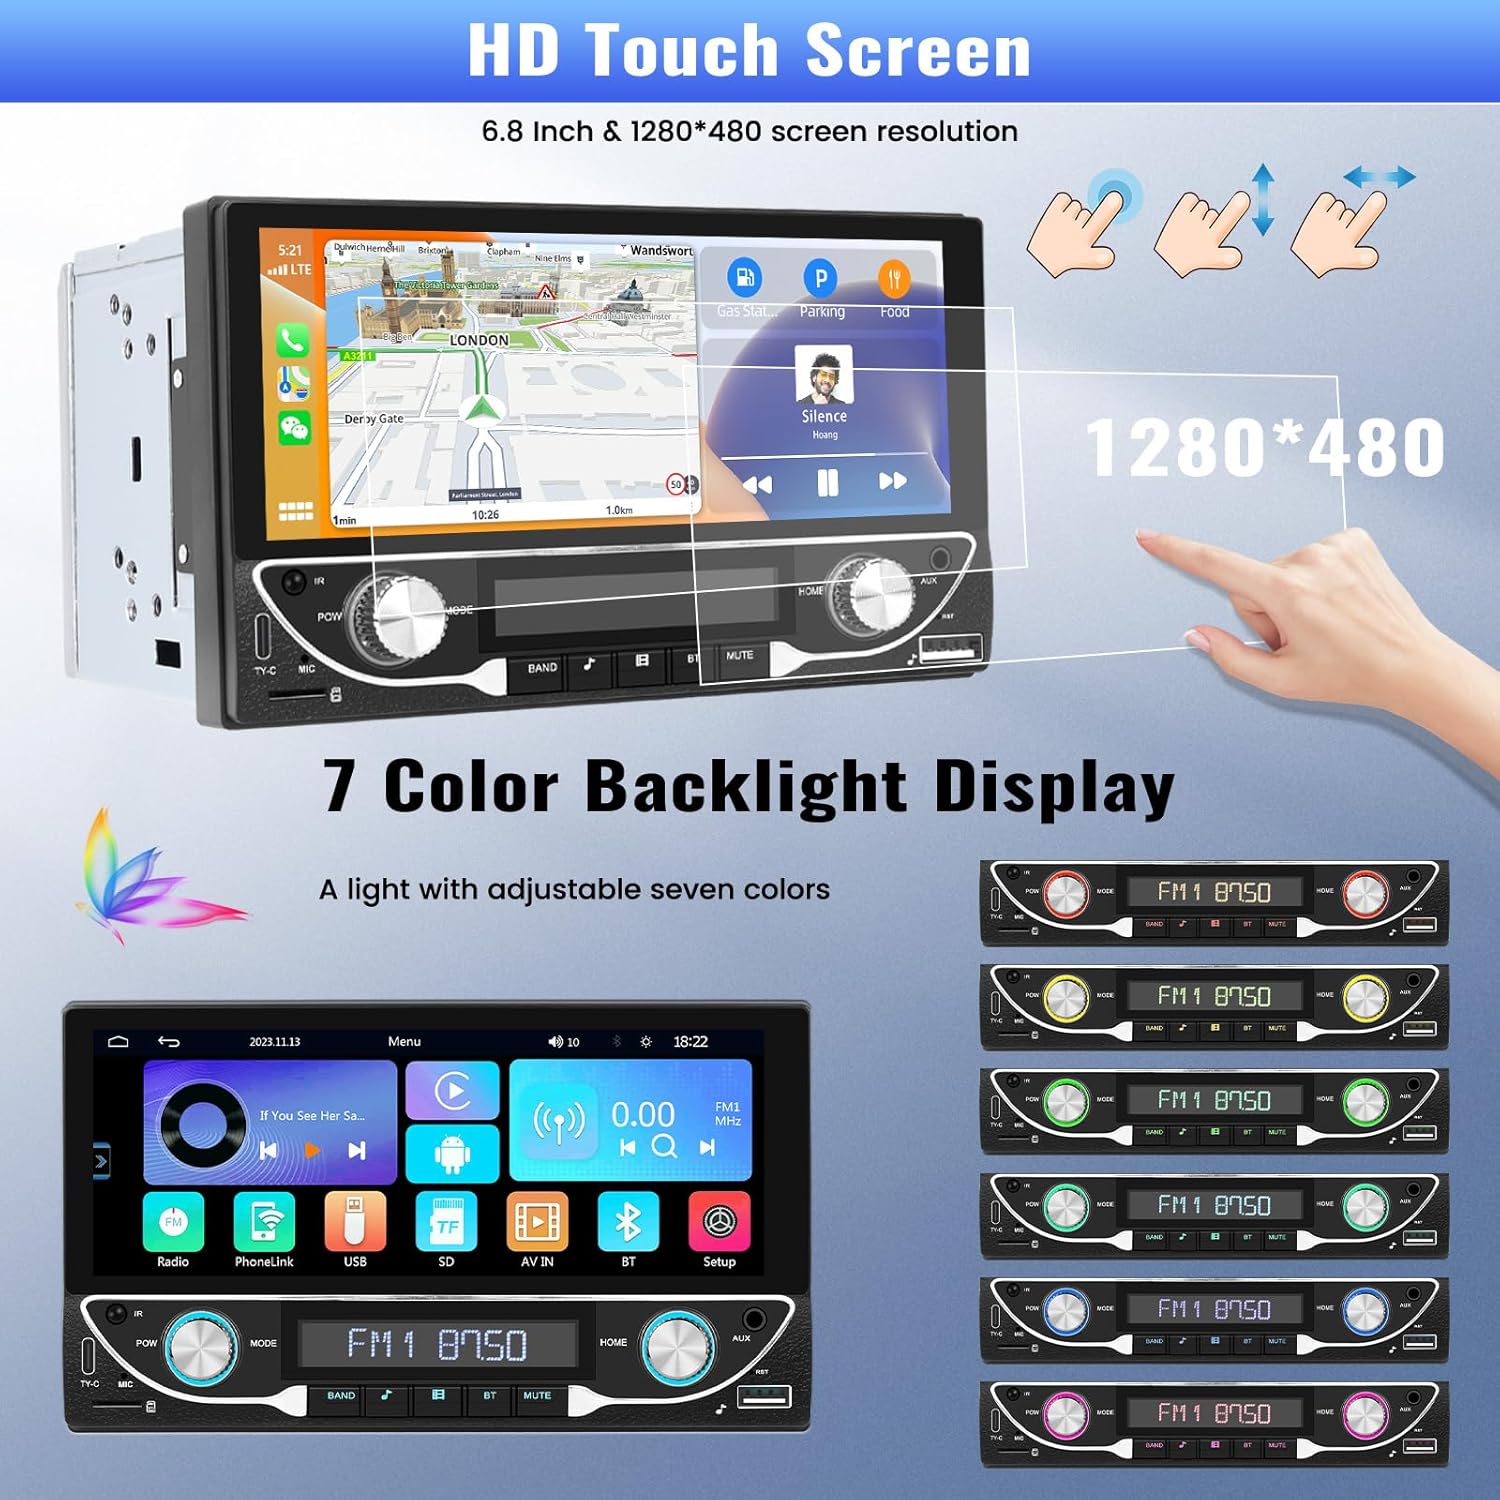
Image: The HD touchscreen and customizable 7-color backlight display options.
Access the display settings to adjust brightness and select from 7 available backlight colors for the physical buttons.
5. คู่มือการใช้งาน
5.1 Apple CarPlay ไร้สายและ Android Auto
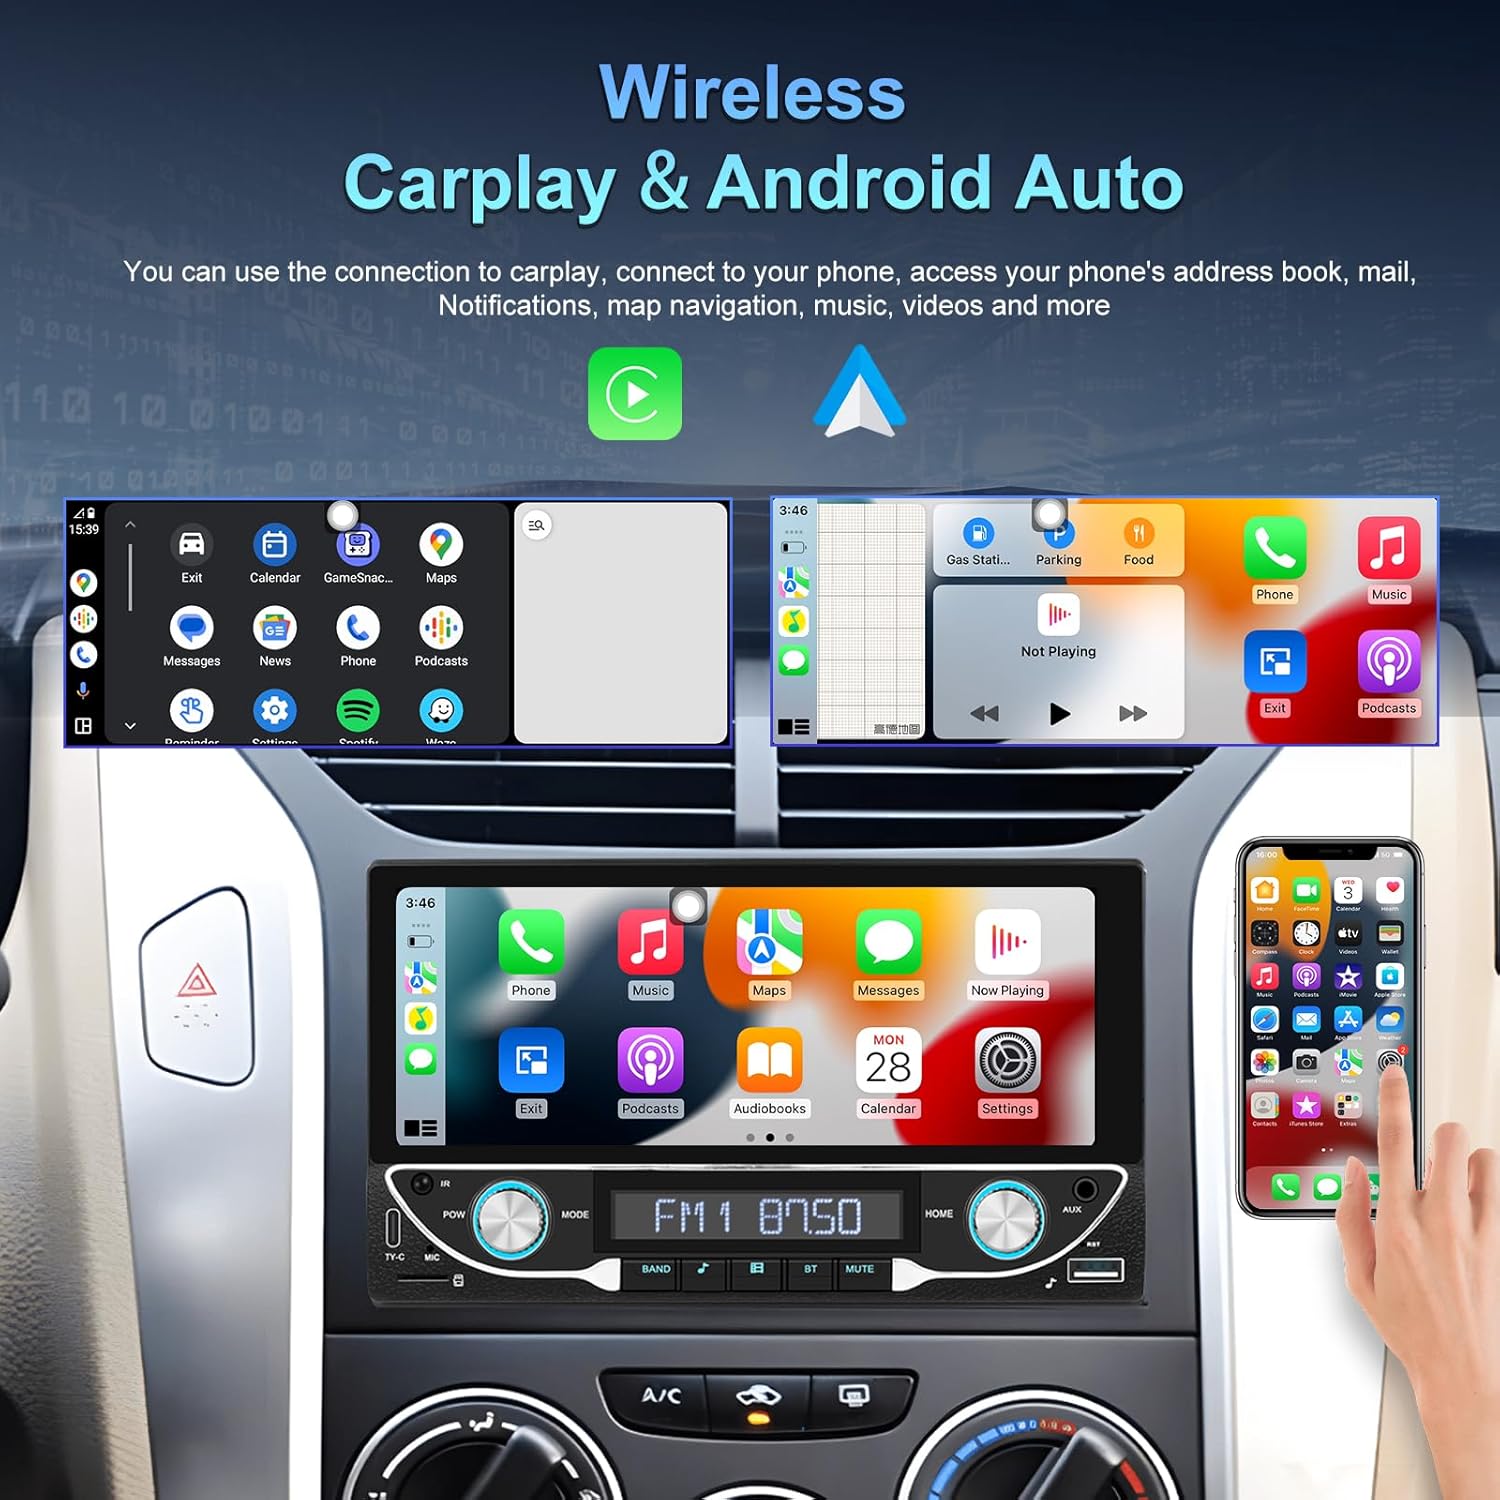
Image: The car stereo displaying both Apple CarPlay and Android Auto interfaces.
Connect your smartphone wirelessly to access Apple CarPlay or Android Auto. This allows for navigation, music, calls, and messages directly from the car stereo display.
- ตรวจสอบให้แน่ใจว่าเปิดใช้งาน Bluetooth และ Wi-Fi บนสมาร์ทโฟนของคุณแล้ว
- บนเครื่องเสียงรถยนต์ ให้เลือกไอคอน CarPlay หรือ Android Auto
- ทำตามคำแนะนำบนหน้าจอเพื่อจับคู่อุปกรณ์ของคุณ
5.2 การเชื่อมต่อบลูทูธ 5.1
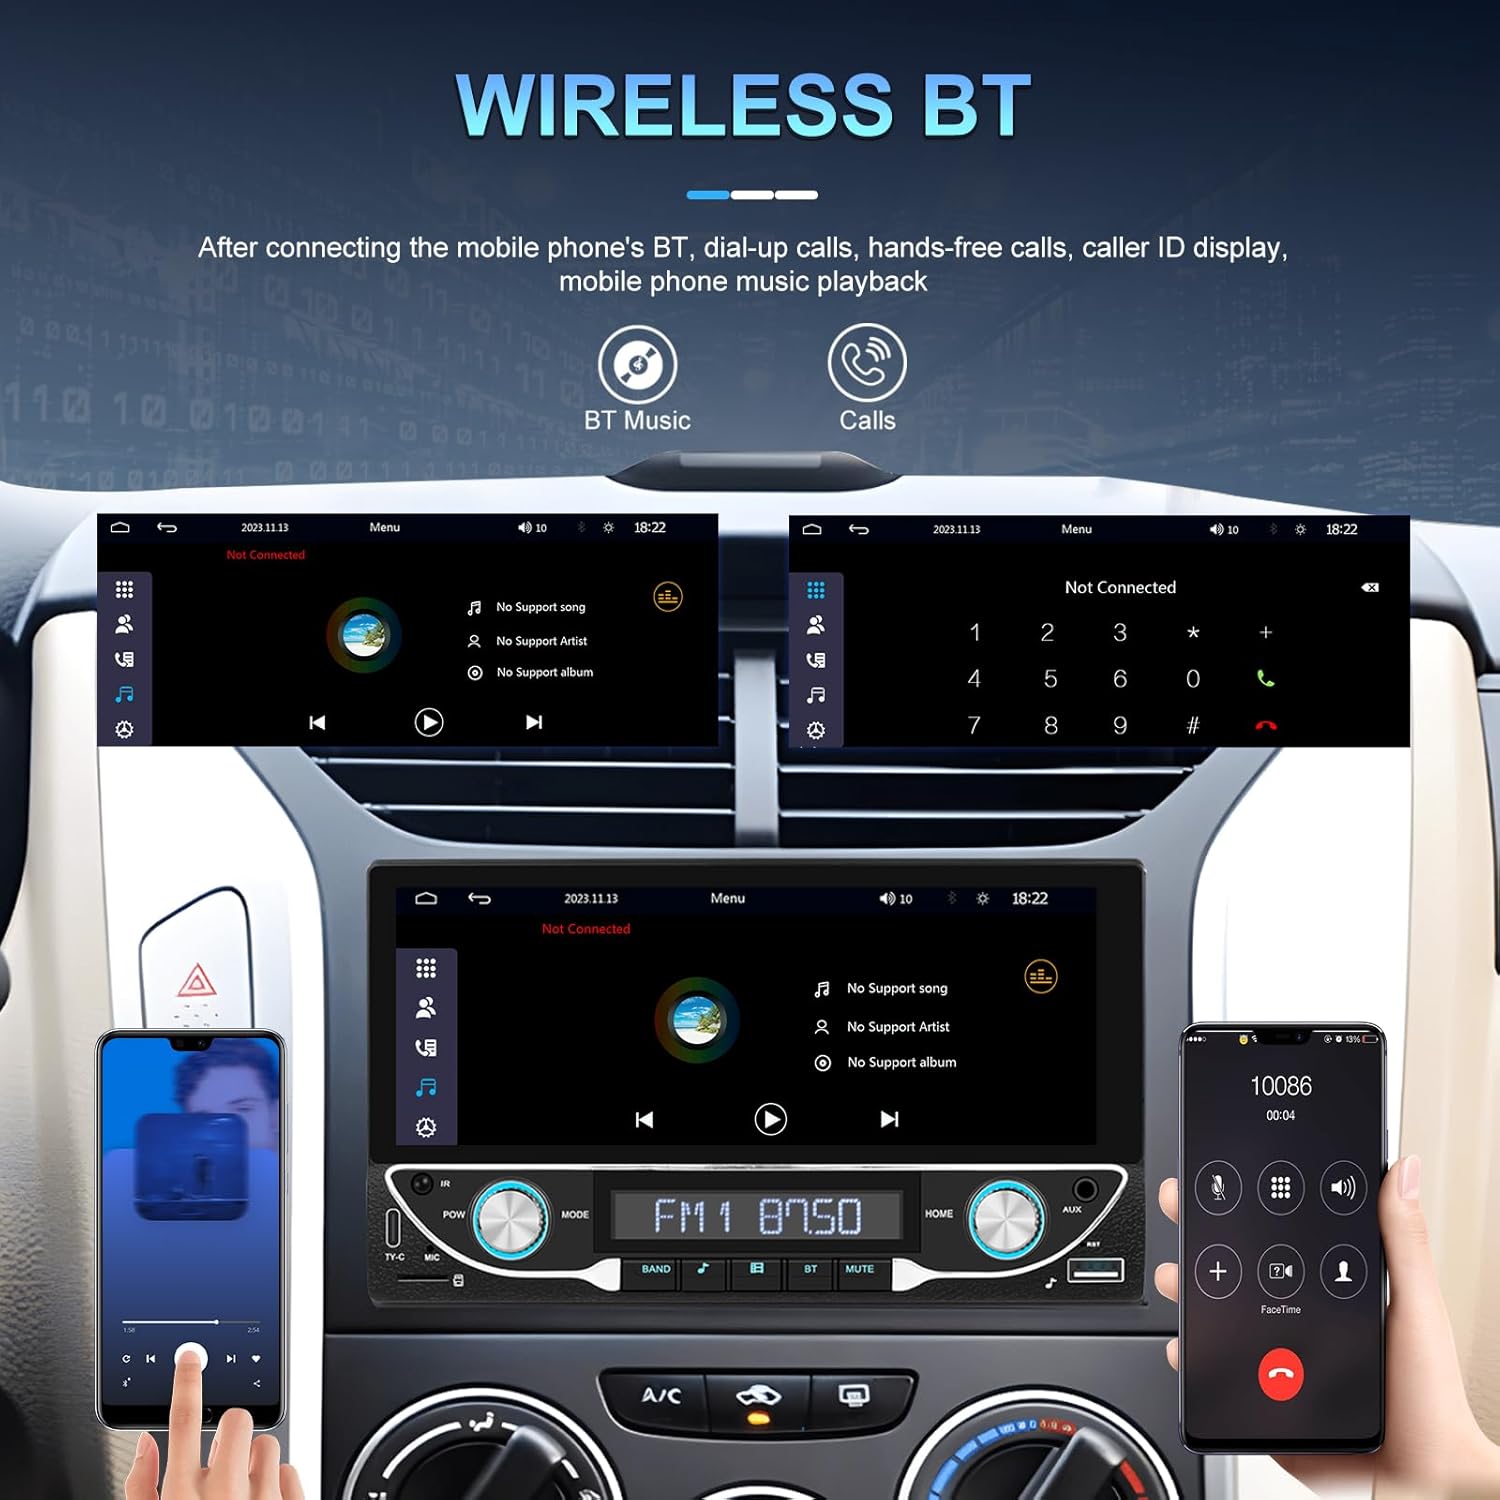
Image: Bluetooth interface for hands-free calling and music streaming.
Pair your phone via Bluetooth for hands-free calling and wireless audio streaming.
- Go to the 'Bluetooth' menu on the stereo.
- เปิดใช้งานบลูทูธบนโทรศัพท์ของคุณและค้นหาอุปกรณ์ที่มีอยู่
- Select 'UNITOPSCI A3612A3' (or similar name) from your phone's list and confirm pairing.
- Use the built-in microphone for calls and stream music from your phone.
การใช้งานวิทยุ FM 5.3

Image: FM radio interface with frequency display and sound quality DSP/EQ settings.
Select the 'FM' icon to access the radio tuner. Use the on-screen controls or physical buttons to scan for stations, save presets, and adjust frequency.
5.4 Audio & Video Playback (USB/TF/AUX/Type-C)

Image: Available input options for audio and video playback: USB, TF Card, Type-C, and AUX-in.
The unit supports various media inputs for audio and video playback:
- อินพุต USB: Connect a USB drive with media files.
- สล็อตบัตร TF: Insert a TF (MicroSD) card with media files.
- อินพุต AUX: Connect external audio devices using a 3.5mm audio cable.
- พอร์ต Type-C: For charging compatible devices and potentially data transfer.
Select the corresponding input source from the main menu to access your media.
5.5 ระบบควบคุมพวงมาลัย

Image: Steering wheel control setup interface on the car stereo.
If your vehicle supports steering wheel controls, connect the 'KEY' wire during installation. Access the 'Steering Wheel Control' settings to program the buttons for functions like volume, track change, and mode selection.
5.6 ด้านหลัง View Camera / HD Reversing Video
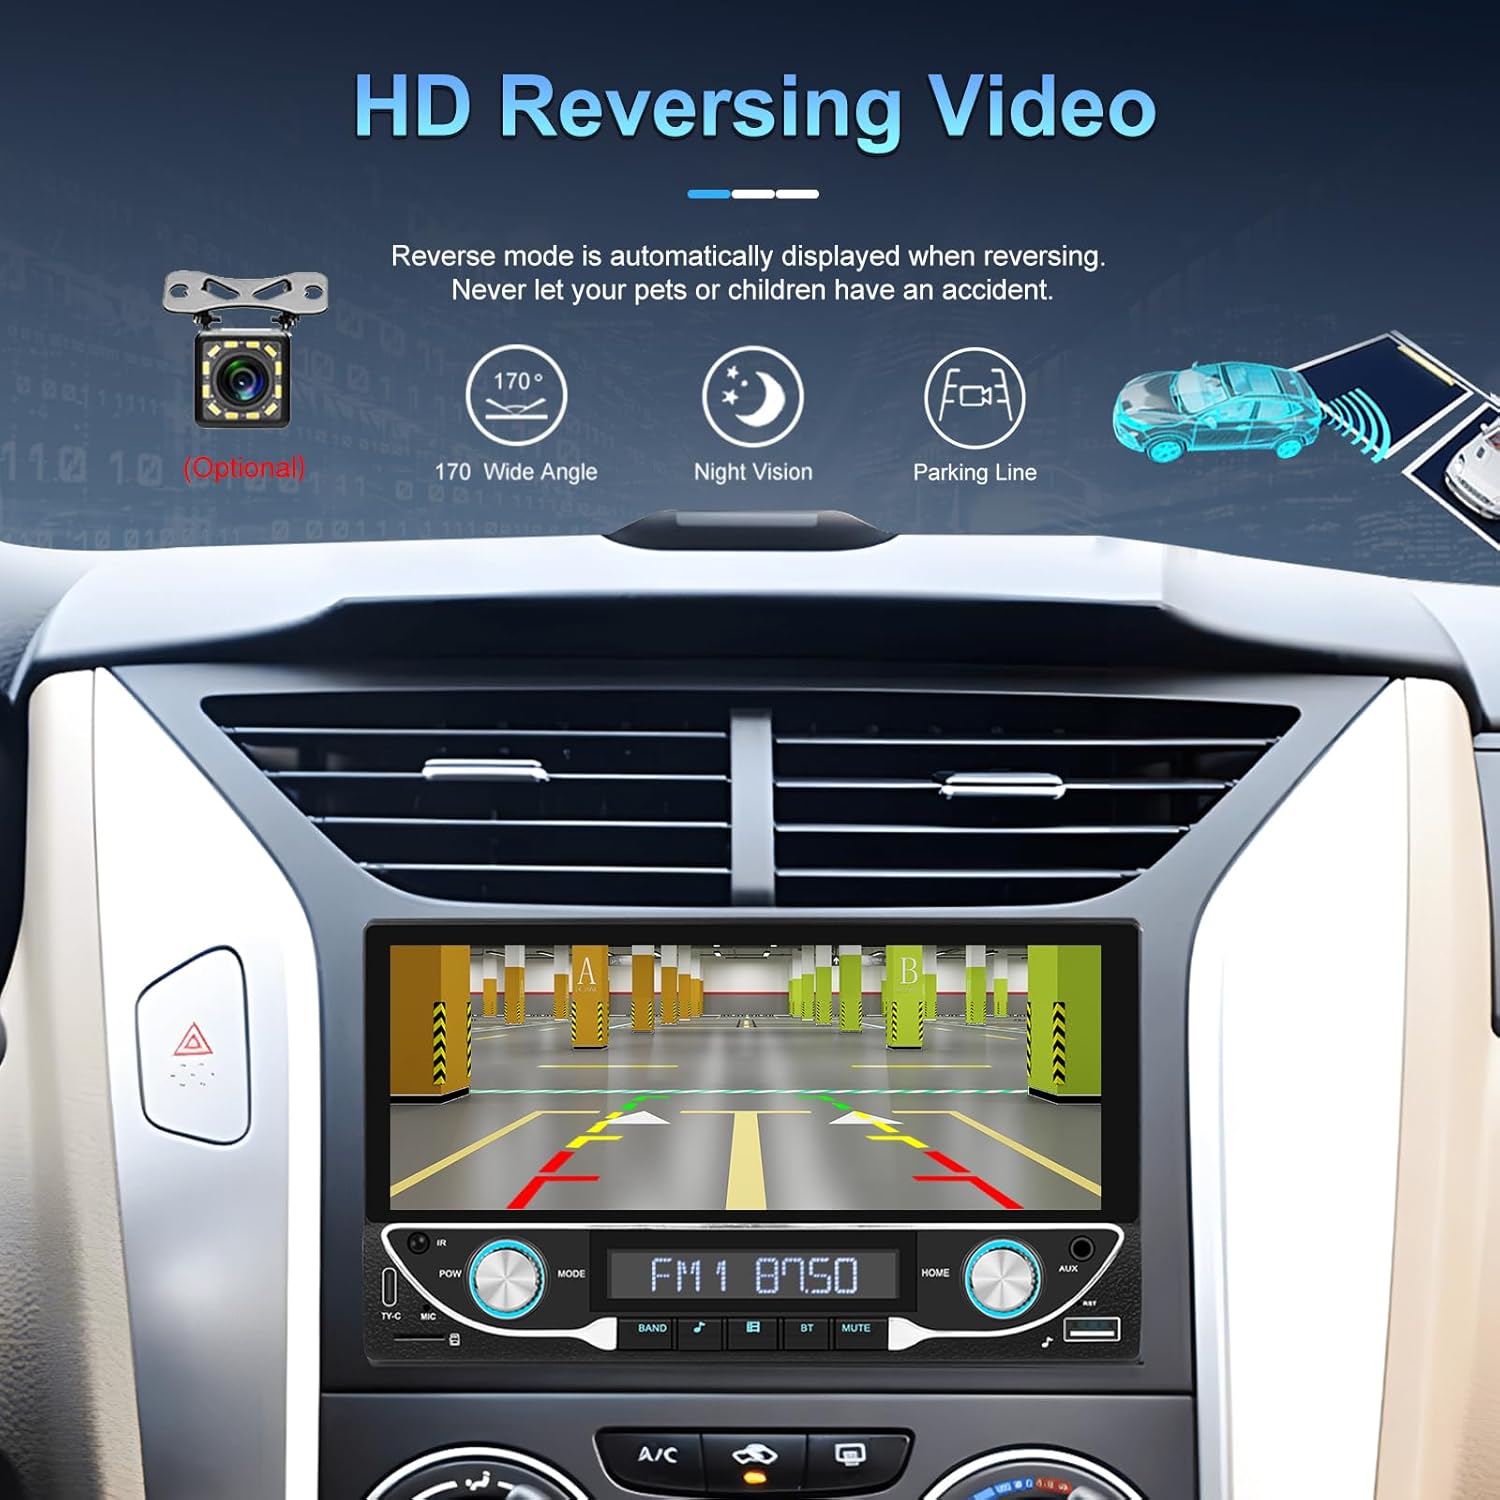
Image: High-definition reversing video display with parking guidelines.
When the vehicle is shifted into reverse, the stereo automatically displays the rear view camera feed. The included camera offers a 170-degree wide angle and night vision capabilities, along with parking lines for assistance.
5.7 DVR Function Support
The unit supports an optional DVR (Digital Video Recorder) function. Connect a compatible USB DVR camera to the dedicated USB input on the rear of the car radio to record driving footage.
5.8 ฟังก์ชันการเชื่อมโยงกระจก
Use the Mirror Link function to display your smartphone's screen directly on the car stereo. This feature is compatible with both Android and iOS devices, allowing you to view apps and content from your phone on the larger display.
5.9 Voice Control & GPS Navigation
When connected via Apple CarPlay or Android Auto, you can utilize voice commands (e.g., Siri, Google Assistant) for navigation, making calls, sending messages, and controlling music, enhancing driving safety and convenience.
5.10 Sound Quality (DSP & EQ)
The built-in Digital Sound Processor (DSP) and Equalizer (EQ) allow for precise audio customization. Access the 'EQ Setup' menu to adjust bass, treble, and other frequency bands to match your audio preferences. Pre-set EQ modes (e.g., Jazz, Rock, Pop) are also available.
6. การบำรุงรักษา
เพื่อให้เครื่องเสียงในรถยนต์ของคุณมีอายุการใช้งานยาวนานและมีประสิทธิภาพเหมาะสมที่สุด โปรดปฏิบัติตามคำแนะนำในการบำรุงรักษาดังต่อไปนี้:
- การทำความสะอาดหน้าจอใช้ผ้าเนื้อนุ่มที่ไม่เป็นขุยเช็ดหน้าจอสัมผัสเบาๆ หลีกเลี่ยงน้ำยาทำความสะอาดที่มีฤทธิ์กัดกร่อนหรือสารละลายที่อาจทำให้หน้าจอเสียหายได้
- การทำความสะอาดทั่วไป: Keep the unit free from dust and debris. Use a soft brush or compressed air for hard-to-reach areas.
- การอัพเดตซอฟต์แวร์: ตรวจสอบผู้ผลิตเป็นระยะ webเข้าชมเว็บไซต์เพื่อตรวจสอบการอัปเดตเฟิร์มแวร์ที่มีให้ใช้งาน เพื่อปรับปรุงประสิทธิภาพและเพิ่มคุณสมบัติใหม่ๆ
- หลีกเลี่ยงของเหลว: Do not spill liquids on the unit. If accidental spillage occurs, power off the unit immediately and allow it to dry completely before use.
7 การแก้ไขปัญหา
If you encounter issues with your UNITOPSCI A3612A3 car stereo, refer to the following common problems and solutions:
| ปัญหา | สาเหตุที่เป็นไปได้ | สารละลาย |
|---|---|---|
| ไม่มีไฟฟ้า | สายไฟไม่ถูกต้อง ฟิวส์ขาด การเชื่อมต่อหลวม | Check power cable connections (ACC, BATTERY+, GND). Verify vehicle fuse and unit's fuse. Ensure all wires are securely connected. |
| ไม่มีเสียง | สายลำโพงหลุดออก; ระดับเสียงต่ำเกินไป; ฟังก์ชันปิดเสียงทำงานอยู่; แหล่งเสียงไม่ถูกต้อง | Check speaker wire connections. Increase volume. Deactivate mute. Select correct audio source (FM, USB, BT, etc.). |
| ไม่ได้เชื่อมต่อบลูทูธ | Bluetooth off on phone/stereo; Device not in pairing mode; Interference. | Ensure Bluetooth is enabled on both devices. Put stereo in pairing mode. Delete previous pairings and try again. Move closer to the unit. |
| CarPlay/Android Auto ใช้งานไม่ได้ | Wi-Fi/Bluetooth off; Phone not compatible; App issues. | Ensure Wi-Fi and Bluetooth are active on your phone. Restart phone and stereo. Check phone's settings for CarPlay/Android Auto permissions. |
| กล้องหลังไม่แสดง | กล้องไม่ได้เปิดใช้งาน; สายวิดีโอหลวม; สายทริกเกอร์ถอยหลังไม่ได้เชื่อมต่อ | Check camera power connection. Ensure video cable is securely connected to 'CAM IN'. Verify Pink (REVERSE) wire connection. |
| หน้าจอสัมผัสไม่ตอบสนอง | ระบบค้าง; มีสิ่งสกปรกบนหน้าจอ | Restart the unit (if possible, by briefly disconnecting power). Clean the screen. |
If the problem persists after trying these solutions, please contact UNITOPSCI customer support for further assistance.
8. ข้อมูลจำเพาะ
Key technical specifications for the UNITOPSCI A3612A3 car stereo:
- หมายเลขรุ่น: A3612A3
- ขนาดจอแสดงผล: 6.86 นิ้ว
- ความละเอียดการแสดงผล: 1280 x 480 พิกเซล
- เอาท์พุต วัดtage: 180 Watts (4 channels)
- เวอร์ชันบลูทูธ: 5.1
- บริการอินเทอร์เน็ตที่รองรับ: Maps (via CarPlay/Android Auto)
- ประเภทเอาต์พุตเสียง: ภายใน
- รูปแบบสื่อที่รองรับ: AVI, WAV, WMA
- ข้อมูลอินพุต: USB, TF Card, AUX, Type-C
- คุณสมบัติ: Wireless Apple CarPlay, Wireless Android Auto, FM Radio, Mirror Link, DSP, EQ, Steering Wheel Control, Backup Camera Input, DVR Function Support, 7-Color Backlight.
Image: Front, rear, and side dimensions of the UNITOPSCI A3612A3 car stereo.
ขนาด (โดยประมาณ):
- Front Panel: 17.8cm (7.0in) width x 10.3cm (4.0in) height
- Chassis: 17.8cm (7.0in) width x 10.0cm (3.9in) height x 11cm (4.3in) depth
9. การรับประกันและการสนับสนุน
UNITOPSCI products are designed for reliability and performance. For warranty information and technical support, please refer to the warranty card included in your package or visit the official UNITOPSCI webเว็บไซต์.
When contacting support, please have your product model number (A3612A3) and purchase details ready.