
การแนะนำ
This instruction manual provides essential information for the proper installation and maintenance of the ALLIANCE LAUNDRY SYSTEMS Metercase Bracket and Nut Kit, Model 204616. This kit is a genuine OEM replacement part designed for specific laundry appliances. Please read this manual thoroughly before proceeding with installation to ensure safe and correct usage.
สินค้าเกินview
The Metercase Bracket and Nut Kit (Model 204616) is a critical component for securing the meter case in various laundry systems. It ensures the stable positioning of the meter, contributing to the overall functionality and safety of the appliance.
คุณสมบัติหลัก:
- ความเข้ากันได้: Fits Ipso, Econo-Wash, Huebsch, Primus, Speed Queen, and Alliance Laundry Systems Washer/Dryer models.
- ชิ้นส่วน OEM แท้: Ensures quality, durability, and proper fitment as an original equipment manufacturer component.
- ชิ้นส่วนทดแทน: Replaces original part numbers 30642 and 30647.
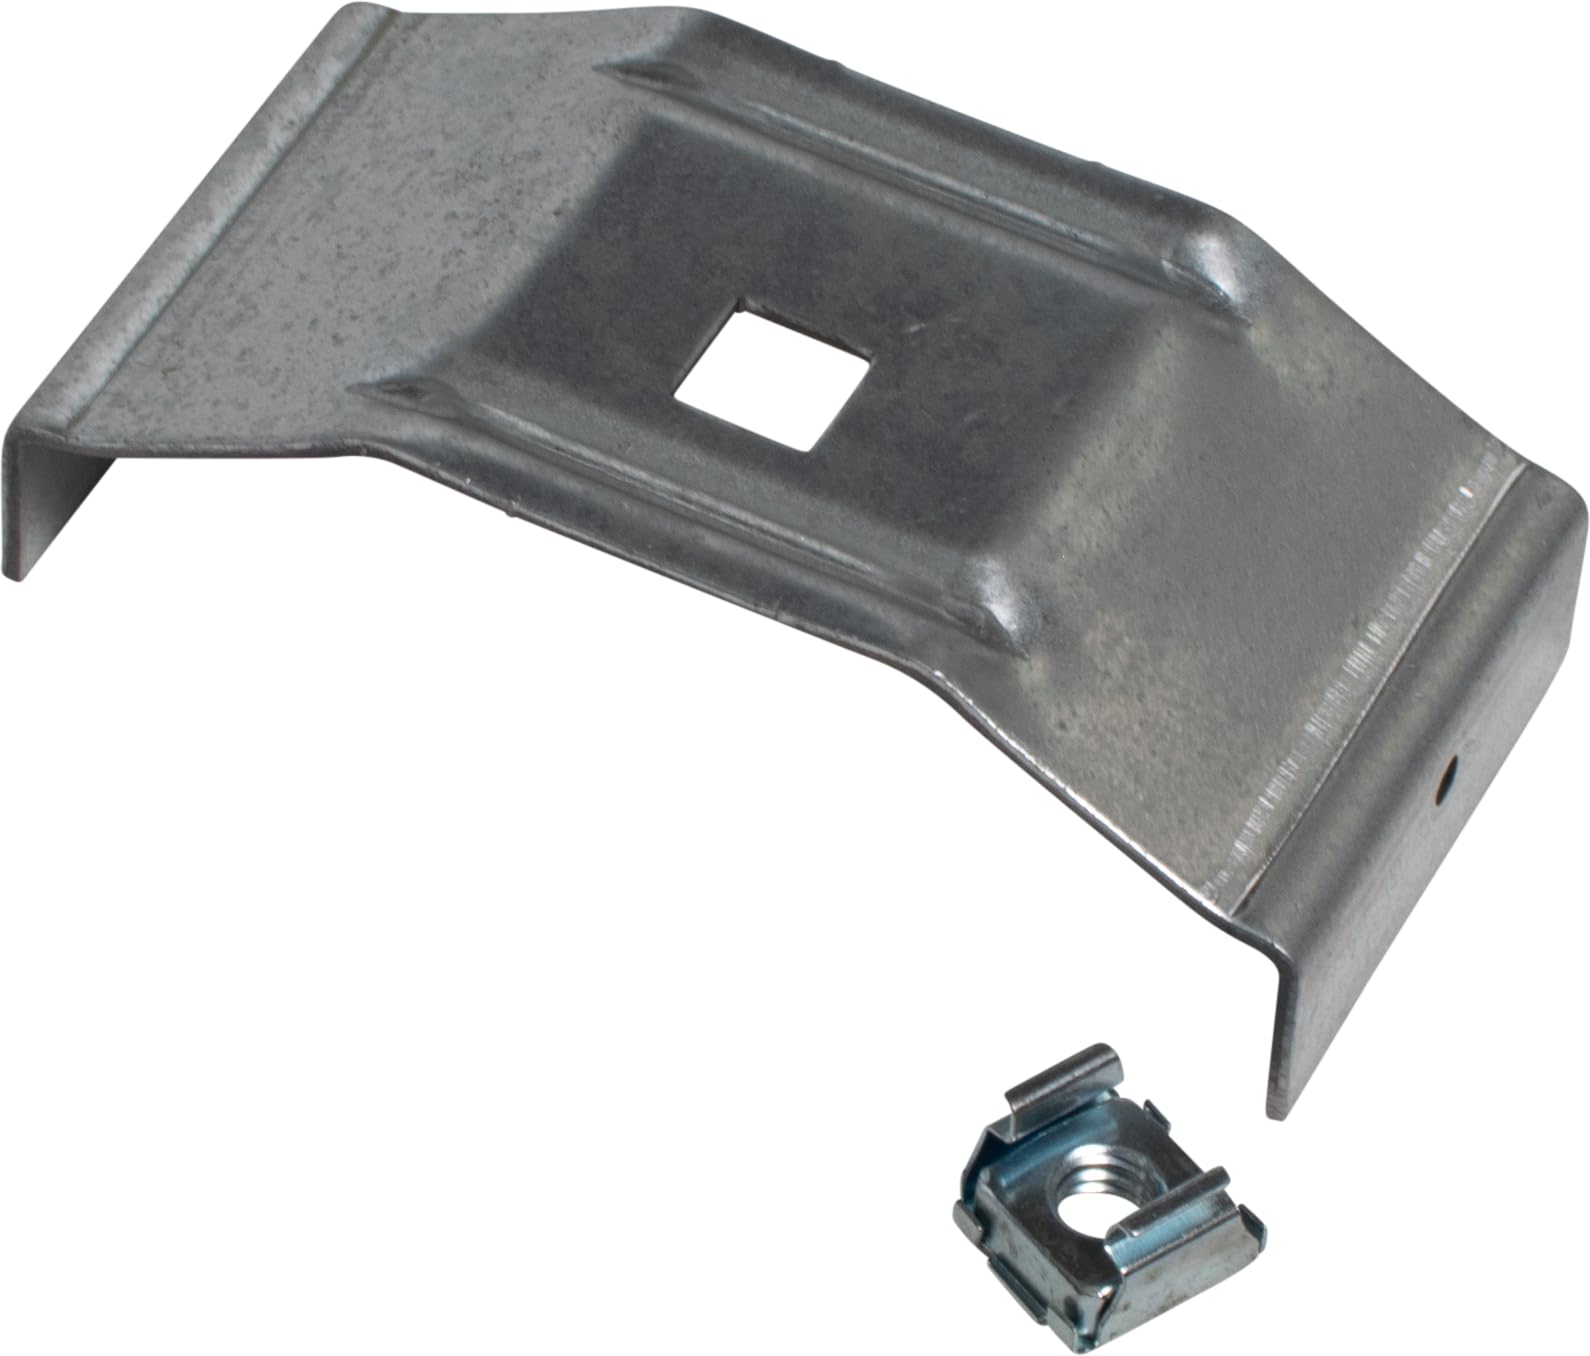
รูปที่ 1: The ALLIANCE LAUNDRY SYSTEMS Metercase Bracket and Nut Kit. This image displays the metal bracket, which is a bent, galvanized piece with a square cutout in the center, and a small square nut designed to fit into the bracket's opening.
การติดตั้งและการตั้งค่า
ความปลอดภัยเป็นสิ่งสำคัญที่สุด: Before beginning any installation or replacement procedure, ensure the laundry appliance is completely disconnected from its power source (unplugged or circuit breaker off) and water supply (if applicable). Failure to do so may result in electric shock, injury, or damage to the appliance.
เครื่องมือที่จำเป็น:
- Appropriate screwdriver or wrench (size may vary depending on existing fasteners).
- Gloves (recommended for protection).
ขั้นตอนการติดตั้ง:
- Access the Metercase: Carefully open or remove the necessary panels of your laundry appliance to gain access to the meter case assembly. Refer to your appliance's specific service manual for panel removal instructions.
- Remove Old Bracket/Nut: Locate the existing meter case bracket and nut. Using the appropriate tools, carefully remove any fasteners securing the old bracket and then remove the bracket and nut.
- ตำแหน่งวงเล็บใหม่: Place the new Metercase Bracket (Model 204616) in the correct position, aligning any mounting holes.
- Insert Nut: Insert the provided nut into its designated slot or opening on the bracket. Ensure it is seated securely.
- รักษาความปลอดภัยของสถานที่ชุมนุม: Use the appropriate fasteners (not included, typically reused from the old assembly or specified by the appliance manufacturer) to secure the bracket and nut assembly firmly to the appliance structure. Ensure all connections are tight but do not overtighten.
- ประกอบเครื่องใช้ไฟฟ้าใหม่: Once the new bracket and nut are securely installed, reattach any panels or covers that were removed.
- คืนค่าพลัง: Reconnect the appliance to its power source and water supply (if applicable).
If you are unsure about any step, it is recommended to consult a qualified technician or refer to your appliance's specific service manual.
การดำเนินการ
The Metercase Bracket and Nut Kit is a static component designed to hold the meter case securely in place. Once properly installed, it operates passively as part of the appliance's structural integrity. No direct user interaction is required for its operation.
การซ่อมบำรุง
This kit requires minimal maintenance. Periodically, during routine appliance inspections or servicing, check the bracket and nut for any signs of corrosion, loosening, or damage. If any issues are observed, consider replacement to maintain the structural integrity of the meter case assembly.
การแก้ไขปัญหา
If you experience issues related to the meter case becoming loose or unstable after installation, verify the following:
- Ensure the bracket is correctly positioned and aligned.
- Confirm the nut is securely seated within the bracket.
- Check that all fasteners (if any) are tightened appropriately.
- Verify that the correct part (Model 204616) was used for your specific appliance model.
For persistent issues or concerns, contact ALLIANCE LAUNDRY SYSTEMS customer support or a certified service technician.
ข้อมูลจำเพาะ
| ผู้ผลิต: | ALLIANCE LAUNDRY SYSTEMS |
| หมายเลขชิ้นส่วน: | 204616 |
| แทนที่หมายเลขชิ้นส่วน: | 30642, 30647 |
| น้ำหนักสินค้า: | 1.6 ออนซ์ |
| ขนาดแพ็คเกจ: | 6 x 6 x 4 นิ้ว |
| จำนวนแพ็คเกจสินค้า: | 1 |
| ASIN: | B0CXRPHB8R |
| วันที่เข้าใช้งานครั้งแรก: | 11 มีนาคม 2024 |
การรับประกันและการสนับสนุน
For information regarding warranty coverage, technical support, or to purchase additional genuine replacement parts, please contact ALLIANCE LAUNDRY SYSTEMS directly through their official website or customer service channels. Always use genuine OEM parts to ensure compatibility and maintain appliance warranty.