
1. บทนำ
This manual provides instructions for the proper setup, operation, and maintenance of your Luqeeg Smart Two-Way Voice Intercom System. This wireless intercom system is designed to facilitate communication within homes, offices, or other environments, offering a convenient way to speak with individuals in different rooms or areas without shouting. It is particularly useful for caregivers, families with young children, or individuals requiring assistance.

รูปที่ 1: The intercom system is suitable for diverse applications, including assisting caregivers, monitoring children, and providing peace of mind for pregnant women.
2. เนื้อหาบรรจุภัณฑ์
โปรดตรวจสอบว่าสินค้าทั้งหมดที่ระบุไว้ด้านล่างนี้รวมอยู่ในแพ็คเกจของคุณแล้ว หากมีสินค้าใดสูญหายหรือเสียหาย โปรดติดต่อฝ่ายสนับสนุนลูกค้า
- Intercom Unit (2x)
- Charging Base (2x)
- สายชาร์จ USB (2 เส้น)
- คู่มือผู้ใช้ (เอกสารนี้)
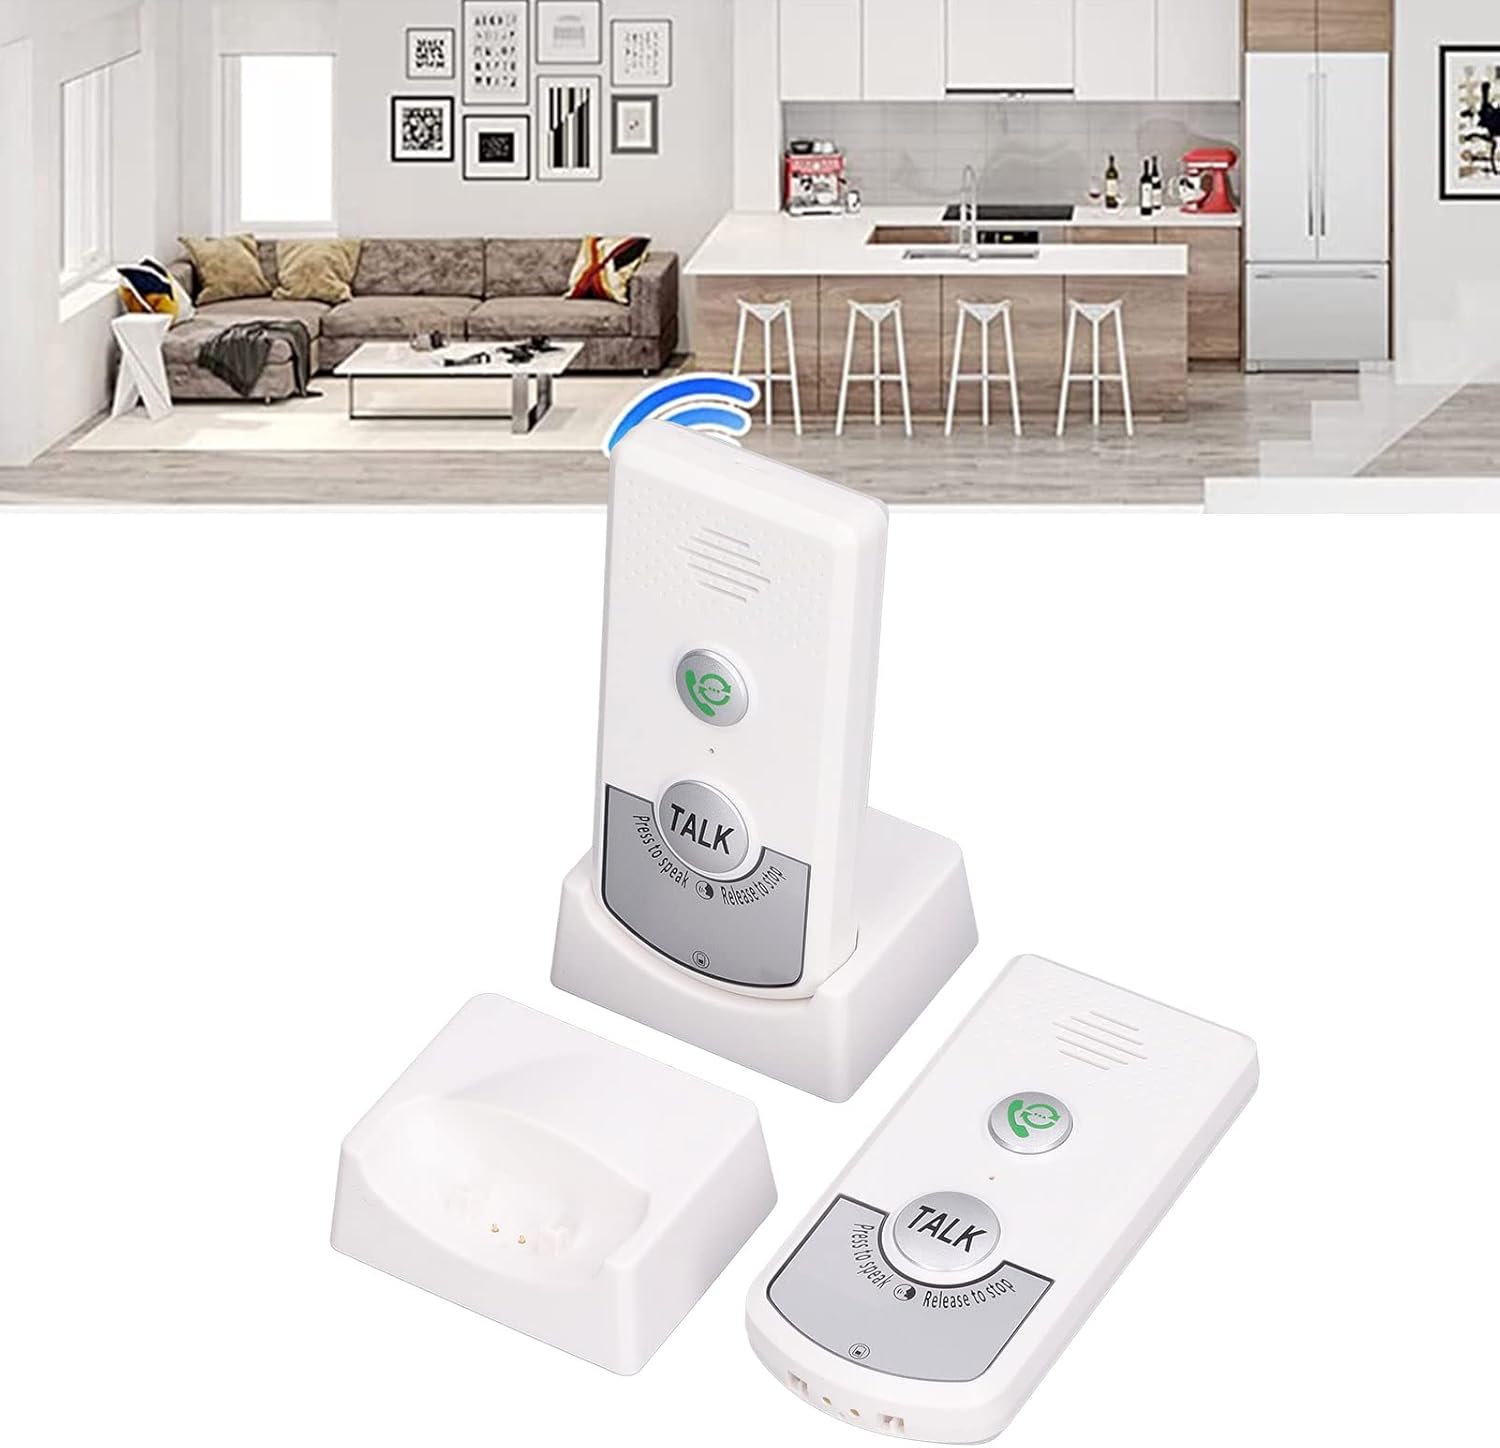
รูปที่ 2: Contents of the Luqeeg Smart Two-Way Voice Intercom System package.
3. สินค้าหมดview
Familiarize yourself with the components and controls of your intercom unit.

รูปที่ 3: ด้านหน้า view of the intercom unit, highlighting key controls.
- ปุ่มโทรออก: Press to initiate a call to the other intercom unit.
- ปุ่มพูดคุย: Press and hold to speak, release to listen.
- ผู้บรรยาย: Outputs audio from the other unit.
- ไมโครโฟน: Captures your voice during communication.
- การควบคุมระดับเสียง: Adjusts the speaker volume (3 levels).
- Channel Switch (A/B): Selects the communication channel.
- พอร์ตการชาร์จ (USB-C): Located on the back/bottom for power input.
- ไฟแสดงสถานะ: Provides status information (e.g., charging, low battery, call status).

รูปที่ 4: หลัง view of the intercom unit, showing the charging port and information label.
4. การตั้งค่า
Follow these steps to set up your intercom system for first use.
- ชาร์จหน่วย: Connect each intercom unit to its charging base using the provided USB cables and a compatible USB power adapter (not included). The indicator light will show charging status. A full charge provides up to 48 hours of endurance.
- เลือกช่อง: Each unit has a channel switch (A or B). Ensure both intercom units are set to the same channel (e.g., both on 'A' or both on 'B') for them to communicate.
- การจัดวาง: Place the intercom units in desired locations within your home or facility. Consider areas where communication is most needed, such as a living room, bedroom, kitchen, or garage. The system is designed for multi-floor communication.

รูปที่ 5: Example of intercom unit placement for multi-level communication.
5. คู่มือการใช้งาน
Learn how to use your intercom system for effective two-way communication.
- การเริ่มการโทร: Press the Call Button (green phone icon) on your unit. The other unit will ring to alert the recipient.
- การพูด: Once the call is established or if you wish to speak directly, press and hold the large "TALK" button. Speak clearly into the microphone.
- การฟัง: Release the "TALK" button to listen for a response from the other unit. The system operates in a push-to-talk, release-to-listen manner.
- การปรับระดับเสียง: Use the volume control buttons on the side of the unit to increase or decrease the speaker volume to one of the three available levels.
- การวางสาย: Calls typically end when both parties stop pressing the "TALK" button.

รูปที่ 6: Visual representation of two-way intercom communication.
6. การบำรุงรักษา
Proper care ensures the longevity and optimal performance of your intercom system.
- การทำความสะอาด: เช็ดทำความสะอาดอุปกรณ์ด้วยผ้าแห้งเนื้อนุ่ม ห้ามใช้สารทำความสะอาดที่มีฤทธิ์กัดกร่อนหรือตัวทำละลาย
- การดูแลแบตเตอรี่ Recharge the units regularly, approximately every two days, to maintain battery health and ensure continuous operation. Avoid fully depleting the battery frequently.
- พื้นที่จัดเก็บ: ควรเก็บอุปกรณ์ไว้ในที่แห้งและเย็นเมื่อไม่ได้ใช้งานเป็นเวลานาน
7 การแก้ไขปัญหา
โปรดดูส่วนนี้เพื่อดูวิธีแก้ไขปัญหาทั่วไป
| ปัญหา | สาเหตุที่เป็นไปได้ | สารละลาย |
|---|---|---|
| ไม่มีเสียงหรือคุณภาพเสียงไม่ดี | Incorrect channel, low volume, out of range, battery low. | Ensure both units are on the same channel (A or B). Adjust volume. Move units closer. Charge batteries. |
| เครื่องไม่เปิด | แบตเตอรี่หมด | Connect to charging base and charge for at least 30 minutes. |
| Indicator light flashing red | แบตเตอรี่อ่อน | ชาร์จแบตเตอรี่ทันที |
| Indicator light flashing green | Indoor doorbell (call received). | This indicates an incoming call. Respond by pressing the TALK button. |
| Cannot communicate between units | Different channels selected. | Verify both units are set to the same channel (A or B). |
8. ข้อมูลจำเพาะ
Key technical details of the Luqeeg Smart Two-Way Voice Intercom System.
| คุณสมบัติ | รายละเอียด |
|---|---|
| หมายเลขรุ่น | Luqeegdhgx643e9t-12 |
| น้ำหนักสินค้า | 10.8 ออนซ์ |
| ขนาดแพ็คเกจ | 5.51 x 3.54 x 2.76 นิ้ว |
| สี | สีขาว |
| ช่องทางการ | 2 (A และ B) |
| ระดับเสียง | ปรับได้ 3 ระดับ |
| ความทนทานของแบตเตอรี่ | นานถึง 48 ชั่วโมง |
| ปริมาณการชาร์จtage | กระแสตรง5โวลต์ |
9. การรับประกันและการสนับสนุน
For warranty information, please refer to the documentation provided at the time of purchase or contact your retailer. For technical support or further assistance, please contact Luqeeg customer service through their official channels.