
1. บทนำ
This manual provides detailed instructions for the installation, operation, and maintenance of your Luqeeg Digital Door Viewer. Please read this manual thoroughly before using the product to ensure proper function and safety. Keep this manual for future reference.
2. คุณสมบัติของผลิตภัณฑ์
- จอแสดงผล LCD ขนาด 2.4 นิ้ว: Provides a clear and vivid view of visitors at your door.
- 0.3MP Professional Camera: Captures crisp images for easy identification, even in low light conditions.
- เลนส์มุมกว้าง 120°: เสนอบริการที่กว้างขวาง view of your doorstep, minimizing blind spots and enhancing security.
- โครงสร้างโลหะผสมสังกะสีที่ทนทาน: Engineered for superior wear resistance and impact strength, preventing prying and smashing.
- แหล่งจ่ายไฟคู่: Operates using either 3 x 1.5V AAA batteries (not included) or a 5V 1A USB power source for continuous operation.
- การเปิดใช้งานจอแสดงผลอัตโนมัติ: The screen automatically displays the outside view when the doorbell is pressed, providing convenience for all users.
3. เนื้อหาบรรจุภัณฑ์
ตรวจสอบว่ามีรายการทั้งหมดอยู่ในแพ็คเกจ:
- 1 x ประตูระบบดิจิทัล Viewer Camera Unit
- 1 x ประตูระบบดิจิทัล Viewer Monitor Unit
- 1 x Accessory Kit (includes 2 x Washers, 8 x Screws)
- 1 x คู่มือผู้ใช้
Note: AAA batteries and a small memory card are not included and must be purchased separately.
4. สินค้าหมดview
Familiarize yourself with the components of your Luqeeg Digital Door Viewเอ่อ.

Figure 4.1: Monitor Unit Components
- หน้าจอ LCD: แสดงสด view จากกล้อง
- Monitoring/Power On/Off Button: Press to activate the screen or power the device on/off.
- อินเทอร์เฟซ USB: For connecting a 5V 1A USB power source.
- Small Memory Card Slot: Insert a memory card (not included) for potential recording features (if supported by firmware).

Figure 4.2: Monitor Unit Rear View (ช่องใส่แบตเตอรี่)
- ช่องใส่แบตเตอรี่: Houses 3 x AAA batteries (not included).
5. คู่มือการติดตั้ง
The Luqeeg Digital Door Viewer is designed for simple installation, fitting standard door peephole holes without requiring special tools.
5.1 การเตรียมตัว
- Ensure your door has an existing peephole or a suitable hole for installation.
- Gather necessary components: Camera unit, Monitor unit, washers, and screws.
- Prepare 3 x AAA batteries (not included) or a 5V 1A USB power source.
5.2 ขั้นตอนการติดตั้ง

รูปที่ 5.1: การติดตั้งทับview
- Step 1: Remove Existing Peephole (if applicable)
Carefully unscrew and remove any existing traditional peephole from your door. - Step 2: Insert Camera Unit
From the outside of the door, insert the camera unit through the peephole hole. Ensure the camera is facing outwards and is flush with the door surface. - Step 3: Secure Monitor Unit
From the inside of the door, connect the cable from the camera unit to the monitor unit. Align the monitor unit with the camera unit and secure it to the door using the provided screws and washers. Ensure the monitor is firmly attached and stable.
5.3 การเปิดเครื่องอุปกรณ์
- พลังงานแบตเตอรี่: Open the battery compartment on the back of the monitor unit and insert 3 x AAA batteries, observing correct polarity.
- พลังงาน USB: Connect a 5V 1A USB power adapter (not included) to the USB interface on the side of the monitor unit. This can serve as a backup or primary power source.
6. คู่มือการใช้งาน
6.1 การเปิด/ปิดเครื่อง
- การเปิดเครื่อง: Press and hold the Monitoring/Power On/Off button located below the LCD screen until the screen illuminates.
- วิธีปิดเครื่อง: Press and hold the Monitoring/Power On/Off button until the screen turns off.
6.2 Viewผู้เข้าชม
- คู่มือ View: Press the Monitoring/Power On/Off button once to activate the screen and view the outside area. The screen will automatically turn off after a short period of inactivity to conserve power.
- อัตโนมัติ View: When someone presses your doorbell (if connected and compatible, or if the device detects motion/sound, depending on model features), the screen will automatically activate and display the outside view.
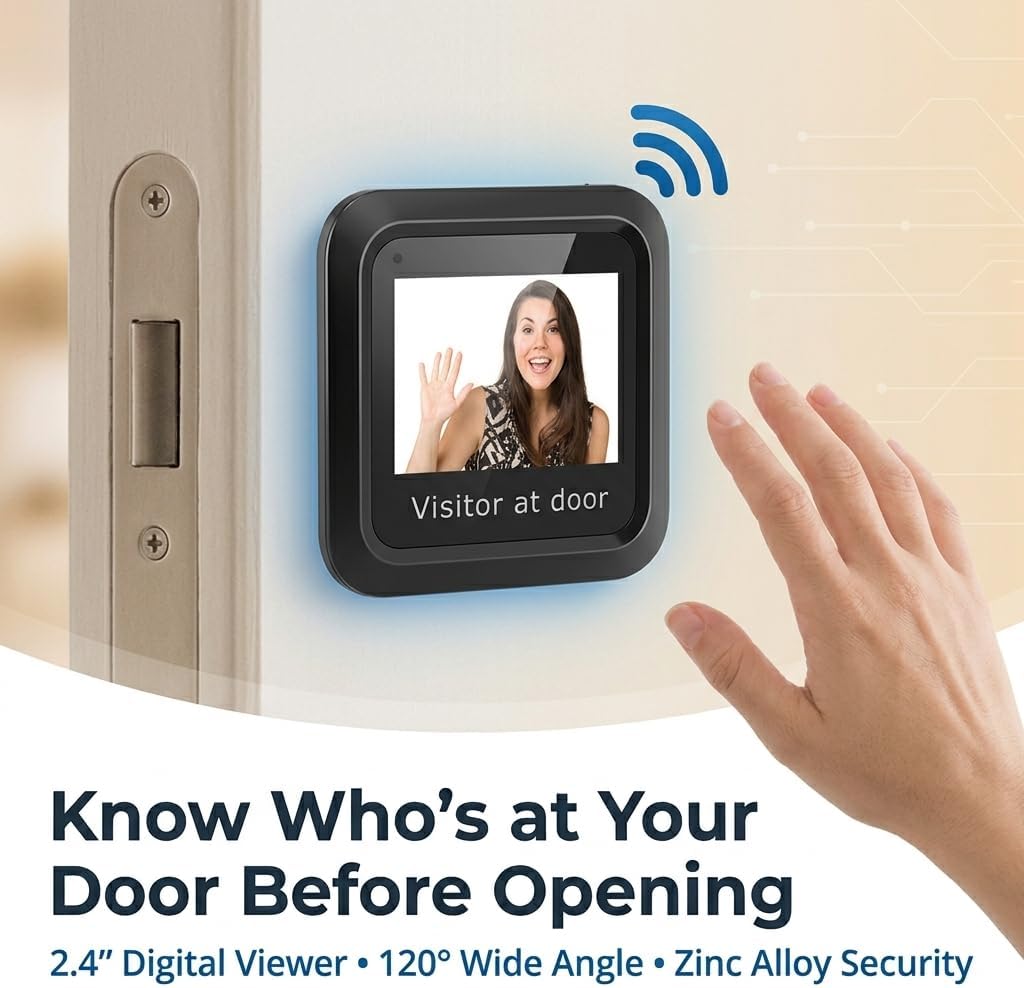
รูปที่ 6.1: Viewing a Visitor
6.3 Memory Card Usage (Optional)
If your model supports recording and you have inserted a small memory card into the slot:
- Refer to the on-screen menu or additional documentation for specific instructions on how to initiate recording, view playback, or manage stored footage.
7. การบำรุงรักษา
- การทำความสะอาด: ใช้ผ้าแห้งเนื้อนุ่มเช็ดทำความสะอาดหน้าจอและเลนส์กล้อง หลีกเลี่ยงการใช้สารทำความสะอาดที่มีฤทธิ์กัดกร่อนหรือตัวทำละลาย
- การเปลี่ยนแบตเตอรี่: When the battery indicator shows low power, replace all 3 AAA batteries simultaneously. Do not mix old and new batteries.
- สภาพแวดล้อม : ตรวจสอบให้แน่ใจว่าอุปกรณ์ไม่ได้สัมผัสกับอุณหภูมิที่สูงหรือต่ำเกินไป แสงแดดโดยตรงเป็นเวลานาน หรือความชื้นที่มากเกินไป
8 การแก้ไขปัญหา
| ปัญหา | สาเหตุที่เป็นไปได้ | สารละลาย |
|---|---|---|
| อุปกรณ์ไม่เปิดเครื่อง | แบตเตอรี่เหลือน้อยหรือหมด ขั้วแบตเตอรี่ไม่ถูกต้อง USB power not connected or faulty. | เปลี่ยนแบตเตอรี่ใหม่โดยตรวจสอบให้แน่ใจว่าใส่ขั้วถูกต้อง Check USB cable and power adapter connection. |
| Screen is blank or blurry. | เลนส์กล้องสกปรก Poor connection between camera and monitor. แสงสว่างภายนอกไม่เพียงพอ | ทำความสะอาดเลนส์กล้องด้วยผ้านุ่ม Ensure the camera and monitor cables are securely connected. The device performs best in adequate lighting. |
| No image when doorbell is pressed. | Doorbell not connected or incompatible. การตั้งค่าอุปกรณ์ | Verify doorbell connection and compatibility with the digital viewเอ่อ. Check device settings for automatic activation options. |
| Image quality is poor compared to expectations. | Environmental factors (e.g., glare, extreme darkness). Camera lens obstruction. | ตรวจสอบให้แน่ใจว่าเลนส์กล้องสะอาดและไม่มีสิ่งกีดขวาง Image quality may vary based on external lighting conditions. |
9. ข้อมูลจำเพาะ
| คุณสมบัติ | รายละเอียด |
|---|---|
| หมายเลขรุ่น | Luqeegbupzxet1rs |
| ขนาดจอแสดงผล | 2.4 นิ้ว |
| ความละเอียดของกล้อง | 0.3 ล้านพิกเซล |
| Viewอิงแองเกิล | 120 องศา |
| วัสดุก่อสร้าง | โลหะผสมสังกะสี |
| แหล่งจ่ายไฟ | 3 x 1.5V AAA Batteries (not included) or 5V 1A USB |
| น้ำหนักสินค้า | 8.1 ออนซ์ |
| ขนาดแพ็คเกจ | 7.87 x 4.72 x 1.97 นิ้ว |
| ส่วนประกอบที่รวมอยู่ | 1 x Camera, 1 x Monitor, 1 x Accessory Kit (2 x Washers, 8 x Screws), 1 x Manual |
10. การสนับสนุน
For any questions, technical assistance, or support regarding your Luqeeg Digital Door Viewer, please refer to the contact information provided with your purchase or visit the official Luqeeg website. Our customer support team is available to assist you.