1. บทนำ
This instruction manual provides comprehensive guidance for the installation, operation, and maintenance of the Generic ENS160+AHT21 sensor module. This module is designed to measure carbon dioxide (CO2), equivalent CO2 (eCO2), Total Volatile Organic Compounds (TVOC), temperature, and humidity, making it suitable for various environmental monitoring applications, particularly with microcontroller platforms like Arduino.
The ENS160+AHT21 sensor combines an advanced digital gas sensor (ENS160) with a high-precision temperature and humidity sensor (AHT21) to offer a compact and versatile solution for indoor air quality assessment.
2. สินค้าหมดview
The ENS160+AHT21 sensor module is a multi-functional environmental sensor. It features the ENS160 for detecting various air quality parameters and the AHT21 for accurate temperature and humidity readings. This combination allows for a holistic view of the ambient environment.

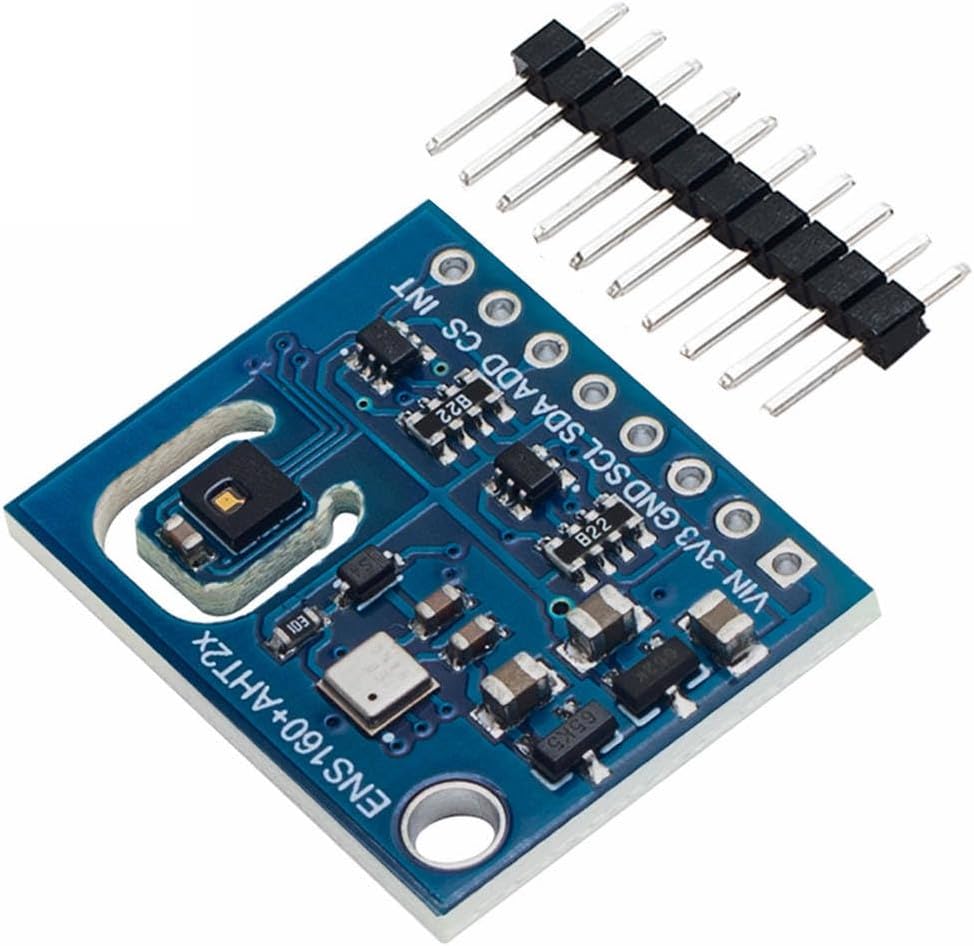
รูปที่ 2.1: ด้านบน view of the ENS160+AHT21 sensor module, showing the main components and pin headers for connection.
รูปที่ 2.2: มุม view of the ENS160+AHT21 sensor module, highlighting the integrated sensors and connection pins.
3. ข้อมูลจำเพาะ
| คุณสมบัติ | รายละเอียด |
|---|---|
| หมายเลขรุ่น | WYQc_JNIO_2250 |
| ประเภทเซนเซอร์ | ENS160 (CO2, eCO2, TVOC), AHT21 (Temperature, Humidity) |
| อินเทอร์เฟซการสื่อสาร | I2C (SDA, SCL) |
| ปฏิบัติการฉบับที่tage | 3.3V (VIN pin for wider input voltage range, typically 3.3V-5V depending on onboard regulator) |
| ขนาด | ขนาดประมาณ 2.4 ซม. x 2 ซม. |
| น้ำหนัก | ประมาณ 1.65กรัม |
| วัสดุ | Carbon (referring to sensor element) |

Figure 3.1: Dimensions and weight of the ENS160+AHT21 sensor module.
4. คู่มือการติดตั้ง
This section outlines the steps required to connect and prepare your ENS160+AHT21 sensor module for use with a microcontroller, such as an Arduino board.
4.1 คำอธิบายพินเอาต์
The module typically features the following pins:
- VIN: Power input (typically 3.3V to 5V, regulated to 3.3V onboard).
- 3V3: 3.3V regulated output (if available, or direct 3.3V input).
- จีเอ็นดี: การเชื่อมต่อกราวด์
- มาตรฐานความปลอดภัย: I2C Data Line.
- เอสซีแอล: I2C Clock Line.
- ADD/MISO: I2C Address Select (or SPI MISO, if supported).
- ซีเอส: Chip Select (for SPI, if supported).
- อินที: Interrupt Pin (optional, for event notifications).

Figure 4.1: Pinout diagram of the ENS160+AHT21 sensor module.
4.2 Wiring Instructions (I2C)
For typical I2C communication with an Arduino board, follow these connections:
- เชื่อมต่อ หมายเลขประจำตัวผู้เสียภาษี pin of the sensor to the 5V or 3.3โวลต์ pin on your Arduino board.
- เชื่อมต่อ ก.ย.ด. pin of the sensor to a ก.ย.ด. pin on your Arduino board.
- เชื่อมต่อ เอสดีเอ pin of the sensor to the SDA (A4 on Uno, D20 on Mega) pin on your Arduino board.
- เชื่อมต่อ เอส ซี แอล pin of the sensor to the SCL (A5 on Uno, D21 on Mega) pin on your Arduino board.
- Ensure the I2C address selection pin (ADD) is configured correctly. Refer to the sensor's datasheet for default or configurable addresses.
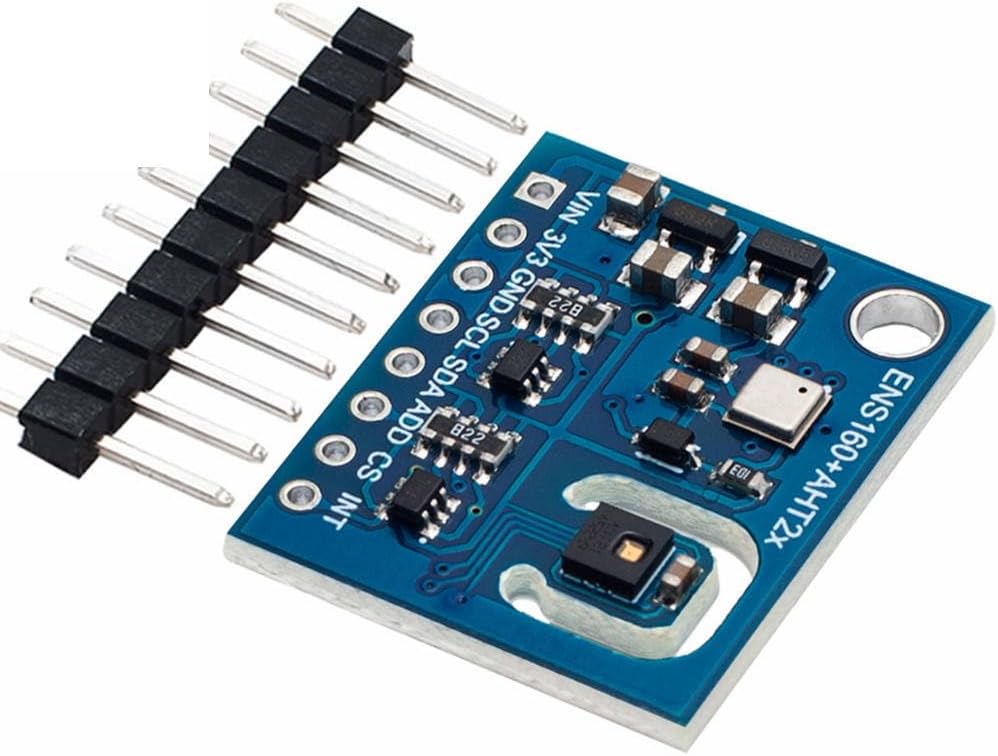
Figure 4.2: Sensor module with pin headers, illustrating connection points.
4.3 Software Setup (Arduino IDE)
To communicate with the sensor, you will need to install appropriate libraries in your Arduino IDE:
- เปิด Arduino IDE
- ไปที่ Sketch > รวมไลบรารี > จัดการไลบรารี...
- ค้นหา "ENS160" and install a suitable library (e.g., "Adafruit ENS160").
- ค้นหา "AHT21" and install a suitable library (e.g., "Adafruit AHTX0" or "SparkFun AHT20/AHT21").
- Restart the Arduino IDE after installation.
5. คู่มือการใช้งาน
Once the sensor is wired and libraries are installed, you can begin reading data. Here's a basic example structure for reading values:
5.1 Basic Code Example (เชิงแนวคิด)
This is a conceptual example. Refer to the specific library's examples for exact syntax.
#include <Wire.h>
#include <Adafruit_ENS160.h> // Example library
#include <Adafruit_AHTX0.h> // Example library

Adafruit_ENS160 ens160;
Adafruit_AHTX0 aht;

void setup() {
  Serial.begin(115200);
  while (!Serial) delay(10); // Wait for serial port to connect

  Serial.println("ENS160 + AHT21 Sensor Test");

  if (!ens160.begin()) {
    Serial.println("Couldn't find ENS160 sensor! Check wiring.");
    while (1) delay(10);
  }
  Serial.println("ENS160 Found!");

  if (!aht.begin()) {
    Serial.println("Couldn't find AHT21 sensor! Check wiring.");
    while (1) delay(10);
  }
  Serial.println("AHT21 Found!");
}

void loop() {
  sensors_event_t humidity, temp;
  aht.getEvent(&humidity, &temp); // Populate temp and humidity objects

  Serial.print("Temperature: "); Serial.print(temp.temperature); Serial.println(" *C");
  Serial.print("Humidity: "); Serial.print(humidity.relative_humidity); Serial.println(" %");

  // Set environmental compensation for ENS160 for better accuracy
  ens160.setTempOffset(temp.temperature);
  ens160.setHumidityOffset(humidity.relative_humidity);

  Serial.print("TVOC: "); Serial.print(ens160.getTVOC()); Serial.println(" ppb");
  Serial.print("eCO2: "); Serial.print(ens160.geteCO2()); Serial.println(" ppm");
  Serial.print("AQI: "); Serial.print(ens160.getAQI()); Serial.println(" (1-5, 1=Good)");

  delay(2000); // Read every 2 seconds
}
Upload this sketch to your Arduino board and open the Serial Monitor (set to 115200 baud) to view การอ่านเซ็นเซอร์
6. การบำรุงรักษา
The ENS160+AHT21 sensor module is designed for low maintenance. However, adhering to the following guidelines can help ensure optimal performance and longevity:
- รักษาความสะอาด: Avoid exposing the sensor to dust, dirt, or corrosive gases, which can affect its accuracy and lifespan. Do not use liquid cleaners directly on the sensor.
- สภาพแวดล้อม : Operate the sensor within its specified temperature and humidity ranges. Extreme conditions can damage the module.
- หลีกเลี่ยงความเครียดทางร่างกาย: Handle the module carefully to prevent physical damage to the sensitive sensor elements or solder joints.
- การสอบเทียบ: While the ENS160 performs self-calibration, prolonged exposure to very clean or very polluted air might affect its baseline. Occasional exposure to fresh outdoor air can help recalibrate the sensor's baseline.
7 การแก้ไขปัญหา
If you encounter issues with your ENS160+AHT21 sensor, consider the following troubleshooting steps:
- No Sensor Detected:
- Verify all wiring connections (VIN, GND, SDA, SCL) are secure and correct.
- Ensure the correct I2C address is being used in your code.
- Check if the sensor is receiving adequate power (3.3V or 5V).
- Confirm that the necessary libraries are installed correctly in the Arduino IDE.
- การอ่านไม่ถูกต้อง:
- Ensure the sensor is placed in an environment free from direct airflow, heat sources, or strong chemical fumes that could skew readings.
- Allow the sensor to warm up for at least 5-10 minutes after power-on for stable readings.
- For ENS160, ensure temperature and humidity compensation values from the AHT21 are being correctly applied.
- If TVOC/eCO2 readings seem consistently off, expose the sensor to fresh outdoor air for a few hours to allow its baseline to re-establish.
- การอ่านเป็นระยะ:
- Check for loose connections or poor solder joints.
- Ensure power supply is stable and free from noise.
- Verify that no other I2C devices on the bus are conflicting with the sensor's address.
8. การรับประกันและการสนับสนุน
This product is typically covered by a standard manufacturer's warranty against defects in materials and workmanship. For specific warranty terms, please refer to the documentation provided by your retailer or contact the point of purchase. Technical support may be available through online forums, community resources, or the retailer's support channels.