
1. บทนำ
The Xigmatek Hero II Air 3F is a mid-tower PC case designed for optimal airflow and component compatibility. It features a tempered glass side panel, support for various motherboard form factors, and pre-installed cooling fans. This manual provides detailed instructions for the installation of components, operation, maintenance, and troubleshooting of your PC case.
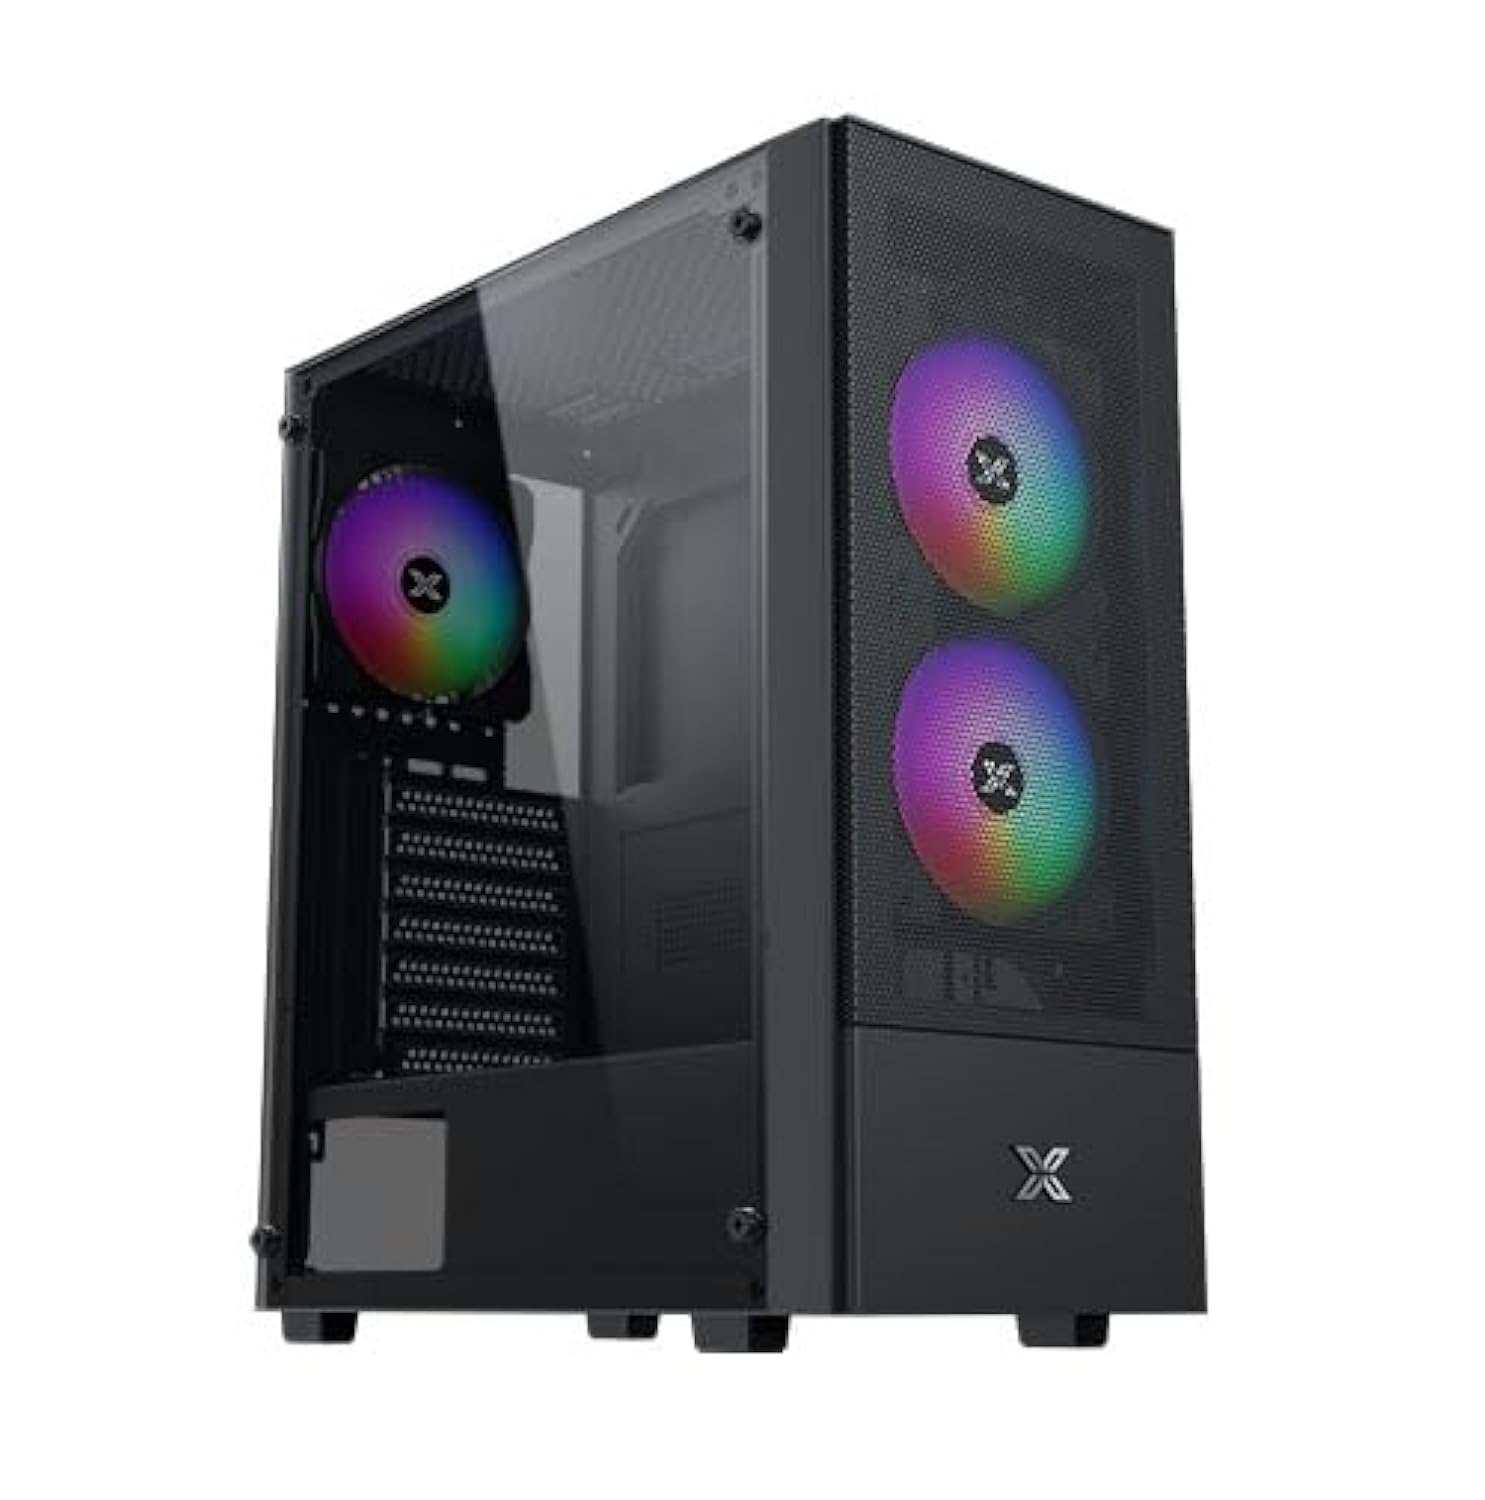
Figure 1: Xigmatek Hero II Air 3F Mid-Tower PC Case overview.
2. ข้อมูลด้านความปลอดภัย
Please read and understand all safety instructions before installing components into the PC case.
- ควรตัดการเชื่อมต่อสายไฟออกจากเต้ารับที่ผนังทุกครั้งก่อนทำการติดตั้งหรือบำรุงรักษาใดๆ
- สวมสายรัดข้อมือป้องกันไฟฟ้าสถิตย์เพื่อป้องกันความเสียหายจากการคายประจุไฟฟ้าสถิตย์ (ESD) ต่อส่วนประกอบที่มีความละเอียดอ่อน
- Handle components carefully to avoid physical damage.
- เก็บชิ้นส่วนเล็กๆ และสกรูให้ห่างจากเด็ก
- ตรวจสอบให้แน่ใจว่ามีการระบายอากาศที่เหมาะสมรอบ ๆ เคสพีซีเพื่อป้องกันความร้อนสูงเกินไป
- Do not operate the PC case with the side panel removed unless necessary for troubleshooting or maintenance.
3. เนื้อหาบรรจุภัณฑ์
ตรวจสอบว่ามีรายการทั้งหมดอยู่ในแพ็คเกจ:
- Xigmatek Hero II Air 3F Mid-Tower PC Case
- Accessory box (containing screws, cable ties, and other small parts)
- 3 x 120mm fixed RGB fans (pre-installed)
- คู่มือการใช้งาน (เอกสารนี้)
4. การตั้งค่าและการติดตั้งส่วนประกอบ
Follow these steps to install your PC components into the Xigmatek Hero II Air 3F case.
4.1 การติดตั้งเมนบอร์ด
เคสนี้รองรับเมนบอร์ด ATX, Micro-ATX และ Mini-ITX
- ถอดแผงกระจกนิรภัยด้านข้างออกโดยการคลายสกรูหัวแม่มือ
- ติดตั้งแผ่นปิดพอร์ต I/O (หากยังไม่ได้ติดตั้งไว้กับเมนบอร์ด) เข้ากับช่องเปิดด้านหลังของเคส
- Align your motherboard with the standoffs inside the case. Ensure the standoffs match your motherboard's form factor.
- ยึดเมนบอร์ดด้วยสกรูที่ให้มา
- Install the CPU cooler. The case supports CPU air coolers up to 165mm in height.

Figure 2: Component clearance for motherboard (ATX), CPU cooler (165mm), and graphics card (340mm).
4.2 การติดตั้งไดรฟ์จัดเก็บข้อมูล
The case offers multiple storage options:
- เคสใส่ฮาร์ดดิสก์: Supports 2 x 3.5" HDDs or 2 x 2.5" SSDs in a combo cage located at the bottom.
- แผง MB: Supports 2 x 2.5" SSDs mounted behind the motherboard tray.
- For 3.5" HDDs or 2.5" SSDs in the cage, slide the drive into the bay and secure with screws.
- For 2.5" SSDs behind the motherboard tray, mount the SSDs directly onto the designated spots using screws.

Figure 3: Locations for SSDs (behind motherboard tray) and HDD/SSD combo cage.
4.3 การติดตั้งหน่วยจ่ายไฟ (PSU)
The case supports standard PS2 ATX PSUs up to 165mm in length.
- Locate the PSU mounting bracket at the rear bottom of the case.
- Slide the PSU into the designated compartment from the rear of the case.
- ยึดพาวเวอร์ซัพพลายด้วยสกรูจากด้านนอกเคส
4.4 การติดตั้งการ์ดจอ (GPU)
The case accommodates graphics cards up to 340mm in length.
- ถอดฝาครอบช่องขยายที่จำเป็นออกจากด้านหลังของเคส
- Insert the graphics card into the appropriate PCIe slot on your motherboard.
- ยึดการ์ดกราฟิกเข้ากับเคสด้วยสกรู
4.5 Fan and Liquid Cooling Installation
The Hero II Air 3F comes with three pre-installed 120mm fixed RGB fans. Additional fan and liquid cooling support is available:
- ด้านหน้า: 3 x 120mm fans (pre-installed)
- สูงสุด: 2 x 120mm or 2 x 140mm fans
- หลัง: 1 x 120mm fan (pre-installed)
- ฐานรองหม้อน้ำระบายความร้อนด้วยของเหลว: Front 360mm, Top 240mm, Rear 120mm.
- Mount additional fans or radiators to the designated locations using the appropriate screws.
- Ensure proper airflow direction for optimal cooling (intake at front, exhaust at rear/top).

Figure 4: Illustration of superior airflow design with front intake and rear exhaust.
4.6 การจัดการสายเคเบิล
The case provides space behind the motherboard tray and cutouts for efficient cable routing.
- Route power cables and data cables through the designated cutouts to the back of the motherboard tray.
- Use cable ties (provided in the accessory box) to bundle and secure cables, ensuring a clean interior and unobstructed airflow.
5. การใช้งานเคสคอมพิวเตอร์
Once all components are installed and cables are connected, you can operate your PC.
5.1 พอร์ต I/O ด้านหน้า
แผง I/O ที่ติดตั้งอยู่ด้านบนช่วยให้เข้าถึงพอร์ตและปุ่มควบคุมที่จำเป็นได้อย่างสะดวก:
- ปุ่มเปิด/ปิด: เพื่อเปิด/ปิดระบบ
- ปุ่มรีเซ็ต: เพื่อรีสตาร์ทระบบ
- พอร์ต USB 2.0 (x2): สำหรับเชื่อมต่ออุปกรณ์ USB 2.0
- พอร์ต USB 3.0 (x1): สำหรับเชื่อมต่ออุปกรณ์ USB 3.0
- HD Audio Jack: สำหรับการเชื่อมต่อหูฟังและไมโครโฟน
- สวิตช์ LED: To control the lighting of the pre-installed RGB fans.

Figure 5: Diagram of the top-mounted I/O ports including Power, Reset, USB 2.0, USB 3.0, HD Audio, and LED Switch.
5.2 Fan Operation and RGB Control
The pre-installed fans provide cooling for your system. The LED Switch on the I/O panel allows you to cycle through different lighting modes for the fixed RGB fans. Note that the pre-installed fans use Molex connectors for power.
6. การบำรุงรักษา
การบำรุงรักษาตามปกติจะช่วยให้มั่นใจได้ถึงประสิทธิภาพสูงสุดและอายุการใช้งานที่ยาวนานของส่วนประกอบพีซีของคุณ
- การทำความสะอาดฝุ่น: Periodically clean dust filters and the interior of the case using compressed air or a soft brush. Dust accumulation can impede airflow and lead to overheating.
- ตรวจสอบการจัดการสายเคเบิล: Ensure cables remain neatly organized and do not obstruct airflow.
- การตรวจสอบพัดลม: Check fans for any obstructions or unusual noises.
7 การแก้ไขปัญหา
หัวข้อนี้จะกล่าวถึงปัญหาทั่วไปที่คุณอาจพบเจอ
- พัดลมไม่หมุนหรือไฟ RGB ไม่ติด:
- Ensure all fan power connectors (Molex) are securely connected to the power supply.
- Verify that the LED Switch cable from the I/O panel is correctly connected to the fan controller or motherboard header (if applicable). Note that the pre-installed fans have fixed RGB and are controlled by the LED switch.
- ระบบไม่เปิดเครื่อง:
- Check all power connections, including the 24-pin ATX, 8-pin CPU, and GPU power cables.
- Ensure the power button cable from the I/O panel is correctly connected to the motherboard's front panel header.
- ตรวจสอบว่าสวิตช์ PSU อยู่ในตำแหน่ง "เปิด"
- Poor airflow or high temperatures:
- Check for dust buildup on fans and filters and clean them.
- ตรวจสอบให้แน่ใจว่าพัดลมติดตั้งในตำแหน่งที่ถูกต้องเพื่อให้การดูดอากาศและการระบายอากาศมีประสิทธิภาพสูงสุด
- ตรวจสอบว่าไม่มีสายเคเบิลกีดขวางเส้นทางการไหลของอากาศ
8. ข้อมูลจำเพาะ
Detailed specifications for the Xigmatek Hero II Air 3F PC Case.

Figure 6: Official specifications table for the Hero II Air 3F.
| คุณสมบัติ | ข้อมูลจำเพาะ |
|---|---|
| ชื่อสินค้า | Hero II Air 3F |
| วัสดุ | โลหะผสมเหล็ก |
| ขนาด (กว้าง x ยาว x สูง) | 390 x 195 x 450 มม. |
| ช่องไดรฟ์ | HDD Cage: 2 x 3.5" & 2.5" combo; MB Panel: 2 x 2.5" SSD |
| ช่องเสียบขยาย | 7 ช่องมาตรฐาน |
| การรองรับเมนบอร์ด | ATX, M-ATX, Mini ITX |
| การรองรับแหล่งจ่ายไฟ | Standard PS2 ATX PSU (Max 165mm length) |
| การสนับสนุนแฟนๆ | Top: 2 x 120mm or 2 x 140mm; Front: 3 x 120mm; Rear: 1 x 120mm |
| รองรับการระบายความร้อนด้วยของเหลว | ด้านหน้า: 360 มม.; ด้านบน: 240 มม.; ด้านหลัง: 120 มม. |
| แผง I/O | 1 x USB 3.0, 2 x USB 2.0, HD Audio, LED Switch |
| ความสูงของ CPU Cooler | สูงสุด 165มม. |
| ความยาวของการ์ด VGA | สูงสุด 340มม. |
| ความยาวแหล่งจ่ายไฟ | สูงสุด 165มม. |
| พัดลมที่ติดตั้งล่วงหน้า | 3 x 120mm Fixed RGB Fans |
| คุณสมบัติ | Tempered glass side panel, advanced cooling system, easy cable management |
9. ข้อมูลการรับประกัน
The Xigmatek Hero II Air 3F PC Case comes with a รับประกัน 2 ปี from the date of purchase. This warranty covers manufacturing defects and material faults under normal use. It does not cover damage caused by misuse, accident, modification, or unauthorized repair. Please retain your proof of purchase for warranty claims.
10. การสนับสนุน
For further assistance, technical support, or warranty inquiries, please contact Xigmatek customer service through their official webเว็บไซต์หรือตัวแทนจำหน่ายในพื้นที่ของคุณ


