1. บทนำ
The Walfront MPPT Solar Charge Controller is designed to efficiently manage power flow from your solar panels to your battery bank, optimizing charging performance for off-grid solar systems. This manual provides essential information for the safe and effective installation, operation, and maintenance of your 50A MPPT solar charge controller.

Image 1.1: Walfront MPPT Solar Charge Controller 50A. This image shows the front view of the orange and black controller, featuring an LCD screen displaying PV, Battery, and Load information, along with 'ESC' and 'SET' buttons.
2. คุณสมบัติหลัก
- High Efficiency MPPT Tracking: Features MPPT tracking efficiency greater than 99% and a maximum conversion efficiency of up to 98%, maximizing energy harvest from solar panels.
- Wide 180V PV Input and Auto Voltagการรับรองทางอิเล็กทรอนิกส์: Supports a maximum solar input voltage of 180V (at 25℃) and automatically recognizes 12V, 24V, 36V, and 48V battery systems. Compatible with battery voltages ตั้งแต่ 9V ถึง 64V
- Clear LCD Display and Smart Protection: Built-in LCD provides real-time system data (voltage, current, operating status). Includes temperature compensation and multiple protection features for safe operation.
- Low No-Load Loss and Reliable Performance: No-load loss of ≤0.4W conserves energy. Designed for reliable operation in temperatures from -10℃ to 65℃ and altitudes up to 3000 meters.
- ติดตั้งและใช้งานง่าย: Auto-recognition feature simplifies setup. Compact design allows for straightforward mounting.

ภาพที่ 2.1: ระดับเสียงอัตโนมัติtage Identification. This image highlights the controller's ability to automatically identify 12V, 24V, 36V, and 48V systems, shown with various solar panel application exampเลส.
3. ข้อมูลด้านความปลอดภัย
Please read all instructions carefully before installation and operation. Failure to follow these safety guidelines may result in personal injury, damage to the controller, or other equipment.
- Ensure all wiring is correctly polarized and securely connected. Loose connections can cause overheating and damage.
- ควรต่อแบตเตอรี่ก่อนเสมอ จากนั้นจึงต่อแผงโซลาร์เซลล์ และสุดท้ายจึงต่ออุปกรณ์ไฟฟ้าที่ต้องการใช้งาน ส่วนการถอดควรทำในลำดับย้อนกลับ
- Do not connect the solar panel array to the controller without a battery connected.
- ตรวจสอบให้แน่ใจว่าระบบมีปริมาตรtage of the solar panel and battery are compatible with the controller's specifications.
- ติดตั้งตัวควบคุมในบริเวณที่มีอากาศถ่ายเทสะดวก ห่างจากวัสดุไวไฟและแสงแดดโดยตรง
- Avoid touching live terminals. Use insulated tools during installation.
- This device is not waterproof. Protect it from moisture and water exposure.
4. เนื้อหาบรรจุภัณฑ์
ตรวจสอบว่ารายการทั้งหมดที่ระบุไว้ด้านล่างนี้รวมอยู่ในแพ็คเกจของคุณ:
- 1 x Walfront MPPT Solar Charge Controller (50A)
- สกรู 4 ตัว
- สกรูขยาย 4 ตัว
- 1 x คู่มือผู้ใช้ (เอกสารนี้)
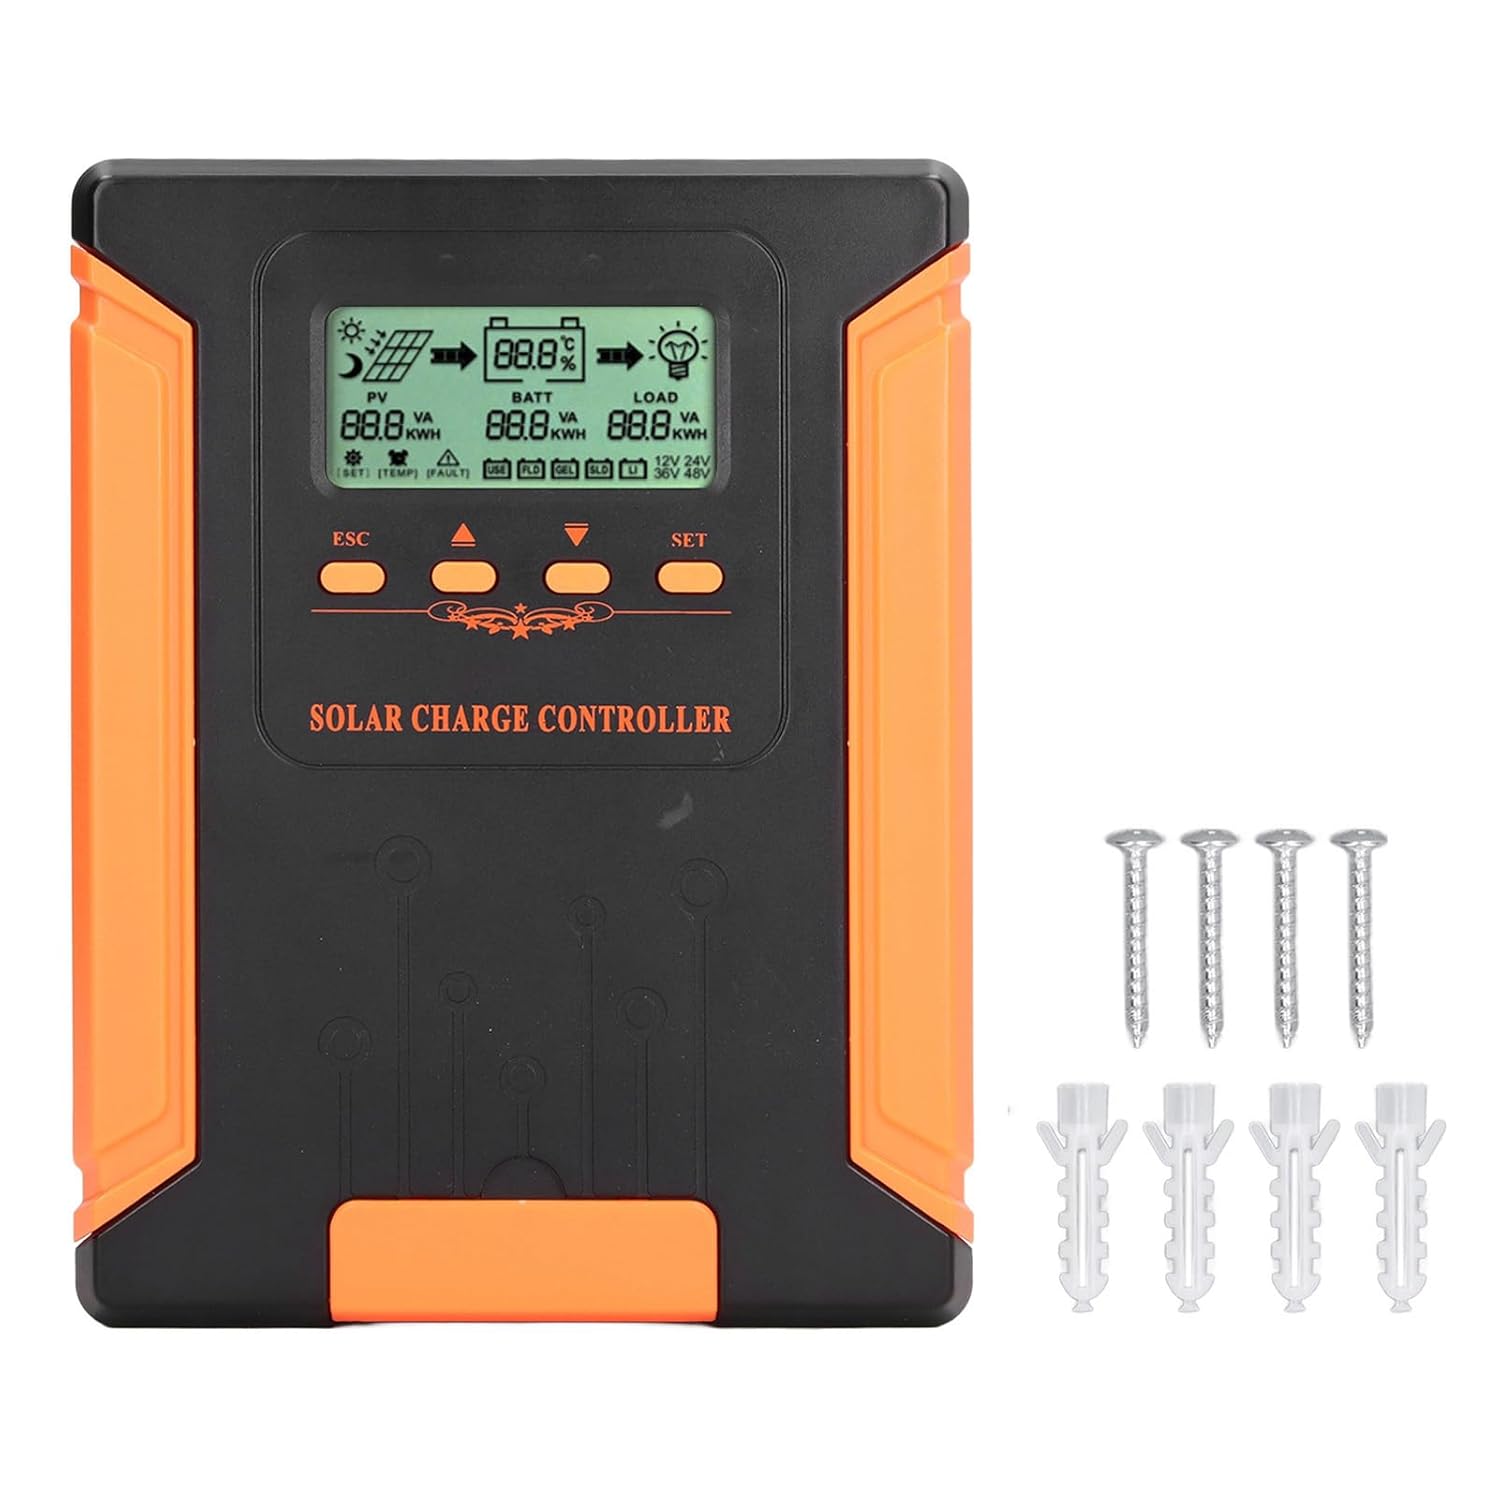
Image 4.1: Package Contents. This image displays the solar charge controller alongside the mounting screws and expansion screws provided in the package.
5. การตั้งค่าและการติดตั้ง
Follow these steps for proper installation of your solar charge controller.
5.1 การติดตั้งคอนโทรลเลอร์
- Choose a dry, well-ventilated location, protected from direct sunlight, high temperatures, and moisture.
- Ensure there is sufficient space around the controller for heat dissipation, especially around the cooling fins.
- Mount the controller vertically on a solid surface using the provided screws.
5.2 การเชื่อมต่อสายไฟ
Refer to the wiring diagrams below for correct connection sequence. Always connect in the following order:
- เชื่อมต่อแบตเตอรี่: Connect the battery to the controller's battery terminals. Ensure correct polarity (+ to + and - to -). The controller will automatically detect the battery voltage.
- เชื่อมต่อแผงโซล่าเซลล์: Connect the solar panel array to the controller's PV terminals. Ensure correct polarity.
- เชื่อมต่อโหลด DC (ไม่จำเป็น): เชื่อมต่อโหลด DC เข้ากับขั้วต่อโหลดของตัวควบคุม ตรวจสอบให้แน่ใจว่าขั้วถูกต้อง
To disconnect the system, follow the reverse order: disconnect load, then solar panel, then battery.

Image 5.1: Basic System Connection Diagram. This diagram illustrates the connection order: 1. Battery Assembly, 2. Solar Panel Assembly, 3. DC Load. It also shows an AC Load and Inverter connected to the Battery Assembly.

Image 5.2: Detailed System Wiring Diagram. This diagram provides a more comprehensive view of a solar power system, including solar panels, battery, inverter (AC Output/Input), and various AC loads like laptops, lights, air conditioners, televisions, and fans.
6. คู่มือการใช้งาน
The controller features an LCD display and control buttons for monitoring and configuration.
6.1 จอแสดงผล LCD
The LCD screen provides real-time information about your solar system, including:
- PV (Photovoltaic) Status: ปริมาณอินพุตtage, current, and power from solar panels.
- BATT (Battery) Status: ปริมาณแบตเตอรี่tage, charging current, and state of charge.
- LOAD Status: Output current and power to the DC load.
- เล่มระบบtage: Automatically detected battery system voltage (12V/24V/36V/48V)
- ตัวบ่งชี้ข้อผิดพลาด: Displays fault codes or warnings if issues occur.
6.2 ปุ่มควบคุม
The controller has three buttons: ESC, Up/Down arrows, and SET.
- ปุ่ม ESC: Used to exit current menu or cancel an operation.
- ปุ่มขึ้น/ลง: ใช้สำหรับเลื่อนดูตัวเลือกในเมนูหรือปรับค่าพารามิเตอร์
- ปุ่ม ตลท.: Used to enter a menu, confirm a selection, or save changes to parameters.

Image 6.1: Control Buttons. This close-up image shows the 'ESC', 'Up arrow', 'Down arrow', and 'SET' buttons on the controller's front panel.
7. การบำรุงรักษา
การบำรุงรักษาตามปกติจะช่วยให้ตัวควบคุมการชาร์จพลังงานแสงอาทิตย์ของคุณมีประสิทธิภาพสูงสุดและมีอายุการใช้งานยาวนาน
- การทำความสะอาด: Periodically clean the controller's exterior with a dry cloth. Ensure the cooling fins are free from dust and debris to maintain proper heat dissipation.
- การเชื่อมต่อ: Check all wiring connections regularly to ensure they are tight and free from corrosion.
- การตรวจสอบ: Inspect the controller for any signs of physical damage, overheating, or unusual odors.
- สิ่งแวดล้อม: Ensure the installation environment remains dry and well-ventilated.

Image 7.1: Cooling Fins. This close-up shows the cooling fins on the top of the controller, which are crucial for heat dissipation and require regular cleaning.
8 การแก้ไขปัญหา
หากคุณพบปัญหาเกี่ยวกับคอนโทรลเลอร์ โปรดดูปัญหาและวิธีแก้ไขที่พบบ่อยต่อไปนี้:
| ปัญหา | สาเหตุที่เป็นไปได้ | สารละลาย |
|---|---|---|
| หน้าจอแสดงผลของคอนโทรลเลอร์ปิดอยู่ | ไม่มีแบตเตอรี่เชื่อมต่อหรือไม่มีแรงดันไฟฟ้าของแบตเตอรี่tagอีต่ำเกินไป | Ensure battery is connected correctly and has sufficient charge (above 9V). |
| No charging current from PV | Solar panels not connected, insufficient sunlight, or PV polarity reversed. | ตรวจสอบการเชื่อมต่อและขั้วของแผงโซลาร์เซลล์ ตรวจสอบให้แน่ใจว่ามีแสงแดดเพียงพอ ตรวจสอบแรงดันไฟฟ้าของแผงโซลาร์เซลล์tage อยู่ในช่วง |
| โหลดไม่ทำงาน | Load disconnected, load current too high, or load polarity reversed. | Check load connections and polarity. Ensure load current does not exceed controller's rating. |
| แบตไม่เต็ม | Insufficient solar input, undersized solar array, or battery issues. | Increase solar panel capacity or check for shading. Inspect battery health. |
9. ข้อมูลจำเพาะทางเทคนิค
Below are the technical specifications for the Walfront MPPT Solar Charge Controller 50A.
| พารามิเตอร์ | ข้อมูลจำเพาะ |
|---|---|
| เล่มระบบtage | 12V / 24V / 36V / 48V อัตโนมัติ |
| จัดอันดับการชาร์จปัจจุบัน | 50เอ |
| No Load Loss | ≤0.4วัตต์ |
| Solar Maximum Input Voltage | 180V (at 25℃), 150V (at -25℃) |
| ปริมาณแบตเตอรี่tagอี เรนจ์ | 9-64โวลต์ |
| จุดไฟสูงสุด Voltagอี เรนจ์ | ปริมาณแบตเตอรี่tag+2V ถึง 150V |
| ประสิทธิภาพการแปลง | ≤98% |
| ประสิทธิภาพการติดตาม MPPT | มากกว่า 99% |
| ค่าสัมประสิทธิ์การชดเชยอุณหภูมิ | -2mv/℃/2V (default value) |
| อุณหภูมิในการทำงาน | -10℃ ถึง 65℃ |
| ระดับการป้องกัน | IP21 |
| ระดับความสูง | ≤3000 Meter / 9842.5ft |

Image 9.1: Model Comparison Table. This table provides a comparison of rated charging current and solar panel maximum input power for CM-50 (50A) and CM-60 (60A) models across different system voltagใช่
10. การรับประกันและการสนับสนุน
สำหรับข้อมูลการรับประกันและการสนับสนุนทางเทคนิค โปรดดูเอกสารที่ให้ไว้ตอนซื้อสินค้าหรือติดต่อผู้ค้าปลีกของคุณ เก็บใบเสร็จรับเงินไว้เป็นหลักฐานการซื้อ