การแนะนำ
Thank you for choosing the AIRPLUS Dehumidifier. This appliance is designed to efficiently remove excess moisture from the air, creating a more comfortable and healthier environment in your home or office. By reducing humidity, it helps prevent the growth of mold, mildew, and dust mites, and protects your belongings from moisture damage. Please read this manual thoroughly before operating the unit and keep it for future reference.
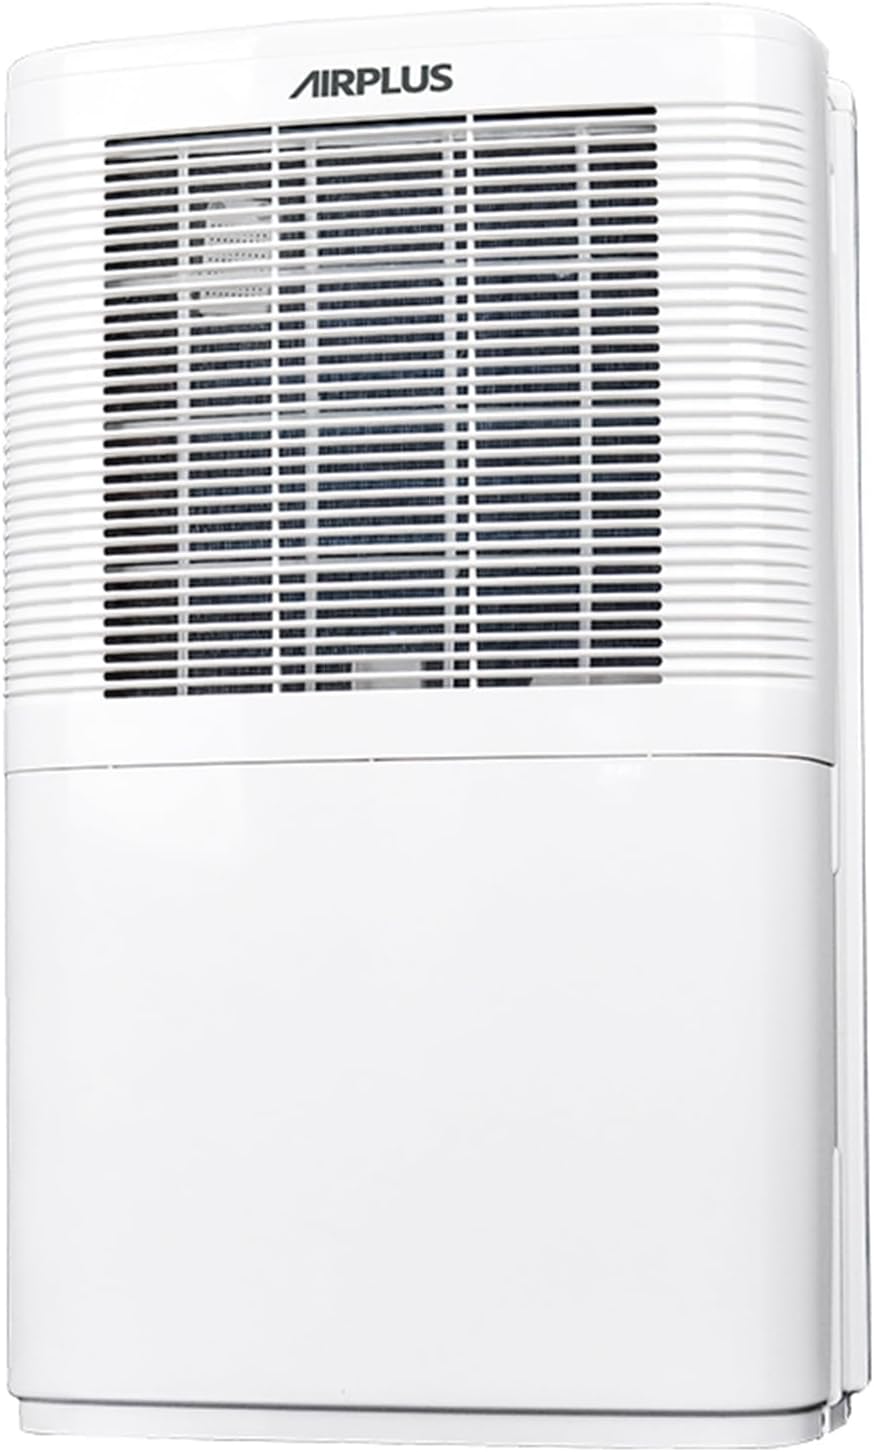
รูปที่ 1 : ด้านหน้า view of the AIRPLUS Dehumidifier, showcasing its compact design and air intake grille.
คำแนะนำด้านความปลอดภัยที่สำคัญ
เพื่อลดความเสี่ยงจากไฟไหม้ ไฟฟ้าช็อต หรือการบาดเจ็บขณะใช้งานเครื่องลดความชื้น โปรดปฏิบัติตามข้อควรระวังพื้นฐานเหล่านี้:
- อ่านคำแนะนำทั้งหมดก่อนใช้เครื่องใช้ไฟฟ้า
- Only use the dehumidifier with a properly grounded electrical outlet.
- อย่าใช้งานเครื่องหากสายไฟหรือปลั๊กเสียหาย
- Keep the dehumidifier away from heat sources and direct sunlight.
- Ensure proper clearance around the unit for adequate airflow (at least 8 inches from walls or furniture).
- ห้ามสอดนิ้วหรือวัตถุแปลกปลอมเข้าไปในช่องอากาศเข้าหรือออก
- ควรปิดเครื่องและถอดปลั๊กออกทุกครั้งก่อนทำความสะอาดหรือบำรุงรักษา
- Do not use the dehumidifier in areas where water is likely to splash onto it.
- เครื่องใช้ไฟฟ้าตัวนี้ไม่ได้มีวัตถุประสงค์เพื่อให้บุคคล (รวมทั้งเด็ก) ที่มีความบกพร่องทางร่างกาย ทางประสาทสัมผัส หรือทางจิตใจ หรือขาดประสบการณ์และความรู้ ใช้งาน เว้นแต่จะมีการดูแลหรือคำแนะนำเกี่ยวกับการใช้เครื่องใช้ไฟฟ้าโดยบุคคลที่รับผิดชอบด้านความปลอดภัยของบุคคลดังกล่าว
สินค้าเกินview
ส่วนประกอบ
Familiarize yourself with the main parts of your AIRPLUS Dehumidifier:
- แผงควบคุม: Located on the top, for setting modes, humidity, and timer.
- ช่องรับอากาศ: Front-facing grille where air enters the unit.
- ช่องระบายอากาศ: Top-facing vent where dehumidified air exits.
- ถังเก็บน้ำ: มีถังเก็บน้ำที่ถอดได้อยู่ด้านล่าง สำหรับเก็บน้ำที่ควบแน่น
- ท่อระบายน้ำ: Located at the back for continuous drainage.
- ตัวกรองอากาศที่สามารถซักล้างได้: Located behind the air inlet grille, designed to capture dust.
- Concave Handle: มีด้ามจับในตัวเพื่อความสะดวกในการพกพา

รูปที่ 2: ด้านข้าง view of the AIRPLUS Dehumidifier with key dimensions (12"D x 8.9"W x 20.7"H) indicated, highlighting its compact size for various room placements.

รูปที่ 3: ระยะใกล้ view of the integrated concave handle on the side of the dehumidifier, designed for easy lifting and transport.
แผงควบคุม
The control panel allows you to manage all functions of your dehumidifier:
- HUM (Humidity): Displays current humidity and allows setting target humidity.
- ตัวจับเวลา: Activates the 24-hour timer for scheduled operation.
- ความเร็ว: ปรับความเร็วพัดลมได้ระหว่างระดับต่ำและระดับสูง
- เส้นทาง: Cycles through Dehumidifier, Anion, and Fan modes.
- ปุ่มเปิด/ปิด: เปิดหรือปิดเครื่อง

รูปที่ 4: รายละเอียด view of the control panel with buttons for Humidity, Timer, Speed, Mode, and Power, along with a digital display for settings.
การตั้งค่า
การแกะกล่อง
- นำเครื่องลดความชื้นออกจากบรรจุภัณฑ์อย่างระมัดระวัง
- นำวัสดุบรรจุภัณฑ์ เทปกาว และฟิล์มป้องกันออกทั้งหมด
- ตรวจสอบตัวเครื่องว่ามีร่องรอยความเสียหายจากการขนส่งหรือไม่ หากพบความเสียหาย ห้ามใช้งานและติดต่อฝ่ายบริการลูกค้า
การจัดวาง
For optimal performance, place the dehumidifier in a central location within the area you wish to dehumidify. Ensure:
- The unit is on a flat, stable surface.
- There is at least 8 inches (20 cm) of space around all sides for proper air circulation.
- All windows and doors in the room are closed to maximize efficiency.
- อย่าวางเครื่องไว้ใกล้เครื่องใช้ไฟฟ้าที่สร้างความร้อน หรือในที่ที่มีแสงแดดส่องโดยตรง

Figure 5: The AIRPLUS Dehumidifier shown in different environments, including a living room, basement, bedroom, and office, illustrating its versatility for various spaces.
ตัวเลือกการระบายน้ำ
Your AIRPLUS Dehumidifier offers two methods for water removal:

Figure 6: Illustration of the two drainage methods: manual drainage using the 2.8L water tank and continuous drainage via a connected hose.
Manual Drainage (Water Tank)
The unit will automatically shut off when the water tank is full. The "Full Tank" indicator light will illuminate. To empty:
- ค่อยๆ ดึงถังน้ำออกจากด้านหน้าของเครื่อง
- ค่อยๆ ยกถังไปวางที่อ่างล้างจานหรือท่อระบายน้ำ
- เทน้ำที่เก็บกักไว้ออกไป
- Slide the empty water tank back into the dehumidifier until it clicks into place.
Continuous Drainage (Drain Hose)
For continuous operation without needing to empty the tank, you can connect a drain hose (not included) to the unit's drain outlet.
- Locate the drain outlet at the back of the dehumidifier.
- Remove the rubber stopper from the drain outlet.
- Connect a standard garden hose (or suitable tubing) to the drain outlet. Ensure the connection is secure to prevent leaks.
- Route the hose downwards to a floor drain, large bucket, or other suitable drainage point. Ensure there are no kinks or blockages in the hose.
- The unit will now drain continuously, bypassing the water tank.

Figure 7: Step-by-step visual guide showing the removal of the drain plug and connection of a continuous drain hose to the dehumidifier's rear outlet.
คำแนะนำการใช้งาน
เปิด/ปิดเครื่อง
เสียบสายไฟเข้ากับเต้ารับไฟฟ้าที่มีสายดิน กดปุ่ม พลัง กดปุ่มบนแผงควบคุมเพื่อเปิดหรือปิดเครื่อง
การเลือกโหมด
กดปุ่ม โหมด ปุ่มสำหรับสลับโหมดการทำงานที่มีให้เลือก:
- โหมดเครื่องลดความชื้น: The primary mode for moisture removal. The unit will operate based on your set humidity level.
- Anion Mode: Activates the anion function, which helps purify the air. Press and hold the MODE button for 5 seconds to activate.
- โหมดพัดลม: The unit operates as a fan, circulating air without dehumidifying.
การตั้งค่าความชื้น
In Dehumidifier Mode, press the ฮัม button to adjust the desired humidity level. The humidity can be set in 5% increments. The unit will automatically turn on or off to maintain the set humidity.
การปรับความเร็วพัดลม
กดปุ่ม ความเร็ว button to switch between Low and High fan speeds. Higher fan speed results in faster dehumidification.
ฟังก์ชั่นจับเวลา
The timer function allows you to set the unit to automatically turn ON or OFF after a specified period (0-24 hours).
- กดปุ่ม ตัวจับเวลา ปุ่ม.
- ใช้ ฮัม or ความเร็ว buttons to adjust the desired time in hours.
- ตัวจับเวลาจะเริ่มทำงานหลังจากไม่มีการใช้งานเป็นเวลาสองสามวินาที

Figure 8: Visual representation of the 24-hour two-way timing feature, allowing users to preset both boot-up and shutdown times for automated operation.
การซ่อมบำรุง
การบำรุงรักษาตามปกติจะช่วยให้เครื่องลดความชื้นทำงานได้อย่างเหมาะสมที่สุดและยืดอายุการใช้งานของเครื่องลดความชื้นของคุณ
การทำความสะอาดตัวกรองอากาศ
ควรทำความสะอาดตัวกรองอากาศทุกสองสัปดาห์หรือบ่อยกว่านั้น ขึ้นอยู่กับการใช้งานและคุณภาพอากาศ
- ปิดเครื่องลดความชื้นและถอดปลั๊กออกจากเต้าเสียบไฟฟ้า
- หาตำแหน่งของแผ่นกรองอากาศ ซึ่งอยู่ด้านหลังตะแกรงช่องรับอากาศด้านหน้า
- Gently pull down the filter to remove it.
- Wash the filter with warm, soapy water. Rinse thoroughly and allow it to air dry completely before reinstalling.
- Alternatively, you can use a vacuum cleaner with a brush attachment to remove dust from the filter.
- Once dry, slide the filter back into its slot until it is securely in place.

Figure 9: Diagram illustrating how to pull down and remove the washable air filter from the dehumidifier for cleaning.
การระบายน้ำออกจากถังน้ำ
If you are not using the continuous drainage option, the water tank will need to be emptied regularly. Refer to the "Manual Drainage" section under Setup for detailed steps.
พื้นที่จัดเก็บ
When storing the dehumidifier for an extended period:
- Empty the water tank completely and ensure it is dry.
- ทำความสะอาดตัวกรองอากาศ
- พันสายไฟให้เรียบร้อย
- ควรเก็บเครื่องในแนวตั้งในที่แห้งและเย็น หลีกเลี่ยงแสงแดดโดยตรงและอุณหภูมิที่สูงหรือต่ำเกินไป
การแก้ไขปัญหา
ก่อนติดต่อฝ่ายบริการลูกค้า โปรดดูตารางต่อไปนี้เพื่อดูปัญหาทั่วไปและวิธีแก้ไข:
| ปัญหา | สาเหตุที่เป็นไปได้ | สารละลาย |
|---|---|---|
| เครื่องลดความชื้นไม่เปิด | No power; power cord unplugged; water tank full or not properly seated. | ตรวจสอบการเชื่อมต่อไฟฟ้า ล้างถังน้ำและใส่น้ำกลับเข้าไปใหม่ |
| เครื่องกำลังทำงานแต่ไม่ได้รวบรวมน้ำ | Room temperature too low; humidity level already low; air filter clogged; unit in Fan Mode. | Ensure room temp is above 41°F (5°C); check humidity setting; clean air filter; switch to Dehumidifier Mode. |
| หน่วยมีเสียงดัง | เครื่องไม่ได้วางอยู่บนพื้นราบ และแผ่นกรองอากาศอุดตัน | วางบนพื้นผิวเรียบ ทำความสะอาดแผ่นกรองอากาศ |
| น้ำรั่วจากตัวเครื่อง | Water tank not properly seated; continuous drain hose kinked or disconnected. | Re-seat water tank; check drain hose for kinks or secure connection. |
| "Full Tank" indicator is on, but tank is not full. | Water tank sensor issue; tank not properly seated. | Remove and re-insert tank firmly; contact support if issue persists. |
ข้อมูลจำเพาะ
| ยี่ห้อ | แอร์พลัส |
| ชื่อรุ่น | AP16-601อีอี |
| ลดความชื้นความจุ | 35 พินต์ต่อวัน |
| การครอบคลุมพื้นที่ | สูงถึง 3000 ตารางฟุต |
| ความจุถังน้ำ | 0.74 แกลลอน (2.8 ลิตร) |
| ขนาดสินค้า (ลึก x กว้าง x สูง) | 12" x 8.9" x 20.7" |
| น้ำหนักสินค้า | 24.2 ปอนด์ (11 กิโลกรัม) |
| วัดtage | 1200 วัตต์ |
| โหมดการทำงาน | Dehumidifier Mode, Anion Mode, Fan Mode |
| คุณสมบัติพิเศษ | Adjustable Humidity Control, Automatic Shutoff, Continuous Draining, Digital Display, Quiet Operation, Sleep Mode, Timer, Washable Filter |
| สี | สีขาว |
| วัสดุ | พลาสติก |
| ยูพีซี | 850017320079 |
การรับประกันและการสนับสนุน
AIRPLUS products are manufactured to the highest quality standards. For warranty information, technical support, or any questions regarding your dehumidifier, please refer to the contact information provided with your purchase or visit the official AIRPLUS website. Please have your model number (AP16-601EE) and purchase date ready when contacting support.