
1. บทนำ
This manual provides detailed instructions for the setup, operation, maintenance, and troubleshooting of your TOMLOV DM9 Pro and DM202 Digital Microscopes. These devices are designed for various applications, including electronics repair, coin observation, and general microscopic examination, offering a clear and magnified view ของวัตถุขนาดเล็ก
2. การตั้งค่า
Follow these steps to set up your TOMLOV Digital Microscope for first use.
2.1 การแกะและการประกอบ
Carefully remove all components from the packaging. Assemble the microscope stand, ensuring the base is stable and the pillar is securely attached. Mount the microscope unit onto the stand, and then attach the display screen to the microscope unit. Ensure all connections are firm.

2.2 การเชื่อมต่อสายไฟ
Connect the provided power adapter to the microscope and then to a suitable power outlet. The microscope is powered by corded electric.
2.3 Connecting to External Displays (Optional)
Your microscope supports output to external displays via HDMI or USB for a larger viewการสร้างประสบการณ์
- เอาท์พุต HDMI: Connect an HDMI cable from the microscope's HDMI port to an HD TV or projector.
- เอาท์พุต USB: Connect a USB cable from the microscope's USB port to a personal computer (Windows/Mac). The microscope is plug-and-play and can be used with the Camera App on Windows 10 or Photo Booth for iMac/MacBook.


3. คู่มือการใช้งาน
This section details how to operate your TOMLOV Digital Microscope.
3.1 การเปิดเครื่องและการควบคุมพื้นฐาน
Press the power button located on the microscope unit or screen to turn on the device. The 10.1-inch IPS screen will display the live view from the microscope camera. Use the 'OK' button to confirm selections and 'MENU' to access settings.

3.2 การปรับกำลังขยายและโฟกัส
The microscope offers a wide zoom range from 3X to 1300X. Rotate the focus wheel on the microscope body to achieve a clear image of your specimen. Adjust the distance between the lens and the base using the stand's adjustment knob to change magnification and working distance.
การปรับความสว่าง 3.3 ระดับ
Utilize the brightness adjustment switch, typically located on the side of the screen or microscope body, to control the intensity of the LED lights. This helps in illuminating the specimen evenly and achieving optimal image clarity.

3.4 Monitor and Bracket Adjustments
The monitor and bracket are adjustable to provide comfortable viewing angles and a larger workspace. The monitor can be tilted up to 90 degrees, rotated 270 degrees, and the entire bracket can be adjusted vertically. The monitor can also be angled up to 160 degrees.

3.5 การสมัคร
The TOMLOV digital microscopes are suitable for various tasks:
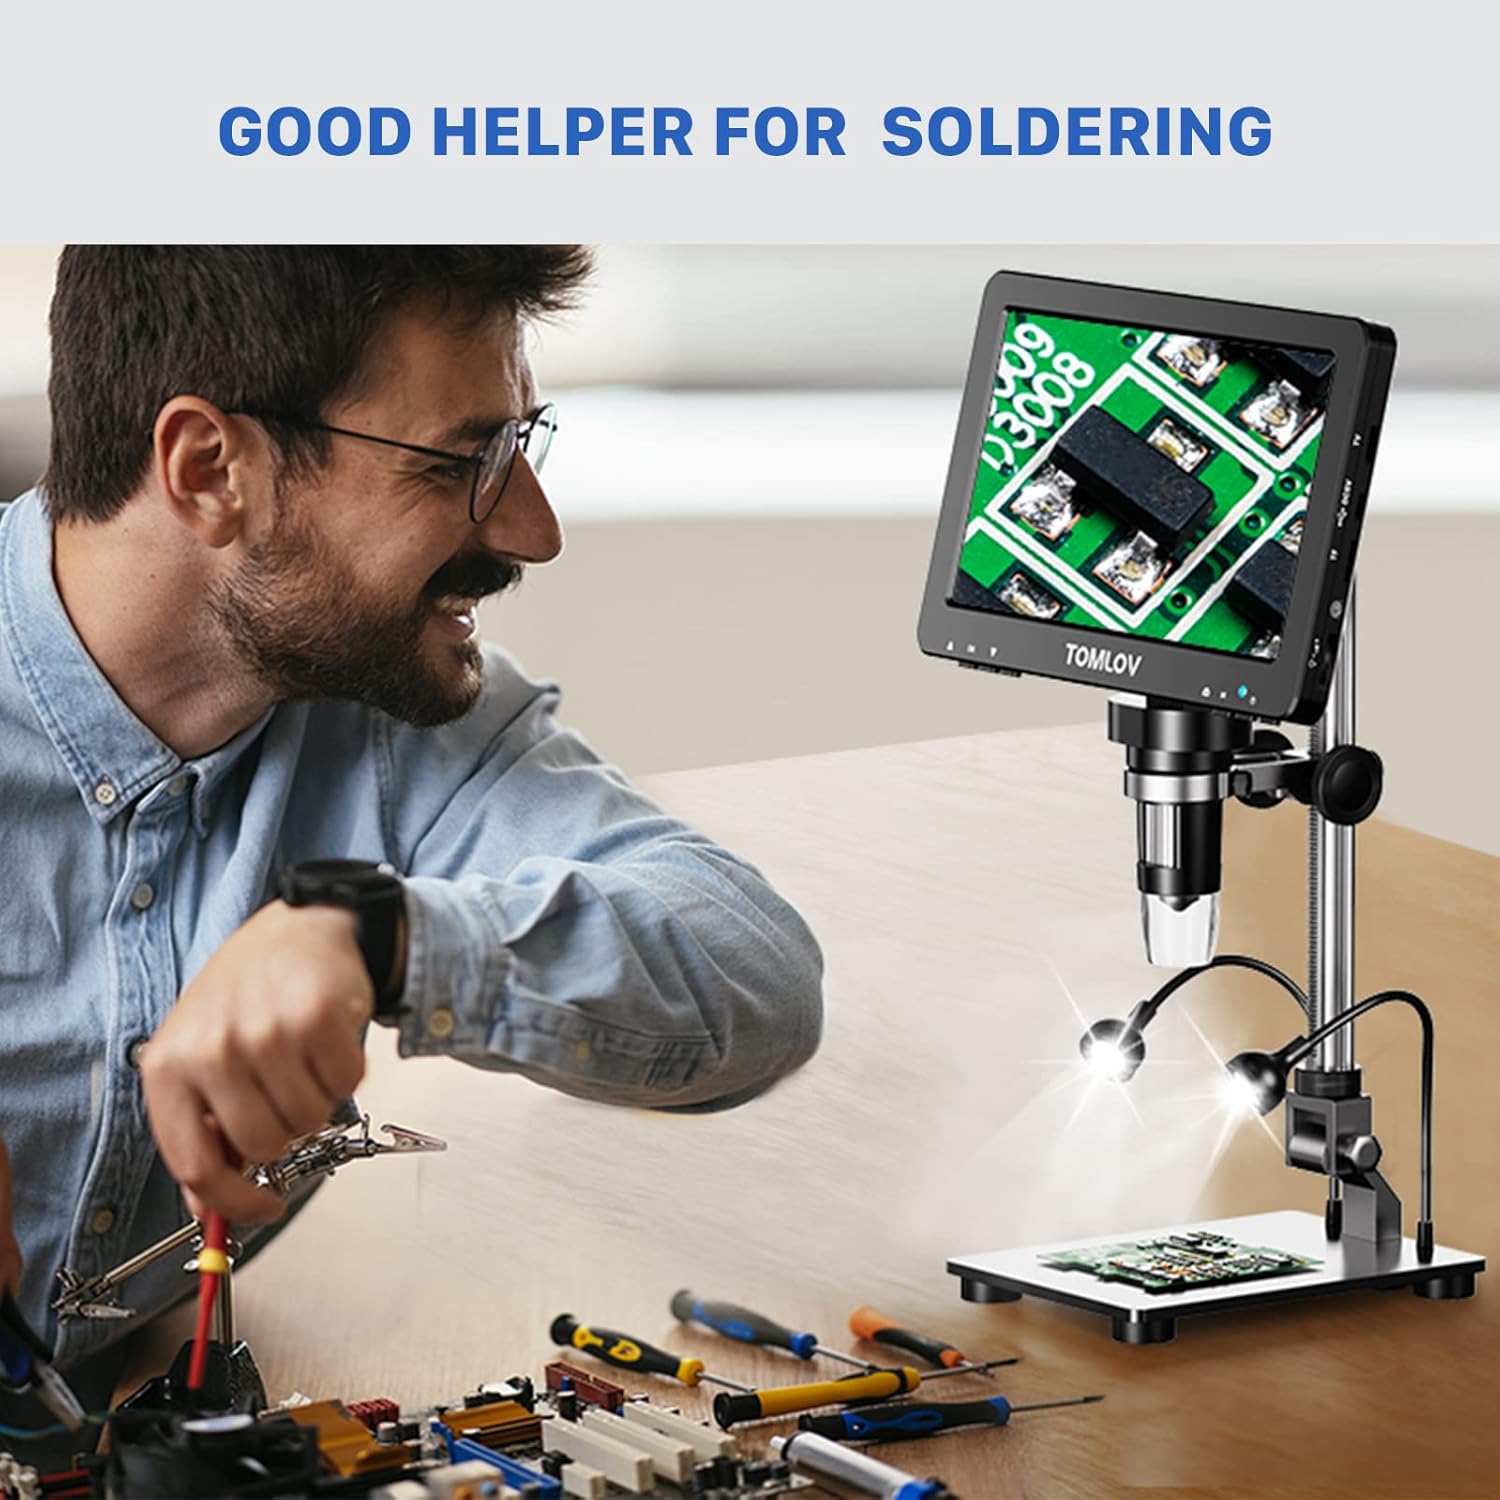
- การบัดกรี: Provides a magnified view for precise soldering work on circuit boards.
- Coin Collection: Ideal for examining the intricate details of coins, including large silver dollars, without needing extension tubes.
- ซ่อมเครื่องใช้ไฟฟ้า: Facilitates inspection and repair of small electronic components.

4. การบำรุงรักษา
การบำรุงรักษาอย่างถูกวิธีจะช่วยให้กล้องจุลทรรศน์ของคุณมีอายุการใช้งานยาวนานและทำงานได้อย่างมีประสิทธิภาพสูงสุด
- การทำความสะอาด: Use a soft, dry cloth to clean the exterior of the microscope and screen. For the lens, use a specialized lens cleaning cloth and solution. Avoid abrasive cleaners.
- พื้นที่จัดเก็บ: Store the microscope in a clean, dry environment away from direct sunlight and extreme temperatures.
- การจัดการ: Always handle the microscope with care to prevent damage to optical components or the display.
5 การแก้ไขปัญหา
If you encounter issues with your microscope, refer to the following common problems and solutions.
- ไม่มีไฟฟ้า: Ensure the power adapter is securely connected to both the microscope and a working power outlet. Check if the power button is pressed.
- ไม่มีภาพบนหน้าจอ: Verify that the microscope unit is properly connected to the display screen. If using an external monitor, check HDMI/USB cable connections and input source selection on the external display.
- ภาพเบลอ: Adjust the focus wheel until the image is clear. Ensure the specimen is properly illuminated and the brightness is adjusted. Check for any dust or smudges on the lens.
- Image Too Dark/Bright: Use the brightness adjustment switch to fine-tune the illumination.
If problems persist, please contact TOMLOV customer support for further assistance.
6. ข้อมูลจำเพาะ
| คุณสมบัติ | ข้อมูลจำเพาะ |
|---|---|
| ยี่ห้อ | ทอมลอฟ |
| นางแบบ | DM9 Pro, DM202 |
| หน้าจอแสดงผล | 10.1-inch IPS (DM202), 7-inch IPS (DM9 Pro) |
| ช่วงการขยาย | 3X-1300X |
| วัสดุ | ABS อะคริลิค |
| สี | เงิน |
| อุปกรณ์ที่รองรับ | คอมพิวเตอร์ส่วนบุคคล โทรทัศน์ |
| แหล่งพลังงาน | สายไฟ |
| ASIN | B0C7KTWRZL |
| วันที่พร้อมใช้งานครั้งแรก | วันที่ 9 มิถุนายน 2023 |
7. การรับประกันและการสนับสนุน
For warranty information, product registration, or technical support, please refer to the official TOMLOV webหรือติดต่อฝ่ายบริการลูกค้าโดยตรง โดยทั่วไปแล้ว ข้อมูลการติดต่อจะอยู่ที่บรรจุภัณฑ์ของผลิตภัณฑ์หรือเว็บไซต์ของผู้ผลิต webเว็บไซต์.