
1. บทนำ
This manual provides instructions for the assembly, operation, and maintenance of your QWORK Acrylic Display Stand with 5 Levels. Please read this manual thoroughly before assembly and use to ensure proper function and longevity of the product. This display stand is designed for showcasing various items such as collectibles, perfumes, jewelry, and desserts.

Figure 1: Assembled QWORK 5-Level Acrylic Display Stand, showcasing its clear, multi-tiered design.
2. ข้อมูลด้านความปลอดภัย
No specific safety warnings are applicable for this product. However, please observe the following general precautions:
- เก็บชิ้นส่วนเล็ก ๆ ให้ห่างจากเด็กในระหว่างการประกอบเพื่อป้องกันอันตรายจากการสำลัก
- ตรวจสอบให้แน่ใจว่าได้วางขาตั้งบนพื้นผิวที่มั่นคงและเรียบ เพื่อป้องกันการล้ม
- อย่าวางสิ่งของบนชั้นวางมากเกินกว่าความจุที่กำหนดไว้
- Avoid using abrasive cleaners or materials that could scratch the acrylic surface.
3. เนื้อหาบรรจุภัณฑ์
ก่อนเริ่มการประกอบ โปรดตรวจสอบให้แน่ใจว่าส่วนประกอบทั้งหมดที่ระบุไว้ด้านล่างนี้อยู่ในสภาพสมบูรณ์และไม่มีความเสียหาย หากมีชิ้นส่วนใดสูญหายหรือเสียหาย โปรดติดต่อฝ่ายสนับสนุนลูกค้า

Figure 2: All components included in the package, consisting of acrylic shelves, support posts, screws, and a screwdriver.
- Acrylic Shelf Panels (5 pieces)
- Long Acrylic Support Posts (4 pieces)
- Short Acrylic Support Posts (16 pieces)
- Screws (20 pieces + spares)
- Screwdriver (1 piece)
เคล็ดลับ: Tear off the protective film on both sides of all acrylic panels before assembly.
4. การตั้งค่าและการประกอบ
Follow these steps to assemble your QWORK Acrylic Display Stand:
- เตรียมส่วนประกอบ: Carefully remove all acrylic panels and support posts from the packaging. Peel off the protective film from both sides of each acrylic panel.
- Attach First Level: Take one acrylic shelf panel (this will be the bottom shelf). Attach four short acrylic support posts to the underside of the panel using the provided screws and screwdriver. Ensure they are securely fastened but do not overtighten.
- Build Subsequent Levels: Place the next acrylic shelf panel on top of the four short posts you just attached. Secure it by screwing into the top of the posts. Repeat this process, adding four short posts and then an acrylic shelf panel, for the next three levels.
- Attach Top Level: For the fifth and final level, attach four short acrylic support posts to the underside of the top shelf panel.
- Install Long Support Posts: Identify the side of the stand where the long support posts will be placed (typically the tallest side for a tiered arrangement). Attach the four long acrylic support posts to the designated holes on the side of the assembled structure, securing them with screws. These posts provide additional stability and height for the back of the display.
- การตรวจสอบขั้นสุดท้าย: Once all components are assembled, gently shake the stand to ensure all connections are secure and the stand is stable.

รูปที่ 3: รายละเอียด view of how the screws connect the acrylic panels and support posts during assembly.
5. การใช้งาน
The QWORK Acrylic Display Stand is versatile and can be used in various settings:
- บ้าน: Organize and display collectibles, action figures, small plants, or decorative items.
- ขายปลีก: Showcase jewelry, cosmetics, perfumes, or small merchandise in boutiques or stores.
- กิจกรรม: Present cupcakes, desserts, or appetizers at parties, weddings, or coffee shops.
- สำนักงาน: Keep small office supplies tidy or display awards and recognition items.
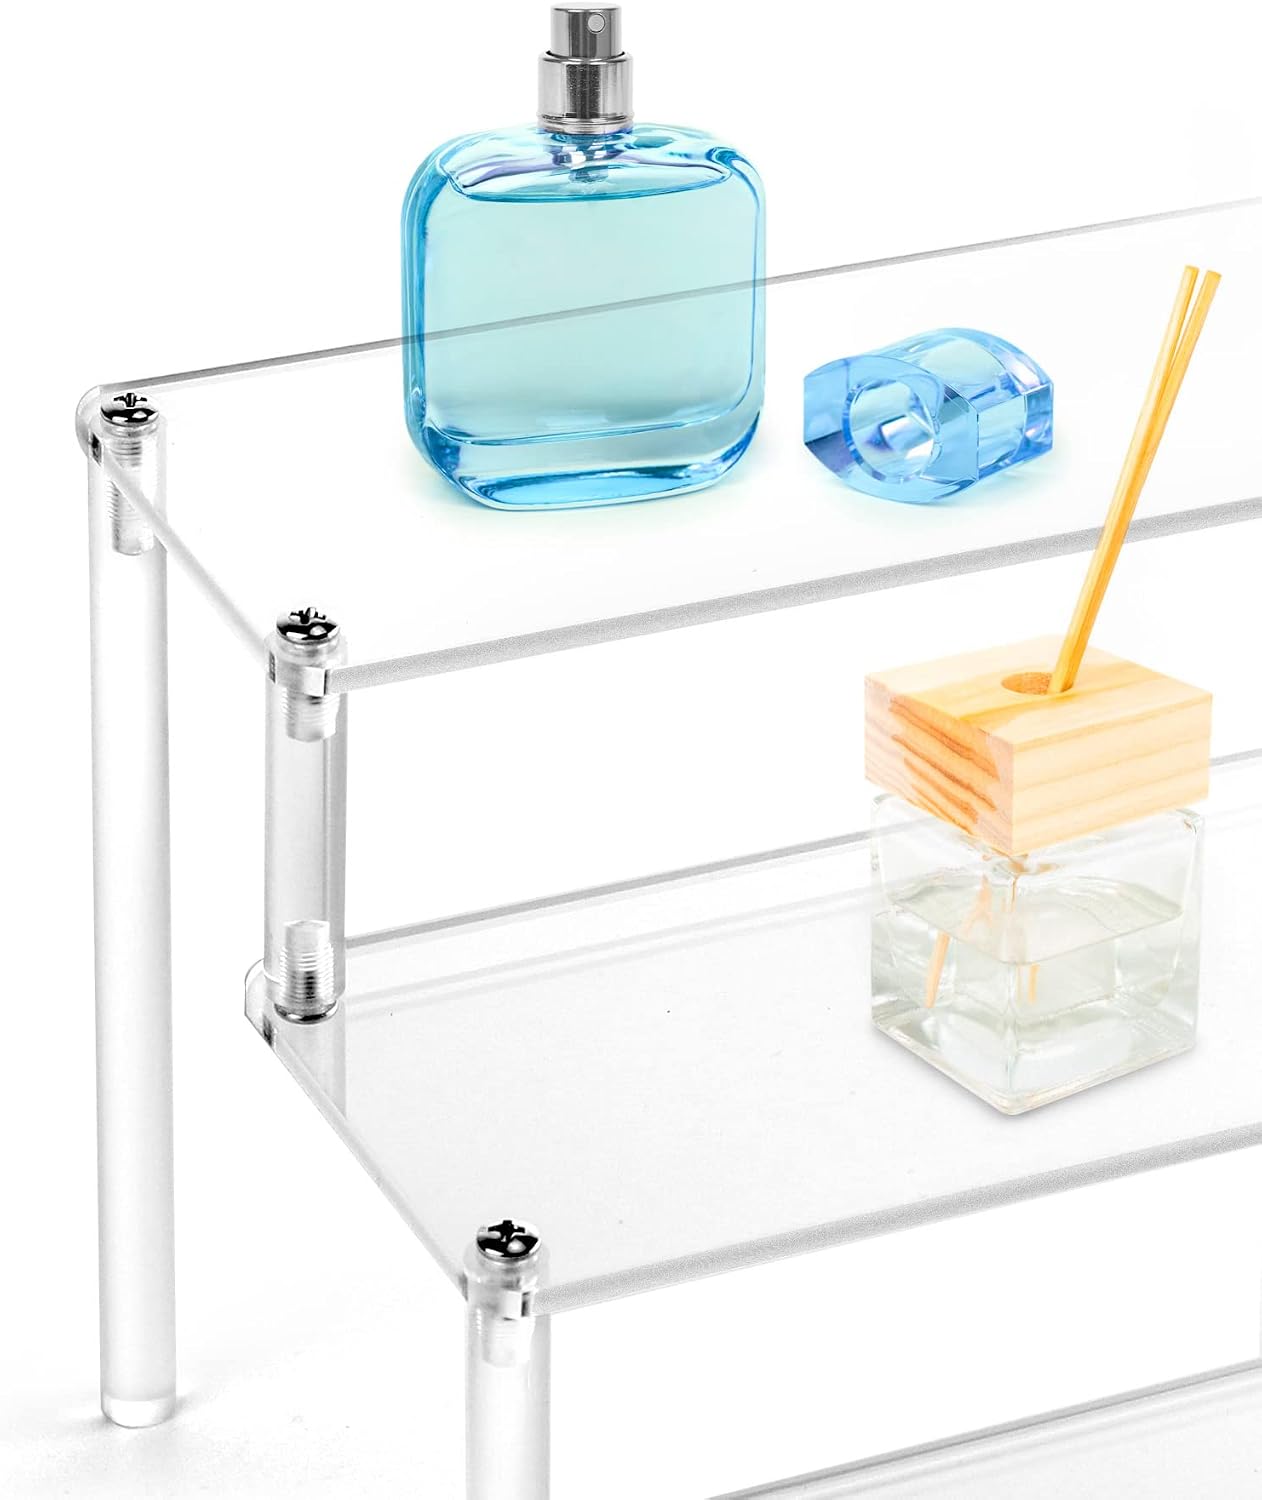
Figure 4: The display stand effectively organizes and presents perfume bottles and a reed diffuser.
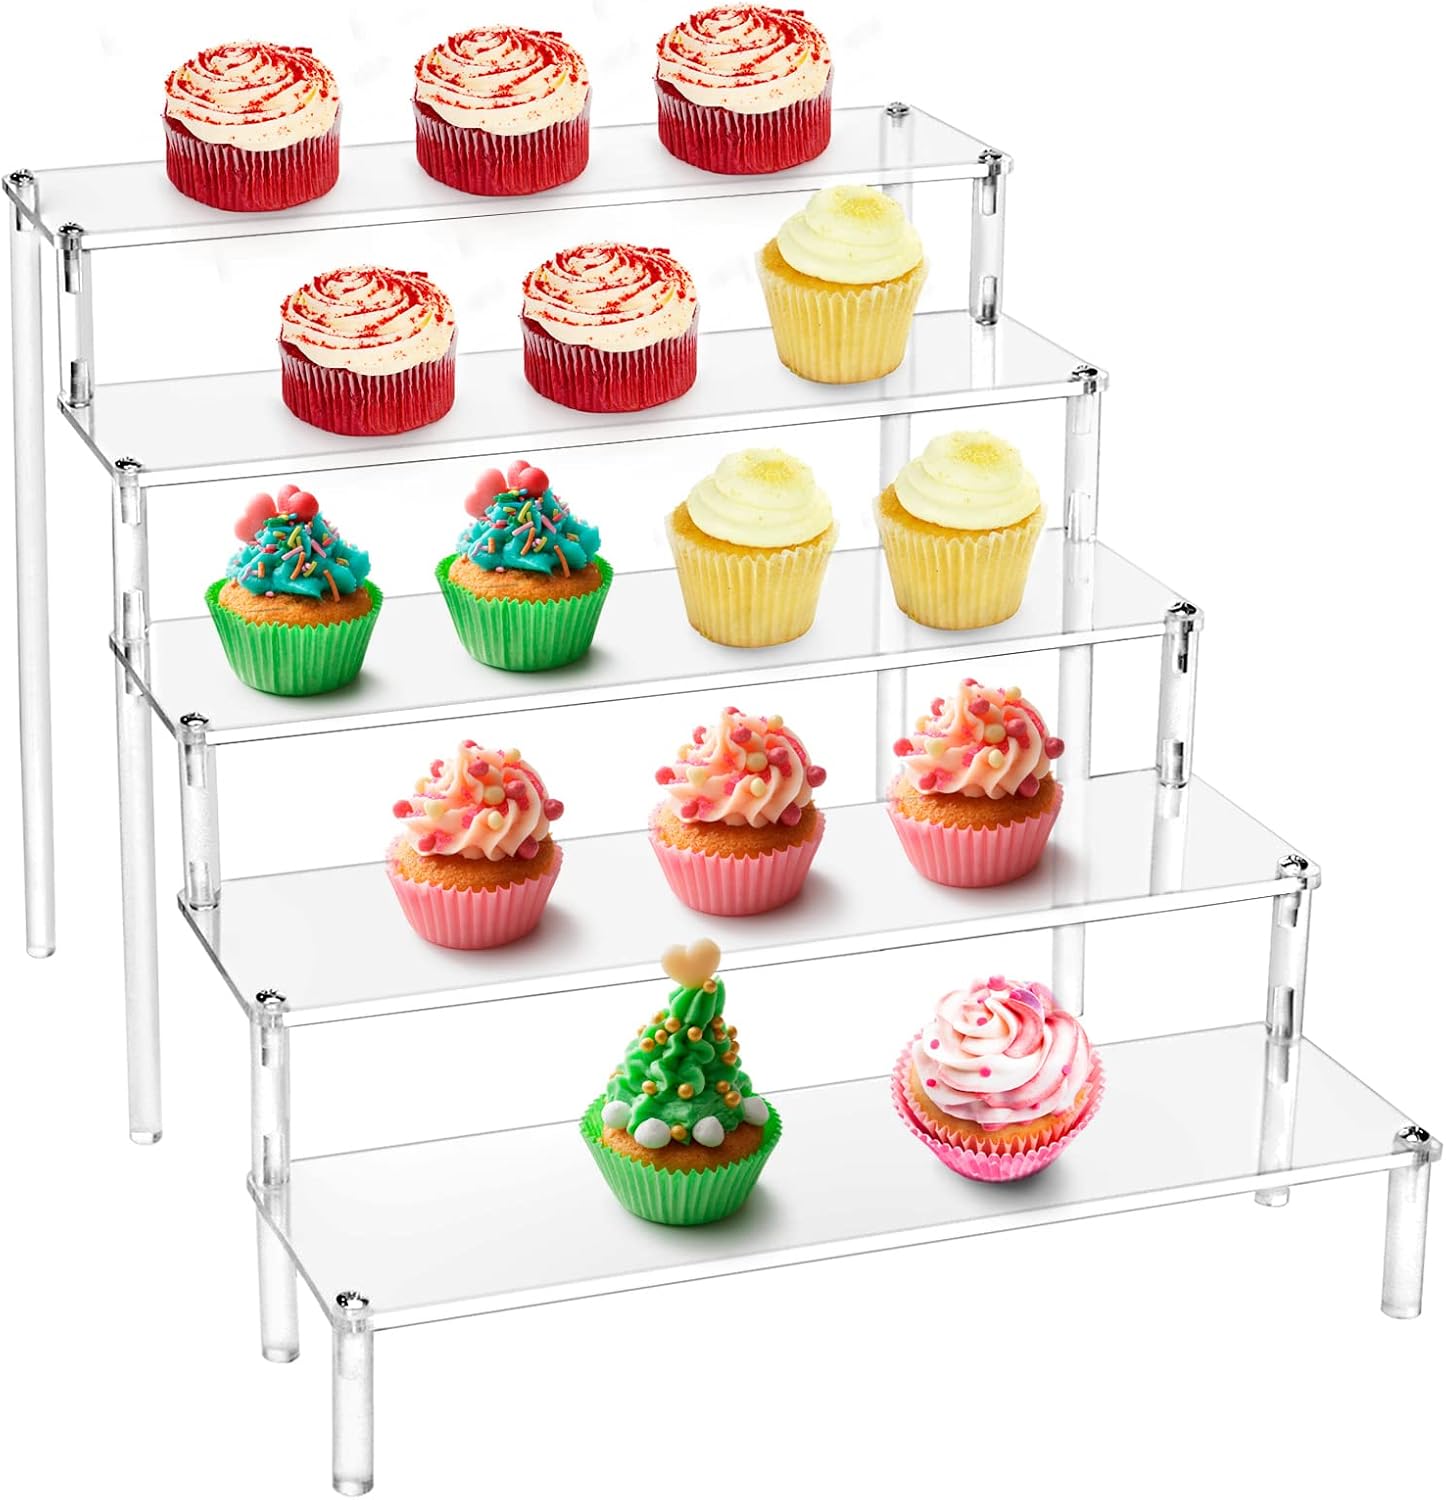
Figure 5: The tiered design is ideal for presenting multiple cupcakes or other small desserts.
6. การบำรุงรักษา
To keep your acrylic display stand in optimal condition:
- การทำความสะอาด: เช็ดพื้นผิวอะคริลิกด้วยผ้านุ่มๆamp cloth. For stubborn marks, use a mild soap solution and then wipe dry with a clean, soft cloth.
- หลีกเลี่ยงการใช้สารกัดกร่อน: Do not use abrasive cleaners, ammonia-based products (like window cleaner), or rough sponges, as these can scratch or damage the acrylic.
- พื้นที่จัดเก็บ: If disassembling for storage, keep all components together in a safe place to prevent loss or damage.
7 การแก้ไขปัญหา
| ปัญหา | สาเหตุที่เป็นไปได้ | สารละลาย |
|---|---|---|
| ขาตั้งโยกเยกหรือไม่มั่นคง | Screws are not fully tightened; stand is on an uneven surface. | Ensure all screws are tightened. Move the stand to a flat, stable surface. |
| Acrylic panels appear cloudy or scratched. | Protective film not removed; improper cleaning methods. | Ensure all protective film has been peeled off. Clean with a soft cloth and mild soap, avoiding abrasive materials. |
| Missing components upon arrival. | ข้อผิดพลาดของบรรจุภัณฑ์หรือความเสียหายระหว่างการขนส่ง | Contact QWORK customer support immediately with your purchase details. |
8. ข้อมูลจำเพาะ

Figure 6: Detailed dimensions of the QWORK Acrylic Display Stand, showing width, depth, and height measurements for each tier.
| คุณสมบัติ | รายละเอียด |
|---|---|
| หมายเลขรุ่น | WD9573 |
| วัสดุ | Acrylic (4mm thick) |
| จำนวนระดับ | 5 |
| ขนาดรวม (ยาว x กว้าง x สูง) | 12.6 x 11.81 x 9.84 นิ้ว (32 x 30 x 25 ซม.) |
| น้ำหนักสินค้า | 555 กรัม |
| จำเป็นต้องประกอบ | ใช่ |
| ประเภทการเสร็จสิ้น | ขัดเงา |
9. การรับประกันและการสนับสนุน
QWORK products are manufactured to high-quality standards. For warranty information or technical support, please refer to the retailer's return policy or contact QWORK customer service directly through their official website or the platform where the product was purchased. Please have your model number (WD9573) and purchase date available when contacting support.
หากต้องการความช่วยเหลือเพิ่มเติม โปรดไปที่ QWORK Store on Amazon.