
1. บทนำ
This manual provides essential information for the safe and effective use of your Lovskoo Mini Video Projector. Please read these instructions thoroughly before operating the device and retain them for future reference.
2. ข้อมูลด้านความปลอดภัย
- อย่าให้โปรเจ็กเตอร์โดนฝนหรือความชื้นเพื่อป้องกันไฟไหม้หรือไฟฟ้าช็อต
- อย่าเปิดcasinก. ส่งต่อการบริการทั้งหมดให้กับบุคลากรที่มีคุณสมบัติเหมาะสม
- ตรวจสอบให้แน่ใจว่ามีการระบายอากาศที่เหมาะสม อย่าปิดกั้นช่องระบายอากาศ
- ใช้เฉพาะอะแดปเตอร์แปลงไฟที่ระบุไว้สำหรับอุปกรณ์นี้เท่านั้น
- หลีกเลี่ยงการสัมผัสเลนส์ของโปรเจ็กเตอร์โดยตรงกับดวงตาในขณะที่อุปกรณ์กำลังทำงาน
- ควรวางโปรเจคเตอร์ให้ห่างจากแหล่งความร้อนและแสงแดดโดยตรง
3. เนื้อหาบรรจุภัณฑ์
ตรวจสอบว่ามีรายการทั้งหมดอยู่ในแพ็คเกจ:
- Lovskoo Mini Video Projector (Host)
- สายไฟ USB
- รีโมทคอนโทรล
- คู่มือการใช้งาน
4. สินค้าหมดview
Familiarize yourself with the components and dimensions of your projector.

รูปที่ 4.1 : ด้านหน้า view of the Lovskoo Mini Video Projector.

Figure 4.2: Dimensions of the Lovskoo Mini Video Projector (approximately 4.3 x 1.9 x 3.5 inches).
The projector features a compact design with a lens at the front and control buttons on the top surface. Connectivity ports are located on the sides or rear, typically including USB and a 3.5mm audio output.
5. การตั้งค่า
Follow these steps to set up your projector for first use:
- การเชื่อมต่อไฟฟ้า: Connect the provided USB power cable to the projector's micro USB input and then to a compatible 5V 2A power source (e.g., a wall adapter or power bank).
- การจัดวาง: Place the projector on a stable, flat surface. Ensure there are no obstructions in front of the lens. The recommended projection distance is 2-13.1 feet for a 14-100 inch screen size. For optimal viewing, a 9.32 feet distance is suggested for a 100-inch display.
- เปิดเครื่อง: กดปุ่มเปิด/ปิดบนโปรเจ็กเตอร์หรือรีโมทคอนโทรลเพื่อเปิดอุปกรณ์
- การปรับโฟกัส: Adjust the focus ring (if available) near the lens until the projected image is clear and sharp.
Video 5.1: This video demonstrates the projector's capability to display various screen sizes (40" to 60") and shows the projector in different color variants. It illustrates the projection distance and how the image scales.
6. ปฏิบัติการ
Once powered on, the projector will display its main interface. Use the remote control or the buttons on the projector to navigate menus and select input sources.
6.1 การควบคุมขั้นพื้นฐาน
- ปุ่มเปิด/ปิด: เปิดหรือปิดโปรเจ็กเตอร์
- ปุ่มนำทาง: Used to move through menu options (Up, Down, Left, Right).
- ปุ่มตกลง/เข้าสู่ระบบ: ยืนยันการเลือก
- ปุ่มย้อนกลับ/ออก: Returns to the previous menu or exits the current function.
- ปุ่มปรับระดับเสียง: ปรับระดับเอาต์พุตเสียง
6.2 การเชื่อมต่อ
โปรเจ็กเตอร์รองรับวิธีการป้อนข้อมูลต่างๆ:
- ช่องต่อ USB: Connect a USB drive to play media fileโดยตรงเลย
- เอาต์พุตเสียง 3.5 มม.: เชื่อมต่อลำโพงภายนอกหรือหูฟังเพื่อเพิ่มประสิทธิภาพเสียง
- การเชื่อมต่อโทรศัพท์มือถือ: Connect your Android or iOS phone to the projector to mirror content. Specific connection methods (e.g., wired screen mirroring) may vary by phone model and require additional adapters (not included).

Figure 6.1: The projector can be powered by a mobile power supply (power bank) for portable use.
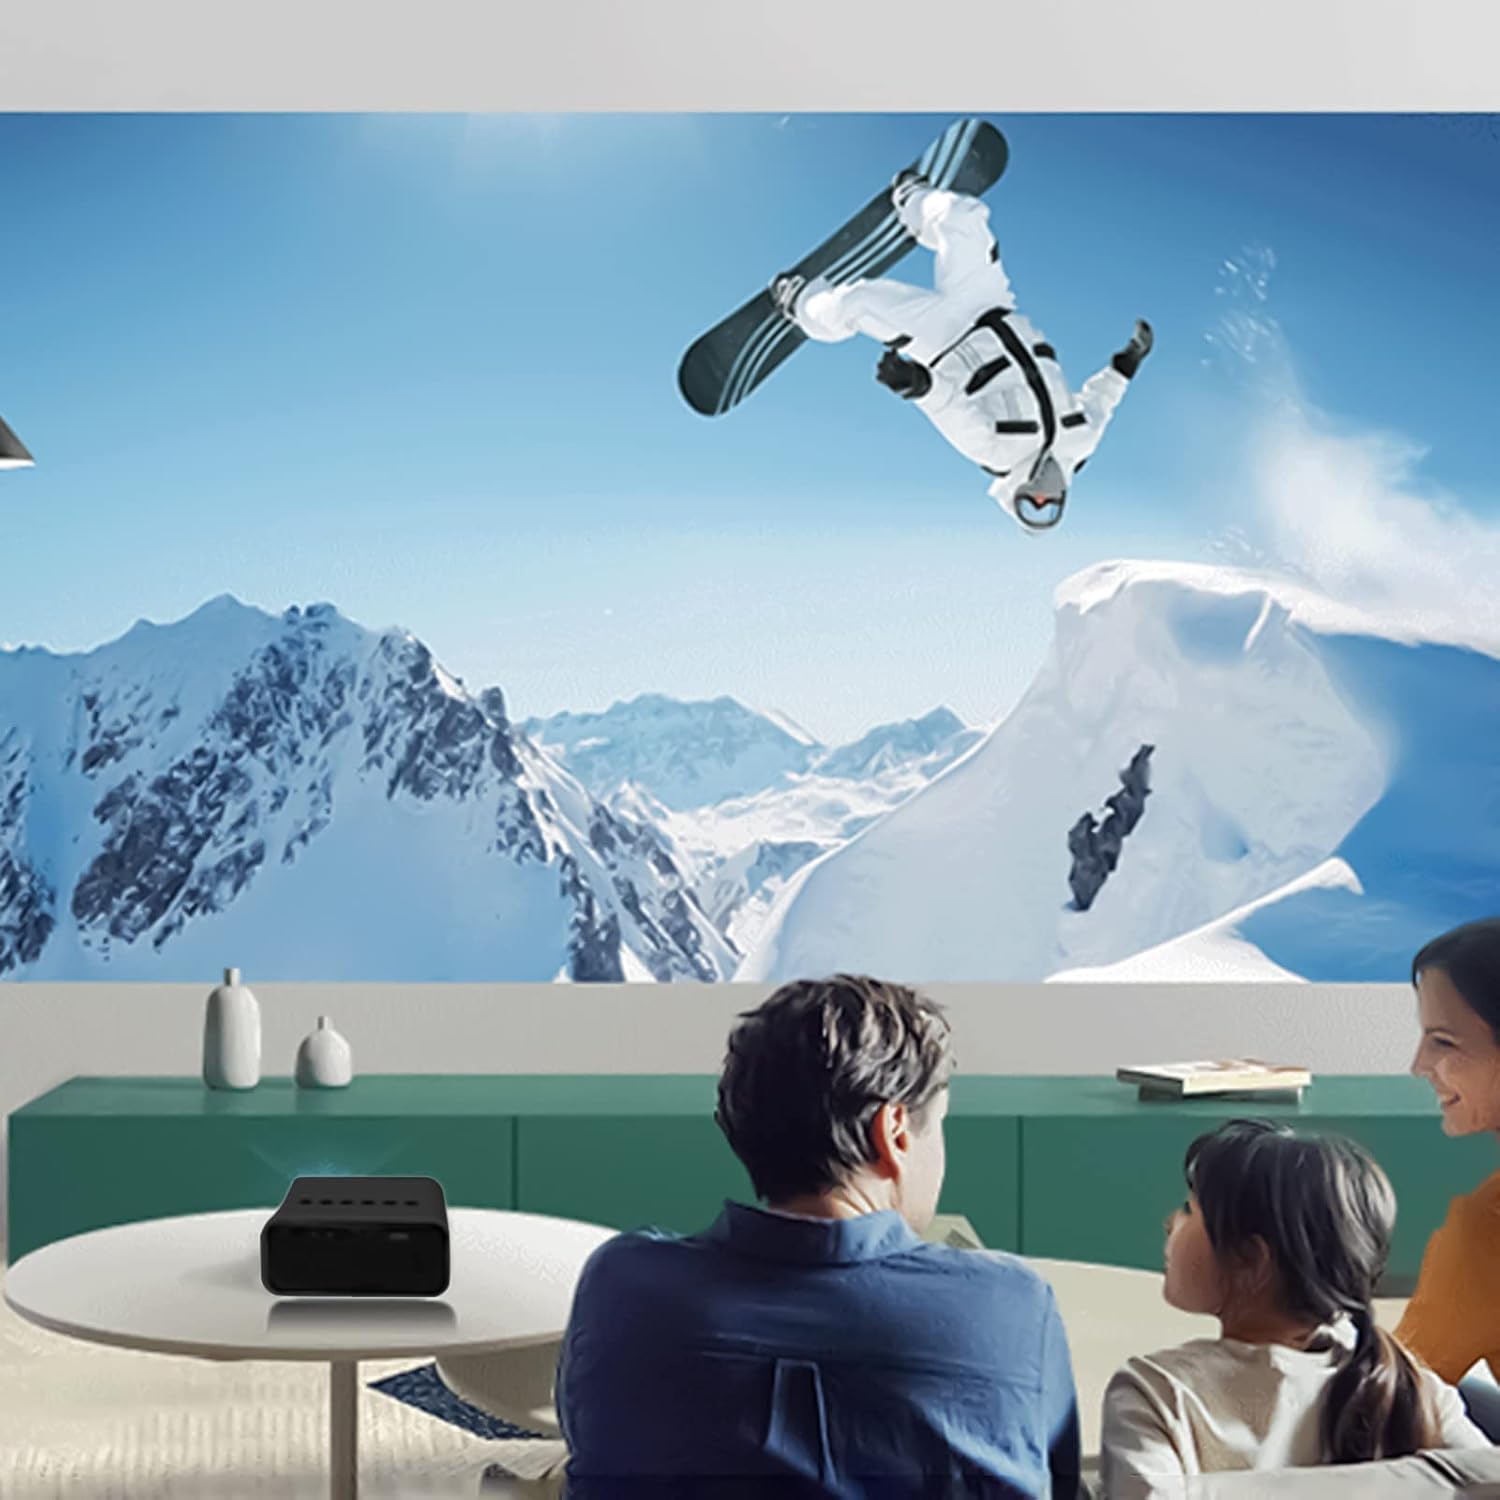
รูปที่ 6.2: อดีตample of indoor projection setup.

รูปที่ 6.3: อดีตample of outdoor projection setup, ideal for campการไอเอ็นจี
7. การบำรุงรักษา
การบำรุงรักษาอย่างถูกวิธีจะช่วยให้โปรเจคเตอร์ของคุณใช้งานได้ยาวนานและมีประสิทธิภาพสูงสุด
- การทำความสะอาดเลนส์: ใช้ผ้าเนื้อนุ่ม ปราศจากขน ที่ออกแบบมาสำหรับเลนส์โดยเฉพาะ เช็ดเลนส์โปรเจคเตอร์เบาๆ อย่าใช้สารทำความสะอาดที่มีฤทธิ์กัดกร่อนหรือออกแรงมากเกินไป
- การกำจัดฝุ่น: Periodically clean the projector's exterior with a soft, dry cloth. Ensure ventilation openings are free from dust and debris.
- พื้นที่จัดเก็บ: เมื่อไม่ได้ใช้งาน ให้เก็บโปรเจ็กเตอร์ไว้ในที่แห้งและเย็น หลีกเลี่ยงแสงแดดโดยตรงและอุณหภูมิที่สูงหรือต่ำเกินไป
8 การแก้ไขปัญหา
หากคุณพบปัญหาเกี่ยวกับโปรเจ็กเตอร์ของคุณ โปรดดูปัญหาทั่วไปและวิธีแก้ไขต่อไปนี้:
| ปัญหา | สาเหตุที่เป็นไปได้ | สารละลาย |
|---|---|---|
| ไม่มีไฟฟ้า | Power cable not connected properly; faulty power source. | Ensure the USB power cable is securely connected. Try a different power adapter or USB port. |
| ไม่มีรูปภาพ | Incorrect input source selected; lens cap on; focus issue. | Select the correct input source (e.g., USB). Remove any lens cap. Adjust the focus. |
| ภาพเบลอ | Out of focus; incorrect projection distance. | Adjust the focus ring. Ensure the projector is within the recommended projection distance. |
| ไม่มีเสียง | Volume too low; external speakers not connected or faulty. | Increase the volume. Check external speaker connections if used. |
9. ข้อมูลจำเพาะ
Key technical specifications for the Lovskoo Mini Video Projector:
- แบบอย่าง: เครื่องฉายวิดีโอขนาดเล็ก
- ความละเอียดที่รองรับ: 1080P HD (1920 x 1080 Max)
- ความละเอียดดั้งเดิม: 320 x 180
- เทคโนโลยีการแสดงผล: ทีเอฟทีแอลซีดี
- ขนาดการฉายภาพ: 14-100 นิ้ว
- ระยะฉายภาพ: 2-13.1 ฟุต
- อายุการใช้งาน LED: นานถึง 30,000 ชั่วโมง
- การใช้พลังงาน: 10 วัตต์
- เล่มที่tagอี/ปัจจุบัน: 5V 2A
- โหมดการควบคุม: Manual buttons / Remote control
- อินเทอร์เฟซ: USB x 1, 3.5mm Audio Output x 1, Micro USB (Power Input)
- ขนาด : Approximately 4.3 x 1.9 x 3.5 inches (11 x 4.7 cm)
- น้ำหนัก: ประมาณ 11.3 ออนซ์
- ลำโพงในตัว: ใช่
10. การรับประกันและการสนับสนุน
For warranty information and customer support, please refer to the documentation provided at the time of purchase or contact Lovskoo customer service through their official channels. Keep your purchase receipt as proof of purchase.