
1. บทนำ
This manual provides detailed instructions for the setup, operation, and maintenance of your TOMLOV DM209 Digital Microscope. This device is designed for detailed observation and analysis, featuring a 7-inch IPS display, 2K HDMI output, and a 26MP Sony CMOS sensor, offering up to 1200x magnification. Please read this manual thoroughly before using the microscope to ensure proper function and longevity.
2. ข้อมูลด้านความปลอดภัย
- ตรวจสอบให้แน่ใจว่าได้วางกล้องจุลทรรศน์บนพื้นผิวที่มั่นคงและเรียบเสมอกัน เพื่อป้องกันการพลิคว่ำ
- อย่าให้อุปกรณ์สัมผัสกับอุณหภูมิ ความชื้น หรือแสงแดดโดยตรง
- Keep the microscope away from water and other liquids.
- ใช้เฉพาะอะแดปเตอร์ที่ให้มาเท่านั้น
- Avoid touching the lens directly with your fingers. Use a soft, lint-free cloth for cleaning.
- Do not attempt to disassemble or repair the microscope yourself. Contact customer support for assistance.
3. เนื้อหาบรรจุภัณฑ์
ตรวจสอบว่ามีรายการทั้งหมดอยู่ในแพ็คเกจ:
- TOMLOV DM209 Digital Microscope Unit
- ขาตั้งปรับได้
- รีโมทคอนโทรล
- สาย USB
- สาย HDMI
- อะแดปเตอร์แปลงไฟ
- ไม้บรรทัดสอบเทียบ
- คู่มือการใช้งาน (เอกสารนี้)
- การ์ด MicroSD ขนาด 32GB (ติดตั้งมาแล้วหรือซื้อแยกต่างหาก)
4. สินค้าหมดview
The TOMLOV DM209 Digital Microscope consists of a main microscope unit with an integrated 7-inch IPS display, a sturdy metal stand, and a base with adjustable LED lights. Key components include the focus wheel, magnification adjustment, lens, and various ports for connectivity.

Figure 4.1: Fully assembled TOMLOV DM209 Digital Microscope with its stand and adjustable lights.
5. การตั้งค่า
- ประกอบขาตั้ง: Attach the microscope unit to the adjustable stand. Ensure all screws are tightened securely.
- เชื่อมต่อพลังงาน: Plug the power adapter into the microscope's DC input port and then into a power outlet.
- ใส่การ์ด MicroSD: If not already inserted, gently push the 32GB MicroSD card into the designated slot until it clicks.
- การวางตำแหน่ง: Place the object to be observed on the base plate. Adjust the height of the microscope unit using the stand's adjustment knob to get a preliminary focus.
6. คู่มือการใช้งาน
6.1 การเปิด/ปิดเครื่อง
Press and hold the power button on the microscope unit for a few seconds to turn it on. Repeat the action to turn it off.
6.2 การปรับกำลังขยายและโฟกัส
Rotate the focus wheel on the side of the microscope unit to achieve a clear image. The DM209 offers a magnification range from 2X to 1200X. Adjust the distance between the lens and the object for optimal magnification and clarity.

Figure 6.1: Illustration of the microscope's 2X-1200X zoom capability, showing magnified views of a fabric texture and a coin.
6.3 Using the 7-inch IPS Monitor
The integrated 7-inch IPS monitor provides a clear and wide viewing angle for direct observation. Use the buttons below the screen to navigate menus and adjust settings.
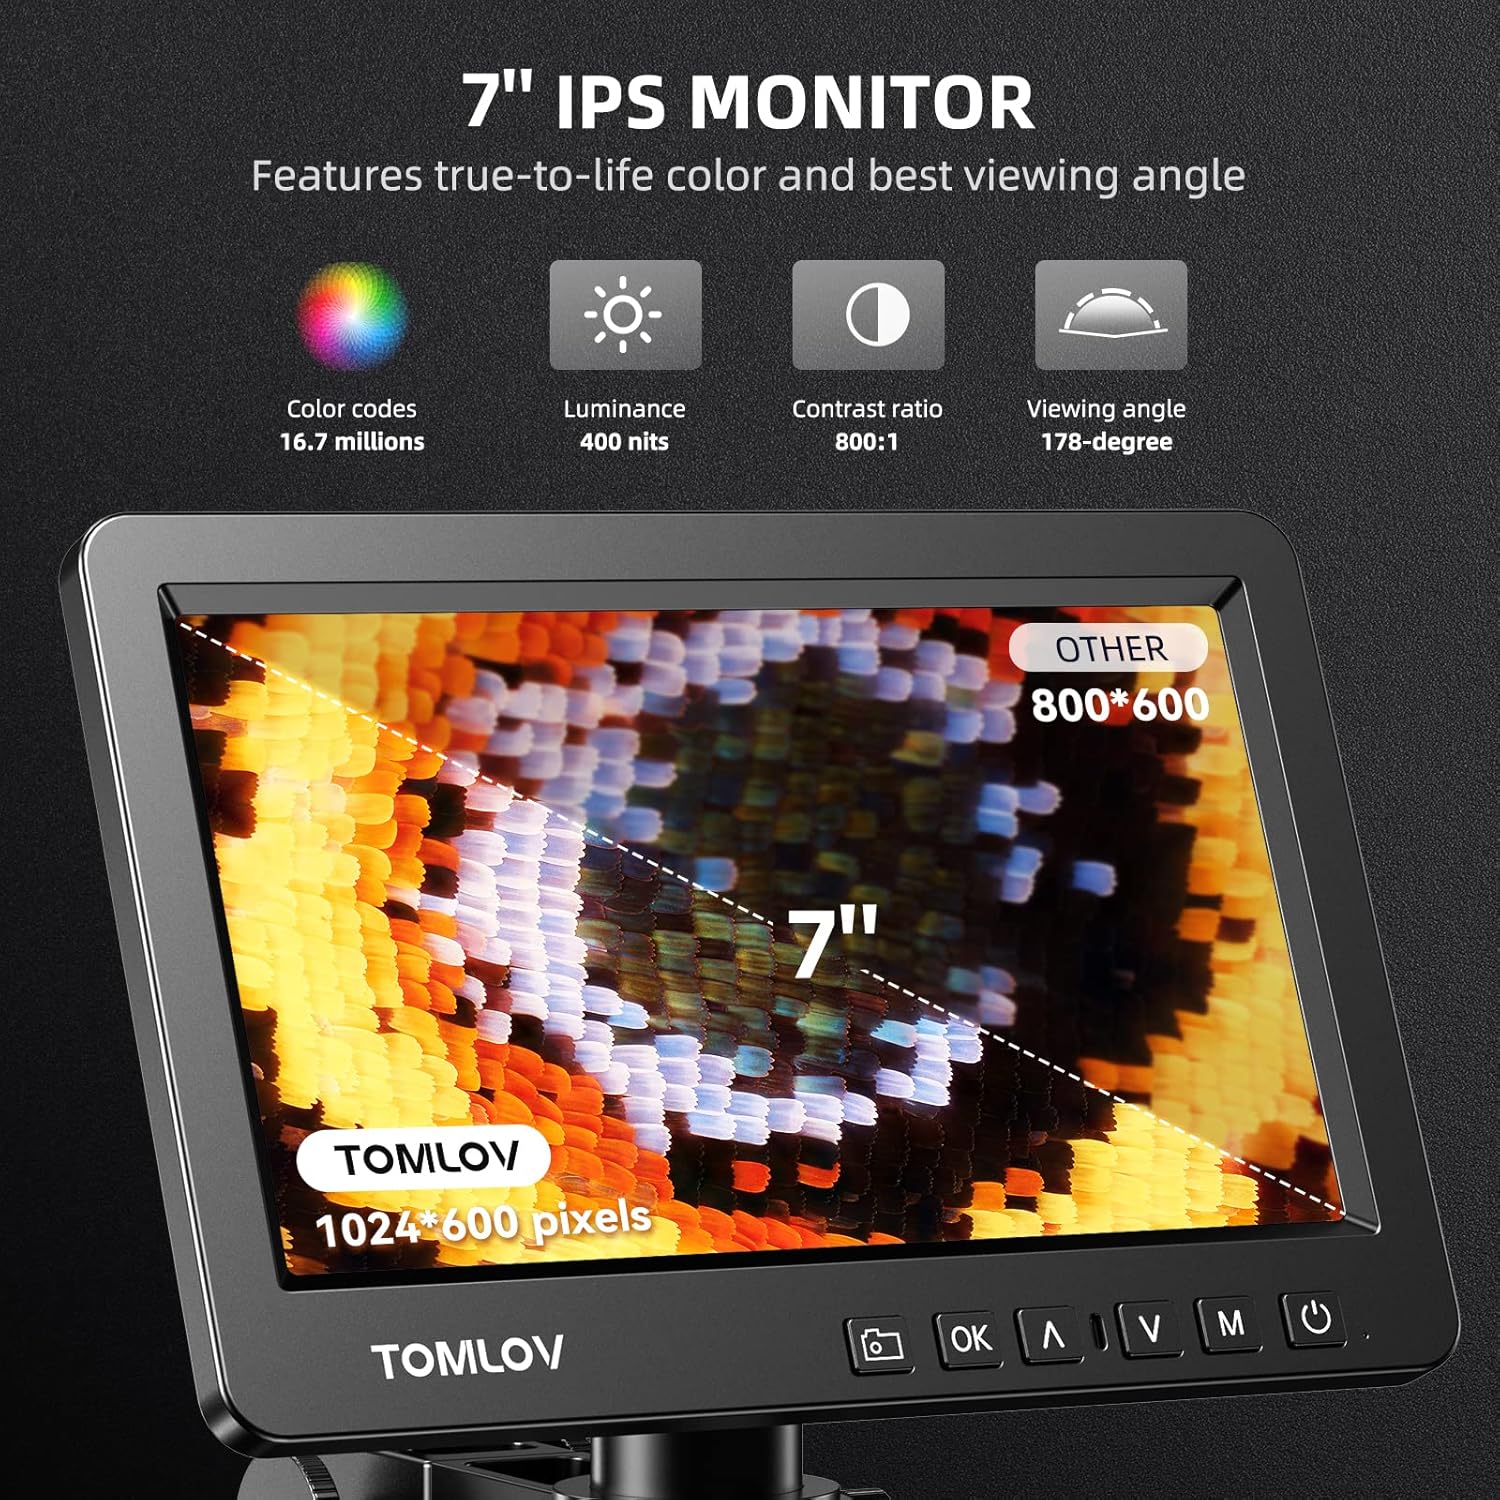
Figure 6.2: Close-up of the 7-inch IPS monitor displaying a magnified butterfly wing, highlighting its color, luminance, contrast, and viewing angle specifications.
6.4 ฟังก์ชั่นการควบคุมระยะไกล
The included remote control allows for convenient operation without touching the microscope, reducing vibrations. Functions include digital zoom, image flip, taking pictures/videos, and freezing the screen.

Figure 6.3: A hand holding the remote control for the microscope, with icons for digital zoom, image flip, capture, and freeze screen functions.
6.5 HDMI Output to External Display
Connect the microscope to a larger monitor or TV using the provided HDMI cable for a wider view and collaborative observation. Ensure both devices are powered off before connecting the HDMI cable, then power them on.

Figure 6.4: Microscope connected to an external monitor via HDMI, displaying a magnified circuit board.
6.6 USB Output for PC View
For advanced analysis and larger screen viewing on a computer, connect the microscope to your PC using the USB cable. The microscope is compatible with Windows operating systems. Install any necessary drivers or software as prompted by your computer.

รูปที่ 6.5: ผู้ใช้งาน viewing the microscope's output on a larger PC monitor via USB connection, demonstrating Windows compatibility.
6.7 การบันทึกภาพนิ่งและวิดีโอ
Use the dedicated capture button on the microscope unit or the remote control to take still images or record videos. Files are saved directly to the inserted MicroSD card.
6.8 Trinocular Compatibility
The DM209 features C-mount compatibility, allowing it to be integrated into trinocular microscope setups for comprehensive and direct viewing, facilitating sharing and advanced applications.
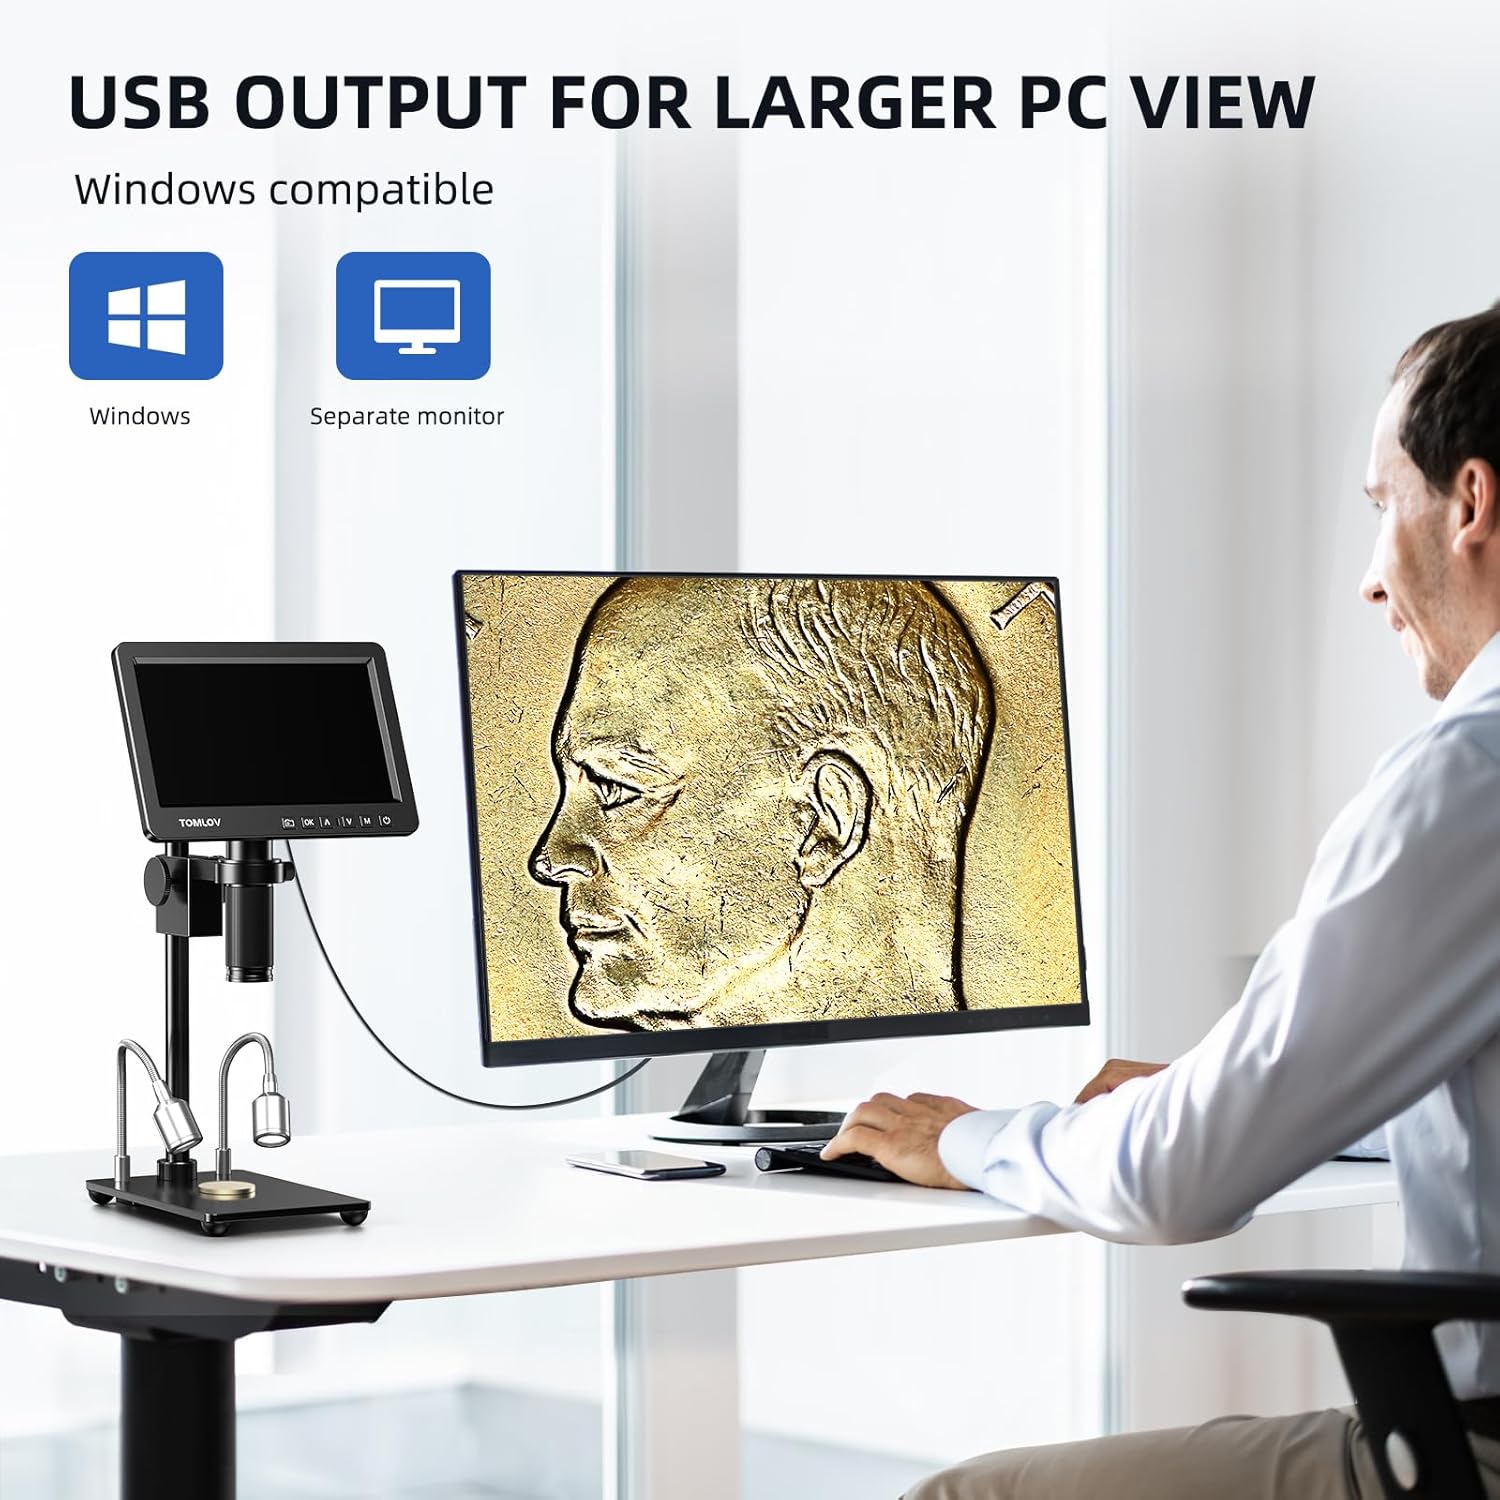
Figure 6.6: The microscope's screen displaying a magnified plant cell structure, illustrating its trinocular compatibility for comprehensive viewไอเอ็นจีและแบ่งปัน
7. การบำรุงรักษา
- การทำความสะอาดเลนส์: ใช้ผ้านุ่มไม่เป็นขุยที่ออกแบบมาสำหรับเลนส์สายตาโดยเฉพาะ สำหรับคราบฝังแน่น ให้เทน้ำยาทำความสะอาดเลนส์ปริมาณเล็กน้อยลงบนผ้า (อย่าเทลงบนเลนส์โดยตรง)
- ทำความสะอาดร่างกาย: เช็ดตัวกล้องจุลทรรศน์ด้วยผ้าแห้งเนื้อนุ่ม ห้ามใช้สารทำความสะอาดที่มีฤทธิ์กัดกร่อนหรือตัวทำละลาย
- พื้นที่จัดเก็บ: When not in use, store the microscope in a clean, dry, and dust-free environment. Use a dust cover if available.
- การดูแลรักษาแบตเตอรี่ (ถ้ามี): If the device has an internal battery, avoid fully discharging it frequently to prolong its lifespan.
8 การแก้ไขปัญหา
| ปัญหา | สาเหตุที่เป็นไปได้ | สารละลาย |
|---|---|---|
| ไม่มีไฟฟ้า | ไม่ได้เสียบอะแดปเตอร์แปลงไฟ ปลั๊กไฟมีปัญหา | ตรวจสอบการเชื่อมต่อไฟฟ้า ลองใช้เต้ารับอื่น |
| ภาพเบลอ | Focus not adjusted; object too far/close; lens dirty. | Adjust focus wheel; adjust object distance; clean lens. |
| ไม่มีภาพปรากฏบนจอภาพภายนอก | HDMI cable loose or faulty; incorrect input selected on monitor. | Check HDMI connection; select correct input source on external monitor. |
| ไม่สามารถบันทึกภาพ/วิดีโอได้ | MicroSD card full, faulty, or not inserted correctly. | Check MicroSD card insertion; format or replace card. |
| รีโมตคอนโทรลไม่ทำงาน | Batteries low or depleted; obstruction between remote and microscope. | Replace remote control batteries; ensure clear line of sight. |
9. ข้อมูลจำเพาะ
| คุณสมบัติ | รายละเอียด |
|---|---|
| แบบอย่าง | ดีเอ็ม209 |
| ยี่ห้อ | ทอมลอฟ |
| แสดง | หน้าจอ IPS ขนาด 7 นิ้ว |
| เซ็นเซอร์ | Sony CMOS IMX 26MP |
| การขยายภาพ | 2X - 1200X |
| เอาท์พุตวิดีโอ | 2K HDMI, USB |
| วัสดุ | Metal (lens, stand) |
| ขนาด (กว้าง x ยาว x สูง) | 26 x 16 x 18 ซม. |
| น้ำหนัก | 1.41 กิโลกรัม |
| เล่มที่tage | 240 โวลต์ |
| พื้นที่จัดเก็บ | รองรับการ์ด MicroSD (มี 32GB ให้มาด้วย) |
10. การรับประกันและการสนับสนุน
For warranty information and technical support, please refer to the warranty card included with your product or visit the official TOMLOV webไซต์ อย่าพยายามซ่อมแซมอุปกรณ์ด้วยตนเอง เพราะอาจทำให้การรับประกันเป็นโมฆะได้