
1. บทนำ
This manual provides essential instructions for the safe and effective use of your Victoper VT-BL2001 USB Rechargeable Bike Light Set. This set includes a high-lumen headlight and a multi-mode taillight, designed to enhance visibility and safety during cycling, especially in low-light conditions.
โปรดอ่านคู่มือนี้อย่างละเอียดก่อนใช้งานครั้งแรกและเก็บเอาไว้เพื่อใช้อ้างอิงในอนาคต
2. ข้อควรระวังเพื่อความปลอดภัย
- อย่ามองเข้าไปในลำแสงโดยตรง to avoid temporary vision impairment.
- Ensure lights are securely mounted before riding.
- Always use appropriate light modes for current riding conditions and local regulations.
- เก็บให้พ้นจากมือเด็ก
- Do not disassemble the lights; this may void the warranty and cause damage.
- Charge only with the provided USB-C cables to prevent potential damage to the device.
3. เนื้อหาบรรจุภัณฑ์
Your Victoper VT-BL2001 Bike Light Set includes:
- 1 x Victoper Headlight (VT-BL2001)
- 1 x Victoper Taillight
- สายชาร์จ USB-C 2 เส้น
- 2 x Silicone Mounting Straps (for headlight and taillight)
- 1 x คู่มือผู้ใช้ (เอกสารนี้)
4. การตั้งค่าและการติดตั้ง
4.1 การติดตั้งไฟหน้า
- Identify the silicone mounting strap attached to the headlight.
- พันสายรัดรอบแฮนด์จักรยานของคุณ
- Hook the strap securely onto the latch on the underside of the headlight. Ensure the light is stable and facing forward.

Image: Victoper Headlight securely mounted on a bicycle handlebar. The light is positioned to illuminate the path ahead.

ภาพ: ระยะใกล้ view of the headlight's silicone strap wrapping around the handlebar and securing into its latch.
4.2 การติดตั้งไฟท้าย
- Identify the silicone mounting strap attached to the taillight.
- Wrap the strap around your bicycle's seat post or another suitable rear component.
- Hook the strap securely onto the latch on the taillight. Ensure the light is stable and facing backward.
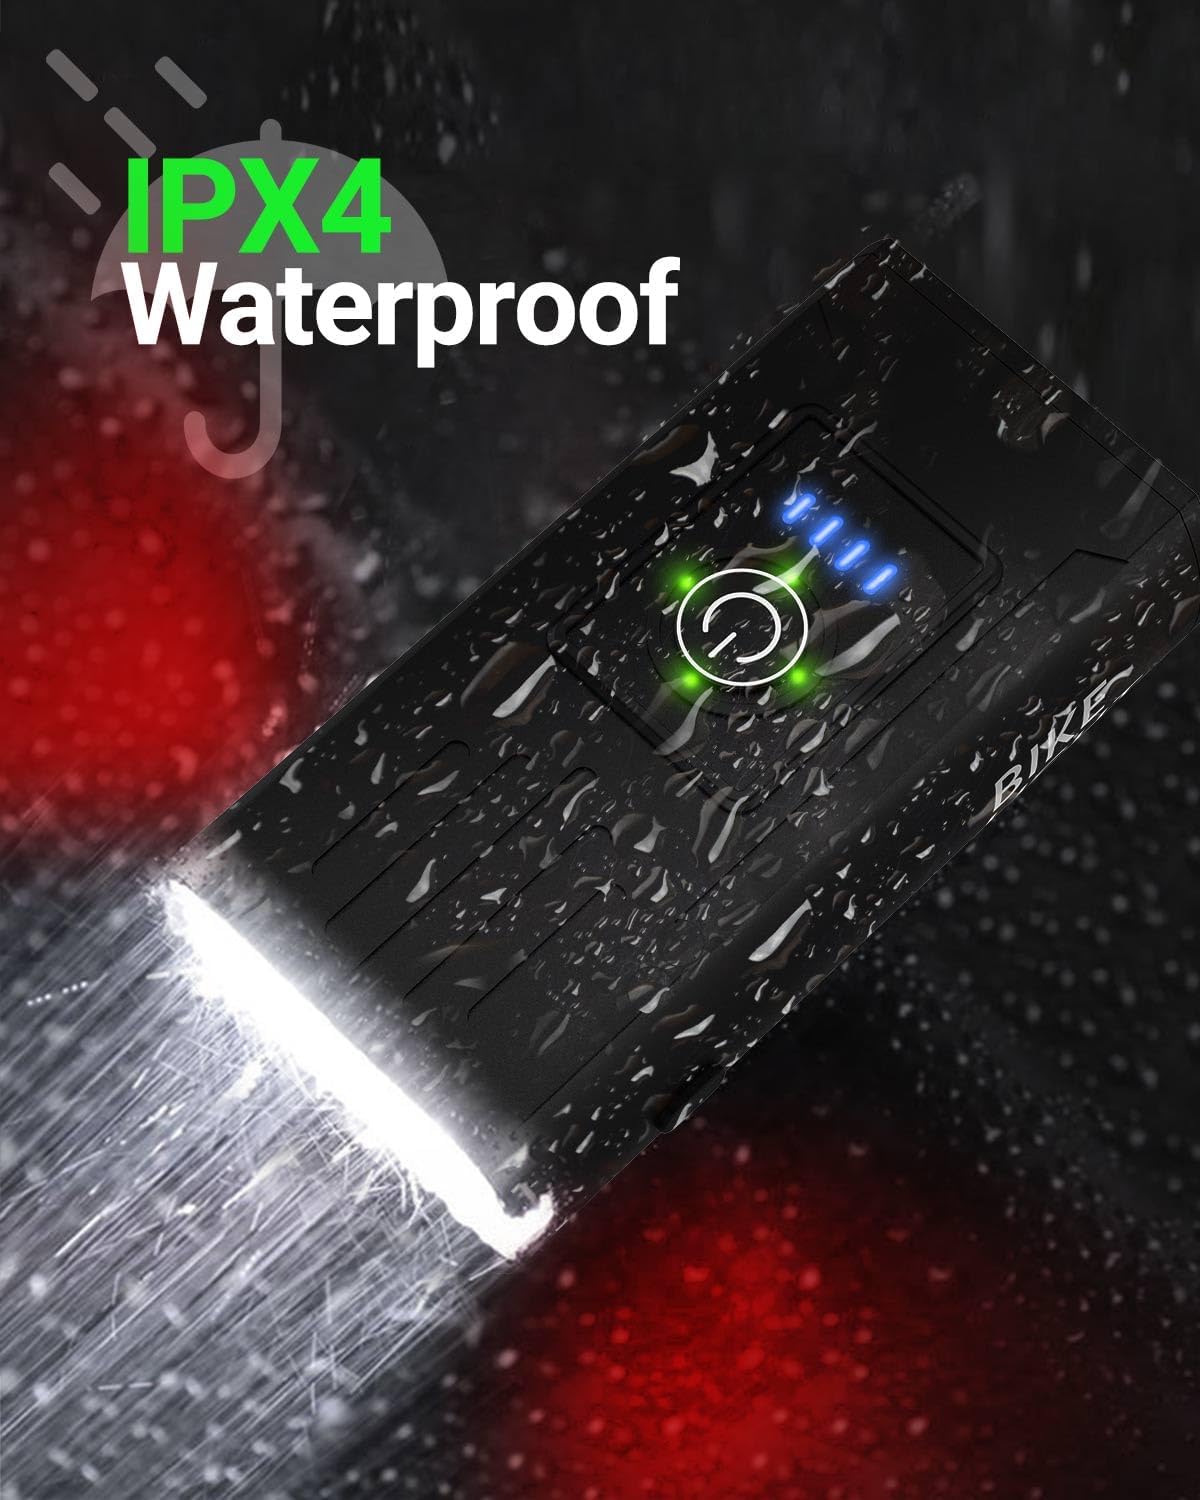
Image: Victoper Taillight mounted on a bicycle seat post, positioned for maximum rear visibility.
5. คู่มือการใช้งาน
5.1 การทำงานของไฟหน้า
- เปิด/ปิดเครื่อง: Press and hold the power button (circular icon) on top of the headlight for 2 seconds.
- เปลี่ยนโหมด: While the light is on, short press the power button to cycle through the 6 available modes:
- Left Strong Light
- Left Weak Light
- Right Strong Light
- All-On (Both LEDs strong)
- Breathing Light (Gradual fade in/out)
- Strobe (Rapid flashing)
- ไฟแสดงสถานะแบตเตอรี่: Four blue LED lights on the top indicate battery level (each light represents approximately 25% charge).

ภาพ: ด้านบน view of the Victoper Headlight showing the power button and four blue LED battery indicator lights.

Image: Illustration of the Victoper Headlight cycling through its six different lighting modes, including left strong, left weak, right strong, all-on, breathing, and strobe.
5.2 Taillight Operation
- เปิด/ปิดเครื่อง: Press and hold the power button on the taillight for 2 seconds.
- เปลี่ยนโหมด: While the light is on, short press the power button to cycle through the 4 available modes:
- Strong Light (Solid red)
- กระพริบช้าๆ
- Strobe (Rapid flashing)
- กระพริบเร็ว
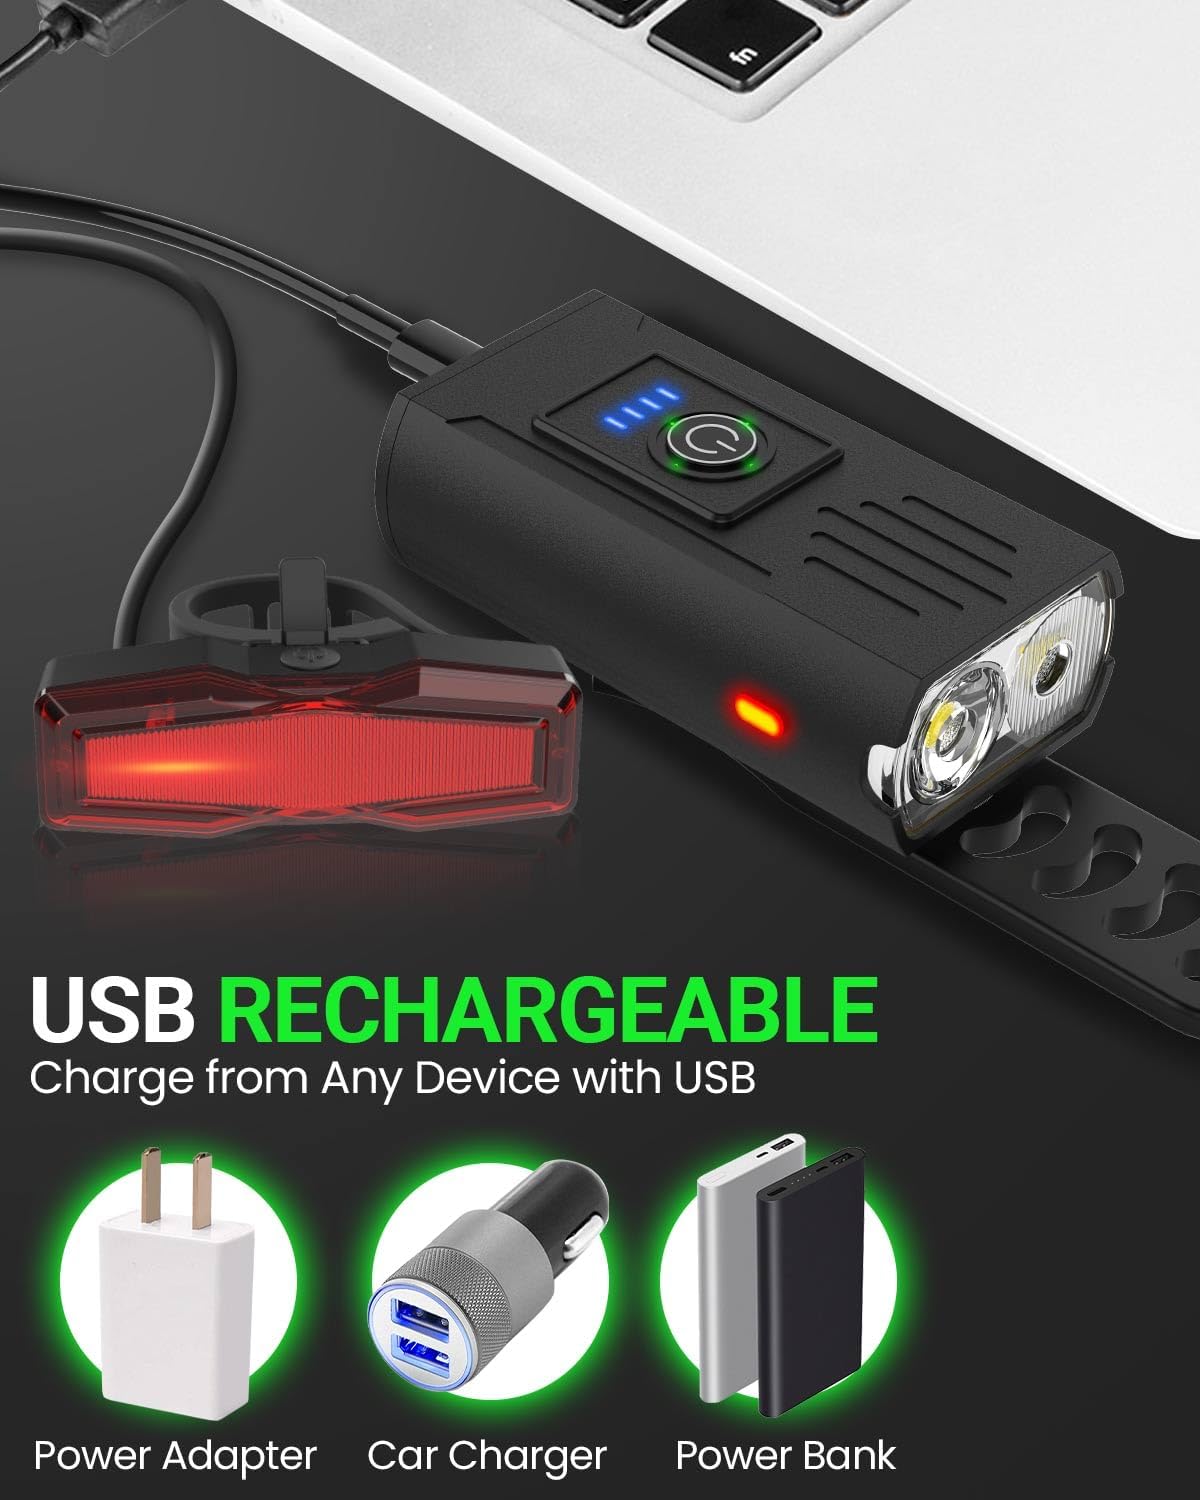
Image: Illustration of the Victoper Taillight cycling through its four different lighting modes, including strong light, slow flashing, strobe, and quick flashing.
6. คำแนะนำในการชาร์จ
- Both the headlight and taillight are USB rechargeable.
- Locate the USB-C charging port on each light, typically covered by a rubber flap for water resistance.
- Connect the provided USB-C cable to the light and to a compatible USB power source (e.g., computer, wall adapter, power bank).
- The battery indicator lights on the headlight will show charging progress. For the taillight, a red indicator light will typically show charging status and turn green or off when fully charged.
- สำคัญ: Use only the provided USB-C cables or cables with compatible voltage to avoid damaging the lights.
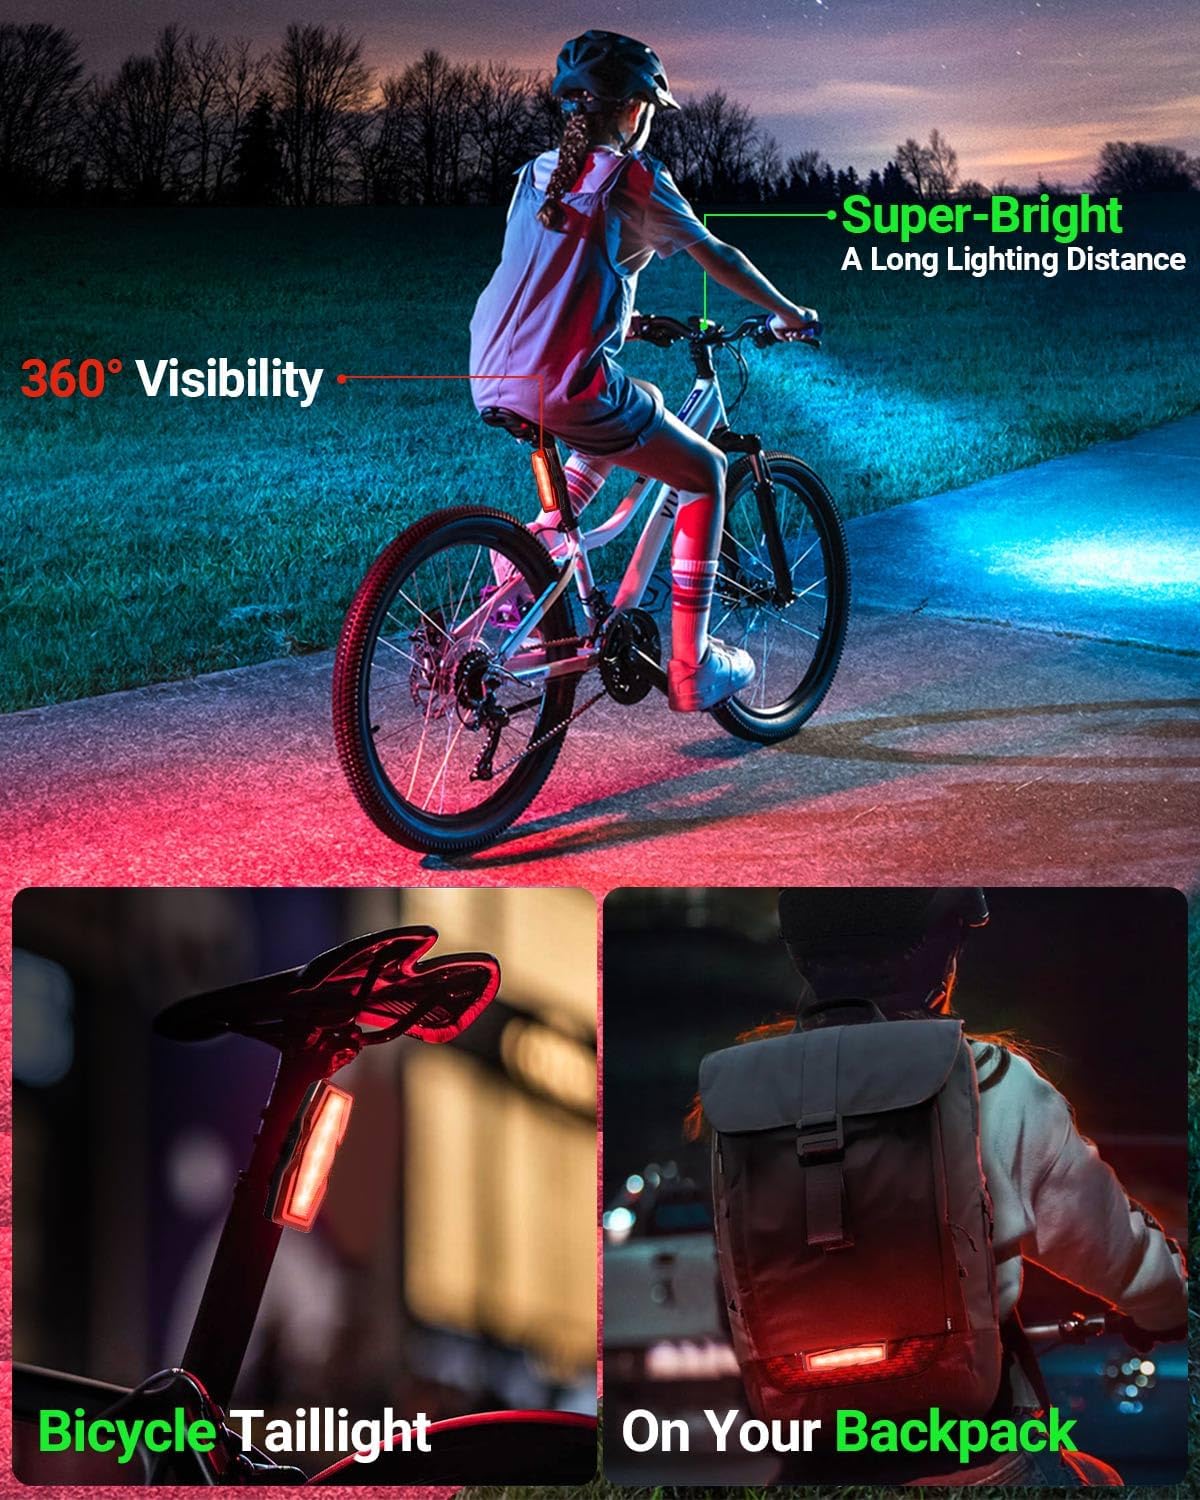
Image: Victoper Headlight and Taillight connected via USB cables to various power sources (power adapter, car charger, power bank) for recharging.
7. การบำรุงรักษา
- การทำความสะอาด: เช็ดไฟด้วยผ้าเนื้อนุ่มและเบาamp ผ้า ห้ามใช้สารทำความสะอาดที่มีฤทธิ์กัดกร่อนหรือตัวทำละลาย
- พื้นที่จัดเก็บ: Store the lights in a cool, dry place when not in use. If storing for extended periods, charge them periodically to maintain battery health.
- ความต้านทานน้ำ: The lights are IPX4 waterproof, meaning they are resistant to splashing water from any direction. They are not designed for submersion. Ensure the USB port cover is securely closed to maintain water resistance.
Image: Victoper Headlight shown with water droplets, illustrating its IPX4 water-resistant design.
8 การแก้ไขปัญหา
| ปัญหา | สาเหตุที่เป็นไปได้ | สารละลาย |
|---|---|---|
| ไฟไม่เปิด | แบตเตอรี่ต่ำหรือปุ่มเปิด/ปิดไม่ได้กดอย่างถูกต้อง | Charge the light fully. Press and hold the power button for 2 seconds to turn on. |
| ไฟไม่ชาร์จ | สายเคเบิล แหล่งจ่ายไฟ หรือพอร์ตชาร์จชำรุด | Try a different USB-C cable and power source. Ensure the cable is fully inserted. |
| Light falls off during riding. | Improper installation or loose strap. | Re-install the light, ensuring the silicone strap is tightly secured to the latch. |
| แบตเตอรี่มีอายุสั้น | Using high brightness modes frequently or aging battery. | Use lower brightness modes when possible. Ensure full charge before each use. Battery life naturally degrades over time. |
9. ข้อมูลจำเพาะ
- ยี่ห้อ: เหยื่อ
- ชื่อรุ่น : VT-BL2001
- Light Output Maximum: 150 ลูเมน (ไฟหน้า)
- จำนวนโหมด: 6 (Headlight), 4 (Taillight)
- แหล่งพลังงาน: ใช้แบตเตอรี่ (ชาร์จ USB ได้)
- ระดับการต้านทานน้ำ: IPX4 (ทนน้ำ)
- น้ำหนักสินค้า: Approximately 4 Ounces (total for set)
- ขนาดสินค้า : 4.17"L x 1.89"W x 1.04"H (Headlight)
- ประเภทการติดตั้ง: ติดตั้งบนแฮนด์ (ไฟหน้า), ติดตั้งบนหลักอาน (ไฟท้าย)
10. การรับประกันและการสนับสนุน
Victoper products are designed for durability and performance. For any questions, concerns, or warranty claims, please contact Victoper customer support. Refer to the product packaging or the official Victoper webเว็บไซต์สำหรับข้อมูลการติดต่อล่าสุด
บันทึก: The warranty typically covers manufacturing defects. Damage due to misuse, unauthorized modification, or improper charging may not be covered.

Image: Victoper customer support team ready to assist.
11. วิดีโอผลิตภัณฑ์
11.1 Victoper Bike Light Overview
วิดีโอ: ภาพรวมโดยย่อview of the Victoper bike light, highlighting its brightness and ease of installation.
11.2 Close Look - Victoper Bike Light
Video: A detailed look at the Victoper bike light, showcasing its features and bright illumination.
11.3 Victoper Bike Light Functionality
Video: Demonstration of the Victoper bike light's various modes and how it functions in different settings.