
1. บทนำ
This manual provides detailed instructions for the installation, operation, and maintenance of your BooiParts G31T-LM V1.0 Desktop Motherboard. Please read this manual thoroughly before proceeding with installation to ensure proper setup and to prevent damage to the components.
2. ข้อมูลด้านความปลอดภัย
- ควรตัดการเชื่อมต่อแหล่งจ่ายไฟออกจากเต้ารับที่ผนังทุกครั้งก่อนติดตั้งหรือถอดส่วนประกอบใดๆ
- Wear an anti-static wrist strap or frequently touch a grounded metal object to discharge static electricity before handling the motherboard or other components. Static electricity can damage sensitive electronic parts.
- จับที่ขอบของเมนบอร์ดเพื่อหลีกเลี่ยงการสัมผัสชิ้นส่วนที่บอบบาง
- ตรวจสอบให้แน่ใจว่าสายเคเบิลทั้งหมดเชื่อมต่ออย่างถูกต้องและแน่นหนา ก่อนที่จะเปิดระบบ
- อย่าให้เมนบอร์ดสัมผัสกับความชื้นหรืออุณหภูมิที่สูงหรือสูงเกินไป
3. เนื้อหาบรรจุภัณฑ์
ตรวจสอบว่าสินค้าทั้งหมดอยู่ในกล่องครบถ้วนหรือไม่ หากมีสินค้าใดขาดหายหรือเสียหาย โปรดติดต่อผู้ค้าปลีก
- BooiParts G31T-LM V1.0 Desktop Motherboard
- แผ่นป้องกันพอร์ต I/O (อาจมีมาให้ด้วย)
- SATA Data Cable (may be included)
- คู่มือการใช้งาน (เอกสารนี้)
4. สินค้าหมดview
The BooiParts G31T-LM V1.0 motherboard is designed for Intel LGA 775 processors and supports DDR2 memory. Below are key components and their locations.
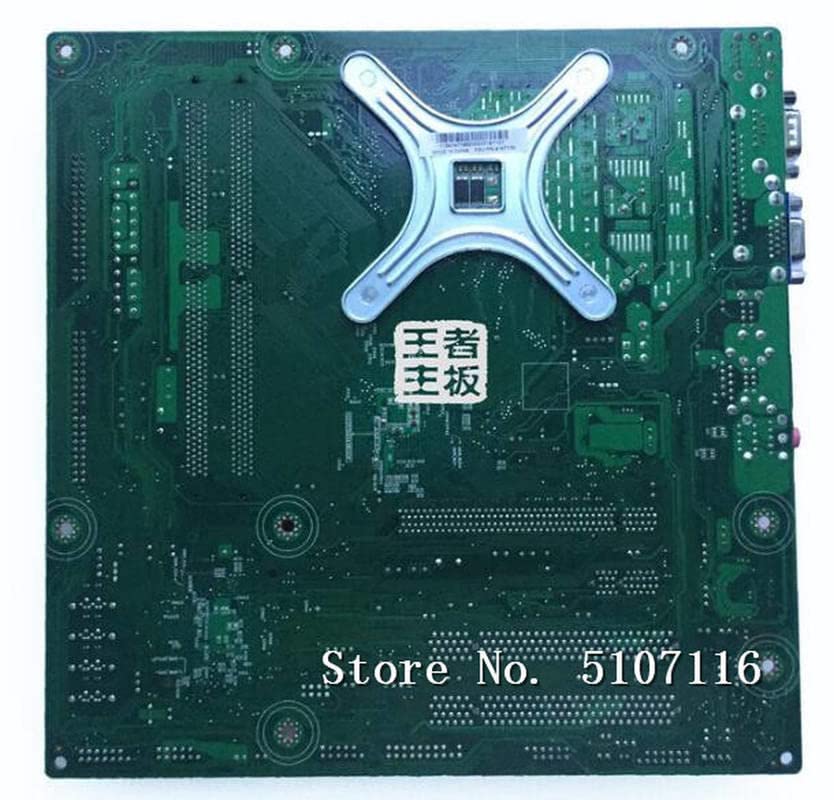
รูปที่ 4.1: สูงสุด view of the BooiParts G31T-LM V1.0 motherboard. This image highlights the central LGA 775 CPU socket, two DDR2 RAM slots to its right, and various expansion slots (PCIe and PCI) below the CPU area. Power connectors and SATA ports are also visible along the edges.

รูปที่ 4.2: มุม view of the BooiParts G31T-LM V1.0 motherboard. This perspective provides a clearer view of the rear I/O panel, including PS/2 ports, serial port, VGA output, USB ports, Ethernet port, and audio jacks. Key components like the chipset heatsink and power delivery components are also visible.
4.1 ส่วนประกอบหลัก
- ซ็อกเก็ต CPU LGA 775: For Intel Core 2 Duo and Pentium D processors.
- สล็อต DDR2 DIMM: Two slots supporting up to 8GB DDR2 memory.
- สล็อต PCI Express: สำหรับกราฟิกการ์ด
- PCI Slots: For other expansion cards.
- SATA Port: สำหรับเชื่อมต่ออุปกรณ์จัดเก็บข้อมูล
- แผง I/O ด้านหลัง: Includes PS/2 ports, USB ports, VGA, LAN, and audio jacks.
5. การตั้งค่า
5.1 การเตรียมตัว
- Ensure your computer case is compatible with Micro-ATX motherboards.
- Gather all necessary components: CPU, CPU cooler, DDR2 RAM, power supply, storage devices, and graphics card (if not using integrated graphics).
5.2 การติดตั้งซีพียู
- ค้นหาซ็อกเก็ต LGA 775 บนเมนบอร์ด
- ยกคันโยกโหลดขึ้น แล้วเปิดฝาครอบซ็อกเก็ต CPU
- Carefully align the CPU with the socket, ensuring the notches on the CPU match the keys on the socket. Do not force the CPU into place.
- ปิดฝาครอบซ็อกเก็ตและกดคันโยกรับน้ำหนักลงจนล็อคเข้าที่
5.3 การติดตั้งตัวระบายความร้อน CPU
Apply thermal paste to the CPU if not pre-applied on the cooler. Install the CPU cooler according to its manufacturer's instructions, ensuring it is securely fastened and the fan cable is connected to the CPU_FAN header on the motherboard.
5.4 การติดตั้ง RAM
- เปิดคลิปที่ปลายทั้งสองด้านของสล็อต DIMM DDR2
- วางโมดูล RAM ให้ตรงกับช่องเสียบ โดยตรวจสอบให้แน่ใจว่ารอยบากบนโมดูลตรงกับร่องในช่องเสียบ
- กดลงบนปลายทั้งสองด้านของโมดูล RAM ให้แน่นจนกระทั่งคลิปล็อกเข้าที่
5.5 Motherboard Installation into Case
- ติดตั้งแผ่นปิดพอร์ต I/O เข้ากับช่องเปิดด้านหลังของเคสคอมพิวเตอร์ของคุณ
- Carefully place the motherboard into the case, aligning the screw holes on the motherboard with the standoffs in the case.
- ยึดเมนบอร์ดด้วยสกรู อย่าขันแน่นเกินไป
5.6 การต่อสายไฟ
- Connect the 24-pin ATX power connector from your power supply to the corresponding header on the motherboard.
- Connect the 4-pin ATX 12V power connector (CPU power) to its header near the CPU socket.
5.7 การเชื่อมต่ออุปกรณ์จัดเก็บข้อมูล
Connect your SATA storage devices (HDD/SSD) to the SATA port on the motherboard using a SATA data cable. Connect the power cable from your power supply to the storage device.
5.8 การเชื่อมต่อขั้วต่อแผงด้านหน้า
Connect the front panel cables (Power SW, Reset SW, HDD LED, Power LED, USB, Audio) from your case to the corresponding headers on the motherboard. Refer to the motherboard's silkscreen labels for correct pin orientation.
5.9 การเชื่อมต่ออุปกรณ์ต่อพ่วง
เชื่อมต่อแป้นพิมพ์ เมาส์ จอภาพ และอุปกรณ์ต่อพ่วงอื่นๆ เข้ากับพอร์ตที่เหมาะสมบนแผง I/O ด้านหลัง
6. คู่มือการใช้งาน
6.1 การบูตเครื่องครั้งแรก
After completing all connections, turn on your power supply and press the power button on your computer case. The system should power on, and you should see a display on your monitor. If not, refer to the Troubleshooting section.
6.2 การตั้งค่า BIOS/UEFI
During startup, press the designated key (usually เดล or F2) to enter the BIOS/UEFI setup utility. Here you can configure system settings, boot order, and monitor hardware status.
7. การบำรุงรักษา
- การทำความสะอาด: ทำความสะอาดฝุ่นออกจากเมนบอร์ดและส่วนประกอบต่างๆ เป็นประจำโดยใช้ลมอัด ตรวจสอบให้แน่ใจว่าได้ปิดเครื่องและถอดปลั๊กออกก่อนทำความสะอาด
- อัปเดต BIOS: ตรวจสอบของผู้ผลิต webเว็บไซต์นี้ใช้สำหรับอัปเดต BIOS ควรทำการอัปเดต BIOS เฉพาะเมื่อจำเป็นเท่านั้น และปฏิบัติตามคำแนะนำอย่างระมัดระวังเพื่อหลีกเลี่ยงความไม่เสถียรของระบบ
- การจัดการสายเคเบิล: จัดวางสายเคเบิลให้เรียบร้อยเพื่อเพิ่มการไหลเวียนของอากาศและป้องกันการรบกวน
8 การแก้ไขปัญหา
8.1 ไม่มีไฟฟ้า
- Check if the power supply is switched on and properly connected to the motherboard (24-pin and 4-pin connectors).
- ตรวจสอบให้แน่ใจว่าสายเคเบิลของสวิตช์เปิดปิดแผงด้านหน้าเชื่อมต่อกับหัวต่อบนเมนบอร์ดอย่างถูกต้อง
- ทดสอบแหล่งจ่ายไฟด้วยระบบอื่นหรือเครื่องทดสอบแหล่งจ่ายไฟ
8.2 ไม่มีการแสดงผล
- Verify that the monitor is connected to the correct video output (onboard VGA or discrete graphics card).
- Reseat the RAM modules. Incorrectly seated RAM is a common cause of no display.
- If using a discrete graphics card, ensure it is properly seated in its PCIe slot and has adequate power connected.
- ลองบูตด้วย RAM เพียงอันเดียว
8.3 ความไม่เสถียรของระบบ/การขัดข้อง
- ตรวจสอบอุณหภูมิ CPU และ GPU ความร้อนสูงเกินไปอาจทำให้เกิดความไม่เสถียร
- ตรวจสอบให้แน่ใจว่าไดร์เวอร์ทั้งหมดได้รับการอัปเดตแล้ว
- เรียกใช้เครื่องมือวินิจฉัยหน่วยความจำเพื่อตรวจหา RAM ที่ผิดพลาด
- ตรวจสอบกระแสไฟของแหล่งจ่ายไฟtage เพียงพอสำหรับส่วนประกอบทั้งหมด
9. ข้อมูลจำเพาะ
The following table outlines the key specifications for the BooiParts G31T-LM V1.0 Motherboard.
| คุณสมบัติ | ข้อมูลจำเพาะ |
|---|---|
| ยี่ห้อ | BooiParts |
| ชื่อรุ่น | G31T-LM V1.0 |
| ซ็อคเก็ตซีพียู | แอลจีเอ 775 |
| โปรเซสเซอร์ที่เข้ากันได้ | Intel Core 2 Duo, Intel Pentium D |
| ประเภทชิปเซ็ต | อินเทล G31 |
| เทคโนโลยีหน่วยความจำ RAM | DDR2 |
| มีช่องหน่วยความจำให้เลือก | 2 |
| ความจุหน่วยความจำ (สูงสุด) | 8GB |
| อินเทอร์เฟซการ์ดกราฟิก | พีซีไอ เอ็กซ์เพรส |
| พอร์ต SATA ทั้งหมด | 1 |
| Total PCIe Ports | 2 |
| ประเภทขั้วต่อสายไฟหลัก | 24 พิน |
| อุปกรณ์ที่รองรับ | เครื่องคอมพิวเตอร์ส่วนบุคคล |
| หมายเลขรุ่น | T4900V 53Y3282 45C2882 |
10. การรับประกันและการสนับสนุน
สำหรับข้อมูลการรับประกันและการสนับสนุนทางเทคนิค โปรดดูเอกสารที่แนบมากับสินค้าที่ซื้อ หรือติดต่อผู้ค้าปลีกของคุณ โปรดเก็บหลักฐานการซื้อไว้เพื่อใช้ในการเรียกร้องการรับประกัน