1. บทนำ
The EVTSCAN Peakmeter PM8213C is a portable digital multimeter designed for various electrical measurements. This instrument offers stable performance, high precision, and low power consumption, making it a reliable tool for both professional and DIY users. Its compact appearance and comprehensive features ensure accurate readings for voltage, current, resistance, continuity, non-contact voltage (NCV), frequency, and duty cycle.
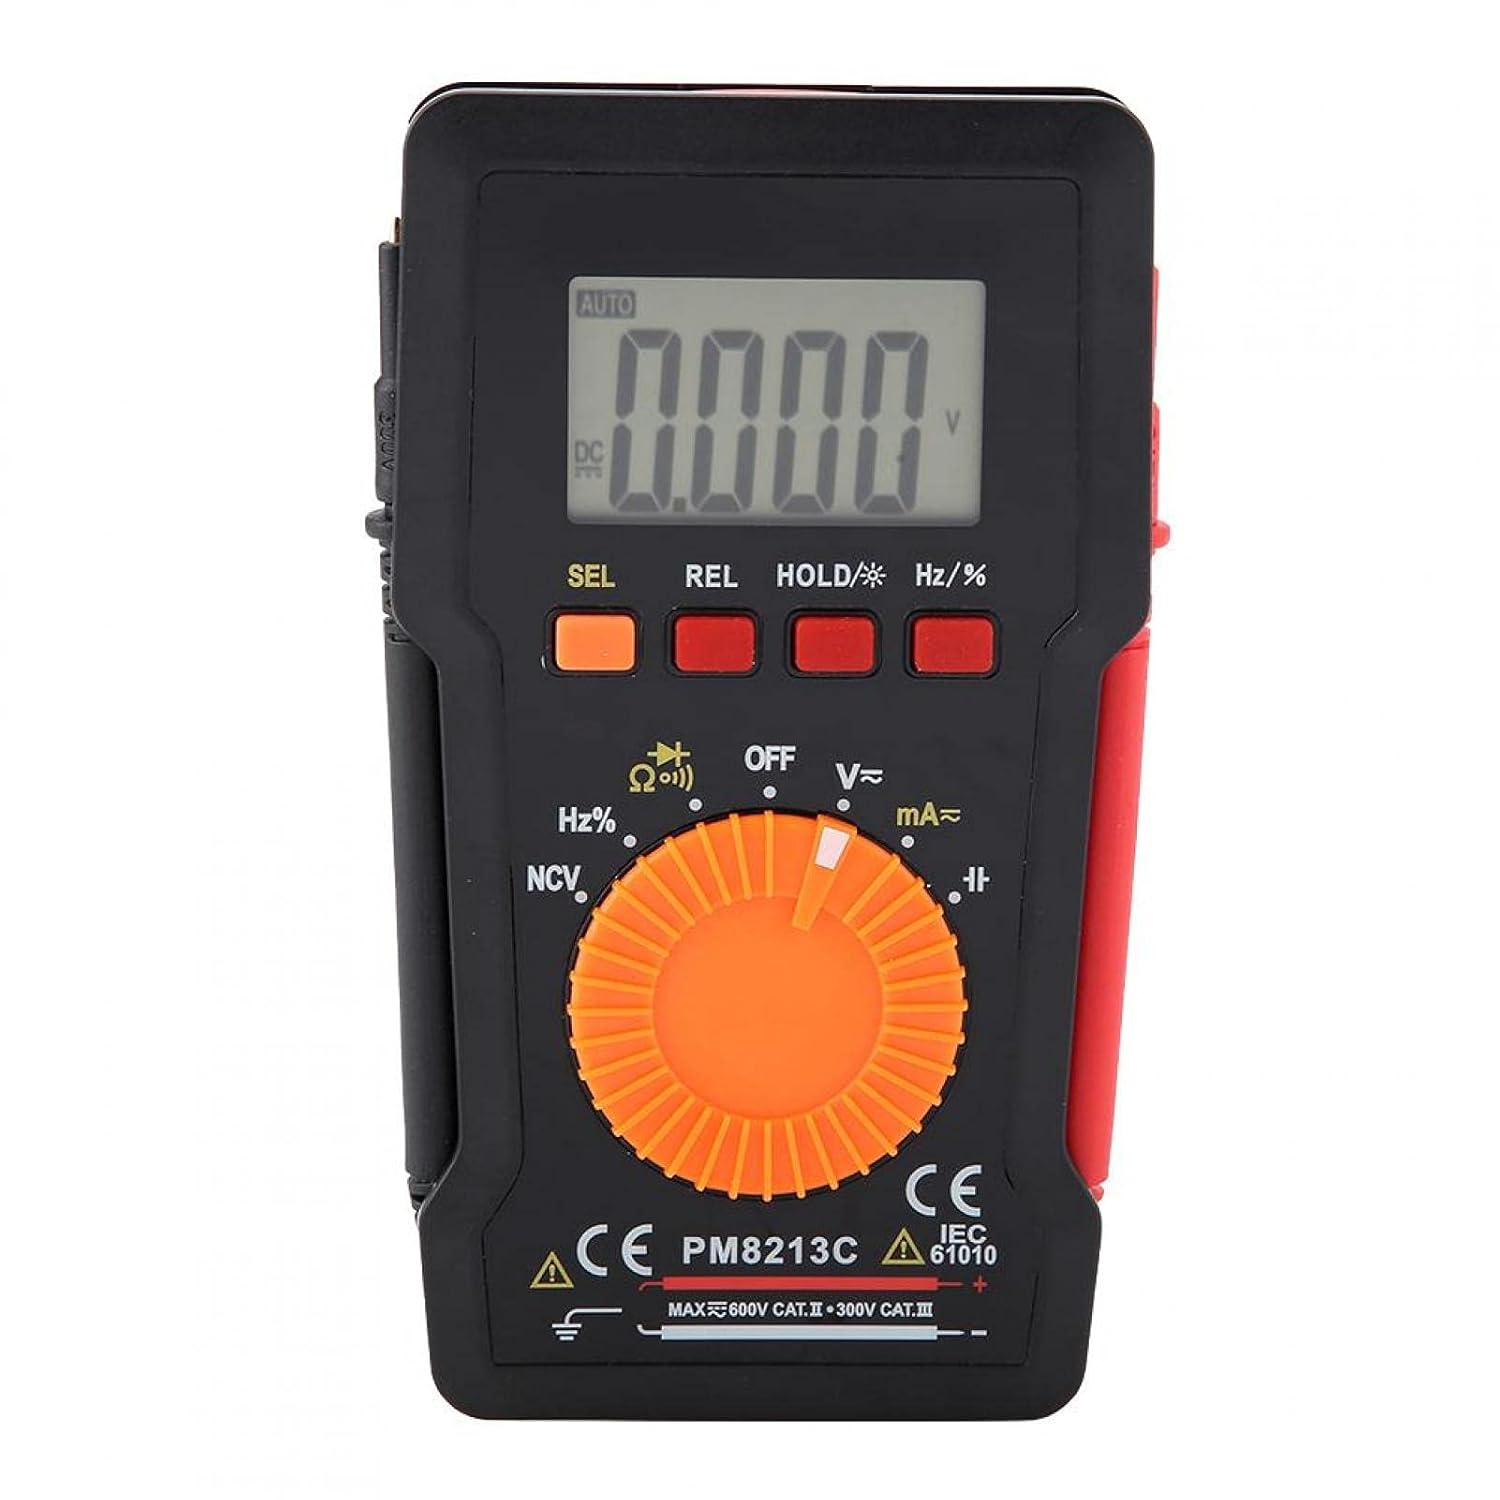
รูปที่ 1 : ด้านหน้า view of the EVTSCAN Peakmeter PM8213C Digital Multimeter.
2. ข้อมูลด้านความปลอดภัย
To ensure safe operation and service of the meter, please read this manual carefully before use. Failure to observe safety warnings can result in serious injury or death. Always adhere to local and national safety codes.
- ห้ามป้อนค่าเกินขีดจำกัดสูงสุดสำหรับฟังก์ชันใดๆ
- ใช้ความระมัดระวังเมื่อทำงานกับ voltages สูงกว่า 30V AC RMS, 42V peak หรือ 60V DC ปริมาตรเหล่านี้tagอาจทำให้เกิดอันตรายจากการช็อตได้
- Before measuring current, ensure the meter's test leads are connected to the correct input jacks and the function switch is set to the appropriate current range.
- ควรตัดการเชื่อมต่อสายทดสอบออกจากวงจรทุกครั้งก่อนเปลี่ยนตำแหน่งสวิตช์ฟังก์ชัน
- ควรเปลี่ยนแบตเตอรี่ทันทีเมื่อไฟแสดงสถานะแบตเตอรี่ต่ำปรากฏขึ้น เพื่อให้ได้ค่าการวัดที่แม่นยำ
- ห้ามใช้งานมิเตอร์หากพบว่าชำรุดเสียหาย หรือหากอุปกรณ์ป้องกันชำรุดasinตัวอักษร g ถูกลบออก
- ระหว่างทำการวัด โปรดระวังอย่าให้มือและนิ้วอยู่หลังแผ่นกั้นของหัววัด
3. สินค้าหมดview
3.1 ส่วนประกอบ
The PM8213C multimeter consists of the following main components:
- จอแสดงผล LCD: แสดงค่าการวัด หน่วย และตัวบ่งชี้ฟังก์ชัน
- ปุ่มฟังก์ชั่น: SEL (Select), REL (Relative), HOLD (Data Hold), Hz/% (Frequency/Duty Cycle).
- สวิตช์โรตารี่: Used to select the desired measurement function (e.g., V~, V-, Ω, Continuity, NCV, Hz%, mA~, A~).
- แจ็คอินพุต: Terminals for connecting test leads (COM, VΩHz, mA, A).
- นำไปสู่การทดสอบ: Red and black leads for connecting to the circuit under test.
- เคสป้องกัน: Provides protection for the meter.

Figure 2: Key features of the PM8213C Multimeter, including LCD screen and compact design.
3.2. แสดงสัญลักษณ์
Familiarize yourself with the symbols that may appear on the LCD display:
- อัตโนมัติ: Auto-ranging mode is active.
- กระแสตรง/กระแสสลับ: Direct Current / Alternating Current.
- V: โวลต์ (Voltagจ).
- โอห์ม: โอห์ม (ความต้านทาน)
- เฮิร์ตซ์: เฮิรตซ์ (ความถี่)
- %: วัฏจักรหน้าที่
- เอ็นซีวี: แบบไม่สัมผัส Voltagการตรวจจับอี
- ถือ: Data Hold function is active.
- เรล: โหมดการวัดแบบสัมพัทธ์
- สัญลักษณ์แบตเตอรี่: บ่งบอกถึงพลังงานแบตเตอรี่ต่ำ
- OOL: Over-range indication.
4. การตั้งค่า
4.1. การติดตั้งแบตเตอรี่
The PM8213C requires one CR2032 (3V) button cell battery for operation. The battery is typically not included in the package.
- ตรวจสอบให้แน่ใจว่ามัลติมิเตอร์ปิดอยู่
- หาช่องใส่แบตเตอรี่ที่ด้านหลังของมิเตอร์
- Use a suitable tool (e.g., a small screwdriver) to open the battery compartment cover.
- Insert the CR2032 battery, observing the correct polarity (+ and - markings).
- ปิดฝาช่องใส่แบตเตอรี่กลับเข้าที่และขันให้แน่น
4.2. การเชื่อมต่อสายทดสอบ
Connect the test leads to the appropriate input jacks before taking any measurements.
- เชื่อมต่อ สีดำ การทดสอบนำไปสู่ คอม แจ็คอินพุต (ทั่วไป)
- สำหรับการวัดส่วนใหญ่ (ปริมาตร)tage, resistance, frequency, duty cycle, continuity), connect the สีแดง การทดสอบนำไปสู่ VΩเฮิร์ตซ์ แจ็คอินพุต
- For current measurements (mA), connect the สีแดง การทดสอบนำไปสู่ mA แจ็คอินพุต
- For higher current measurements (A), connect the สีแดง การทดสอบนำไปสู่ A input jack (if available and distinct from mA). Note: The PM8213C typically uses a single current input for mA/A, check the dial for specific ranges.
5. คู่มือการใช้งาน
5.1. เปิด/ปิดเครื่อง
To turn the multimeter ON, rotate the function switch from the OFF position to any desired measurement function. To turn the multimeter OFF, rotate the function switch to the OFF position. The meter features an automatic power-off function after approximately 30 minutes of inactivity to conserve battery life.
5.2. การเลือกฟังก์ชั่น
Use the rotary switch to select the primary measurement function. For functions with multiple modes (e.g., AC/DC voltage, continuity/diode), press the เอสอีแอล button to toggle between modes.
5.3. การวัดปริมาตร DCtagอี (วี-)
- เชื่อมต่อสายวัดสีแดงเข้ากับแจ็ค VΩHz และสายวัดสีดำเข้ากับแจ็ค COM
- Set the rotary switch to the V- position.
- ต่อสายทดสอบแบบขนานเข้ากับแรงดันไฟฟ้ากระแสตรงtagแหล่งที่มาหรือส่วนประกอบที่คุณต้องการวัด
- อ่านเล่มที่tagค่า e บนจอ LCD
5.4. การวัดปริมาตร ACtagอี (วี~)
- เชื่อมต่อสายวัดสีแดงเข้ากับแจ็ค VΩHz และสายวัดสีดำเข้ากับแจ็ค COM
- Set the rotary switch to the V~ position.
- ต่อสายทดสอบแบบขนานเข้ากับแรงดันไฟฟ้ากระแสสลับtagแหล่งที่มาหรือส่วนประกอบ
- อ่านเล่มที่tagค่า e บนจอ LCD
5.5. การวัดความต้านทาน (Ω)
- ตรวจสอบให้แน่ใจว่าวงจรถูกตัดพลังงานก่อนที่จะวัดความต้านทาน
- เชื่อมต่อสายวัดสีแดงเข้ากับแจ็ค VΩHz และสายวัดสีดำเข้ากับแจ็ค COM
- ตั้งสวิตช์หมุนไปที่ตำแหน่ง Ω
- ต่อสายวัดทดสอบเข้ากับชิ้นส่วนที่คุณต้องการวัดค่าความต้านทาน
- อ่านค่าความต้านทานบนจอ LCD
5.6. การทดสอบความต่อเนื่อง (Ω-)
- ตรวจสอบให้แน่ใจว่าวงจรไม่มีพลังงาน
- เชื่อมต่อสายวัดสีแดงเข้ากับแจ็ค VΩHz และสายวัดสีดำเข้ากับแจ็ค COM
- Set the rotary switch to the Continuity position (often shared with Resistance or Diode). Press เอสอีแอล if needed to select continuity.
- ต่อสายวัดทดสอบเข้ากับชิ้นส่วนหรือสายไฟ
- ถ้ามีความต่อเนื่อง (ความต้านทานต่ำ) มิเตอร์จะส่งเสียงบี๊บดังขึ้น
5.7. ไม่สัมผัส Voltagการตรวจจับ e (NCV)
- ตั้งสวิตช์แบบหมุนไปที่ตำแหน่ง NCV
- Move the top edge of the multimeter close to the conductor suspected of having AC voltage.
- มิเตอร์จะแสดงว่ามีแรงดันไฟฟ้ากระแสสลับอยู่หรือไม่tagผ่านทางเสียงบี๊บและ/หรือตัวบ่งชี้ภาพ (เช่น ไฟ LED)
5.8. การวัดความถี่ (Hz) และรอบการทำงาน (%)
- เชื่อมต่อสายวัดสีแดงเข้ากับแจ็ค VΩHz และสายวัดสีดำเข้ากับแจ็ค COM
- Set the rotary switch to the Hz/% position.
- ต่อสายทดสอบแบบขนานเข้ากับแหล่งสัญญาณ
- กดปุ่ม เฮิร์ตซ์/% button to toggle between frequency and duty cycle measurements.
- อ่านค่าบนจอ LCD
5.9. Measuring Current (mA~, A~)
- คำเตือน: Never connect the meter in parallel to a voltage source when measuring current. This will blow the fuse and can damage the meter.
- ตรวจสอบให้แน่ใจว่าวงจรไม่มีพลังงาน
- เชื่อมต่อสายวัดทดสอบสีดำเข้ากับแจ็ค COM
- สำหรับมิลลิampere (mA) measurements, connect the red test lead to the mA jack. For ampere (A) measurements, connect the red test lead to the A jack (if separate).
- Set the rotary switch to the appropriate mA~ or A~ position.
- Open the circuit where you want to measure current and connect the meter in series with the load.
- เปิดวงจรอีกครั้งและอ่านค่ากระแสไฟฟ้าจากจอ LCD
6. การบำรุงรักษา
6.1. การทำความสะอาด
เช็ดตัวเรือนมิเตอร์ด้วยน้ำยาทำความสะอาดamp ใช้ผ้าและผงซักฟอกอ่อนๆ เช็ดทำความสะอาด ห้ามใช้สารขัดถูหรือตัวทำละลาย รักษาขั้วต่อให้ปราศจากสิ่งสกปรกและความชื้น
6.2. การเปลี่ยนแบตเตอรี่
When the low battery indicator appears on the display, replace the CR2032 battery promptly to ensure accurate measurements.
- Turn the multimeter OFF and disconnect all test leads.
- เปิดฝาครอบช่องใส่แบตเตอรี่ที่ด้านหลังของมิเตอร์
- ถอดแบตเตอรี่ CR2032 เก่าออก
- Insert a new CR2032 (3V) button cell battery, ensuring correct polarity.
- ปิดฝาช่องใส่แบตเตอรี่ให้แน่น
6.3. การเปลี่ยนฟิวส์
If the current measurement function stops working, the fuse may need replacement. The fuse specification is F 400mA/250V.
- Turn the multimeter OFF and disconnect all test leads.
- Open the meter's casing (refer to the battery replacement section for access, or consult the full service manual if necessary).
- Locate the blown fuse.
- Carefully remove the old fuse and replace it with a new fuse of the exact same type and rating (F 400mA/250V).
- Reassemble the meter's casinก. อย่างปลอดภัย
7 การแก้ไขปัญหา
If the meter does not function correctly, check the following points before seeking service:
- ไม่มีจอแสดงผลหรือจอแสดงผลจางๆ: ตรวจสอบการติดตั้งแบตเตอรี่และเปลี่ยนหากจำเป็น
- การอ่านค่าที่ไม่ถูกต้อง: Ensure test leads are correctly connected to the appropriate input jacks and the rotary switch is set to the correct function and range. Check battery level.
- การวัดกระแสไฟฟ้าไม่ทำงาน: Check and replace the fuse if blown. Ensure test leads are connected in series with the circuit.
- "OOL" displayed: ค่าที่วัดได้เกินช่วงที่เลือกไว้ โปรดเปลี่ยนไปใช้ช่วงที่สูงกว่า หรือตรวจสอบให้แน่ใจว่าค่าที่ป้อนอยู่ในช่วงที่มิเตอร์สามารถวัดได้
8. ข้อมูลจำเพาะ
| ระดับความสูง | น้อยกว่า 2000 ม. |
| อุณหภูมิในการทำงาน | 0 ~ 40 องศาเซลเซียส |
| ความชื้นในการทำงาน | <80% RH (not considered at <10 °C) |
| อุณหภูมิในการจัดเก็บ | -10 ~ 60 องศาเซลเซียส |
| ความชื้นในการเก็บรักษา | <70% RH (remove batteries) |
| ค่าสัมประสิทธิ์อุณหภูมิ | 0.1 precision/°C |
| สูงสุดที่อนุญาตฉบับtage (Input to Ground) | 600V DC หรือ AC rms |
| ป้องกันฟิวส์ | ฟ 400mA/250V |
| Sampลิงอัตรา | Approximately 3 times/second |
| ปิดเครื่องอัตโนมัติ | ประมาณ 30 นาที |
| แสดง | Maximum 3999 counts |
| Over-range Display | "OOL" |
| แหล่งจ่ายไฟ | CR2032 (3V) button cell battery |
| น้ำหนัก | Approximately 120 - 142 g |
| ขนาด (กว้าง x ยาว x สูง) | 127 x 70 x 12.5 มม. (ประมาณ 12.8 x 7.5 x 1.3 ซม.) |
8.1. DC ฉบับที่tage (PM8213C)
| พิสัย | ปณิธาน | ความแม่นยำ |
|---|---|---|
| 4 โวลต์ | 0.001 โวลต์ | ±(0.1% + 3 หลัก) |
| 40 โวลต์ | 0.01 โวลต์ | ±(0.1% + 3 หลัก) |
| 400 โวลต์ | 0.1 โวลต์ | ±(0.1% + 3 หลัก) |
| 600 โวลต์ | 1 โวลต์ | ±(0.1% + 3 หลัก) |
8.2. เนื้อหาบรรจุภัณฑ์
- 1 x Digital Multimeter (PM8213C)
- 2 x การทดสอบ
- 1 x เคสป้องกัน
9. การรับประกันและการสนับสนุน
สำหรับข้อมูลการรับประกันหรือการสนับสนุนทางเทคนิค โปรดติดต่อผู้ขายหรือผู้ผลิตโดยตรง โปรดเก็บใบเสร็จรับเงินไว้เป็นหลักฐานการซื้อ