
ทอมเลิฟ ดีเอ็ม202
TOMLOV DM202 HDMI Digital Microscope
คู่มือการใช้งาน
การแนะนำ
The TOMLOV DM202 HDMI Digital Microscope is a versatile tool designed for detailed observation and analysis. Featuring a 10.1-inch LCD screen, 16MP camera, and broad compatibility, it is ideal for electronics repair, coin observation, soldering, and educational purposes. This manual provides essential information for setting up, operating, and maintaining your device.
เนื้อหาแพ็คเกจ
- TOMLOV DM202 10.1" HDMI Digital Microscope x 1
- 10" Enhanced Stand x 1
- Aluminum Base x 1
- สาย HDMI x 1
- สาย USB x2
- 32GB Micro-SD Card (pre-installed) x 1
- รีโมทคอนโทรล x 1
- อะแดปเตอร์แปลงไฟ x 1
- ผ้าทำความสะอาด x 1

This image displays the TOMLOV DM202 digital microscope along with its included accessories, such as the 10.1-inch LCD screen, stand, base, cables, remote control, and SD card.
คู่มือการติดตั้ง
- ประกอบขาตั้ง: Attach the 10-inch enhanced stand to the aluminum base using the provided screws. Ensure it is securely fastened.

Figure 2: Attaching the microscope stand to the base. This image illustrates the process of assembling the microscope stand by connecting the vertical pillar to the sturdy aluminum base.
- ติดตั้งกล้องจุลทรรศน์: Secure the microscope unit onto the adjustable bracket on the stand. Use the larger scroll screws for easy and secure attachment.

Figure 3: Mounting the microscope unit onto the stand's bracket. The image shows the microscope unit being attached to the adjustable bracket on the stand, highlighting the larger, easy-to-grip scroll screws for secure mounting.
- เชื่อมต่อพลังงาน: Plug the power adapter into the microscope unit and then into a power outlet. The device has a built-in rechargeable battery for portable use.
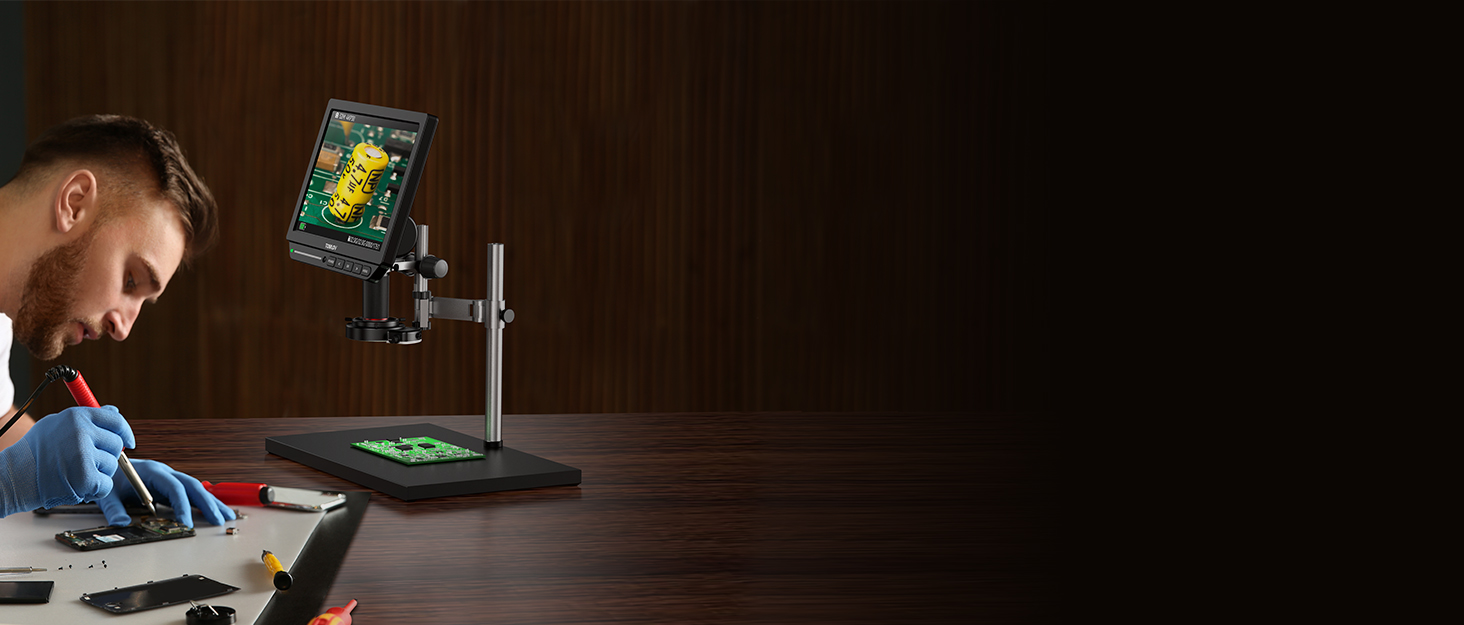
Figure 4: Power connection and built-in battery for portability. This image shows the microscope connected to a power source, emphasizing its built-in rechargeable battery for convenient portable operation.
- ปรับไฟ LED: The base features adjustable LED lights. Use the touch control bar on the base to adjust brightness or turn the lights on/off.

Figure 5: Touch control for adjusting LED light brightness. The image demonstrates how to adjust the brightness of the microscope's LED lights using the intuitive touch control bar located on the base.
- ใส่การ์ด Micro-SD: The 32GB Micro-SD card is pre-installed. Ensure it is properly seated for image and video storage.

Figure 6: Location of the Micro-SD card slot. This image highlights the Micro-SD card slot on the microscope unit, where the included 32GB card is inserted for storing captured images and videos.
คำแนะนำการใช้งาน
การทำงานพื้นฐาน
- เปิดเครื่อง: Press the "POWER" button on the microscope unit to turn on the 10.1-inch LCD screen.
- Adjust Height and Focus: Place your specimen on the base. Adjust the height of the microscope unit on the stand using the adjustable bracket. Rotate the focus controller on the microscope lens until the image on the screen is clear.

Figure 7: Adjusting the microscope's height and focus for clear viewการไอเอ็นจี This image shows a user adjusting the height of the microscope on its stand and rotating the focus knob to achieve a clear, magnified view of a coin specimen.
- การควบคุมการซูม: The microscope offers a 3X-1300X zoom range. Use the zoom controls on the unit or remote to adjust magnification.
- รีโมทคอนโทรล: Use the included remote control for convenient operation, including zoom, image capture, and menu navigation.
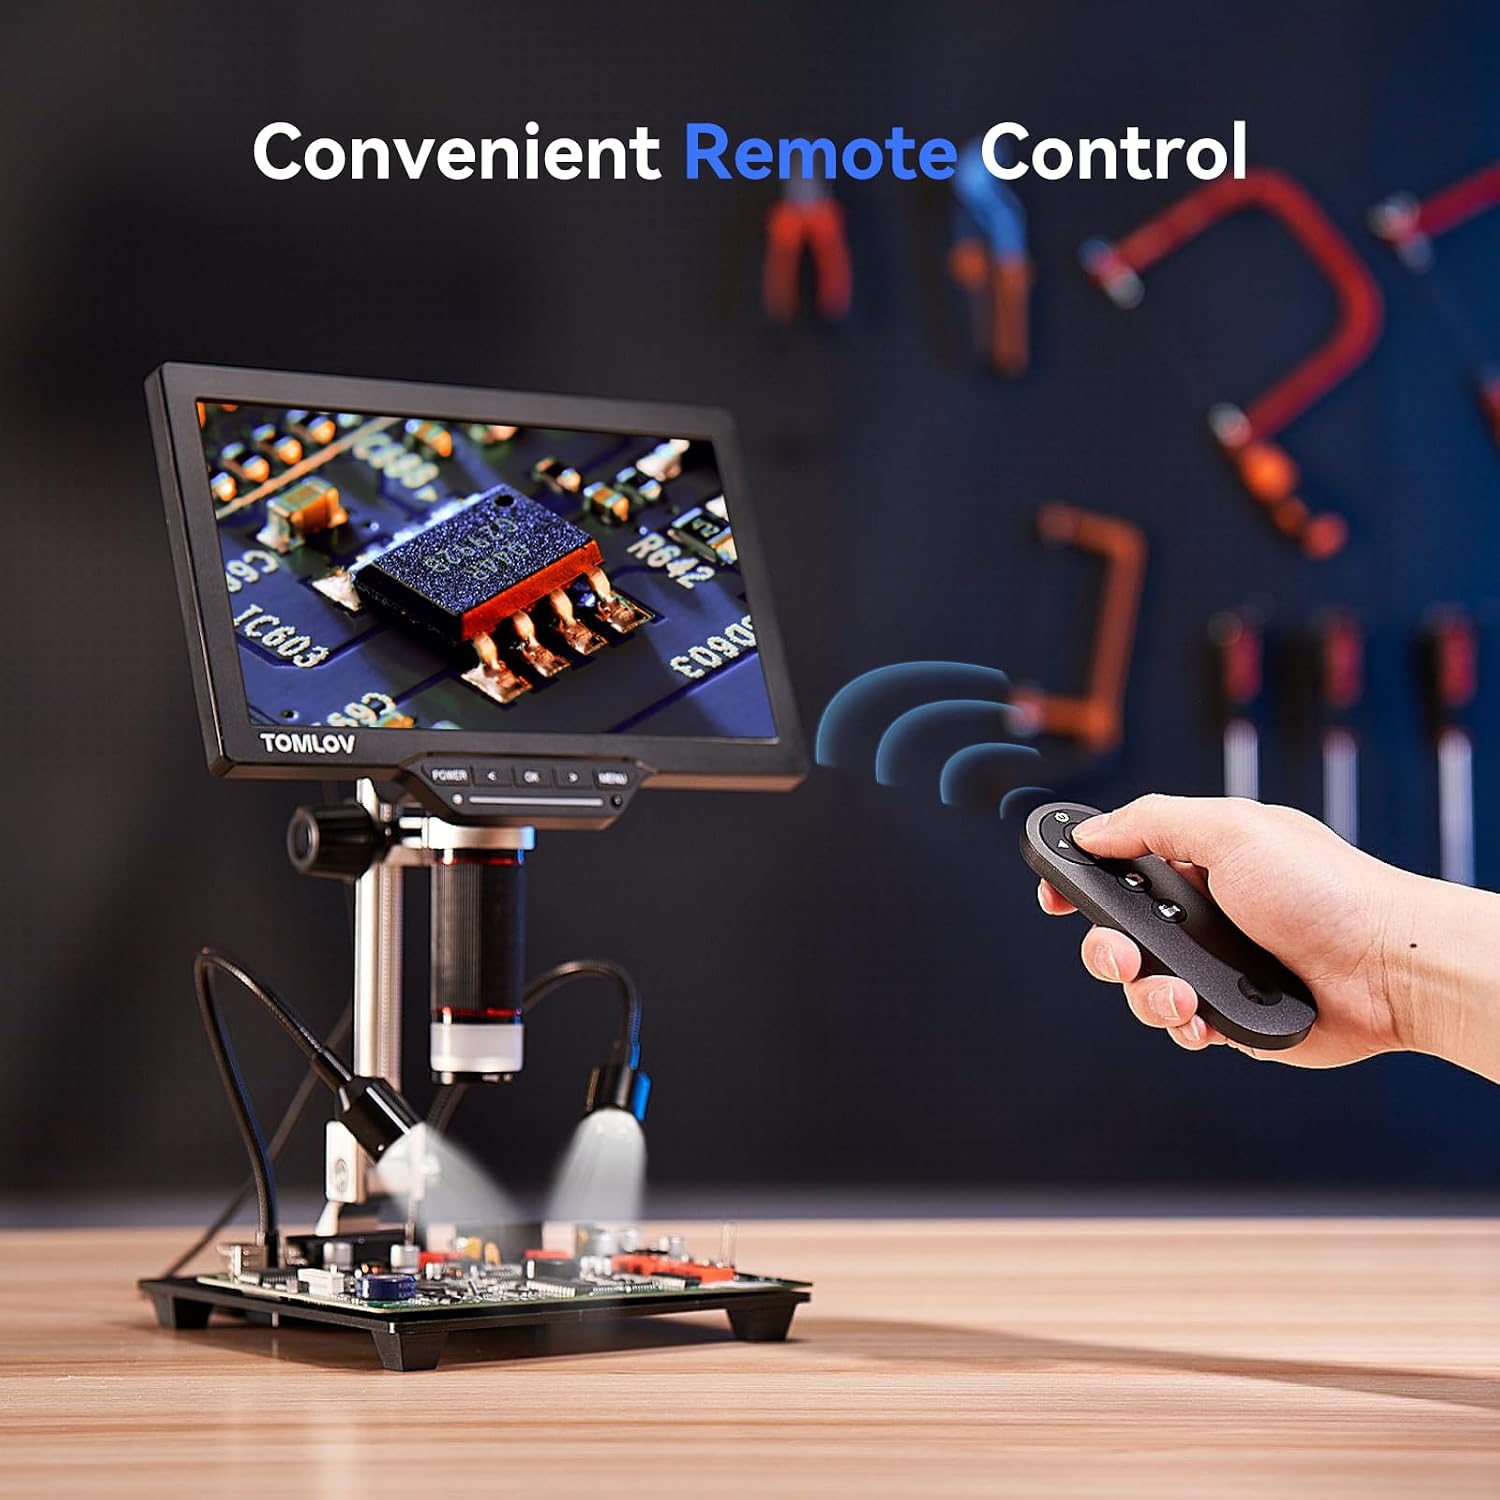
Figure 8: Operating the microscope using the remote control. The image displays a hand using the remote control to operate the microscope, demonstrating its convenience for adjusting settings and capturing media from a distance.
Connecting to External Displays (HDMI/USB)
The TOMLOV DM202 supports output to HDMI monitors and Windows/Mac PCs.
- เอาท์พุต HDMI: Connect the microscope to any HDMI monitor or TV using the provided HDMI cable. The display will automatically switch to the external screen.
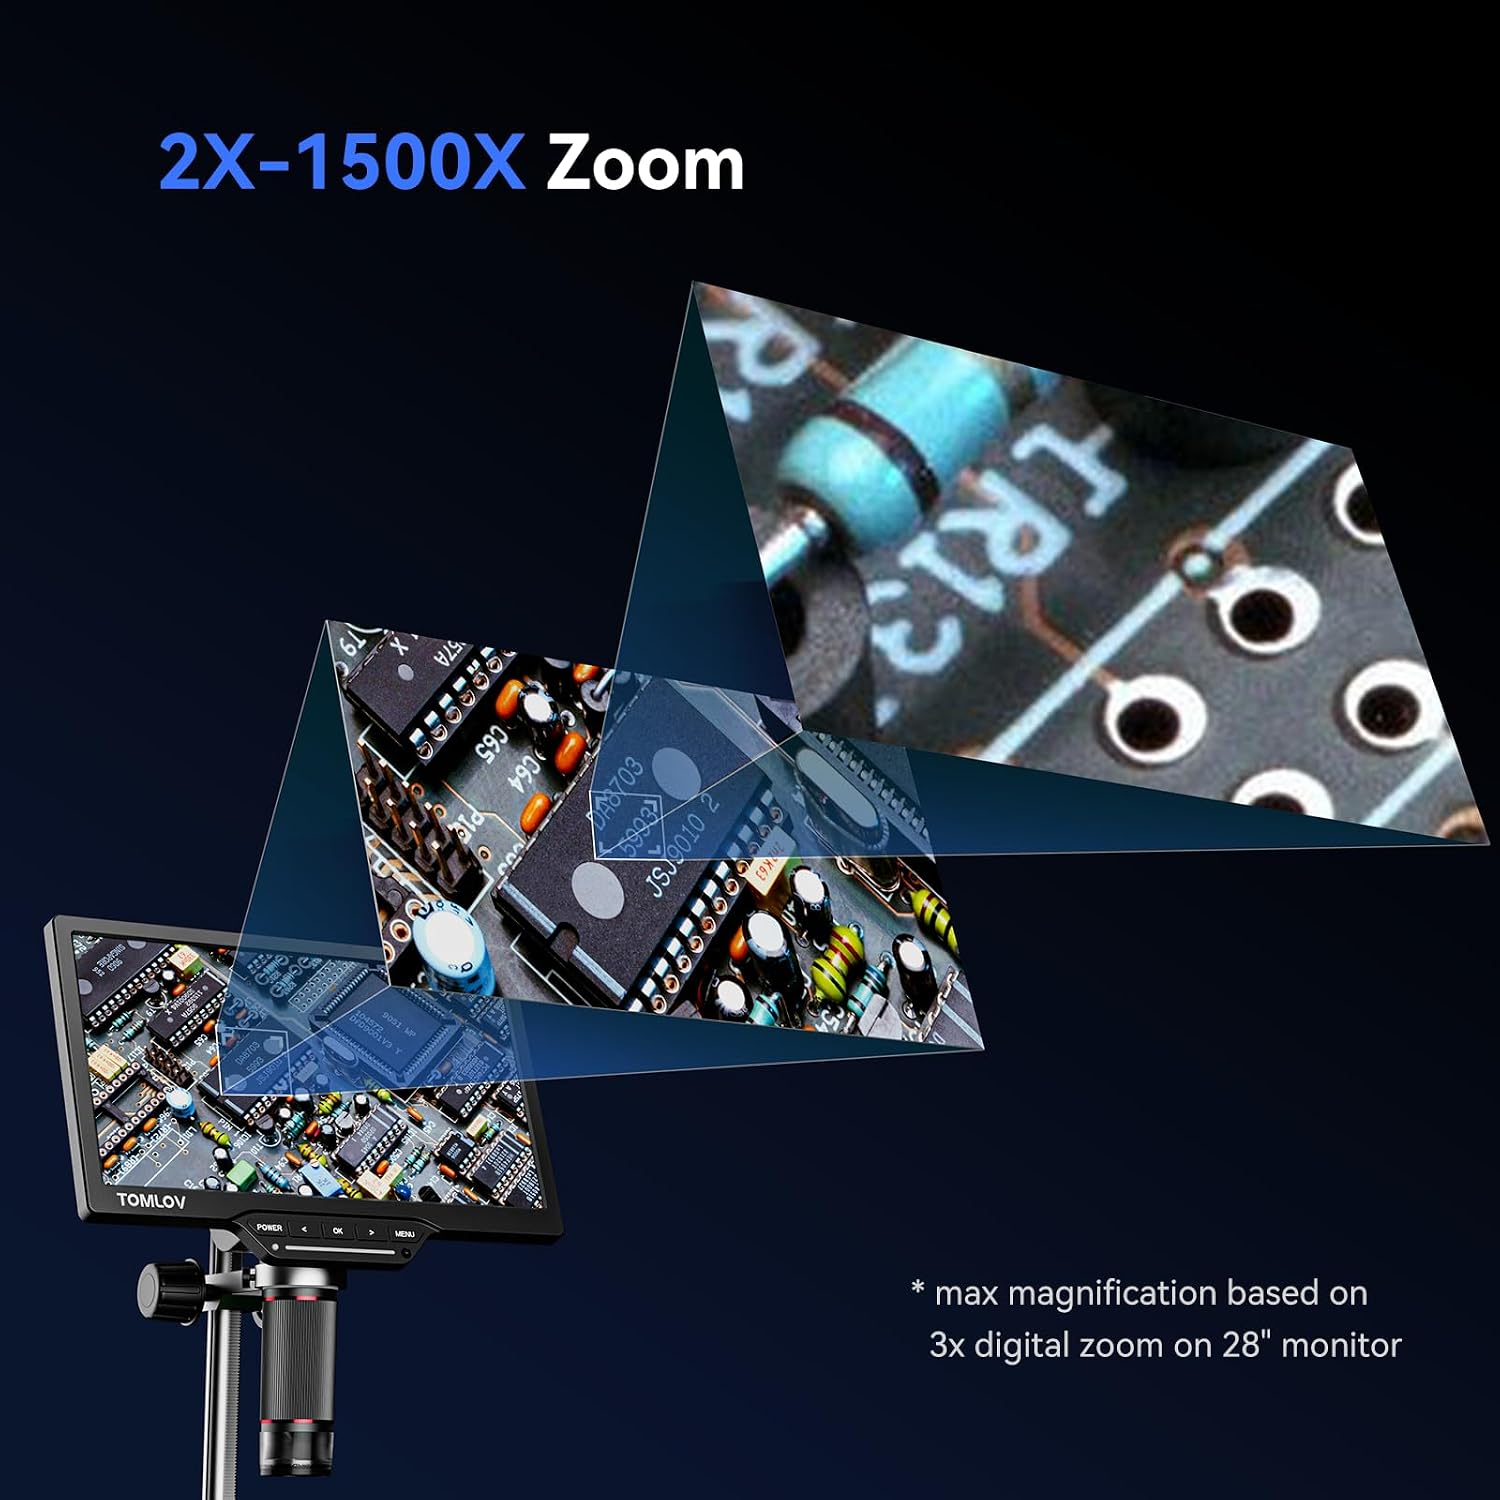
Figure 9: Connecting the microscope to an external HDMI display. This image shows the microscope connected to a larger external monitor via an HDMI cable, allowing for expanded viewการขยายภาพ
- USB Output (PC): Connect the microscope to a Windows PC (using the Camera app) or a Mac (using Photo Booth) via the USB cable. The device will function as a webลูกเบี้ยว.

Figure 10: Connecting the microscope to a laptop via USB. The image illustrates the microscope connected to a laptop via USB, enabling real-time viewing and capture on a computer screen.
การจับภาพและวิดีโอ
The microscope can capture up to 16MP photos and videos directly to the 32GB Micro-SD card.
- ปุ่มจับภาพ: Press the "OK" button on the unit or remote to capture an image or start/stop video recording.
- เข้าถึง Files: Connect the microscope to a PC via USB or remove the Micro-SD card and insert it into a card reader to access captured media.
วิดีโอผลิตภัณฑ์อย่างเป็นทางการ
Below are official product videos from the seller demonstrating various features and comparisons.
Crisp image from Tomlov DM202 HDMI Microscope When Soldering
This video demonstrates the crisp image quality of the TOMLOV DM202 HDMI microscope, particularly useful for micro-soldering tasks. It shows the microscope's display and the detailed view of a circuit board during soldering.
Tomlov DM201 VS DM202 Digital Microscope
This video provides a direct comparison between the TOMLOV DM201 and DM202 digital microscopes, highlighting the differences in screen size, working distance, and overall performance between the two models.
TOMLOV DM202 Digital Microsocpe,16MP Coin Microsocpe
This video showcases the TOMLOV DM202 digital microscope's capabilities, particularly its 16MP camera for detailed coin observation. It highlights the clarity and magnification for examining various coin features.
What's the difference between Tomlov DM202 and DM201 ?
วิดีโอนี้ให้คำอธิบายที่กระชับview of the key differences between the TOMLOV DM202 and DM201 models, focusing on upgraded features and improvements in the DM202.
Unboxing of 2020 Upgraded Digital Microscope Tomlov DM202
This video shows the unboxing experience of the TOMLOV DM202 digital microscope, detailing all included components and initial impressions of the upgraded model.
2022 Tomlov Upgrade New Model: DM202 HDMI Digital Microscope
This video highlights the new features and upgrades introduced in the 2022 model of the TOMLOV DM202 HDMI Digital Microscope, showcasing its enhanced capabilities.
How does Tomlov 10.1" digital microscope work with HDMI USB?
This video provides a practical demonstration of how the TOMLOV 10.1-inch digital microscope functions with both HDMI and USB connections, illustrating its versatility for different display setups.
การซ่อมบำรุง
- Keep the lens clean using the provided cleaning cloth.
- Store the microscope in a dry, dust-free environment.
- หลีกเลี่ยงการให้อุปกรณ์สัมผัสกับอุณหภูมิที่ร้อนจัดหรือโดนแสงแดดโดยตรง
การแก้ไขปัญหา
- ไม่มีไฟฟ้า: Ensure the power adapter is correctly connected and the battery is charged.
- ภาพเบลอ: Adjust the focus knob and the height of the microscope unit. Ensure adequate lighting.
- ไม่มีการแสดงผลบนจอภาพภายนอก: Check HDMI/USB cable connections. Ensure the correct input source is selected on the external display.
- ข้อผิดพลาดของการ์ด SD: Reinsert the Micro-SD card. If the issue persists, try formatting the card (this will erase all data) or use a different compatible Micro-SD card.
ข้อมูลจำเพาะ
| ขนาดสินค้า | 12.99 x 12.6 x 3.94 นิ้ว |
| น้ำหนักสินค้า | 4.2 ปอนด์ |
| หมายเลขรุ่น | ดีเอ็ม202 |
| แบตเตอรี่ | แบตเตอรี่ลิเธียมไอออน 1 ก้อน (รวมอยู่ด้วย) |
| ประเภทแหล่งกำเนิดแสง | นำ |
| วัสดุ | อลูมิเนียม, โลหะ |
| กำลังขยายสูงสุด | 1300 เท่า |
| เล่มที่tage | 5 โวลต์ |
| อุปกรณ์ที่รองรับ | Television, Laptop (Windows/macOS), Personal Computer, HDMI Projector |
การรับประกันและการสนับสนุน
For warranty information and technical support, please refer to the official TOMLOV webหรือติดต่อฝ่ายบริการลูกค้าโดยตรง เก็บใบเสร็จรับเงินไว้เพื่อใช้ในการเคลมประกัน
Note: Specific warranty terms and conditions may vary.
Ask a question about this manual
Ask about setup, troubleshooting, compatibility, parts, safety, or missing instructions. Manuals+ will review the question and use this page’s manual context to help answer it.