1. บทนำ
This manual provides detailed instructions for the safe and efficient operation of your DeWin DC 24V Digital Display Timer Delay Cycle Relay Module. Please read this manual thoroughly before installation and use, and keep it for future reference.
The module is designed for precise timing control in various applications, featuring a digital display for easy parameter setting and monitoring. It offers low power consumption and is built with high-quality, durable materials.
2. ข้อมูลด้านความปลอดภัย
คำเตือน: Electrical components can be dangerous. Always ensure power is disconnected before installation or maintenance. Professional installation is highly recommended to prevent electrical shock or damage to the device.
- Do not operate the module beyond its specified voltagอี (DC 24V)
- ตรวจสอบให้แน่ใจว่าการเชื่อมต่อสายไฟทั้งหมดแน่นหนาและถูกต้องตามแผนผังการเดินสายไฟ
- Keep the module away from moisture, extreme temperatures, and corrosive environments.
- Do not attempt to modify or disassemble the module, as this may void the warranty and pose safety risks.
3. สินค้าหมดview
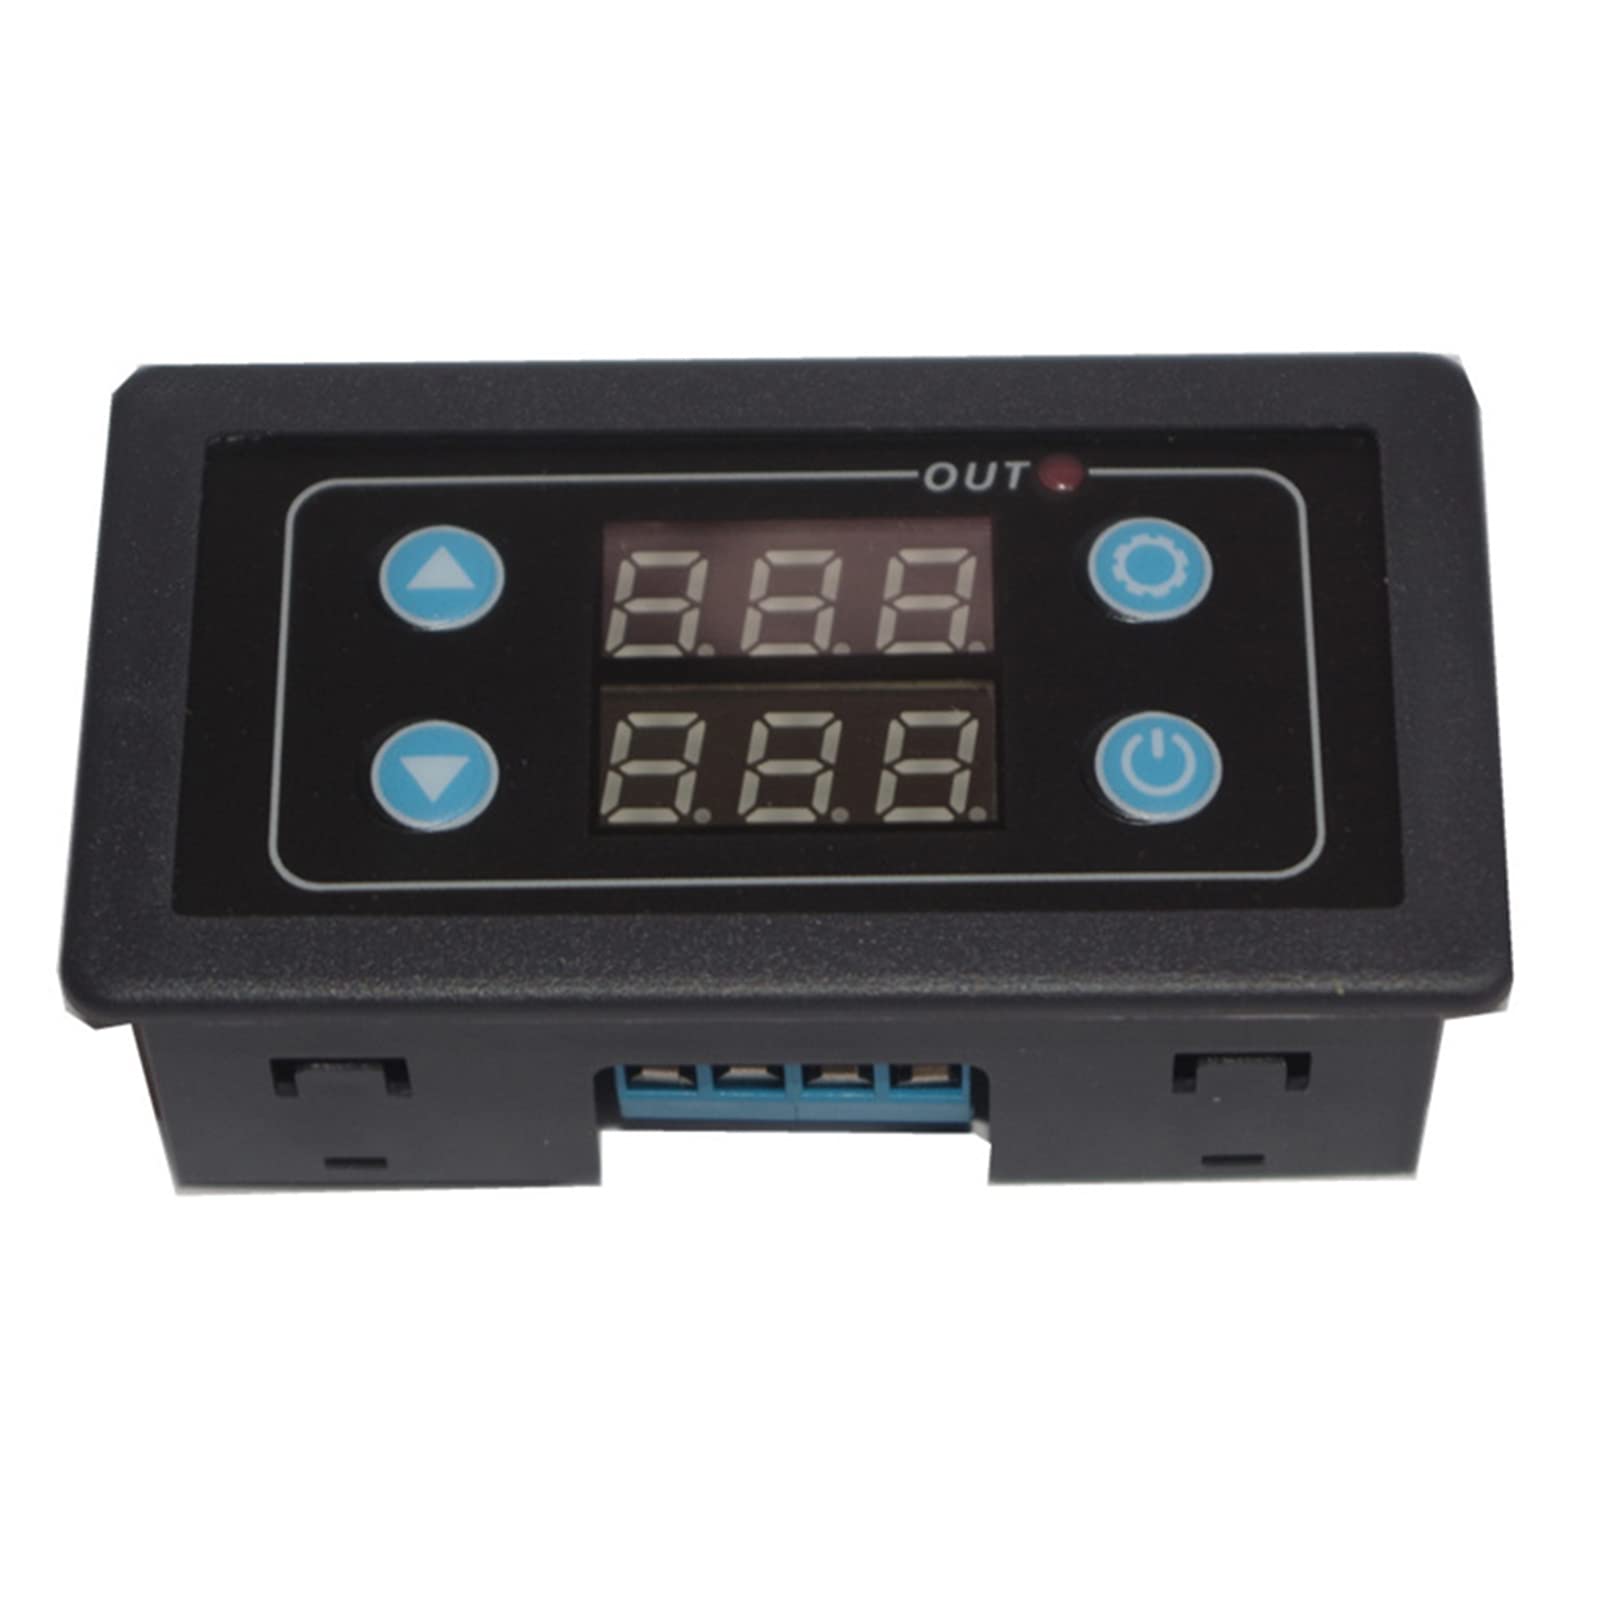
The DeWin DC 24V Digital Display Timer Delay Cycle Relay Module is a compact and portable control board designed for various timing applications. It features a clear digital display and intuitive buttons for setting operational parameters.
3.1 คุณสมบัติหลัก
- Digital display for precise time and parameter visualization.
- Three adjustable parameter sets: P0 (timing range), P1 (working mode), P2 (display brightness).
- โครงสร้างทนทานด้วยวัสดุคุณภาพสูง
- การใช้พลังงานต่ำ
- Compact size: 7.1 x 3.9 x 2.5 cm.
3.2 การระบุส่วนประกอบ
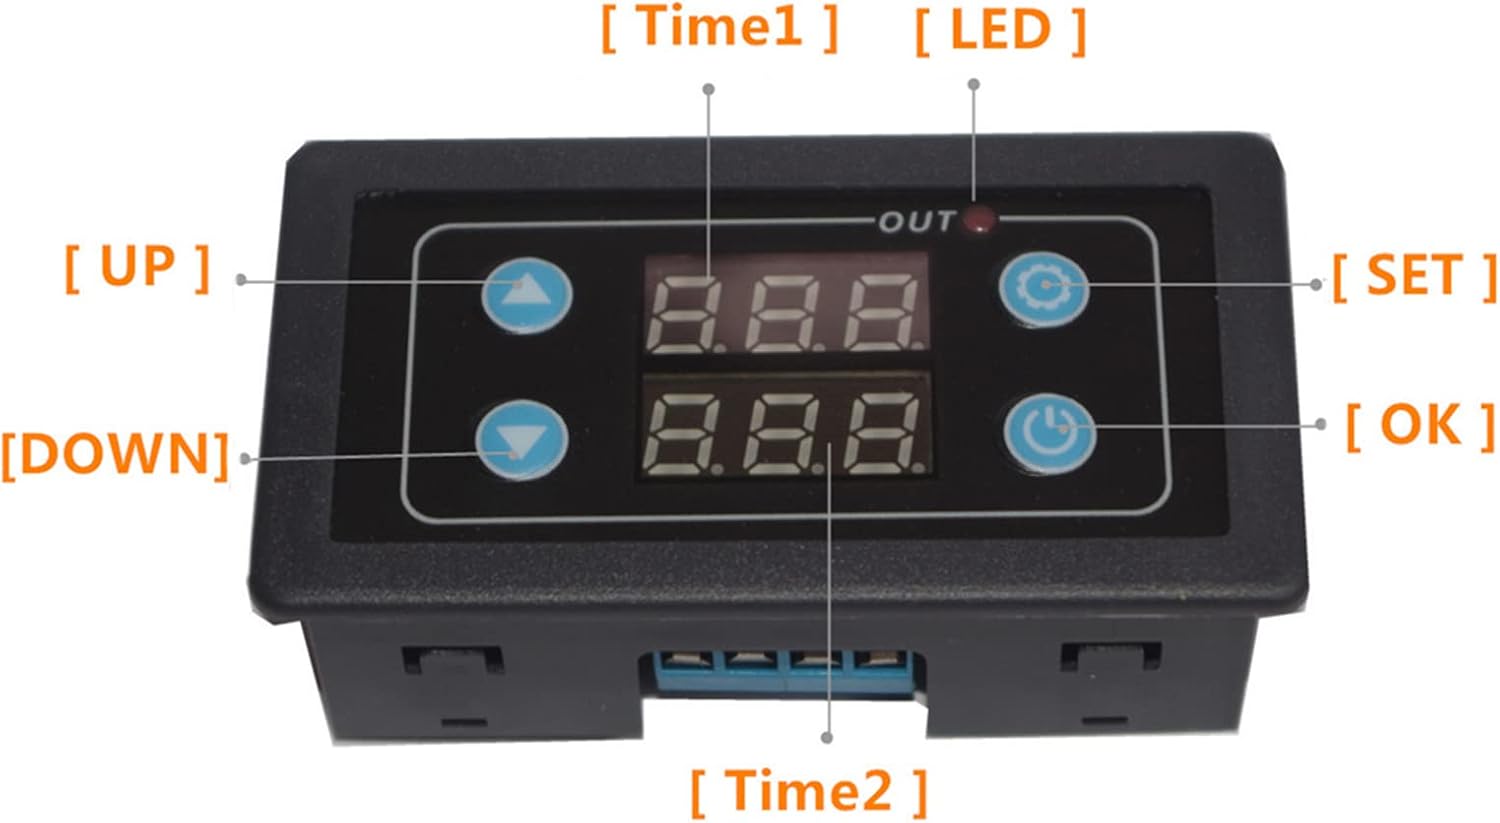
This image shows the front panel of the DeWin timer relay module. Key components are labeled: "UP" button (top left), "DOWN" button (bottom left), "SET" button (top right), "OK" button (bottom right), "Time1" display (top center), "Time2" display (bottom center), and an "OUT" LED indicator light.
- Digital Displays (Time1, Time2): Show current time values or parameter settings.
- ปุ่มขึ้น: ใช้เพื่อเพิ่มค่าหรือเลื่อนดูเมนู
- ปุ่มลง: ใช้สำหรับลดค่าหรือเลื่อนดูเมนู
- ปุ่ม ตลท.: เข้าสู่โหมดการตั้งค่าพารามิเตอร์
- ปุ่มตกลง: Confirms settings and restarts the timer.
- ไฟ LED ออก: Indicates relay output status.
4. ข้อมูลจำเพาะ
| พารามิเตอร์ | ค่า |
|---|---|
| ปฏิบัติการฉบับที่tage | กระแสตรง 24 โวลต์ |
| ยี่ห้อ | DeWin |
| วัสดุ | อะคริโลไนไตรล์บิวทาไดอีนสไตรีน |
| ขนาดรายการ (ยาว x กว้าง x สูง) | 7.1 x 3.9 x 2.5 เซนติเมตร |
| แบบอย่าง | DEWINvbhaozkn3s |
| ประเทศต้นกำเนิด | จีน |
5. การติดตั้งและการเดินสายไฟ
Before connecting the module, ensure the power supply is disconnected. Refer to the wiring diagram below for correct connections.

This diagram illustrates how to connect the DeWin timer relay module. It shows connections for a DC/AC power source (Red + and Black -) and a load (e.g., a fan) connected to the module's output terminals. Ensure positive and negative terminals are correctly matched.
- Connect the DC 24V power supply to the designated input terminals (usually marked + and -).
- Connect your load (e.g., motor, light) to the output terminals of the relay. Ensure the load's power requirements are within the relay's specifications.
- Double-check all connections for polarity and security before applying power.
6. คู่มือการใช้งาน
The module features three main parameter sets (P0, P1, P2) for configuration. Use the SET, UP, DOWN, and OK buttons to navigate and adjust settings.

This image displays the three main parameter settings for the DeWin Delay Relay Module: P0 for timing range, P1 for working mode, and P2 for display brightness adjustment.
6.1 Setting Parameters (P0, P1, P2)
- เข้าสู่โหมดการตั้งค่า: กดปุ่มค้างไว้ ชุด button until the display changes to show parameter options (e.g., P0).
- เลือกพารามิเตอร์: ใช้ UP or ลง buttons to cycle through P0, P1, P2.
- ปรับค่าพารามิเตอร์: Once the desired parameter (e.g., P0) is displayed, press the ชุด button again to enter its value adjustment mode. Use UP or ลง เพื่อเปลี่ยนค่า
- Confirm and Save: After setting the value, press the OK button to save the setting and return to the parameter selection menu. Repeat for P1 and P2 as needed.
- ออกจากโหมดการตั้งค่า: กดปุ่มค้างไว้ ชุด button again to exit the setting mode and return to normal operation.
6.2 OK Button Functions
การ OK button serves two primary functions:
- Save and Start: After setting parameters, pressing the OK button saves the configuration and initiates the timer's operation.
- Restart Timer: If the timer has completed its cycle and you wish to restart it, a short press of the OK button will re-trigger the function and restart the timer.
This image shows two DeWin timer relay modules. The text overlay explains: "Trigger the function again. After the timer has finished working normally, it needs to work again. Short press the confirm button to restart the timer."
7. การบำรุงรักษา
- การทำความสะอาด: Use a soft, dry cloth to clean the module. Do not use abrasive cleaners or solvents.
- การตรวจสอบ: Periodically check wiring connections for looseness or signs of wear.
- พื้นที่จัดเก็บ: If storing the module for an extended period, keep it in a dry, dust-free environment.
8 การแก้ไขปัญหา
| ปัญหา | สาเหตุที่เป็นไปได้ | สารละลาย |
|---|---|---|
| โมดูลไม่เปิดใช้งาน | Incorrect power connection, no power supply, faulty module. | ตรวจสอบแหล่งจ่ายไฟ voltage (DC 24V). Verify power wiring polarity and connections. If issues persist, the module may be faulty. |
| รีเลย์ไม่ทำงาน | Incorrect parameter settings, faulty wiring to load, load exceeding relay capacity. | Review P0 and P1 settings. Check wiring to the load. Ensure the load's current/voltage is within the relay's limits. |
| จอภาพมืดหรือไม่สามารถอ่านได้ | P2 (display brightness) setting is too low. | Adjust P2 parameter to increase display brightness. |
หากคุณพบปัญหาที่ไม่ได้ระบุไว้ในที่นี้ หรือหากวิธีแก้ไขที่กล่าวมาแล้วไม่สามารถแก้ปัญหาได้ โปรดติดต่อฝ่ายบริการลูกค้า
9. การรับประกันและการสนับสนุน
This product comes with a standard manufacturer's warranty. Please refer to your purchase documentation for specific warranty terms and duration. For technical support, troubleshooting assistance, or warranty claims, please contact your retailer or the manufacturer directly.
Manufacturer: DEWIN
Model: DEWINvbhaozkn3s