
BOMAKER Mini WiFi Projector 10''
BOMAKER Mini WiFi Projector 10'' User Manual
Model: Mini WiFi Projector 10''
1. บทนำ
This manual provides comprehensive instructions for the setup, operation, maintenance, and troubleshooting of your BOMAKER Mini WiFi Projector 10''. Please read this manual thoroughly before using the projector to ensure proper operation and to maximize its lifespan. Keep this manual for future reference.
The BOMAKER Mini WiFi Projector 10'' is a portable 720P HD LCD projector designed for home cinema, gaming, and various multimedia applications. It features WiFi connectivity for smartphone mirroring, multiple input options including HDMI, USB, and AV, and supports projection sizes up to 300 inches.
2. ข้อมูลด้านความปลอดภัยที่สำคัญ
To prevent fire, electric shock, or injury, always observe the following safety precautions:
- อย่าปิดกั้นช่องระบายอากาศ ตรวจสอบให้แน่ใจว่ามีอากาศถ่ายเทเพียงพอรอบๆ โปรเจ็กเตอร์
- อย่ามองตรงเข้าไปในเลนส์โปรเจ็กเตอร์เมื่อลamp เปิดอยู่ แสงจ้าอาจทำให้ดวงตาเสียหายได้
- Do not expose the projector to rain or moisture to avoid electric shock.
- ใช้เฉพาะอะแดปเตอร์ไฟฟ้าที่มาพร้อมกับโปรเจ็กเตอร์เท่านั้น
- วางโปรเจ็กเตอร์บนพื้นผิวที่ได้ระดับและมั่นคง
- ถอดปลั๊กโปรเจคเตอร์ออกจากเต้าเสียบไฟขณะเกิดพายุฝนฟ้าคะนองหรือเมื่อไม่ได้ใช้งานเป็นเวลานาน
- ห้ามซ่อมแซมผลิตภัณฑ์นี้ด้วยตนเอง โปรดส่งซ่อมกับช่างผู้ชำนาญการเท่านั้น
3. เนื้อหาบรรจุภัณฑ์
ตรวจสอบว่ารายการทั้งหมดที่ระบุไว้ด้านล่างนี้รวมอยู่ในแพ็คเกจของคุณ:
- 1 x BOMAKER Mini WiFi Projector
- 1 x รีโมทคอนโทรล
- อะแดปเตอร์ไฟฟ้า 1 ตัว
- สาย HDMI 1 เส้น
- สาย 1 x AV
- 1 x คู่มือผู้ใช้
4. สินค้าหมดview
ทำความคุ้นเคยกับส่วนต่างๆ และการเชื่อมต่อของโปรเจ็กเตอร์ของคุณ

รูปที่ 4.1: ด้านหน้า view of the BOMAKER Mini WiFi Projector. This image shows the projector's lens, focus ring, and keystone correction dial, with a smartphone wirelessly connected and displaying content on its screen, illustrating the WiFi mirroring capability.
4.1. พอร์ตอินพุต/เอาต์พุต
The projector features a variety of ports for connecting different devices.

รูปที่ 4.2: หลัง view of the projector displaying its connectivity options. From left to right, the ports include AV, USB, Audio Out, VGA, HDMI, and Micro SD card slot, allowing for versatile device connections.
- พอร์ต AV: Connect to older devices using the included AV cable.
- พอร์ต USB: สำหรับเชื่อมต่อไดรฟ์ USB เพื่อเล่นสื่อ files.
- เสียงออก: เชื่อมต่อลำโพงภายนอกหรือหูฟัง
- พอร์ต VGA: Connect to computers or laptops with a VGA output.
- พอร์ต HDMI: Connect to devices like laptops, gaming consoles (PS4), TV sticks, etc.
- ช่องเสียบการ์ด Micro SD: Insert a Micro SD card to play media files.
5. การตั้งค่า
5.1 การวาง
Choose a suitable location for your projector. For optimal viewing, place the projector on a flat, stable surface or mount it. The optimal projection distance is between 8.2 and 11.2 feet (2.5 to 3.4 meters) for a screen size of 30 to 300 inches.
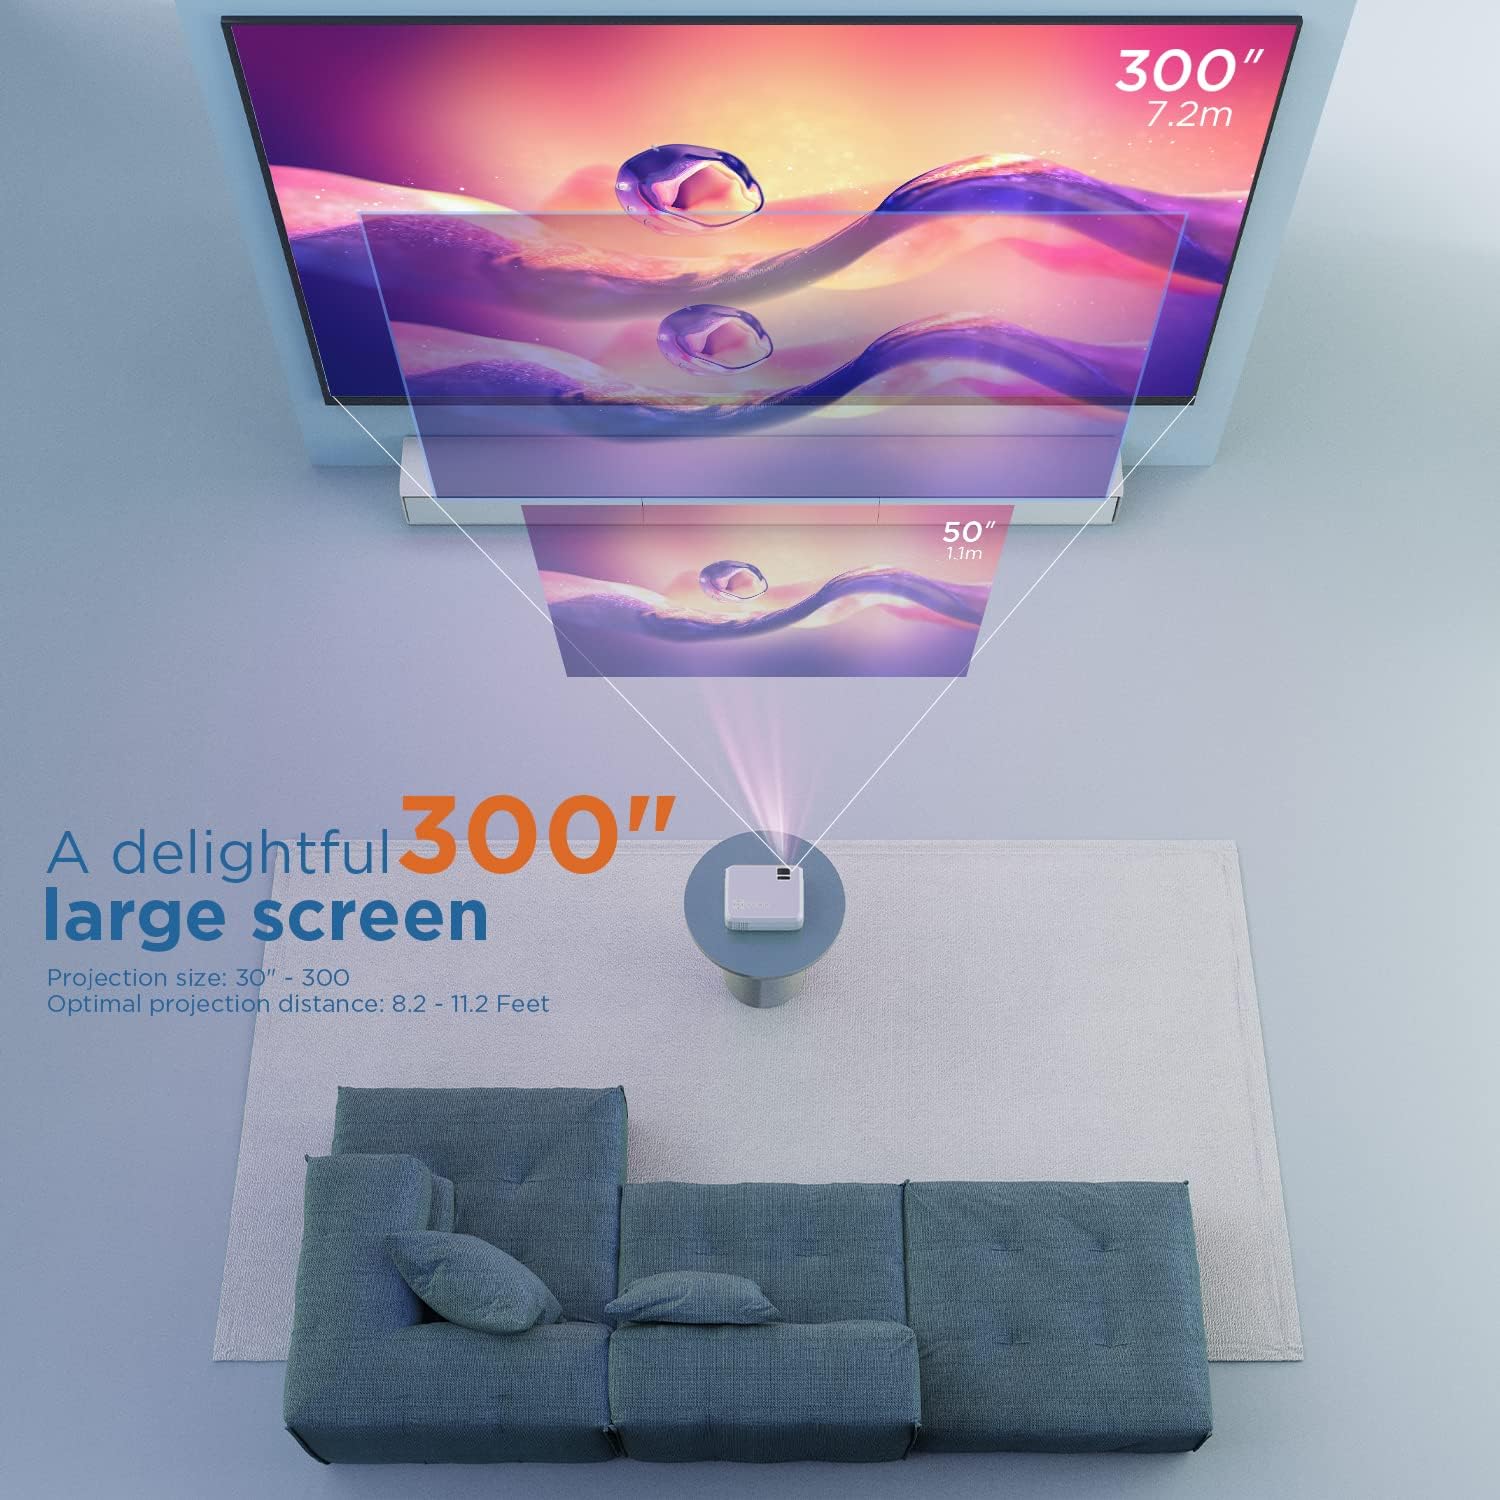
รูปที่ 5.1: Illustration of projection distances and corresponding screen sizes. The image demonstrates how varying the distance between the projector and the screen affects the projected image size, from 50 inches (1.1m) to 300 inches (7.2m).
5.2. การเชื่อมต่อไฟฟ้า
- ต่ออะแดปเตอร์แปลงไฟเข้ากับพอร์ตจ่ายไฟของโปรเจ็กเตอร์
- เสียบอะแดปเตอร์ไฟฟ้าเข้ากับเต้ารับไฟฟ้าที่ผนัง
- กดปุ่มเปิด/ปิดบนโปรเจ็กเตอร์หรือรีโมทคอนโทรลเพื่อเปิดเครื่อง
5.3. การแก้ไขโฟกัสและคีย์สโตน
- จุดสนใจ: หมุนวงแหวนโฟกัสบนเลนส์โปรเจ็กเตอร์จนกว่าภาพจะชัดเจนและคมชัด
- คีย์สโตน: If the projected image appears trapezoidal, adjust the keystone correction dial (usually located near the lens) until the image is rectangular.
6. คู่มือการใช้งาน
6.1. การทำงานพื้นฐาน
- เปิด/ปิดเครื่อง: กดปุ่มเปิด/ปิดบนโปรเจคเตอร์หรือรีโมทคอนโทรล
- การเลือกแหล่งสัญญาณเข้า: Use the "Source" button on the remote or projector to select the desired input (HDMI, AV, USB, Micro SD, WiFi).
- การปรับระดับเสียง: ใช้ปุ่มปรับระดับเสียงบนรีโมทคอนโทรล
6.2. อุปกรณ์เชื่อมต่อ
The projector supports various connection methods:
6.2.1. การเชื่อมต่อ HDMI
Connect your laptop, gaming console (PS4), TV stick (e.g., Roku, Fire TV), or other HDMI-enabled devices using an HDMI cable. Select "HDMI" as the input source.
6.2.2. USB/Micro SD Connection
Insert a USB drive or Micro SD card into the respective port. Select "USB" or "Micro SD" as the input source. The projector will display a menu to browse and play media files (photos, videos, music, text).
6.2.3. AV Connection
Use the included AV cable to connect to devices with AV output. Select "AV" as the input source.
6.2.4. WiFi Mirroring (Smartphone Connection)
The projector supports wireless screen mirroring from smartphones (iOS and Android).
- Select "WiFi" as the input source on the projector.
- Follow the on-screen instructions to connect your smartphone to the projector's WiFi network.
- Once connected, enable screen mirroring/casting feature on your smartphone (e.g., "Screen Mirroring" for iOS, "Smart View" or "Cast" for Android).
- เลือกโปรเจ็กเตอร์จากรายการอุปกรณ์ที่มีอยู่
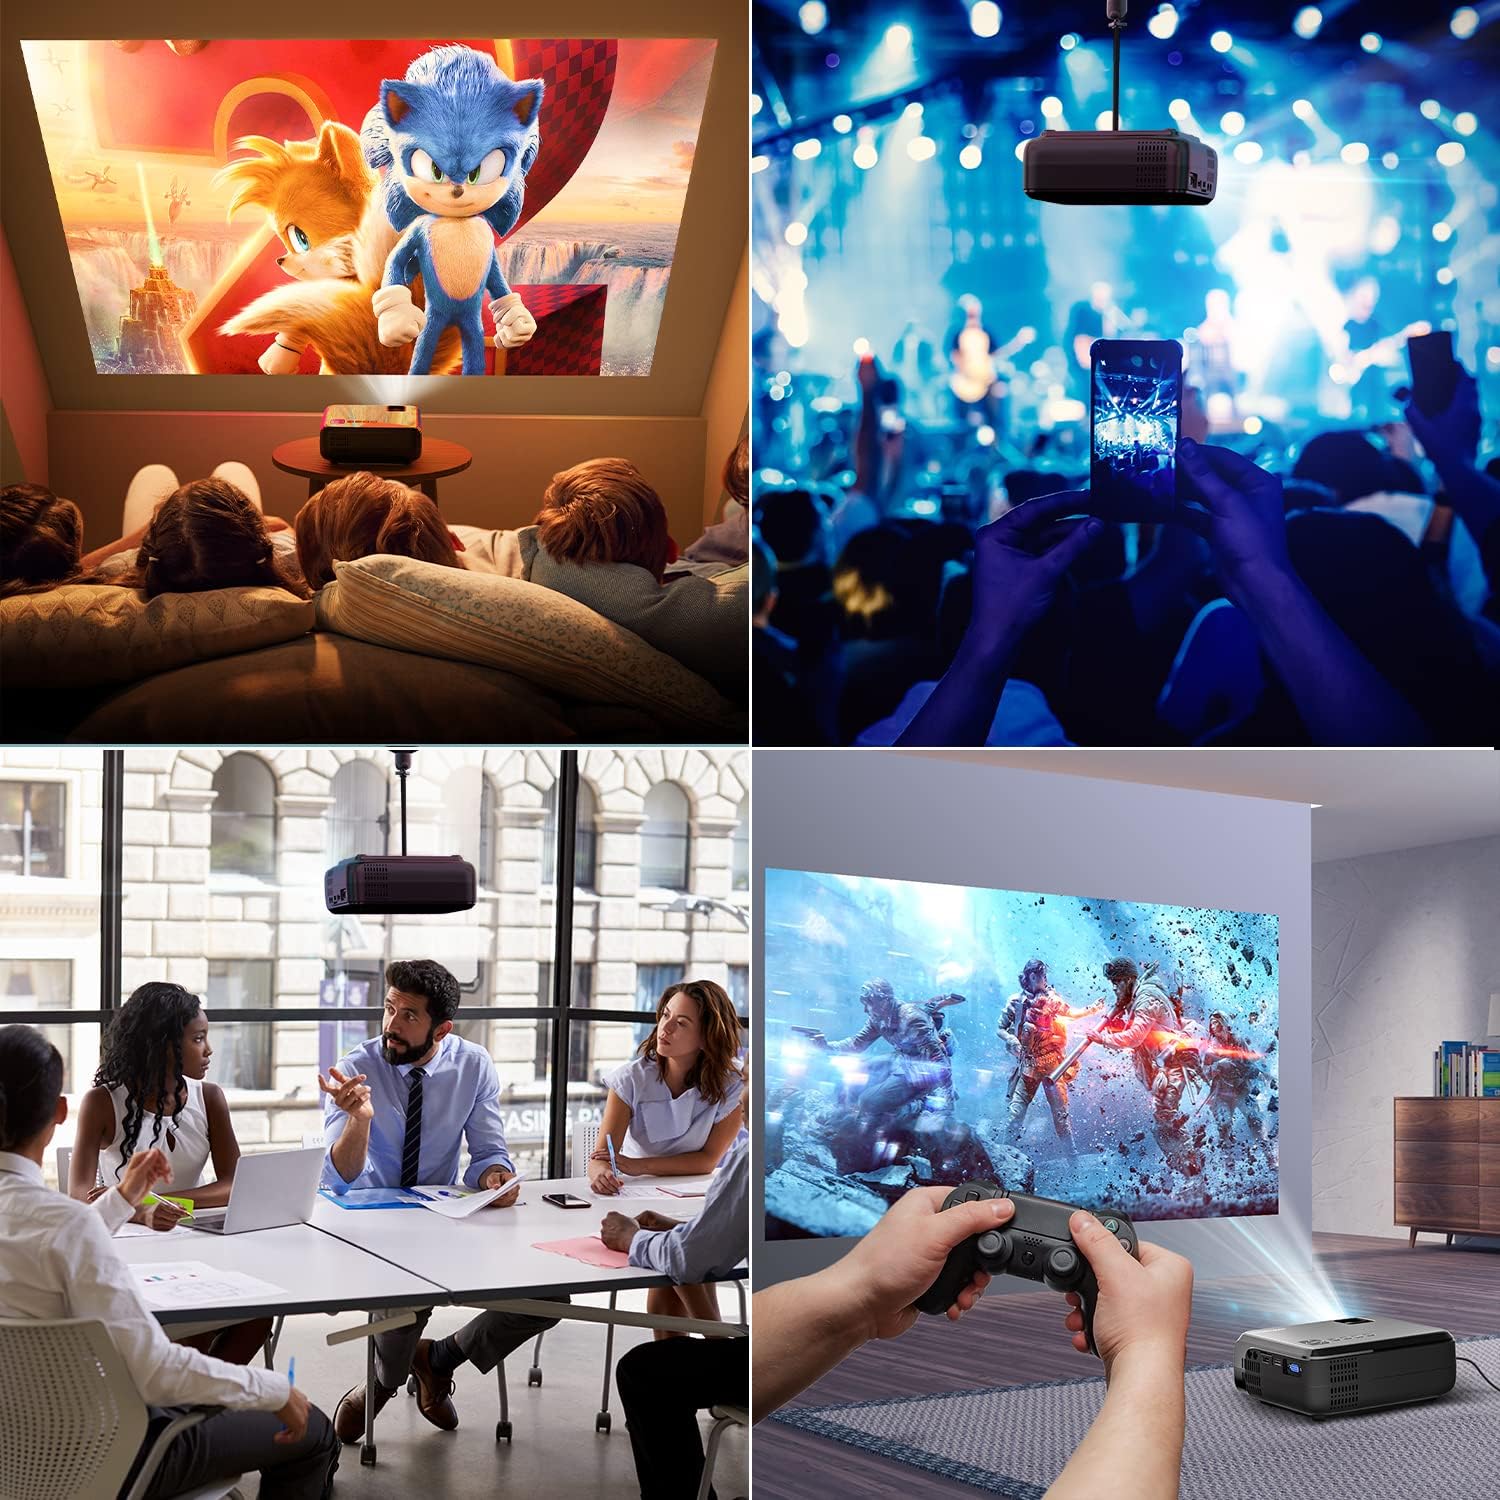
รูปที่ 6.1: This image displays a collage of the projector in different environments: a family watching a movie, a person using a smartphone to control the projector at a concert, a business meeting with a presentation, and a person playing video games. It highlights the versatility of the BOMAKER Mini WiFi Projector for entertainment and professional use.
6.3. Visual Experience
The projector delivers a native 720P HD resolution, ensuring clear and detailed images. It supports 1080P decoding and features a high brightness output for vibrant visuals.
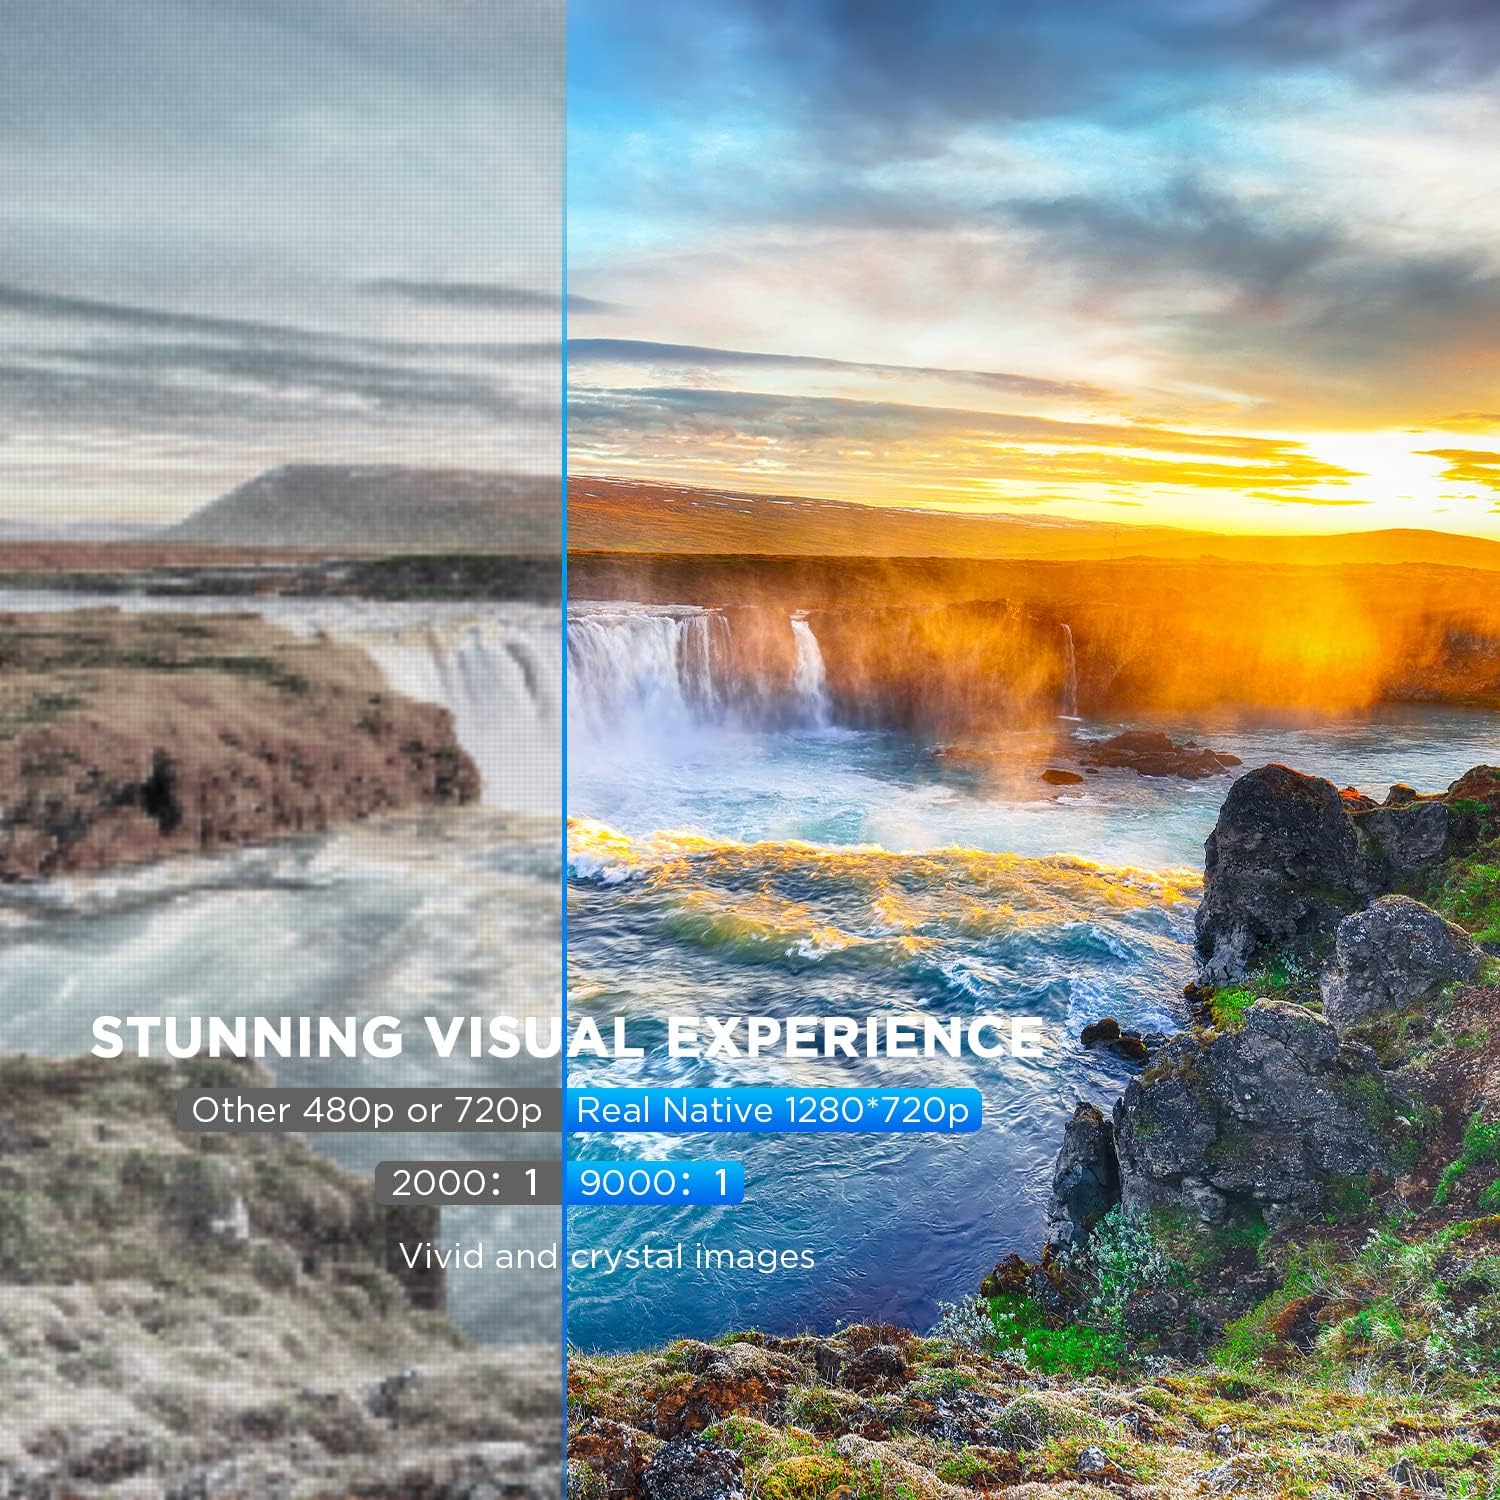
รูปที่ 6.2: A side-by-side comparison demonstrating the difference between standard 480p/720p projection and the projector's real native 1280x720p resolution. The native resolution side shows significantly sharper details and richer colors in a landscape image, emphasizing the "Stunning Visual Experience" and "Vivid and crystal images".

รูปที่ 6.3: This image illustrates the projector's "Crystal Clear Picture with Ultra-low Latency" feature, showing a vibrant, high-definition projection of a car racing scene on a large screen in a living room setting. The text highlights upgraded lens settings for a new visual experience with latency less than 30ms.
7. การบำรุงรักษา
7.1. การทำความสะอาดเลนส์
Use a soft, lint-free cloth specifically designed for cleaning optical lenses. Do not use abrasive cleaners or solvents. Gently wipe the lens to remove dust or smudges.
7.2. การทำความสะอาดตัวโปรเจ็กเตอร์
เช็ดทำความสะอาดภายนอกโปรเจคเตอร์ด้วยผ้าแห้งนุ่มๆ สำหรับคราบสกปรกที่ติดแน่น ให้ใช้ผ้าชุบน้ำหมาดๆ เช็ดเบาๆamp สามารถใช้ผ้าชุบน้ำเช็ดได้ ตามด้วยผ้าแห้งอีกผืน ตรวจสอบให้แน่ใจว่าไม่มีของเหลวเข้าไปในช่องระบายอากาศ
7.3. การจัดเก็บ
When not in use, store the projector in a cool, dry place, away from direct sunlight and extreme temperatures. Cover the lens with its cap to protect it from dust.
8 การแก้ไขปัญหา
หากคุณพบปัญหาเกี่ยวกับโปรเจ็กเตอร์ของคุณ โปรดดูปัญหาทั่วไปและวิธีแก้ไขต่อไปนี้:
| ปัญหา | สาเหตุที่เป็นไปได้ | สารละลาย |
|---|---|---|
| ไม่มีภาพบนหน้าจอ | Power cable not connected; incorrect input source; device not powered on. | Check power connection; select correct input source; ensure connected device is on. |
| ภาพเบลอ | ไม่ได้ปรับโฟกัส; โปรเจ็กเตอร์อยู่ใกล้/ไกลจากจอมากเกินไป | ปรับวงแหวนปรับโฟกัส และจัดตำแหน่งโปรเจคเตอร์ใหม่ |
| รูปภาพเป็นรูปสี่เหลี่ยมคางหมู | ไม่ได้ปรับแก้คีย์สโตน | ปรับแป้นหมุนแก้ไขภาพเบี้ยว |
| ไม่มีเสียง | Volume too low; external speakers not connected; audio settings on source device. | Increase volume; connect external speakers if needed; check audio output settings on source device. |
| WiFi mirroring issues | Incorrect WiFi connection; smartphone mirroring feature not activated. | Ensure correct WiFi network is selected; activate screen mirroring on your smartphone. |
9. ข้อมูลจำเพาะ
| คุณสมบัติ | รายละเอียด |
|---|---|
| ยี่ห้อ | โบเมเกอร์ |
| หมายเลขรุ่น | Mini WiFi Projector 10'' |
| ความละเอียดการแสดงผล | Native 1280 x 720 (Supports 1080P decoding) |
| ประเภทจอภาพ | จอแอลซีดี |
| เทคโนโลยีการเชื่อมต่อ | HDMI, Wi-Fi |
| อุปกรณ์ที่รองรับ | Smartphone, TV Stick, PS4, Laptop, USB Drive, Micro SD Card |
| ขนาดสินค้า | 22L x 17L x 9H เซนติเมตร |
| ฟอร์มแฟกเตอร์ | พกพาได้ |
| การใช้ที่แนะนำ | โฮมซีเนม่า, เล่นเกม |
| สี | สีขาว |
10. การรับประกันและการสนับสนุน
For warranty information or technical support, please refer to the documentation included with your purchase or contact BOMAKER customer service. Details regarding specific warranty periods and support channels are typically provided on the manufacturer's official webไซต์หรือภายในบรรจุภัณฑ์ของผลิตภัณฑ์
Ask a question about this manual
Ask about setup, troubleshooting, compatibility, parts, safety, or missing instructions. Manuals+ will review the question and use this page’s manual context to help answer it.