
Biostar TZ590-BTC DUO
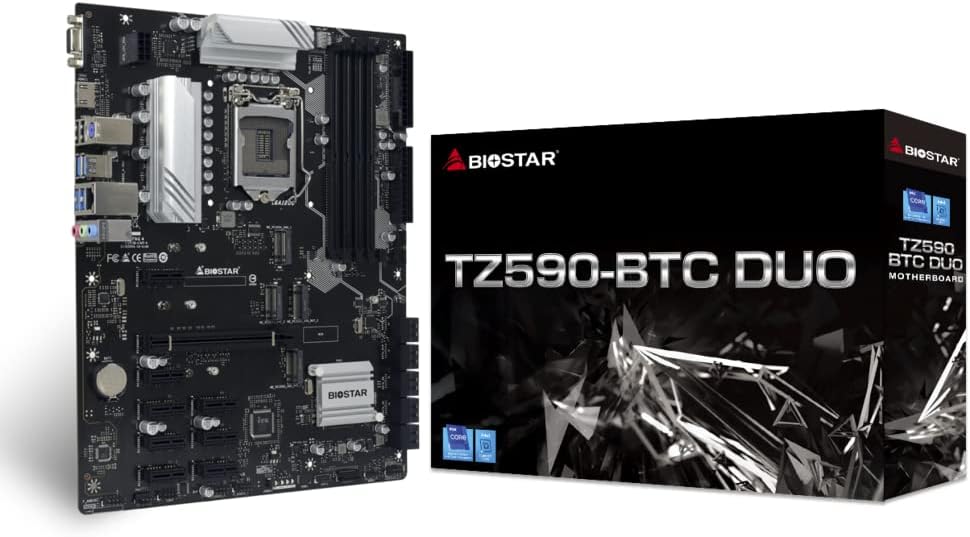
Biostar TZ590-BTC Duo Motherboard
คู่มือการใช้งาน
1. บทนำ
The Biostar TZ590-BTC Duo is a high-performance motherboard designed for cryptocurrency mining, supporting both GPU and Chia mining operations. It is compatible with Intel 10th and 11th Generation LGA 1200 processors and features the Intel Z590 chipset. This manual provides comprehensive instructions for setting up, operating, and maintaining your motherboard.
คุณสมบัติหลัก:
- Supports 10th/ 11th Generation LGA 1200 Intel Core Processor
- Support 4-DIMM DDR4-3600(OC)/ 3200/ 2933/ 2800/ 2666/ 2400/ 2133 up to 128G maximum capacity
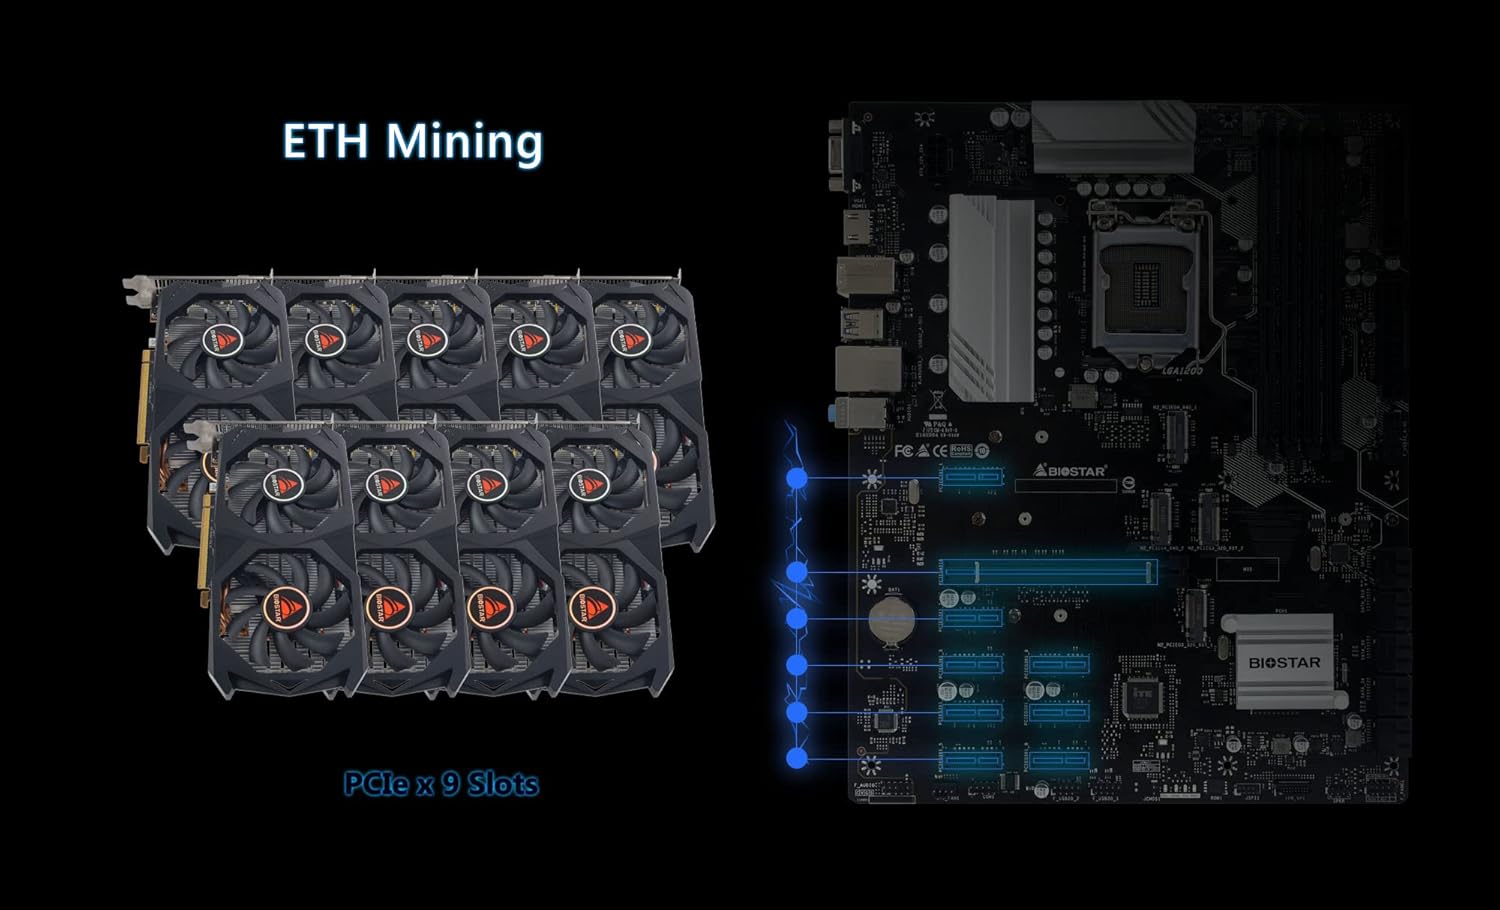
- Support 8 x PCIe 3.0 slots Support 1 x PCIe 4.0 x16 Slot (x8 mode) (11th CPU Only)
- Support M.2 Sata III (6Gb/s) Connector
- 9 GPU Support
2. ข้อมูลจำเพาะ
| คุณสมบัติ | ค่า |
|---|---|
| ยี่ห้อ | ไบโอสตาร์ |
| ชื่อรุ่น | TZ590-BTC ดูโอ |
| ซ็อคเก็ตซีพียู | แอลจีเอ 1200 |
| โปรเซสเซอร์ที่เข้ากันได้ | Intel Core รุ่นที่ 10, Intel Core รุ่นที่ 11 |
| ประเภทชิปเซ็ต | อินเทล Z590 |
| เทคโนโลยีหน่วยความจำ RAM | DDR4 |
| ความเร็วสัญญาณนาฬิกาหน่วยความจำ | 2133 เมกะเฮิร์ตซ์ (โอเวอร์คล็อกได้สูงสุด 3600 เมกะเฮิร์ตซ์) |
| น้ำหนักสินค้า | 2.93 ปอนด์ |
| ขนาดแพ็คเกจ | 13.07 x 10.28 x 2.44 นิ้ว |
| แพลตฟอร์ม | หน้าต่าง |
3. คู่มือการติดตั้ง
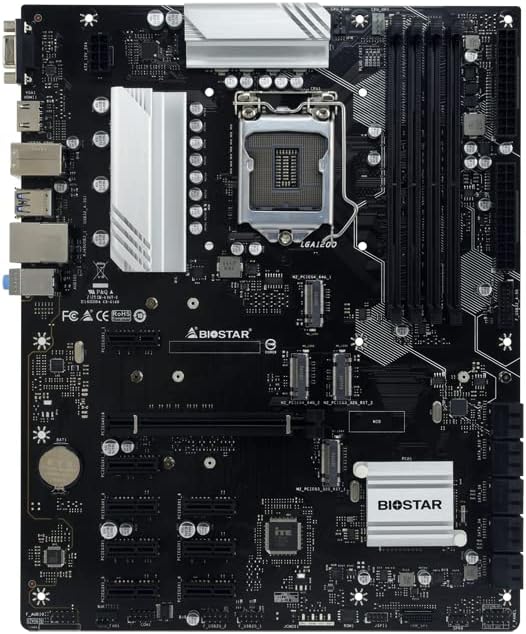
ส่วนประกอบมากกว่าview:
ทำความคุ้นเคยกับเค้าโครงของเมนบอร์ดก่อนที่จะเริ่มการติดตั้ง
ขั้นตอนการติดตั้ง:
- การติดตั้งซีพียู: Carefully align your Intel LGA 1200 processor with the socket on the motherboard. Ensure the triangular markers on the CPU and socket match. Gently lower the CPU into place and secure it with the retention lever.
- การติดตั้ง RAM: Insert DDR4 memory modules into the DIMM slots. Push down firmly on both ends of the module until the clips on the side snap into place. Refer to the motherboard manual for recommended slot configurations for dual-channel memory.
- การเชื่อมต่อแหล่งจ่ายไฟ: Connect the 24-pin ATX power connector and the 8-pin (or 4+4-pin) CPU power connector from your power supply unit (PSU) to the corresponding ports on the motherboard. For multi-GPU setups, ensure adequate power delivery.
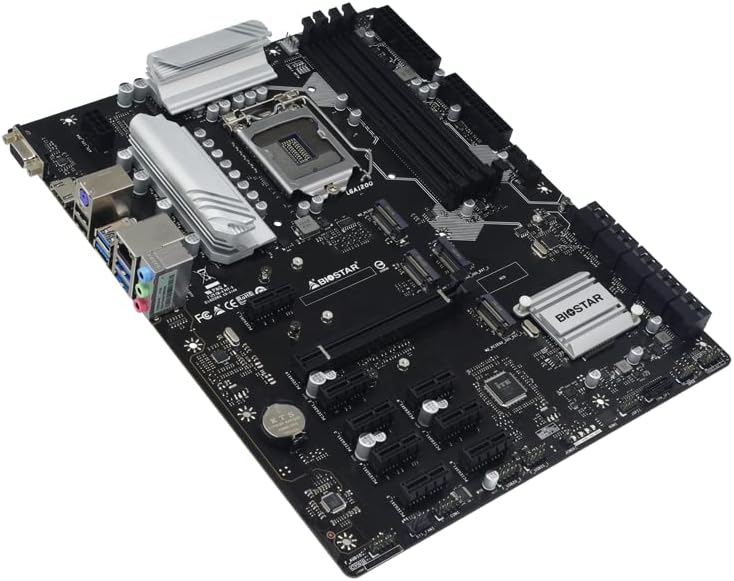
- การติดตั้ง GPU: Insert your graphics cards (GPUs) into the PCIe slots. This motherboard supports up to 9 GPUs. For optimal performance and stability, ensure all necessary power cables are connected to each GPU.
- Storage Connection: Connect your M.2 SSDs to the M.2 slots and SATA drives to the SATA ports. This motherboard supports M.2 SATA III (6Gb/s) and multiple SATA III ports for extensive storage configurations.

4. คู่มือการใช้งาน
การกำหนดค่าไบออส:
Upon first boot, enter the BIOS/UEFI setup (usually by pressing DEL or F2 during startup). Configure settings such as boot order, PCIe generation (if applicable for 11th Gen CPUs), and enable 'Above 4G Decoding' for multi-GPU mining setups. Save and exit the BIOS.
GPU Mining Setup:
This motherboard is optimized for GPU mining, supporting up to 9 graphics cards. After installing your GPUs and drivers, configure your chosen mining software (e.g., Ethminer, PhoenixMiner, T-Rex Miner) according to its specific instructions. Ensure your operating system (e.g., Windows, HiveOS) is properly configured to recognize all installed GPUs.

Chia Mining Setup:
For Chia mining, this motherboard offers extensive storage connectivity with multiple M.2 and SATA slots. Install your plotting and farming software (e.g., Chia Blockchain client) and configure it to utilize your connected storage devices. Ensure sufficient RAM and CPU resources for efficient plotting.
5. การบำรุงรักษา
Regular maintenance ensures the longevity and stable operation of your motherboard and mining rig.
- การทำความสะอาด: Periodically clean dust from the motherboard, CPU cooler, and GPU fans using compressed air. Ensure the system is powered off and unplugged before cleaning.
- อัพเดตเฟิร์มแวร์: Check the official Biostar website for the latest BIOS/UEFI firmware updates. Updating firmware can improve stability, compatibility, and performance. Follow the update instructions carefully to avoid damaging the motherboard.
- การจัดการสายเคเบิล: Ensure all power and data cables are neatly organized to promote better airflow and prevent accidental disconnections.
6 การแก้ไขปัญหา
หัวข้อนี้จะกล่าวถึงปัญหาทั่วไปที่คุณอาจพบเจอ
- ระบบไม่สามารถบูตได้:
- ตรวจสอบการเชื่อมต่อสายไฟทั้งหมด (สาย ATX 24 พิน, สาย CPU 8 พิน, สายจ่ายไฟ GPU)
- ใส่โมดูล RAM ใหม่ ลองบูตด้วย RAM เพียงแท่งเดียว
- ล้าง CMOS (โปรดดูคู่มือเมนบอร์ดสำหรับตำแหน่งของจัมเปอร์)
- GPUs Not Detected:
- Ensure 'Above 4G Decoding' is enabled in BIOS.
- อัปเดตไดรเวอร์การ์ดจอเป็นเวอร์ชันล่าสุด
- Check PCIe riser connections if using them.
- Verify power delivery to all GPUs.
- ความไม่เสถียรของระบบ/การขัดข้อง:
- ตรวจสอบอุณหภูมิ CPU และ GPU ให้แน่ใจว่ามีการระบายความร้อนที่เพียงพอ
- ตรวจสอบกระแสไฟของ PSUtage เพียงพอสำหรับส่วนประกอบทั้งหมด
- เรียกใช้เครื่องมือวินิจฉัยหน่วยความจำเพื่อตรวจสอบความสมบูรณ์ของ RAM
For more detailed troubleshooting or specific error codes, consult the official Biostar support resources or community forums.
7. การรับประกันและการสนับสนุน
Biostar products are manufactured to high-quality standards. For specific warranty terms and conditions, please refer to the warranty card included with your product or visit the official Biostar webเว็บไซต์.
For technical support, driver downloads, and further product information, please visit the official Biostar support page or the Biostar store on Amazon:
Ask a question about this manual
Ask about setup, troubleshooting, compatibility, parts, safety, or missing instructions. Manuals+ will review the question and use this page’s manual context to help answer it.