
1. บทนำ
The AXTON AT401 is a powerful 4-channel Class D amplifier specifically designed for 24V on-board networks found in trucks, lorries, and motorhomes. This amplifier provides a significant audio upgrade, enhancing the performance and sound quality of existing factory or aftermarket multimedia/GPS systems without requiring a complete system overhaul. Its compact design and robust construction ensure reliable operation and flexible installation.
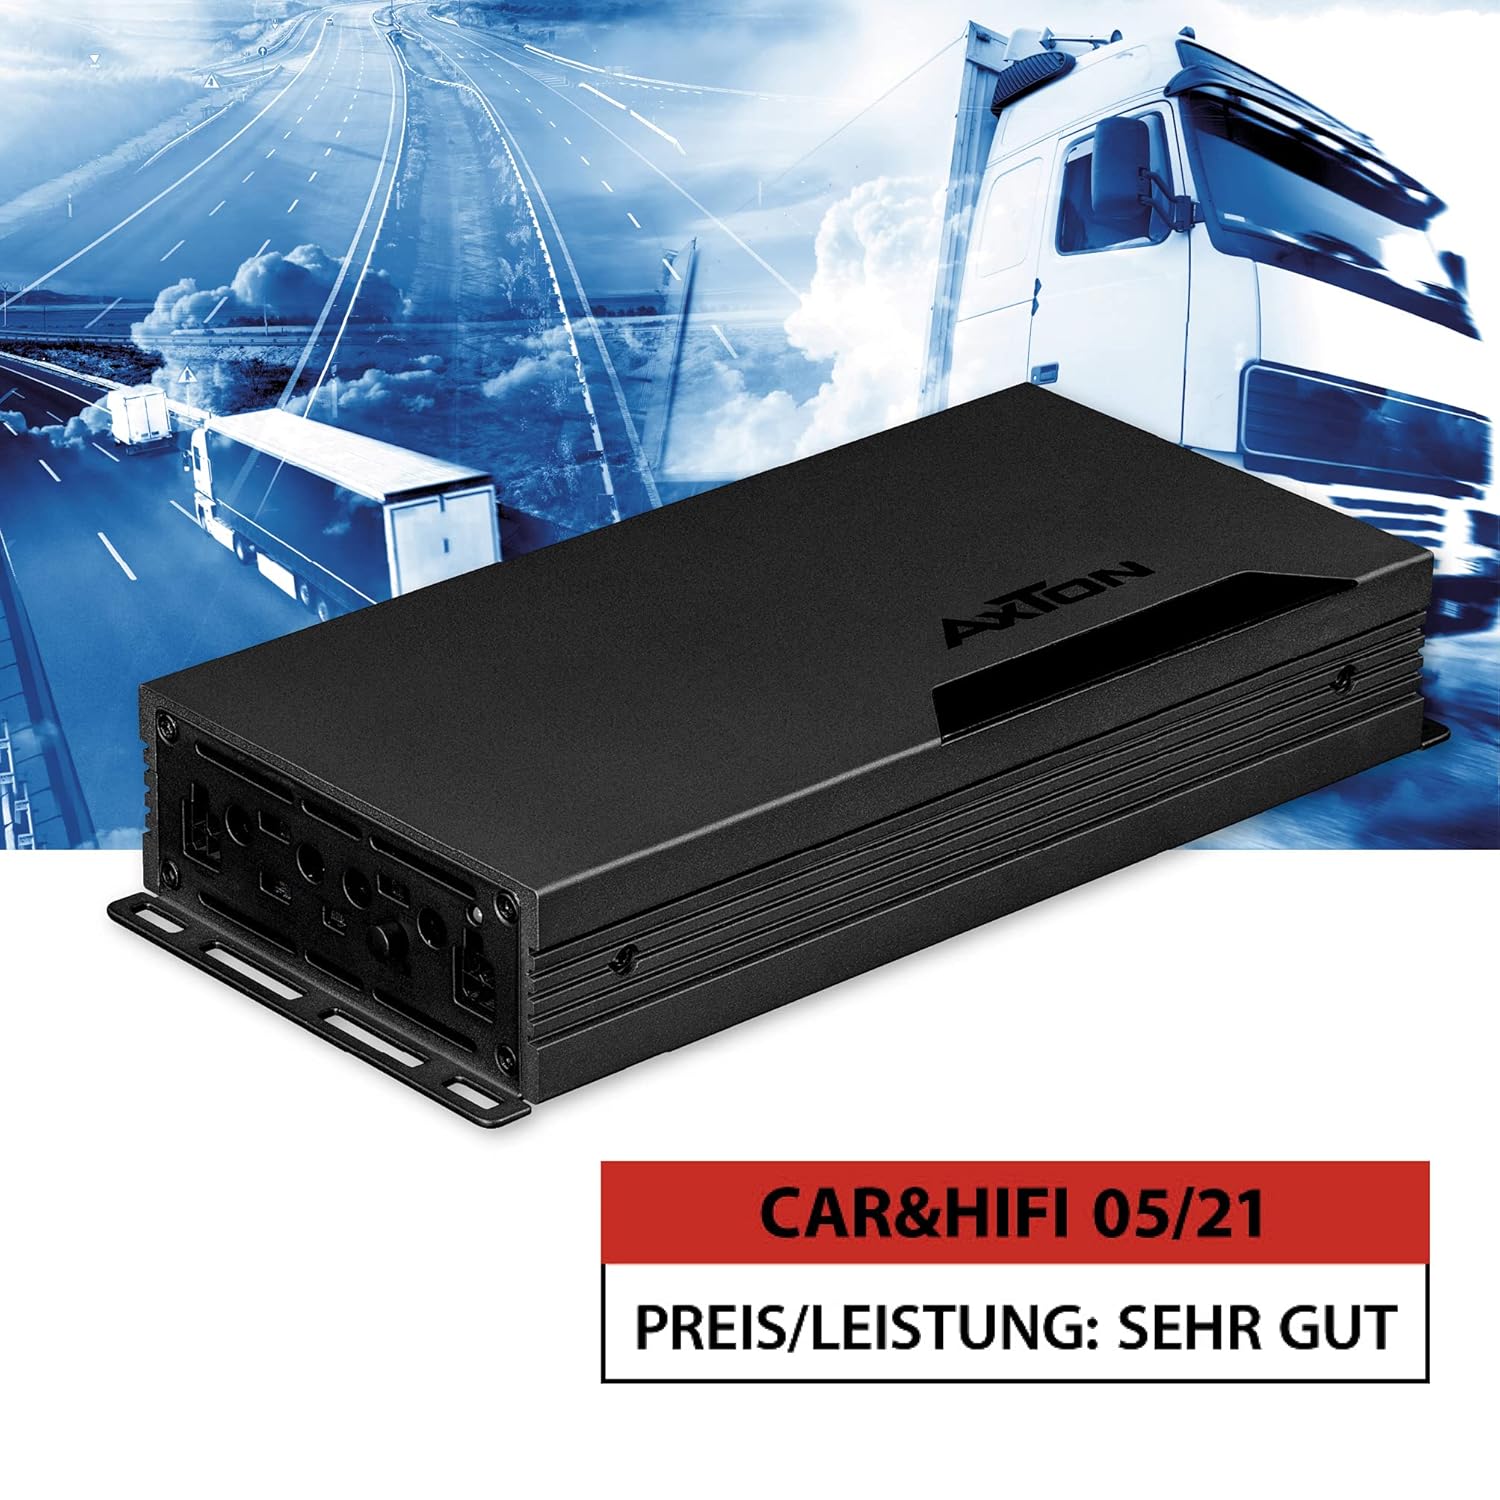
ภาพที่ 1.1: ด้านหน้า view of the AXTON AT401 4-Channel 24V Class D Ampชีวิต.
2. คำแนะนำด้านความปลอดภัย
- ควรถอดแบตเตอรี่รถยนต์ออกทุกครั้งก่อนเริ่มงานไฟฟ้าใดๆ
- ตรวจสอบให้แน่ใจว่ามีสายดินที่เหมาะสมเพื่อป้องกันอันตรายจากไฟฟ้า
- ติดตั้ง ampควรวางเครื่องขยายเสียงไว้ในที่แห้งและมีอากาศถ่ายเทสะดวก ห่างจากแสงแดดโดยตรง แหล่งความร้อน และความชื้น
- Use appropriate gauge wiring for power, ground, and speaker connections as specified in the installation guide.
- อย่าพยายามเปิดหรือแก้ไข ampเครื่องขยายเสียง ควรส่งซ่อมหรือบำรุงรักษาโดยช่างผู้ชำนาญการเท่านั้น
- Avoid routing cables near moving parts or sharp edges. Secure all wiring to prevent damage.
- นี้ amplifier is designed for 24V vehicle electrical systems only. Connecting it to a 12V system or higher voltage than specified will cause damage.
3. เนื้อหาบรรจุภัณฑ์
กรุณาตรวจสอบแพ็คเกจสำหรับรายการต่อไปนี้:
- AXTON AT401 4-Channel Ampชีวิต
- อุปกรณ์ติดตั้ง (สกรู, ขายึด)
- คู่มือการใช้งาน (เอกสารนี้)
- Connector plugs for power and speaker outputs
หากมีรายการใดสูญหายหรือเสียหาย โปรดติดต่อตัวแทนจำหน่ายของคุณทันที
4. คุณสมบัติของผลิตภัณฑ์
- Powerful 4-Channel Class D Ampเครื่องฟอก: Delivers robust sound performance for 24V vehicle systems.
- 24V On-Board Network Compatibility: Specifically designed for trucks, lorries, and motorhomes.
- การออกแบบที่กะทัดรัด: Measuring approximately 10.5 cm wide and 4 cm high, allowing flexible installation in confined spaces.
- การกระจายความร้อนที่มีประสิทธิภาพ: Solid aluminum heat sink ensures optimal continuous operating temperature.
- Optimized Circuitry: Board layout designed for low distortion and equipped with selected components.
- กำลังขับสูง: 4 x 100 W RMS (4 ohms) or 2 x 350 W RMS (bridged).
- Integrated Electronic Crossovers: 12 dB/octave, continuously adjustable from 40 to 400 Hz (High-Pass or Low-Pass filter).
- High-Level Inputs with Auto-Turn-On: Allows connection to original radios without RCA outputs, simplifying integration with factory systems.
5. การตั้งค่าและการติดตั้ง
การติดตั้งอย่างถูกต้องเป็นสิ่งสำคัญอย่างยิ่งต่อประสิทธิภาพและความปลอดภัยสูงสุด หากคุณไม่แน่ใจเกี่ยวกับขั้นตอนใด ๆ โปรดปรึกษาช่างติดตั้งมืออาชีพ
5.1 การติดตั้ง Ampชีวิต
เลือกสถานที่ติดตั้งที่แห้ง มีอากาศถ่ายเทสะดวก และมั่นคง ตรวจสอบให้แน่ใจว่ามีพื้นที่รอบๆ เพียงพอ amplifier for air circulation. Use the provided mounting hardware to firmly secure the ampติดตั้งเครื่องขยายเสียงเข้ากับพื้นผิวแข็งภายในรถยนต์

Image 5.1: The aluminum heat sink ensures efficient heat dissipation.
5.2 การเชื่อมต่อสายไฟ
Refer to the diagram below for connection points. Always use appropriate gauge wiring.

ภาพที่ 5.2: จบแล้วview of amplifier connections and controls.
- การเชื่อมต่อสายไฟ (+24V): Connect a fused 24V power cable directly from the vehicle's battery. Ensure the fuse is located close to the battery.
- การต่อสายดิน (GND): Connect a short, heavy-gauge cable from the ampต่อขั้ว GND ของแอมพลิฟายเออร์เข้ากับพื้นผิวโลหะที่สะอาดและไม่ทาสีบนตัวถังรถยนต์
- การเปิดใช้งานระยะไกล (REM): If using low-level inputs, connect this to the remote output of your head unit. If using high-level inputs with Auto-Turn-On, this connection may not be necessary.
- เอาต์พุตลำโพง: Connect your speakers to the FRONT and REAR output terminals. Observe correct polarity (+/-). For bridged mode, refer to the specific bridging instructions.
- การเชื่อมต่ออินพุต:
- อินพุตระดับสูง: เชื่อมต่อช่องต่อลำโพงจากชุดเครื่องเสียงรถยนต์เข้ากับ... amplifier's high-level input terminals. This is ideal for factory radios without RCA outputs.
- อินพุตระดับต่ำ (RCA): หากเครื่องเล่นในรถของคุณมีช่องต่อ RCA pre-out ให้เชื่อมต่อเข้ากับ... ampแจ็คอินพุต RCA ของเครื่องขยายเสียง
5.3 Auto-Turn-On Function
The AT401 features an Auto-Turn-On function for high-level inputs. This allows the amplifier to turn on automatically when it detects an audio signal from the head unit, eliminating the need for a separate remote turn-on wire. Ensure the switch is set to the appropriate mode (DC or VOX) for this function.

Image 5.3: Auto-Turn-On function switch for flexible use.
6. คู่มือการใช้งาน
Once installed, the AT401 amplifier offers various adjustments to fine-tune your audio system.
6.1 Gain (SENS) Adjustment
The gain control (SENS) matches the amplifier's input sensitivity to the output level of your head unit. Start with the gain set to minimum. Gradually increase the head unit volume until distortion is heard, then back off slightly. Then, slowly increase the amplifier's gain until the desired volume is achieved without distortion.
6.2 Crossover (X-OVER) Settings
The AT401 features integrated 12 dB/octave electronic crossovers, adjustable from 40 to 400 Hz. These allow you to filter specific frequency ranges to your speakers.

Image 6.1: Adjustment options for crossovers and input sensitivity.
- ฟิลเตอร์กรองความถี่สูง (HPF) อนุญาตให้ใช้ความถี่ ข้างบน the set point to pass through. Use for full-range speakers to prevent low bass distortion.
- ตัวกรองความถี่ต่ำ (LPF): อนุญาตให้ใช้ความถี่ ด้านล่าง the set point to pass through. Use for subwoofers.
- เต็ม: ปิดใช้งานครอสโอเวอร์ ทำให้ความถี่ทั้งหมดผ่านไปได้
Adjust the FREQ knob to select the desired crossover frequency for each channel pair (FRONT/REAR).
7. การบำรุงรักษา
- เก็บรักษาไว้ ampทำความสะอาดเครื่องขยายเสียงโดยการเช็ดด้วยผ้าแห้งนุ่มๆ ห้ามใช้สารเคมีรุนแรงหรือน้ำยาทำความสะอาดที่มีฤทธิ์กัดกร่อน
- Ensure that the heat sink fins are free from dust and debris to maintain proper cooling.
- ตรวจสอบการเชื่อมต่อสายไฟทั้งหมดเป็นประจำเพื่อดูความแน่นหนาและการกัดกร่อน
- หลีกเลี่ยงการวางสิ่งของไว้ด้านบน amplifier that could obstruct airflow.
8 การแก้ไขปัญหา
| ปัญหา | สาเหตุที่เป็นไปได้ | สารละลาย |
|---|---|---|
| ไม่มีไฟ/ไม่มีเสียง | Blown fuse, loose power/ground connection, no remote signal, incorrect Auto-Turn-On setting. | Check fuse, verify power/ground connections, ensure remote wire is connected (if applicable), check Auto-Turn-On switch. |
| เสียงเพี้ยน | Gain set too high, incorrect crossover settings, damaged speaker. | Reduce gain, adjust crossover settings, check speaker condition. |
| ไม่มีเสียงจากช่องหนึ่ง | Loose speaker wire, faulty RCA/high-level input, damaged speaker. | Check speaker connections, verify input signal, test speaker. |
| Ampเครื่องขยายเสียงร้อนขึ้น | การระบายอากาศไม่เพียงพอ โหลดความต้านทานต่ำ การใช้งานกำลังไฟฟ้าสูงเป็นเวลานาน | Ensure proper airflow, check speaker impedance, reduce volume or gain. |
9. ข้อมูลจำเพาะ
| คุณสมบัติ | ข้อมูลจำเพาะ |
|---|---|
| หมายเลขรุ่น | AT401 |
| ผู้ผลิต | แอ็กซ์ตัน |
| จำนวนช่องสัญญาณ | 4 |
| Ampไลไฟเออร์คลาส | คลาส ดี |
| กำลังขับ (RMS) | 4 x 100 W (4 Ohms) / 2 x 350 W (Bridged) |
| เล่มที่tage | 24 โวลต์ (กระแสตรง) |
| ประเภทครอสโอเวอร์ | 12 dB/oct. High-Pass/Low-Pass |
| ช่วงความถี่ครอสโอเวอร์ | 40 - 400 Hz (Continuously adjustable) |
| ประเภทอินพุต | High-Level with Auto-Turn-On / Low-Level (RCA) |
| วัสดุ | อลูมิเนียม |
| ขนาด (กว้าง x ยาว x สูง) | ขนาดโดยประมาณ 27.7 x 10.5 x 4 ซม. (10.9 x 4.1 x 1.6 นิ้ว) |
| น้ำหนัก | 1.38 กก. (3.04 ปอนด์) |
| การรับรอง | CE |
10. การรับประกันและการสนับสนุน
AXTON products are manufactured to high-quality standards. This product is covered by a manufacturer's warranty against defects in materials and workmanship. The specific warranty period and terms may vary by region and retailer. Please retain your proof of purchase for warranty claims.
For technical support, service, or warranty inquiries, please contact your authorized AXTON dealer or visit the official AXTON webเว็บไซต์สำหรับข้อมูลการติดต่อ