
การแนะนำ
This manual provides comprehensive instructions for the installation, operation, maintenance, and troubleshooting of your DASAN DA-SS03BN-S10W Brushed Nickel Tub Shower Faucet System. Please read this manual thoroughly before installation and use to ensure proper function and longevity of the product. Retain this manual for future reference.

ภาพ: เหนือview of the DASAN DA-SS03BN-S10W Brushed Nickel Tub Shower Faucet System components.
เนื้อหาแพ็คเกจ
ตรวจสอบว่าส่วนประกอบทั้งหมดมีอยู่ก่อนเริ่มการติดตั้ง:
- 10-inch Shower Head
- ฝักบัวมือถือ
- Shower Valve & Trim Kit
- อ่างพวย
- แขนอาบน้ำ
- Cover Plate for Shower Arm
- ปุ่มปรับทิศทาง
- ปุ่มเปิด/ปิด
- Cover Plate for Handheld
- สายฝักบัวยาว 59 นิ้ว
- ฮาร์ดแวร์สำหรับติดตั้ง
- คำแนะนำในการติดตั้ง (คู่มือนี้)

ภาพ: ระเบิด view of all included components with corresponding labels for easy identification.
ข้อมูลด้านความปลอดภัย
โปรดปฏิบัติตามข้อควรระวังด้านความปลอดภัยต่อไปนี้ระหว่างการติดตั้งและใช้งาน:
- ควรปิดวาล์วหลักของท่อน้ำก่อนเริ่มงานประปาทุกครั้ง
- สวมอุปกรณ์ป้องกันส่วนบุคคลที่เหมาะสม เช่น แว่นตานิรภัยและถุงมือ
- หากคุณไม่แน่ใจเกี่ยวกับส่วนใดส่วนหนึ่งของกระบวนการติดตั้ง โปรดปรึกษาช่างประปาที่มีคุณสมบัติเหมาะสม
- ตรวจสอบให้แน่ใจว่าการเชื่อมต่อทั้งหมดมีความปลอดภัยเพื่อป้องกันการรั่วไหล
- อย่าขันชิ้นส่วนแน่นเกินไป เพราะอาจทำให้เกิดความเสียหายได้
- ตรวจสอบการรั่วซึมอย่างละเอียดหลังจากติดตั้งเสร็จแล้ว
คำแนะนำในการติดตั้ง
Professional installation is recommended. Follow these steps carefully:
เครื่องมือที่จำเป็น:
- ประแจปรับ
- เทปซีลเกลียวท่อ (เทปเทฟลอน)
- ไขควง (ปากแฉกและปากแบน)
- สว่าน (หากจำเป็นสำหรับการติดตั้ง)
- ระดับ
- สายวัด
การติดตั้งทีละขั้นตอน:
- เตรียมพื้นที่ติดตั้ง: Turn off the main water supply. Clear the wall area where the faucet system will be installed.
- ติดตั้งวาล์วสำหรับงานติดตั้งเบื้องต้น: Mount the rough-in valve body (#3 in the package contents diagram) into the wall. Ensure it is level and at the correct depth (2-1/2'' to 3-1/8'' min. to max., 2-3/4'' recommended). Connect the hot and cold water lines to the appropriate inlets on the valve. Connect the shower head, handheld shower, and tub spout lines to their respective outlets. All interfaces utilize US standard NPT thread and 1/2'' connection.

Image: Detailed diagram of the rough-in valve, showing hot/cold water inlets, and outlets for shower head, handheld, and tub spout.
- Install the Shower Arm and Head: Apply thread sealant tape to the threads of the shower arm. Securely screw the shower arm into the wall connection. Attach the 10-inch rainfall shower head to the shower arm.
- Install the Tub Spout: Apply thread sealant tape to the threads of the tub spout connection. Securely screw the tub spout into the wall connection. Ensure the spout is oriented correctly.
- Install the Handheld Shower Holder and Handheld: Mount the handheld shower holder to the wall at a convenient height. Connect the shower hose to the handheld shower and the wall outlet. Place the handheld shower in its holder.
- Install the Trim Kit: Install the cover plate (#4), diverter knob (#9), and on/off knob (#10) onto the rough-in valve according to the included instructions.
- การทดสอบการรั่วไหล: Turn on the main water supply slowly. Check all connections for any signs of leaks. If leaks are detected, turn off the water supply and tighten the connections as needed.
การติดตั้งเสร็จสิ้นview วีดีโอ:
วิดีโอ: จบแล้วview demonstrating the installation and functional aspects of the Dasan Tub Shower Faucet Set.
คำแนะนำการใช้งาน
Your DASAN Tub Shower Faucet System offers three water output functions: the main shower head, the handheld shower, and the tub spout. The system also features a single handle for temperature and flow control.
การควบคุมอุณหภูมิและอัตราการไหล:
- ด้ามจับหลักใช้ควบคุมทั้งปริมาณน้ำไหลและอุณหภูมิ
- Lift the handle to turn on the water and increase flow. Push down to turn off.
- Rotate the handle left for hot water and right for cold water. The ceramic cartridge balances water pressure and protects against sudden temperature changes.
Function Diverter:
The small knob above the main handle is the diverter, allowing you to switch between the three water outputs.
- หัวฝักบัว: Rotate the diverter knob to the shower head icon to activate the 10-inch rainfall shower head. This head features Air-Water Mixing Technology for high pressure and is angle-adjustable.

Image: The 10-inch rainfall shower head delivering a consistent water flow.
- ฝักบัวมือถือ: Rotate the diverter knob to the handheld shower icon to activate the handheld sprayer. This sprayer provides powerful rinsing and is also angle-adjustable.
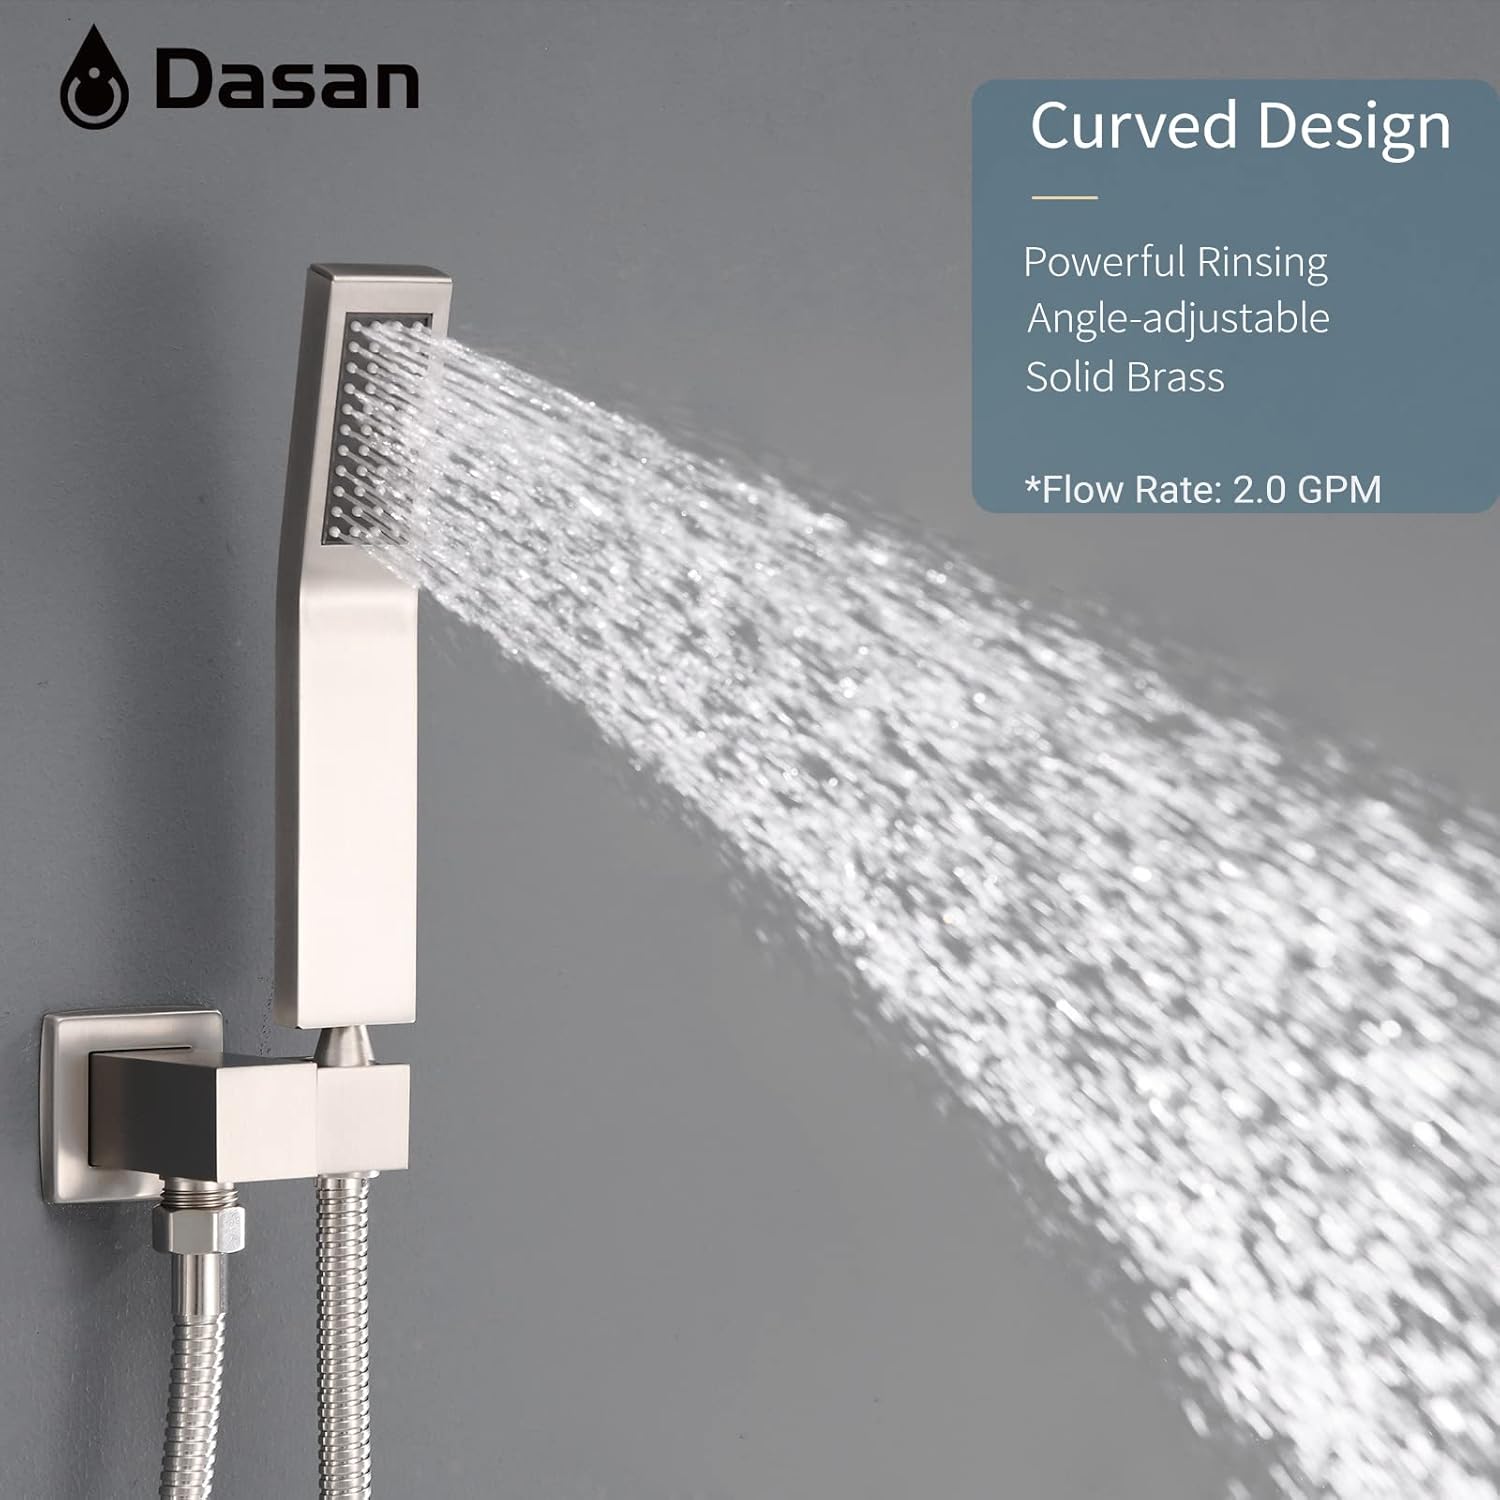
Image: The handheld shower delivering a focused spray, demonstrating its use.
- ปากอ่าง: Rotate the diverter knob to the tub spout icon to activate the tub spout. The tub spout is designed to swivel 180 degrees for convenience and features an aerated spout for smooth, splash-free water flow.
Image: The swiveling tub spout, highlighting its design and functionality.
การบำรุงรักษาและการดูแล
Proper care will help maintain the finish and performance of your faucet system.
- การทำความสะอาดผิวเคลือบ: Clean the faucet regularly with a soft cloth and mild soap. Avoid abrasive cleaners, harsh chemicals, or scouring pads, as these can damage the brushed nickel finish. The Oil Sealing Surface Process helps reduce watermarks and fingerprints.
- หัวฉีดทำความสะอาด: The shower head and handheld shower feature easy-to-clean rubber nozzles. To remove mineral buildup, gently rub the nozzles with your finger or a soft brush while water is flowing.
- การดูแลทั่วไป: Periodically check all connections for tightness. If any drips or leaks occur, tighten the connections carefully.
การแก้ไขปัญหา
โปรดดูตารางต่อไปนี้เพื่อดูปัญหาทั่วไปและวิธีแก้ไข:
| ปัญหา | สาเหตุที่เป็นไปได้ | สารละลาย |
|---|---|---|
| แรงดันน้ำต่ำ | Clogged nozzles; partially closed shut-off valve; mineral buildup in lines. | Clean shower head/handheld nozzles. Ensure shut-off valves are fully open. Consult a plumber if issue persists. |
| การรั่วไหลจากจุดเชื่อมต่อ | Loose connections; worn out O-rings/gaskets; insufficient thread sealant. | Tighten connections. Apply more thread sealant tape. Replace O-rings/gaskets if damaged. |
| ความผันผวนของอุณหภูมิของน้ำ | Issues with water heater; pressure imbalance; faulty cartridge. | Check water heater settings. Ensure proper water pressure to the valve. If necessary, replace the ceramic cartridge. |
| ตัวเปลี่ยนทิศทางไม่สามารถสลับฟังก์ชันได้ | คราบแร่ธาตุสะสม; ปัญหาภายในกลไก | Flush the system. If the issue persists, the diverter mechanism may need inspection or replacement by a professional. |
ข้อมูลจำเพาะ
| คุณสมบัติ | รายละเอียด |
|---|---|
| ยี่ห้อ | Dasan |
| หมายเลขรุ่น | DA-SS03BN-S10W |
| สี | นิกเกิลขัดเงา |
| วัสดุ | ทองเหลืองสแตนเลส |
| ประเภทการเสร็จสิ้น | ปัด |
| จำนวนที่จับ | 1 |
| ประเภทการติดตั้ง | ติดผนัง |
| ขนาดหัวฝักบัว | 10 นิ้ว |
| อัตราการไหล | 2.5 แกลลอนต่อนาที (GPM) |
| ความยาวท่อ | 58.25 นิ้ว |
| พวยถึง | 10 นิ้ว |
| ช่วงอุณหภูมิ | 32-194 องศาฟาเรนไฮต์ |
| คุณสมบัติพิเศษ | Angle Adjustable, Anti-fingerprint, Anti-watermark |
| Rough-in Valve Depth | 2-1/2'' to 3-1/8'' (Min. to Max.), 2-3/4'' Recommended |
การรับประกันและการสนับสนุน
Dasan provides the following warranty for this product:
- สำหรับใช้ที่อยู่อาศัย : รับประกันจำกัด 10 ปี
- การใช้ในเชิงพาณิชย์: รับประกันจำกัด 5 ปี
Additionally, Dasan offers a 30-day hassle-free return and replacement policy. For any questions, technical assistance, or warranty claims, please contact Dasan customer support. We are committed to standing behind our product.