
1. บทนำ
The Voxelab Aquila X2 is an open-source FDM (Fused Deposition Modeling) 3D printer designed for both beginners and experienced users. It features a robust metal frame, a removable build plate, and intelligent functions like filament detection and resume printing. This manual provides essential information for safe and effective use of your printer.

Image: The Voxelab Aquila X2 3D Printer with a sampพิมพ์.
2. คำแนะนำด้านความปลอดภัย
Please read and understand all safety instructions before operating the printer to prevent injury or damage.
- ควรใช้งานเครื่องพิมพ์ในบริเวณที่มีอากาศถ่ายเทได้ดีเสมอ
- Keep the printer away from flammable materials, heat sources, and water.
- ห้ามสัมผัสหัวฉีดหรือฐานทำความร้อนขณะใช้งาน เนื่องจากจะมีอุณหภูมิสูงมาก
- โปรดกันเด็กและสัตว์เลี้ยงให้ห่างจากเครื่องพิมพ์ขณะใช้งาน
- ตรวจสอบแหล่งจ่ายไฟ voltage matches your local requirements.
- Do not attempt to modify the printer's electrical components.
- Unplug the printer from the power outlet before performing any maintenance or cleaning.
3. เนื้อหาบรรจุภัณฑ์
Upon receiving your Voxelab Aquila X2, verify that all components are present and undamaged. The package typically includes:
- Voxelab Aquila X2 3D Printer (partially assembled)
- Filament spool holder
- สายไฟ
- สาย USB
- การ์ด SD และเครื่องอ่านการ์ด
- Tools for assembly and maintenance
- Sample filament
- คู่มือการใช้งาน (เอกสารนี้)
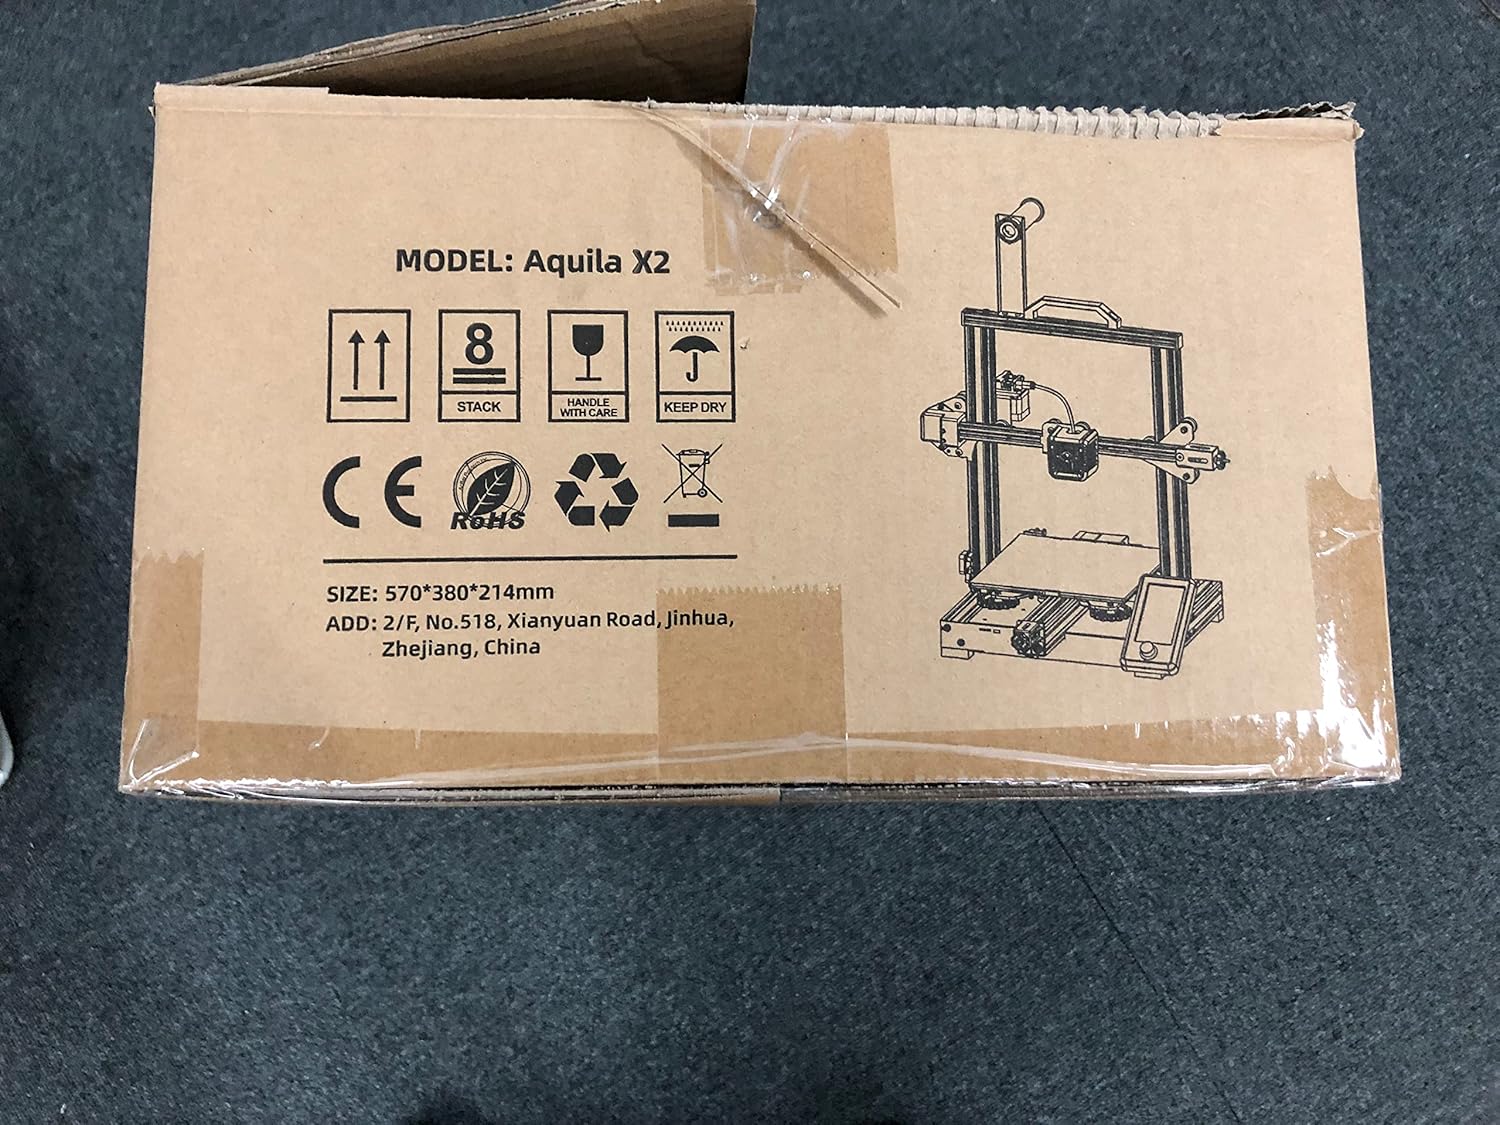
Image: The Voxelab Aquila X2 product packaging.
4. คู่มือการติดตั้ง
The Aquila X2 comes semi-assembled. Follow these steps to complete the setup:
4.1 การประกอบ
- แกะส่วนประกอบ: นำชิ้นส่วนทั้งหมดออกจากบรรจุภัณฑ์อย่างระมัดระวัง
- Attach Gantry: Secure the gantry to the base using the provided screws. Ensure it is aligned correctly.
- Install Spool Holder: Mount the filament spool holder onto the designated position on the frame.
- เชื่อมต่อสายเคเบิล: Connect all motor, endstop, and hotend cables according to the labels. Double-check connections for security.
- การตรวจสอบแหล่งจ่ายไฟ: Verify the power supply switch is set to the correct voltage สำหรับภูมิภาคของคุณ (115V หรือ 230V)
4.2 การปรับระดับเบื้องต้น
Accurate bed leveling is crucial for successful prints.
- เปิดเครื่อง: เปิดเครื่องพิมพ์
- บ้านอัตโนมัติ: Navigate to the 'Prepare' menu on the screen and select 'Auto Home'. The nozzle will move to the home position.
- ปิดการใช้งาน Steppers: Select 'Disable Steppers' from the 'Prepare' menu to move the print head freely.
- Adjust Corners: Move the nozzle to each corner of the print bed. Use a piece of paper between the nozzle and the bed. Adjust the bed leveling knobs until there is slight friction when moving the paper.
- Center Check: Repeat the process for the center of the bed.

Image: Voxelab Aquila X2 3D Printer dimensions.
5. คู่มือการใช้งาน
This section covers basic operation, from loading filament to starting your first print.
5.1 การโหลดเส้นใย
- เปิดเครื่อง: On the printer's screen, select 'Prepare' > 'Preheat PLA' (or appropriate filament type).
- Insert Filament: Once the hotend reaches temperature, insert the filament into the filament detection sensor and then into the extruder's input hole.
- Feed Filament: Gently push the filament until it exits the nozzle. You may need to press the extruder lever to release tension.

Image: The Voxelab Aquila X2 3D Printer in operation, highlighting its features.
5.2 การเริ่มการพิมพ์
- เตรียมโค้ด G: Use a slicing software (e.g., Cura, VoxelMaker) to convert your 3D model (.STL, .OBJ) into a G-code file. บันทึกนี้ file to the provided SD card.
- ใส่การ์ด SD: Insert the SD card into the printer's card slot.
- เลือก File: On the printer's screen, navigate to 'Print' and select your desired G-code file.
- จอภาพสำหรับพิมพ์: The printer will begin heating and then start printing. Monitor the first few layers to ensure proper adhesion.

Image: The printer's colorful screen with rotary knob for navigation.
6. คุณสมบัติหลัก
The Voxelab Aquila X2 incorporates several features to enhance your 3D printing experience:
- Filament Detection Sensor: Automatically pauses printing and notifies you when filament runs out or breaks, preventing failed prints and material waste.
- ฟังก์ชันการพิมพ์ต่อ: กรณีไฟดับtage, the printer can resume printing from where it left off once power is restored.
- Removable Carbon Silicon Crystal Glass Plate: Provides strong adhesion during printing and allows for easy removal of finished prints once cooled. Heats up quickly.
- Large Build Volume: Offers a generous print area of 220 x 220 x 250 mm for various project sizes.
- Open-Source Technology: Allows for flexible upgrades and modifications, catering to advanced users.
- การทำงานที่เงียบ: Designed to operate with noise levels below 50 decibels for a more pleasant printing environment.

Image: Visual representation of the resume printing and filament detection features.

ภาพ: เหนือview of key features including all-metal body, high precision, and color screen.
7. การบำรุงรักษา
การบำรุงรักษาตามปกติจะช่วยให้เครื่องพิมพ์มีประสิทธิภาพสูงสุดและยืดอายุการใช้งานของเครื่องพิมพ์ของคุณ
- ทำความสะอาดฐานพิมพ์: After each print, allow the bed to cool and then clean it with isopropyl alcohol to remove any residue.
- การตรวจสอบหัวฉีด: Periodically check the nozzle for clogs or wear. Replace if necessary.
- หล่อลื่นชิ้นส่วนที่เคลื่อนไหว: Apply a small amount of lithium grease to the Z-axis lead screw and smooth rods every few months.
- Tighten Belts: ตรวจสอบให้แน่ใจว่าสายพานแกน X และ Y ได้รับความตึงอย่างเหมาะสม ควรตึงแต่ไม่แน่นเกินไป
- อัพเดตเฟิร์มแวร์: Check the Voxelab webเข้าชมเว็บไซต์เพื่อตรวจสอบการอัปเดตเฟิร์มแวร์ที่มีให้ใช้งาน เพื่อปรับปรุงประสิทธิภาพและเพิ่มคุณสมบัติใหม่ๆ
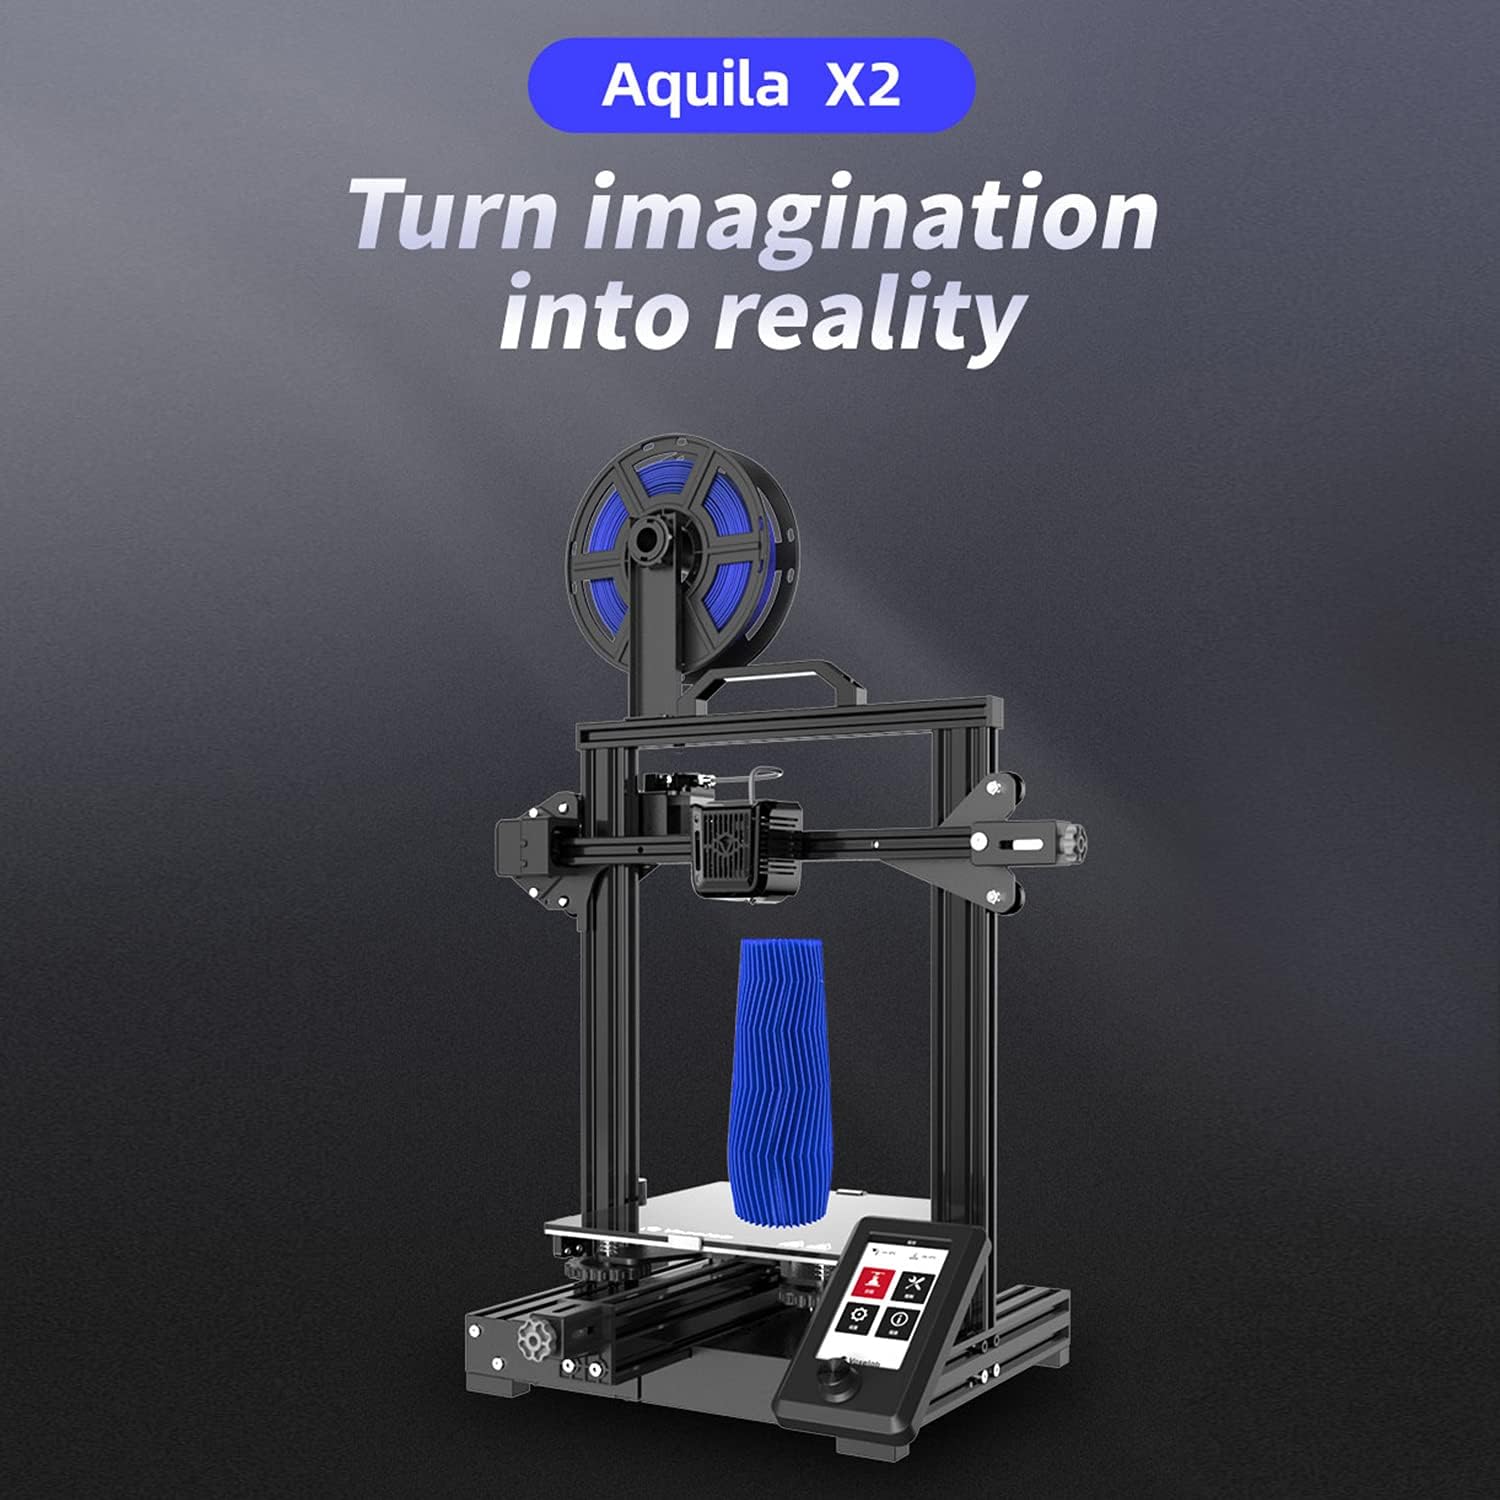
Image: The ultra-flat glass print bed, important for print adhesion and maintenance.
8 การแก้ไขปัญหา
โปรดดูหัวข้อนี้เพื่อดูปัญหาทั่วไปและแนวทางแก้ไขที่เป็นไปได้
- พิมพ์ไม่ติดเตียง:
สาเหตุที่เป็นไปได้: Bed not level, nozzle too far from bed, bed not heated, dirty print surface, incorrect initial layer settings.
วิธีแก้ไข: Re-level the bed, adjust Z-offset, ensure bed temperature is appropriate for filament, clean bed with isopropyl alcohol, check slicer settings for initial layer height and speed. - เส้นใยไม่ไหลออกมา:
สาเหตุที่เป็นไปได้: Clogged nozzle, tangled filament, incorrect temperature, extruder gear slip.
วิธีแก้ไข: Clean or replace nozzle, untangle filament, ensure hotend temperature is correct for filament, check extruder tension. - Poor Print Quality (Layer Shifts, Gaps):
สาเหตุที่เป็นไปได้: Loose belts, unstable printer, incorrect print speed, worn nozzle.
วิธีแก้ไข: Tighten X and Y axis belts, ensure printer is on a stable surface, reduce print speed, replace nozzle. - เครื่องพิมพ์ไม่เปิดเครื่อง:
สาเหตุที่เป็นไปได้: Loose power cable, incorrect voltage switch setting, faulty power supply.
วิธีแก้ไข: Check power cable connections, verify power supply voltage switch, contact support if issue persists.
9. ข้อมูลจำเพาะ
Detailed technical specifications for the Voxelab Aquila X2 3D Printer:
| คุณสมบัติ | ข้อมูลจำเพาะ |
|---|---|
| หมายเลขเครื่องอัดรีด | 1 |
| เส้นผ่านศูนย์กลางเครื่องอัดรีด | 0.4 มม. |
| Max Extruder Temp. | 250 องศาเซลเซียส |
| Max Platform Temp. | 110 องศาเซลเซียส |
| ความเร็วในการพิมพ์ | ≤180mm/s (50-80mm/s normally) |
| เส้นใยรองรับ | PLA, ABS, PETG |
| ปริมาณการพิมพ์ | 220 x 220 x 250 มม. |
| ความละเอียดของเลเยอร์ | 0.1-0.4 มม. |
| ความละเอียดในการพิมพ์ | ±0.2 มม. |
| ขนาดอุปกรณ์ | 473 x 480 x 473 มม. |
| น้ำหนักสุทธิ | 8.2 กก. |
| อินพุต Voltage | ไฟฟ้ากระแสสลับ 115/230V 50/60Hz |
| ปริมาณการส่งออกtage | กระแสตรง 24 โวลต์ |
| พลัง | 350 วัตต์ |
| สภาพแวดล้อมการทำงาน | 15-30 องศาเซลเซียส |

Image: Technical specifications of the Voxelab Aquila X2.
10. การรับประกันและการสนับสนุน
Voxelab provides a 12-month warranty for all 3D printers, along with lifetime technical support and 12-hour professional customer service.
For technical assistance, troubleshooting, or warranty claims, please contact Voxelab customer service through their official webไซต์หรือร้านค้าปลีกที่คุณซื้อผลิตภัณฑ์
Voxelab Official Webเว็บไซต์: www.voxelab3dp.com