
1. บทนำ
The TELLUR Dash Patrol DC2 is a Full HD 1080P car camera designed to record your driving journeys and provide enhanced security for your vehicle. This manual provides essential information for the proper installation, operation, and maintenance of your device. Please read it carefully before use.
2. เนื้อหาบรรจุภัณฑ์
ตรวจสอบว่าสินค้าทั้งหมดมีอยู่และอยู่ในสภาพดีเมื่อแกะกล่อง
- TELLUR Dash Patrol DC2 Car Camera
- Car Mount (Magnetic)
- สาย USB
- ที่ชาร์จในรถยนต์

ภาพ: ระเบิด view of the Dash Patrol DC2 showing the camera, magnetic mount, and key features like GPS, Magnetic Charging, Wi-Fi, and Full HD recording.
3. สินค้าหมดview
Familiarize yourself with the components of your Dash Patrol DC2 camera.
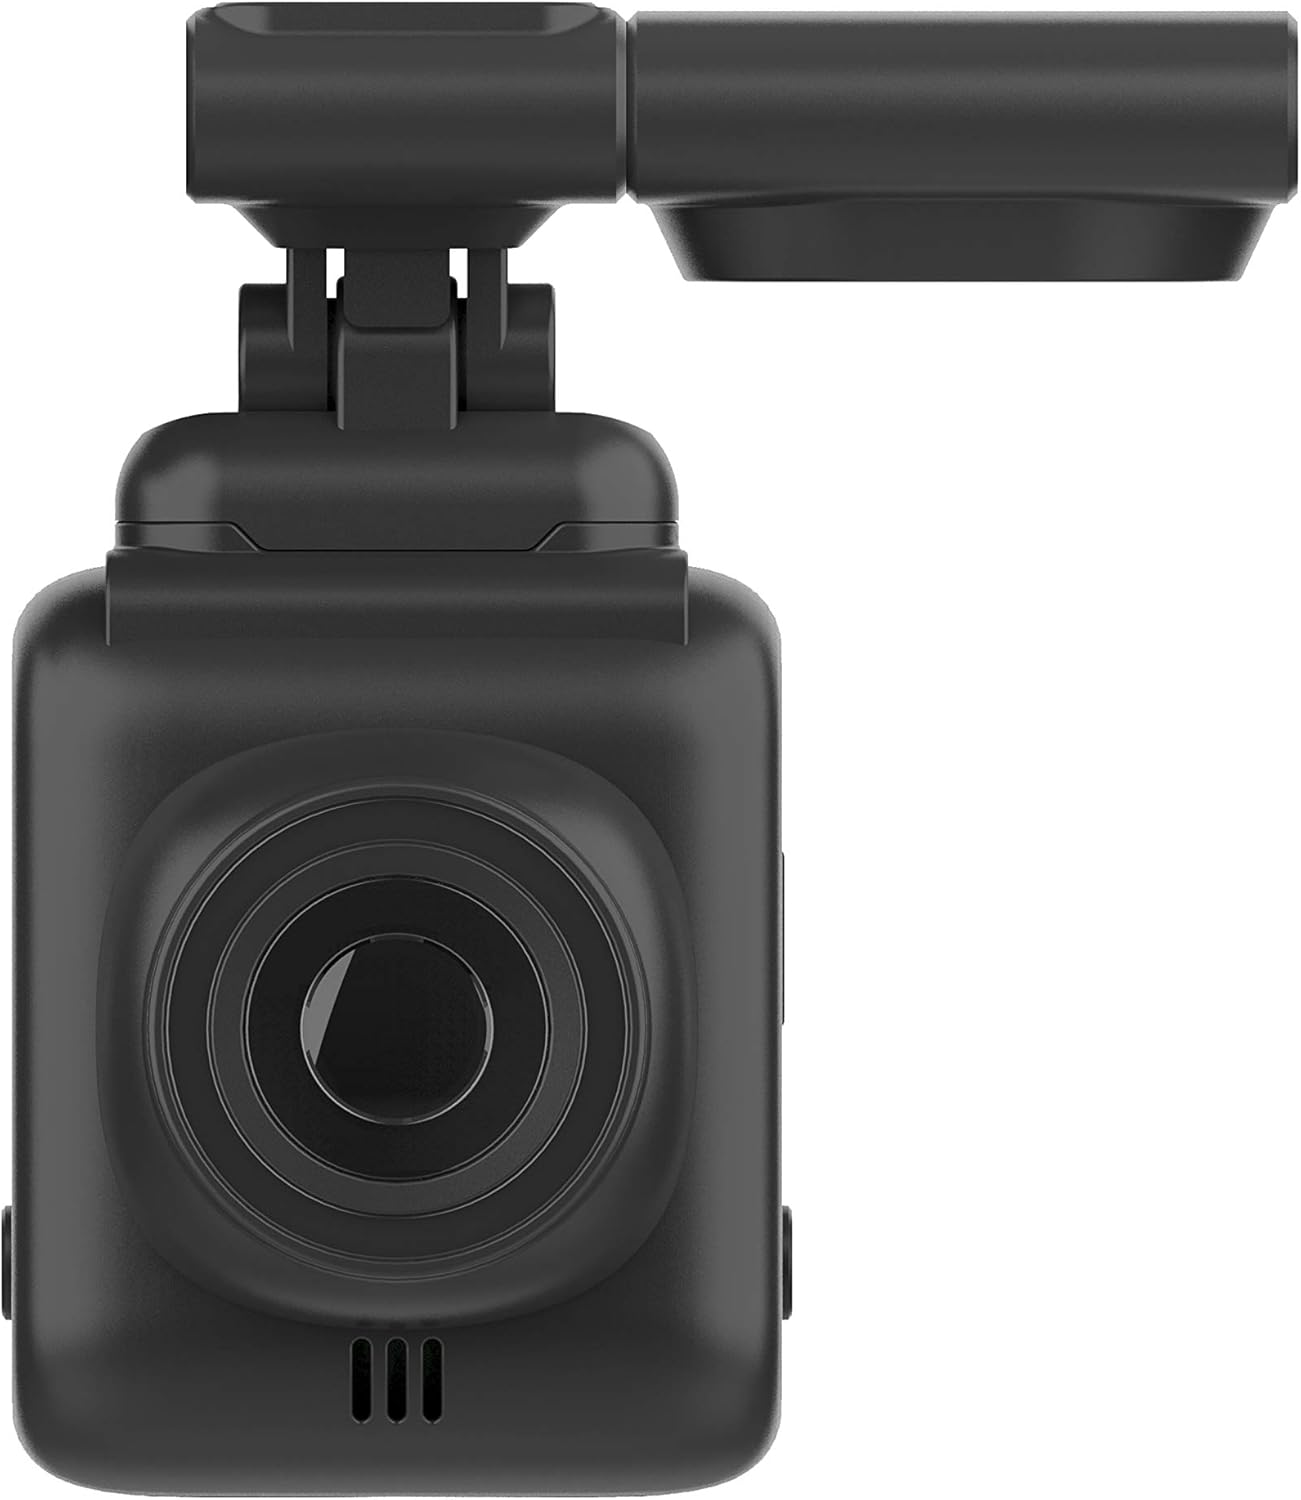
ภาพ: ด้านหน้า view of the Dash Patrol DC2, highlighting the camera lens.
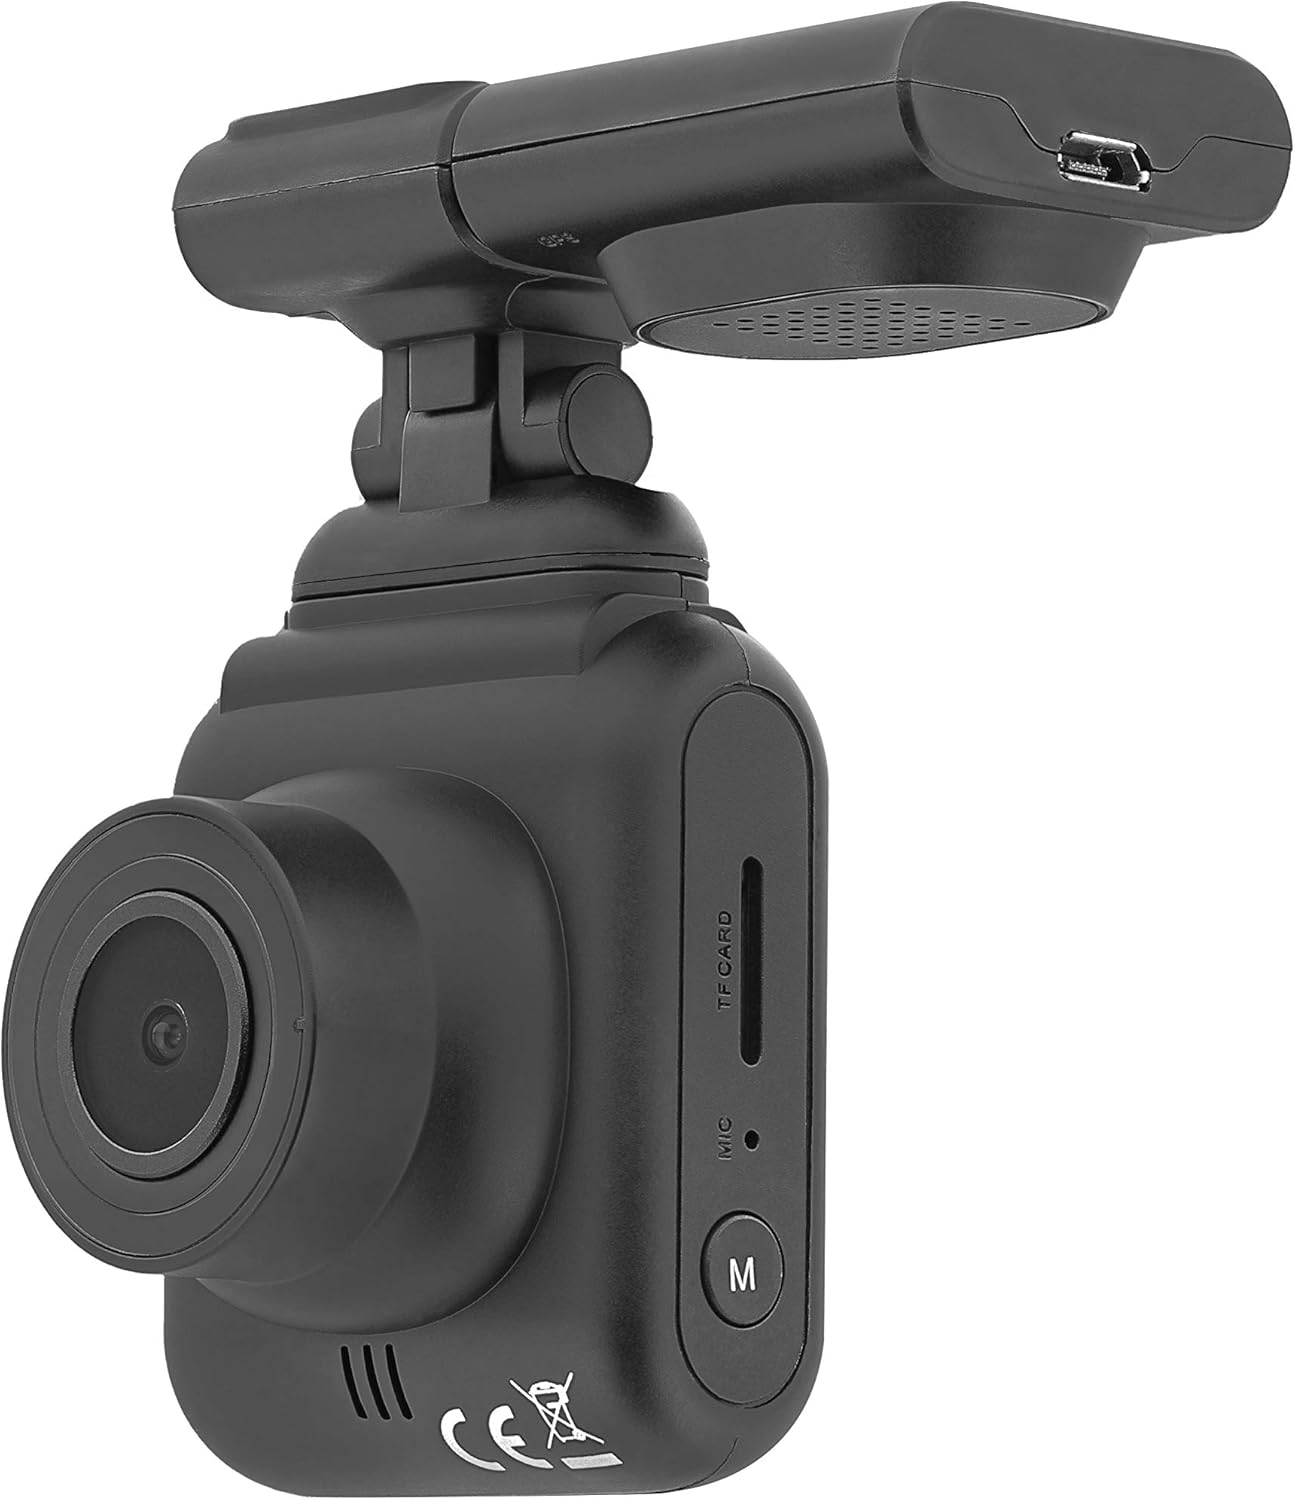
ภาพ: ด้านข้าง view of the Dash Patrol DC2, showing the TF card slot, microphone, and 'M' button.

ภาพ: ด้านหลัง view of the Dash Patrol DC2, displaying the screen, navigation buttons, USB port, Reset button, and Power button.
ส่วนประกอบหลัก:
- เลนส์กล้อง: จับภาพวิดีโอ footage.
- หน้าจอแสดงผลขนาด 2.7 นิ้ว: สำหรับ viewอิงไลฟ์ฟูtagการเล่นวิดีโอ และการนำทางเมนู
- ช่องเสียบการ์ด TF: Insert MicroSD card for storage.
- ไมโครโฟน: Records audio (can be disabled in settings).
- ปุ่ม 'M': Mode button to switch between video, photo, and playback modes.
- ปุ่มนำทาง (ขึ้น/ลง): For menu navigation and specific functions.
- ปุ่มตกลง: ยืนยันการเลือกและเริ่ม/หยุดการบันทึก
- ปุ่มเปิด/ปิด: เปิด/ปิดอุปกรณ์
- ปุ่มรีเซ็ต: For factory reset (use a thin object to press).
- พอร์ต USB: สำหรับการจ่ายไฟและการถ่ายโอนข้อมูล
- Magnetic Mount Connector: For attaching the camera to the car mount.
4. การตั้งค่า
4.1 การติดตั้งการ์ด MicroSD
- ตรวจสอบให้แน่ใจว่ากล้องปิดอยู่
- Insert a Class 10 or higher MicroSD card (up to 64GB, not included) into the TF card slot until it clicks into place.
- ในการถอดออก ให้ดันการ์ดเบาๆ จนกระทั่งการ์ดเด้งออกมา
4.2 การติดตั้งกล้อง
- ทำความสะอาดบริเวณกระจกหน้ารถที่คุณต้องการติดตั้งกล้อง
- Attach the magnetic car mount to the windshield using its adhesive or suction cup. Ensure it does not obstruct your view.
- Align the camera with the magnetic connector on the mount until it securely attaches.
- ปรับมุมกล้องให้ชัด view ของถนนข้างหน้า
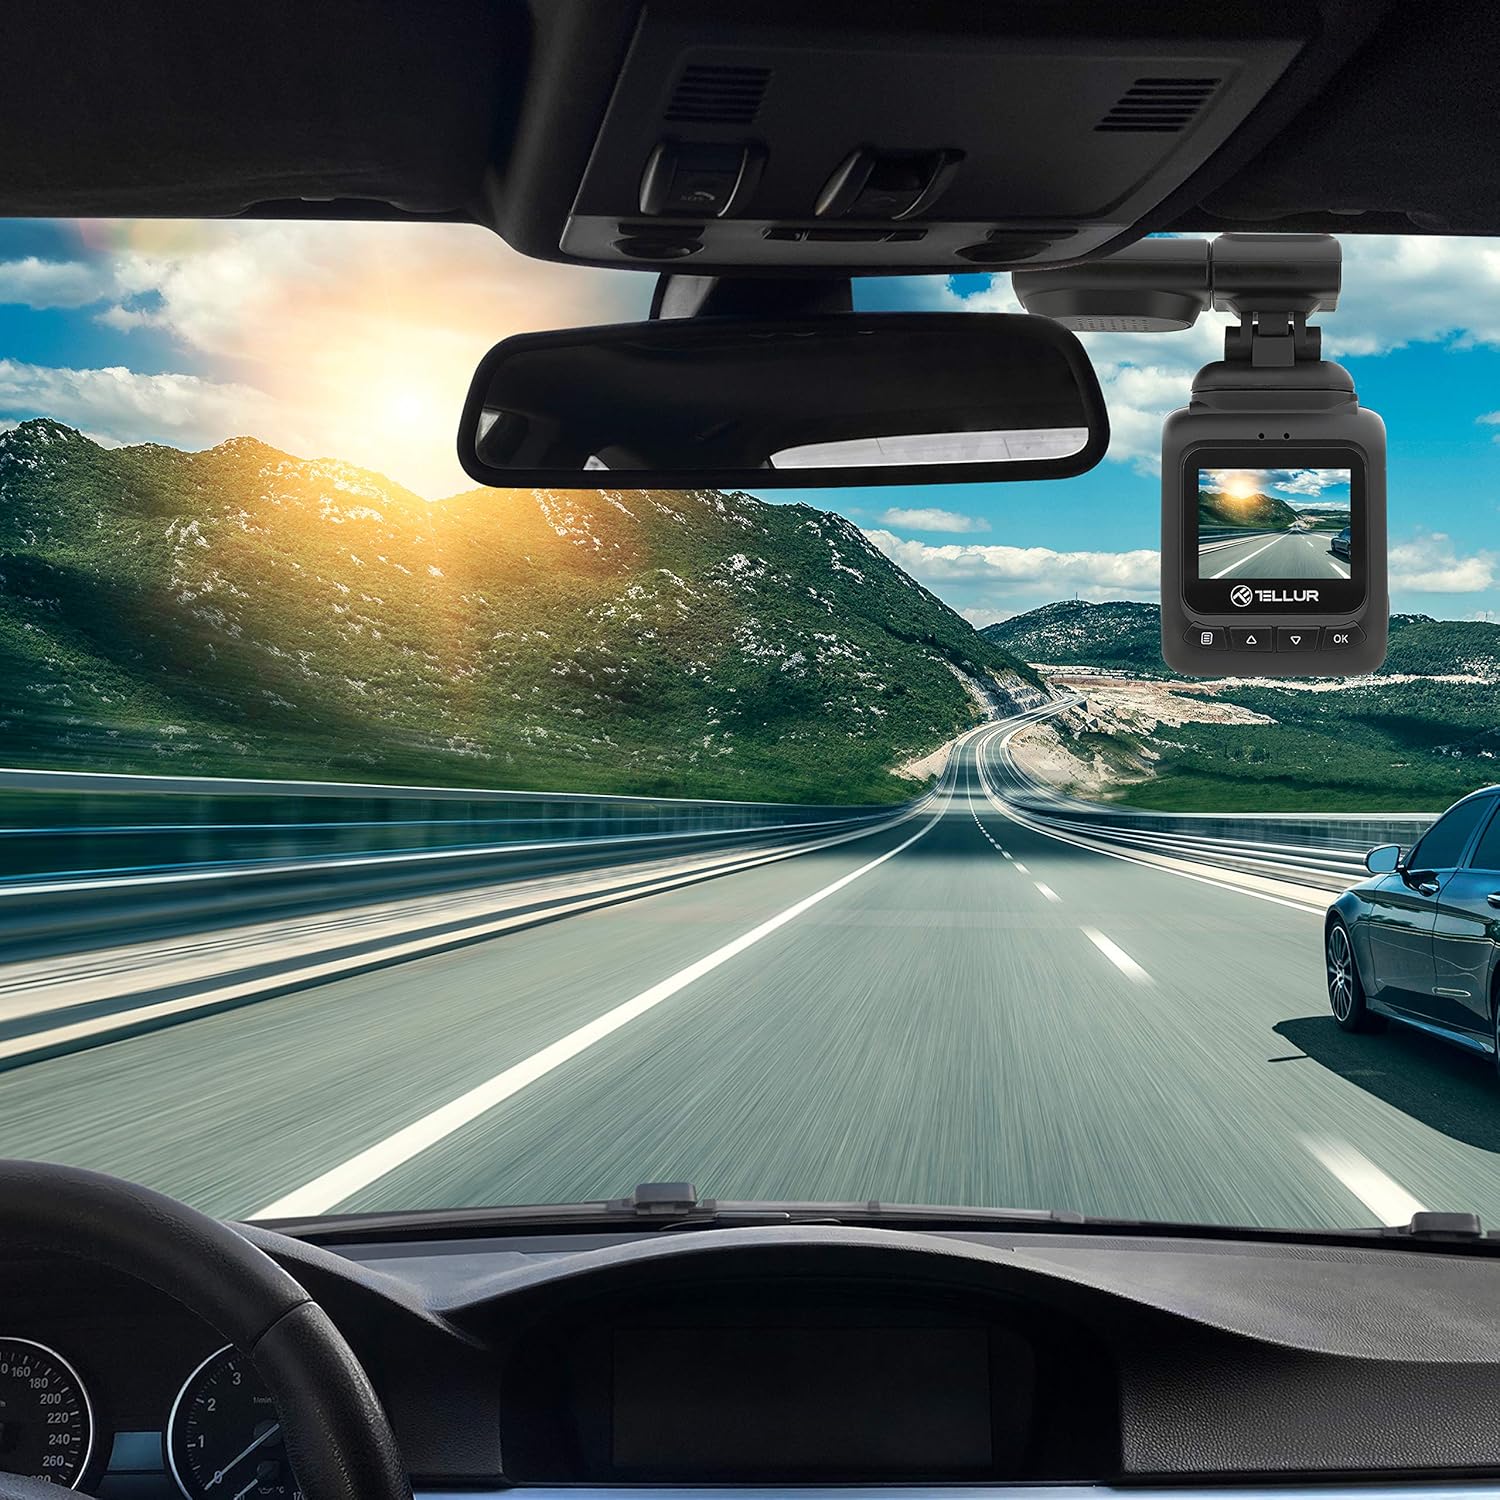
Image: The Dash Patrol DC2 camera mounted on a car windshield, showing its position relative to the rearview mirror for optimal road visibility.
4.3 การจ่ายไฟให้กล้อง
- Connect the car charger to your vehicle's 12V power outlet (cigarette lighter socket).
- Connect the other end of the USB cable to the camera's USB port.
- The camera will automatically power on and begin recording when your vehicle starts. It will power off shortly after the vehicle is turned off.
4.4 การตั้งค่าเริ่มต้น
Upon first use, or after a reset, you may need to set the date and time. Navigate through the menu using the Up/Down buttons and confirm with the OK button.
5. คู่มือการใช้งาน
5.1 การบันทึกพื้นฐาน
The camera automatically starts loop recording when powered on. Older files are overwritten when the memory card is full, except for locked files.
5.2 G-Sensor (Automatic Incident Detection)
The built-in G-sensor detects sudden impacts or collisions. When an event is detected, the current video segment is automatically locked to prevent it from being overwritten during loop recording.

Image: Illustration of the G-sensor function, showing the camera recording and a lock icon appearing when a collision is detected, indicating the video is protected.
5.3 Parking Monitor Function
When enabled, the parking monitor function allows the camera to automatically record when motion or impact is detected while the vehicle is parked and the engine is off. This provides surveillance even when you are away from your vehicle.

Image: Diagram illustrating the parking monitor function, where the dashcam automatically records when motion is detected around a parked car.
5.4 ฟังก์ชัน GPS
The integrated GPS module records your vehicle's speed and location data alongside the video footagง. ข้อมูลเหล่านี้สามารถ viewed during playback using compatible software on a computer.
5.5 การเชื่อมต่อ Wi-Fi และแอปพลิเคชัน
The Dash Patrol DC2 features Wi-Fi connectivity, allowing you to connect to a smartphone app for live view, video playback, and settings adjustment. The compatible app is typically named GoPlus Cam.
- ดาวน์โหลด GoPlus Cam แอปจากร้านแอปของสมาร์ทโฟนของคุณ
- Turn on the Dashcam.
- Press and hold the 'Down' button on the camera until the Wi-Fi symbol appears on the screen.
- On your smartphone, go to Wi-Fi settings and connect to the camera's Wi-Fi network (SSID usually starts with 'TELLUR' or similar).
- Open the GoPlus Cam app to manage your camera.

Image: Icon for the GoPlus Cam mobile application, used for connecting to the dashcam via Wi-Fi.
6. การบำรุงรักษา
6.1 การจัดการการ์ด MicroSD
- Regularly format the MicroSD card (at least once a month) to ensure optimal performance and prevent data corruption. This can usually be done through the camera's menu settings.
- Replace the MicroSD card if you notice frequent errors or degraded performance.
6.2 การทำความสะอาด
- Use a soft, dry cloth to clean the camera lens and screen. Avoid abrasive materials or chemical cleaners.
- Keep the camera free from dust and debris.
7 การแก้ไขปัญหา
If you encounter issues with your Dash Patrol DC2, refer to the following common solutions:
| ปัญหา | วิธีแก้ปัญหาที่เป็นไปได้ |
|---|---|
| กล้องไม่สามารถเปิดได้ |
|
| Camera turns on but screen is white/blank. |
|
| Camera stops recording or records intermittently. |
|
| ปัญหาการเชื่อมต่อ Wi-Fi |
|
| GPS data not showing speed on screen. |
|
8. ข้อมูลจำเพาะ
| คุณสมบัติ | รายละเอียด |
|---|---|
| ยี่ห้อ | เทลลูร์ |
| แบบอย่าง | TLL711002 |
| ความละเอียดในการจับภาพวิดีโอ | 1080p (FullHD) |
| ขนาดการแสดงผลหน้าจอยืน | 2.7 นิ้ว |
| แท้จริง Viewอิงแองเกิล | 140 องศา |
| ประเภทหน่วยความจำแฟลช | MicroSD (up to 64GB, Class 10 or higher recommended) |
| คุณสมบัติพิเศษ | Automatic Incident Detection (G-Sensor), Parking Monitor Function, Built-in GPS, Wi-Fi Connectivity |
| ประเภทการติดตั้ง | Dashboard Mount (Magnetic Car Mount) |
| ขนาดสินค้า | 50 x 50 x 28 ซม. |
| น้ำหนักสินค้า | 270 กรัม |
9. การรับประกันและการสนับสนุน
For warranty information or technical support, please refer to the documentation provided with your purchase or visit the official TELLUR webไซต์ เก็บหลักฐานการซื้อของคุณไว้เพื่อใช้ในกรณีเรียกร้องการรับประกัน