
1. บทนำ
This manual provides detailed instructions for the installation, operation, and maintenance of the AUTOWIKI Fog Lights Assembly, Model AW30-0072-09S-Z. This product is designed as a direct replacement for the 2006-2007 Mitsubishi Lancer. Please read this manual thoroughly before installation and use to ensure proper function and safety.
2. สินค้าหมดview
2.1 คุณสมบัติหลัก
- Exact OEM Style/Fitment: Designed for direct replacement on 2006-2007 Mitsubishi Lancer.
- เพิ่มการมองเห็น: Includes H3 halogen bulbs (12V 55W) for improved illumination in adverse weather conditions.
- โครงสร้างทนทาน: Made from high-quality OEM grade ABS plastic, ensuring resistance to moisture and dust.
- ติดตั้งง่าย: Direct bolt-on replacement, requiring no modifications.
- ได้รับการรับรองความปลอดภัย: DOT Certified for compliance with safety standards.
- เลนส์ใส: Provides optimal light output.
2.2 เนื้อหาแพ็คเกจ
แพ็คเกจนี้ประกอบด้วยส่วนประกอบต่อไปนี้:
- 2 x Fog Light Assemblies (Left and Right)
- 2 x H3 Halogen Bulbs (pre-installed)
- 1 x ชุดสายไฟ
- 1 x สวิตช์
- 1 x รีเลย์
- Zip Ties and other necessary mounting hardware

รูปที่ 2.2.1: Package contents including fog lights, wiring, and accessories. The fog light dimensions are approximately 11.46 inches wide, 5.03 inches deep, and 6.29 inches high.
3. ข้อมูลด้านความปลอดภัย
- ควรตัดการเชื่อมต่อแบตเตอรี่รถยนต์ทุกครั้งก่อนทำการซ่อมแซมหรือดัดแปลงระบบไฟฟ้า
- ต้องสวมอุปกรณ์ความปลอดภัยที่เหมาะสม รวมถึงถุงมือและแว่นตาป้องกันดวงตา ในระหว่างการติดตั้ง
- ตรวจสอบให้แน่ใจว่าการเชื่อมต่อทั้งหมดมีความปลอดภัยและมีฉนวนป้องกันอย่างเหมาะสมเพื่อป้องกันไฟฟ้าลัดวงจร
- Do not touch the halogen bulb glass with bare hands, as oils can cause hot spots and reduce bulb life.
- หากไม่แน่ใจในขั้นตอนใด ๆ โปรดปรึกษาช่างเทคนิคยานยนต์ที่มีคุณสมบัติเหมาะสม
4. การตั้งค่า (การติดตั้ง)
This section outlines the general steps for installing the AUTOWIKI Fog Lights Assembly. Specific vehicle disassembly procedures may vary. Refer to your vehicle's service manual for detailed instructions on bumper removal or access to the fog light housing.
4.1 เครื่องมือที่จำเป็น
- ชุดประแจซ็อกเก็ต
- ชุดไขควง (หัวแฉกและหัวแบน)
- เครื่องตัด/จีบสายไฟ
- เทปไฟฟ้าหรือท่อหดความร้อน
- ความสัมพันธ์ Zip
4.2 ขั้นตอนการติดตั้ง
- เตรียมยานพาหนะ: Park the vehicle on a level surface, engage the parking brake, and turn off the engine. Disconnect the negative terminal of the vehicle's battery.
- ทางเข้าบริเวณไฟตัดหมอก: Depending on your vehicle model, you may need to remove the front bumper, fender liner, or splash guard to access the factory fog light housing.
- Remove Old Fog Lights: Disconnect the wiring harness from the existing fog lights. Unscrew or unclip the old fog light assemblies from their mounting brackets.
- Install New Fog Lights: Carefully position the new AUTOWIKI fog light assemblies into the factory mounting locations. Secure them using the original hardware or provided mounting hardware.

รูปที่ 4.2.1: New fog light assemblies showing the clear lens and mounting points.
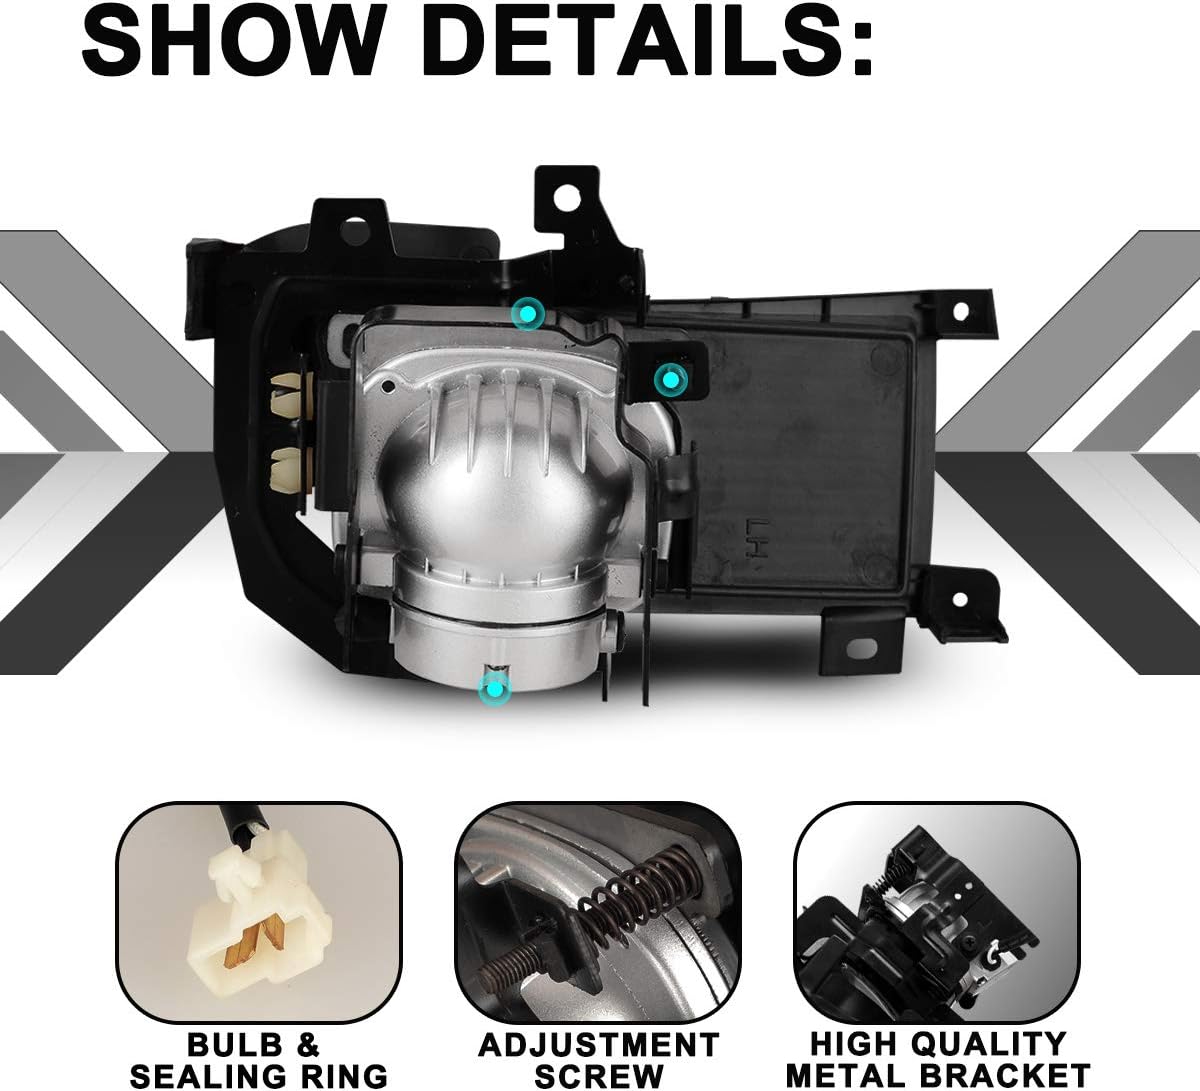
รูปที่ 4.2.2: รายละเอียด view of the fog light assembly, highlighting the pre-installed H3 bulb and durable ABS construction.

รูปที่ 4.2.3: หลัง view of the fog light assembly, illustrating the bulb connection, adjustment screw for aiming, and robust metal bracket.
- Wire the Fog Lights:
- Connect the new fog light wiring harness to the fog light assemblies.
- Route the wiring harness through the engine bay, ensuring it is secured away from moving parts and hot surfaces using the provided zip ties.
- Connect the relay to the designated point in the harness.
- Connect the power wire (usually red) to a fused 12V power source (e.g., battery positive terminal or an accessory fuse).
- Connect the ground wire (usually black) to a suitable chassis ground point.
- Route the switch wire into the vehicle's cabin and mount the switch in a convenient location.
- เชื่อมต่อแบตเตอรี่อีกครั้ง: เชื่อมต่อขั้วลบของแบตเตอรี่รถยนต์อีกครั้ง
- ทดสอบฟังก์ชันการทำงาน: Turn on the vehicle and test the fog lights to ensure they illuminate correctly.
- Adjust Aim (if necessary): Use the adjustment screw on the back of the fog light housing to properly aim the light beam. This is typically done against a wall at a specific distance.
- ประกอบรถยนต์ขึ้นใหม่: Reinstall any removed bumper parts, fender liners, or splash guards.
5. คู่มือการใช้งาน
Once installed, the AUTOWIKI Fog Lights Assembly operates via the included switch. Fog lights are designed to provide additional illumination in conditions of poor visibility, such as fog, heavy rain, or snow, by casting a wide, low beam of light.
- การเปิดใช้งาน: Press the installed fog light switch to turn the fog lights ON or OFF.
- การใช้งานที่เหมาะสมที่สุด: Use fog lights in conjunction with your vehicle's low beam headlights during adverse weather conditions. Avoid using fog lights in clear weather, as they can cause glare for oncoming drivers.
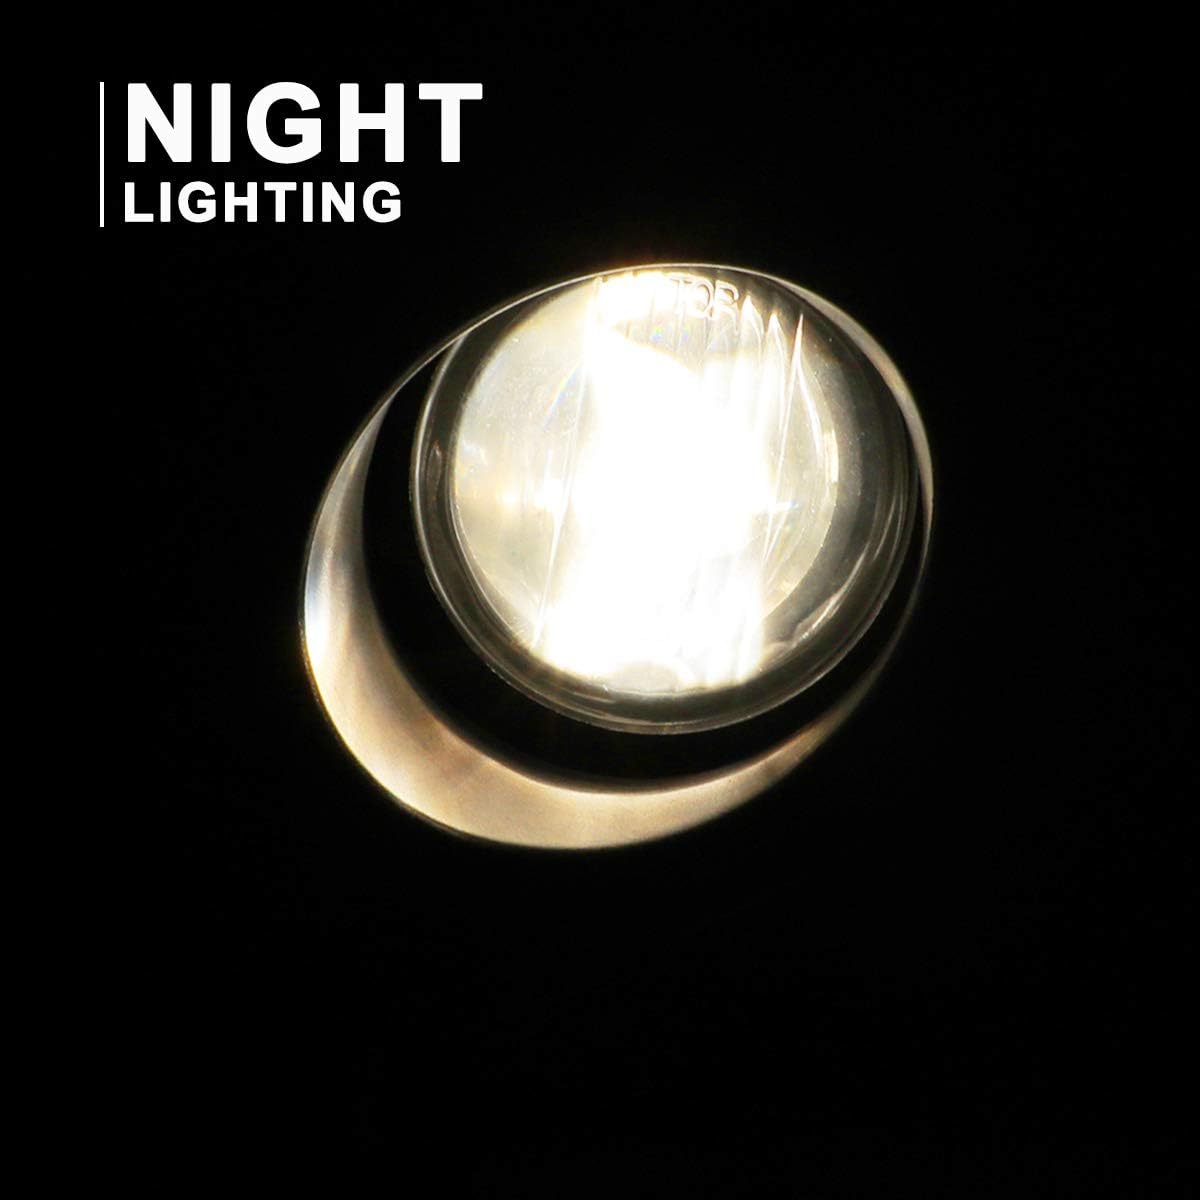
รูปที่ 5.1: Night illumination provided by the fog light.
6. การบำรุงรักษา
Regular maintenance ensures the longevity and optimal performance of your fog lights.
- การทำความสะอาด: Periodically clean the fog light lenses with a soft cloth and mild automotive cleaner to remove dirt and debris. Avoid abrasive cleaners that can scratch the lens.
- การเปลี่ยนหลอดไฟ: If a bulb burns out, replace it with an H3 12V 55W halogen bulb. Refer to Section 4.2 for general access steps. Avoid touching the new bulb's glass with bare hands.
- การตรวจสอบสายไฟ: Annually inspect the wiring harness for any signs of wear, fraying, or corrosion. Ensure all connections remain secure.
- ความสมบูรณ์ของน้ำ: The fog lights are designed to be waterproof. However, if you notice moisture inside the housing, inspect the seals and ensure proper installation.

รูปที่ 6.1: The fog lights are designed for all-weather performance, featuring waterproof and dustproof construction.
7 การแก้ไขปัญหา
| ปัญหา | สาเหตุที่เป็นไปได้ | สารละลาย |
|---|---|---|
| ไฟตัดหมอกไม่ติด |
|
|
| ไฟตัดหมอกดวงหนึ่งไม่ทำงาน |
|
|
| Moisture inside the fog light housing. |
|
|
8. ข้อมูลจำเพาะ
| คุณสมบัติ | รายละเอียด |
|---|---|
| ยี่ห้อ | ออโตวิกิ |
| หมายเลขรุ่น | AW30-0072-09S-Z |
| ความเข้ากันได้ | 2006-2007 Mitsubishi Lancer |
| ประเภทแหล่งกำเนิดแสง | Halogen - H3 |
| วัดtage | 55 วัตต์ |
| เล่มที่tage | 12 โวลต์ |
| สีเลนส์ | ชัดเจน |
| วัสดุเลนส์ | พลาสติก ABS |
| คุณสมบัติพิเศษ | Waterproof, DOT Certified |
| OEM Part Numbers (Left) | MN126815, MN161941 |
| OEM Part Numbers (Right) | MN126816, MN161942 |
| น้ำหนักสินค้า | 4.44 ปอนด์ |
| ขนาดแพ็คเกจ | 12.2 x 10 x 6.1 นิ้ว |
9. ข้อมูลการรับประกัน
AUTOWIKI offers a 180-day warranty on this product. Additionally, a free return policy is available within 30 days if you are not 100% satisfied. Please retain your proof of purchase for warranty claims.
10. การสนับสนุน
For further assistance or inquiries, please visit the official AUTOWIKI store or contact customer support through the platform where the product was purchased.