
การแนะนำ
This manual provides detailed instructions for the installation, operation, and maintenance of your Aurlane Tiled Shower Tray, model FAC113. This product is a waterproof extruded polystyrene shower tray with an integrated gutter and diamond slope, designed to be tiled over. It includes a brushed stainless steel drain and a 60mm drain kit with a 40mm outlet. The tray is designed to be cut to size to fit your specific bathroom requirements.
ข้อมูลด้านความปลอดภัย
- สวมใส่อุปกรณ์ป้องกันส่วนบุคคล (PPE) ที่เหมาะสมเสมอในระหว่างการติดตั้ง รวมถึงถุงมือและแว่นตาป้องกันดวงตา
- ตรวจสอบให้แน่ใจว่าบริเวณที่จะติดตั้งสะอาด แห้ง และมีอากาศถ่ายเทสะดวก
- ตรวจสอบให้แน่ใจว่าการเชื่อมต่อท่อประปาทั้งหมดแน่นหนาและกันน้ำได้เพื่อป้องกันการรั่วซึม
- If cutting the tray, use appropriate tools and follow safety guidelines for cutting polystyrene materials.
- Consult a professional plumber or installer if you are unsure about any step of the installation process.
เนื้อหาแพ็คเกจ
โปรดตรวจสอบให้แน่ใจว่ามีอุปกรณ์ครบทุกชิ้นก่อนเริ่มการติดตั้ง:
- 1 x เอurlane Tiled Shower Tray (Model FAC113, 90 x 140 x 4 cm)
- 1 x Brushed Stainless Steel Drain
- 1 x Drain Kit (60mm diameter, 40mm outlet)
- คำแนะนำในการประกอบ (เอกสารแยกต่างหาก)
การติดตั้งและการตั้งค่า
เอurlane Tiled Shower Tray is designed for straightforward installation. Refer to the separate assembly instructions included with your product for detailed diagrams and step-by-step guidance. Below are general steps and considerations:
1. การเตรียมพร้อม
- วัดและทำเครื่องหมาย: Carefully measure the installation area. The shower tray can be cut to size if needed. Mark the desired dimensions on the tray.
- ตัดตามขนาด (หากจำเป็น): Using appropriate tools, precisely cut the extruded polystyrene tray to your marked dimensions. Ensure clean edges for proper sealing.
- Prepare Subfloor: Ensure the subfloor is level, clean, dry, and structurally sound. Any unevenness must be corrected before installation.
2. การติดตั้งท่อระบายน้ำ
- Connect Drain Kit: Attach the provided 60mm drain kit to the integrated gutter of the shower tray. Ensure a secure and watertight connection to the 40mm outlet.
- การเชื่อมต่อประปา: Connect the drain kit to your existing wastewater plumbing system. Test for leaks before proceeding.
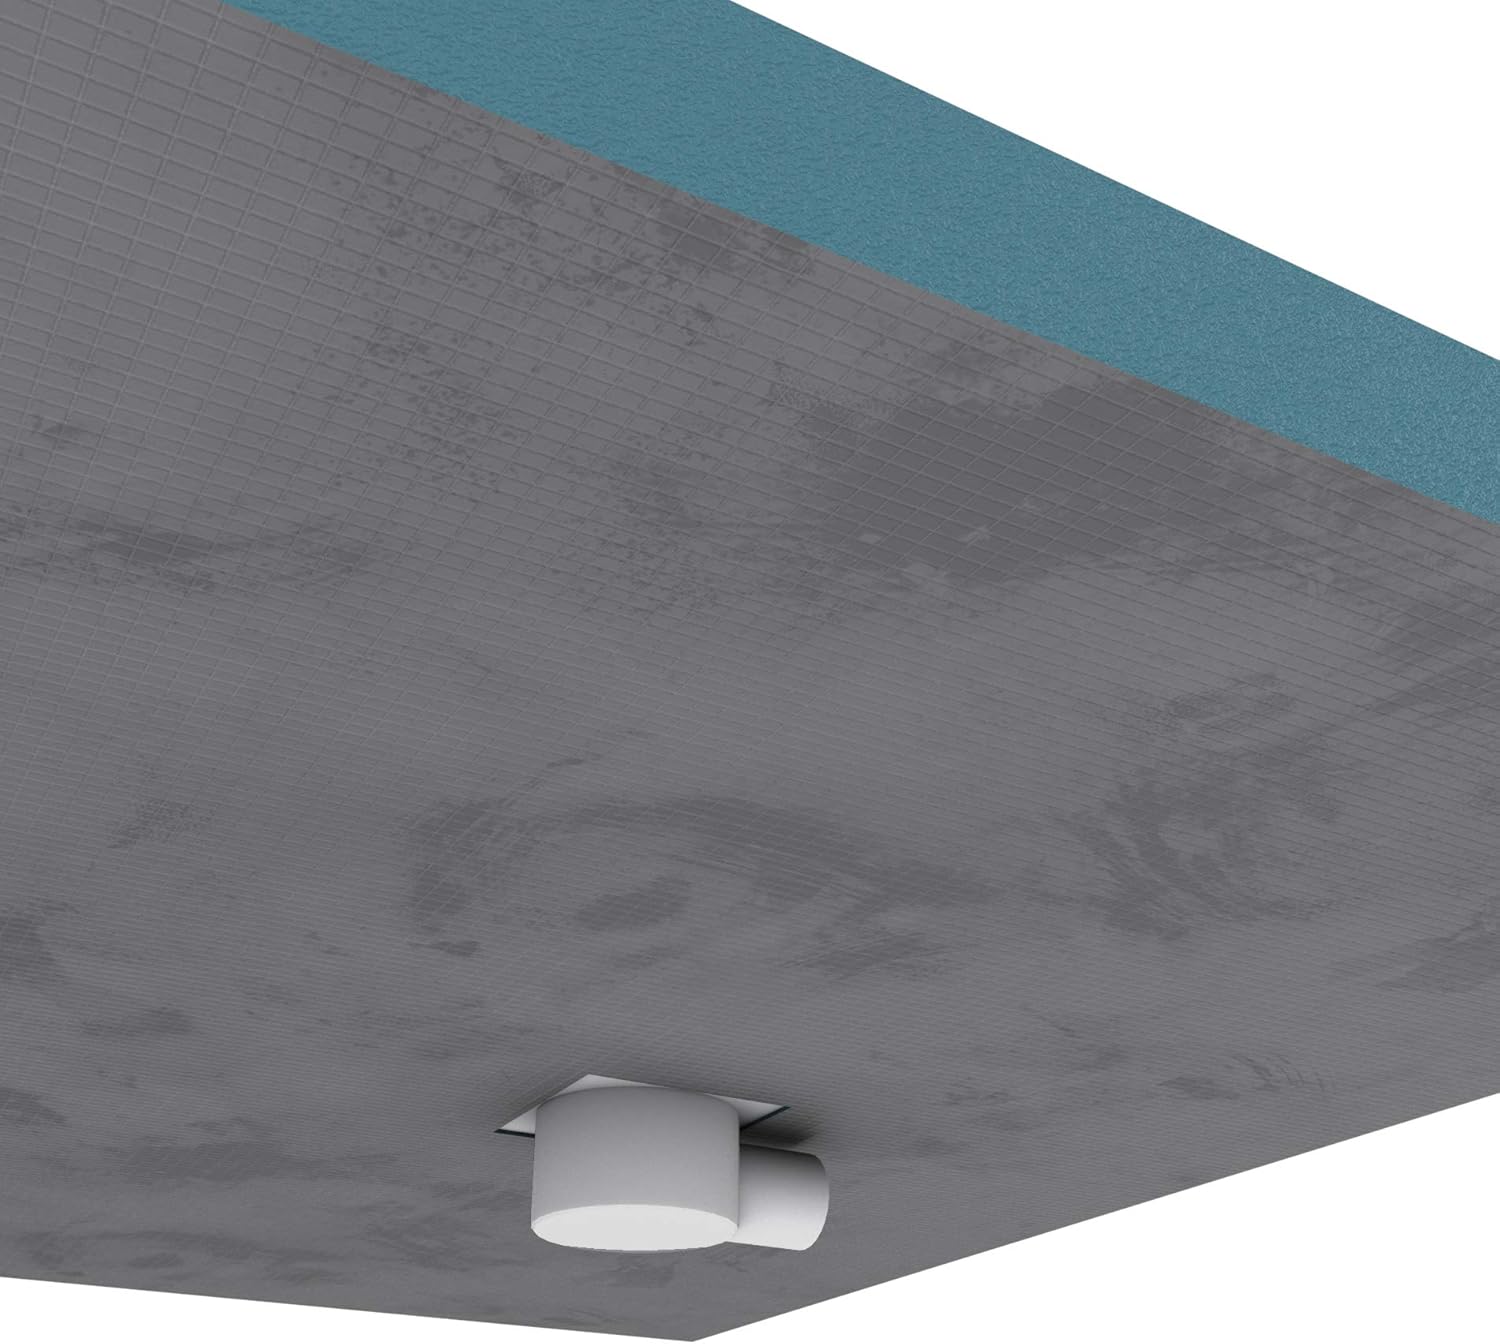
ภาพ: ด้านล่าง view of the Aurlane shower tray, showing the drain connection point. This illustrates how the drain kit connects to the underside of the tray.
3. Tray Placement and Adhesion
- การใช้กาว: Apply a suitable waterproof adhesive (e.g., tile adhesive or construction adhesive recommended for polystyrene) evenly to the subfloor where the tray will be placed.
- Position Tray: Carefully place the shower tray onto the adhesive, ensuring it is level and correctly aligned with the plumbing. Apply gentle pressure to ensure full contact.
- เวลาในการบ่ม: Allow the adhesive to cure completely according to the manufacturer's instructions before proceeding with tiling.

ภาพ: สูงสุด view of the Aurlane shower tray, showing the integrated linear drain and the surface ready for tiling. The diamond slope is visible, directing water towards the drain.
4. Tiling
- Apply Tiles: Once the tray is securely in place, apply your chosen tiles directly onto the tray's surface, following standard tiling practices. Ensure proper slope towards the integrated drain.
- Grout and Seal: Grout the tiles and apply a waterproof sealant around all edges and joints to ensure a completely watertight shower area.

ภาพ: อัน เอurlane shower tray partially tiled, demonstrating the process of applying tiles over the waterproof polystyrene base. The integrated drain is visible.
คำแนะนำการใช้งาน
Once installed and fully cured, your Aurlane Tiled Shower Tray functions as a standard shower base. The integrated diamond slope ensures efficient water drainage towards the brushed stainless steel gutter. Ensure the drain cover is properly seated before use.
การซ่อมบำรุง
- การทำความสะอาดปกติ: Clean the tiled surface and the stainless steel drain regularly with mild, non-abrasive bathroom cleaners. Avoid harsh chemicals or abrasive tools that could damage the tiles or the drain finish.
- การบำรุงรักษาท่อระบายน้ำ: Periodically remove the stainless steel drain cover and clean any hair or debris from the drain trap to ensure optimal water flow and prevent blockages.
- การตรวจสอบวัสดุกันรั่ว: Regularly inspect the sealant around the edges of the shower tray and reapply if any signs of wear or cracking are observed to maintain watertight integrity.
การแก้ไขปัญหา
- การระบายน้ำช้า: If water drains slowly, remove the drain cover and clear any obstructions (hair, soap scum) from the drain trap. Ensure the drain pipe is not blocked.
- การเกิดน้ำขัง: If water pools on the shower tray surface, it may indicate an issue with the initial installation's slope or an obstruction in the drain. Re-check the drain for blockages. If the issue persists, professional inspection may be required to assess the tray's leveling or tiling slope.
- การรั่วไหล: Any signs of water leakage around the shower tray indicate a failure in the waterproofing or sealant. Immediately stop using the shower and inspect all sealed joints. Reapply sealant as necessary or consult a professional.
ข้อมูลจำเพาะ
| คุณสมบัติ | รายละเอียด |
|---|---|
| ยี่ห้อ | Aurlเอเน่ |
| หมายเลขรุ่น | FAC113 |
| Product Dimensions (H x W x L) | 4 x 90 x 140 เซนติเมตร |
| วัสดุ | Waterproof Extruded Polystyrene, Stainless Steel |
| ประเภทการเสร็จสิ้น | Brushed Stainless Steel (drain) |
| ประเภทการติดตั้ง | Glue-down (Vastlijmen) |
| รูปร่าง | สี่เหลี่ยมผืนผ้า |
| เส้นผ่านศูนย์กลางท่อระบายน้ำ | 60 มม. |
| เส้นผ่านศูนย์กลางท่อระบายน้ำออก | 40 มม. |
| Cut to Size | ใช่ |
| จำเป็นต้องประกอบ | No (tray itself), Installation required (tiling, plumbing) |
การรับประกันและการสนับสนุน
For warranty information or technical support, please refer to the documentation provided with your purchase or contact Aurlane customer service directly. Keep your proof of purchase for warranty claims.