1. บทนำ
The SanJie DA03S-8 Door and Window Alarm Sensor is designed to enhance the security of your home or property. This wireless, easy-to-install device provides an audible alert when a protected door or window is opened, offering peace of mind for various applications including child safety, home security, and monitoring access points.
2. คุณสมบัติของผลิตภัณฑ์
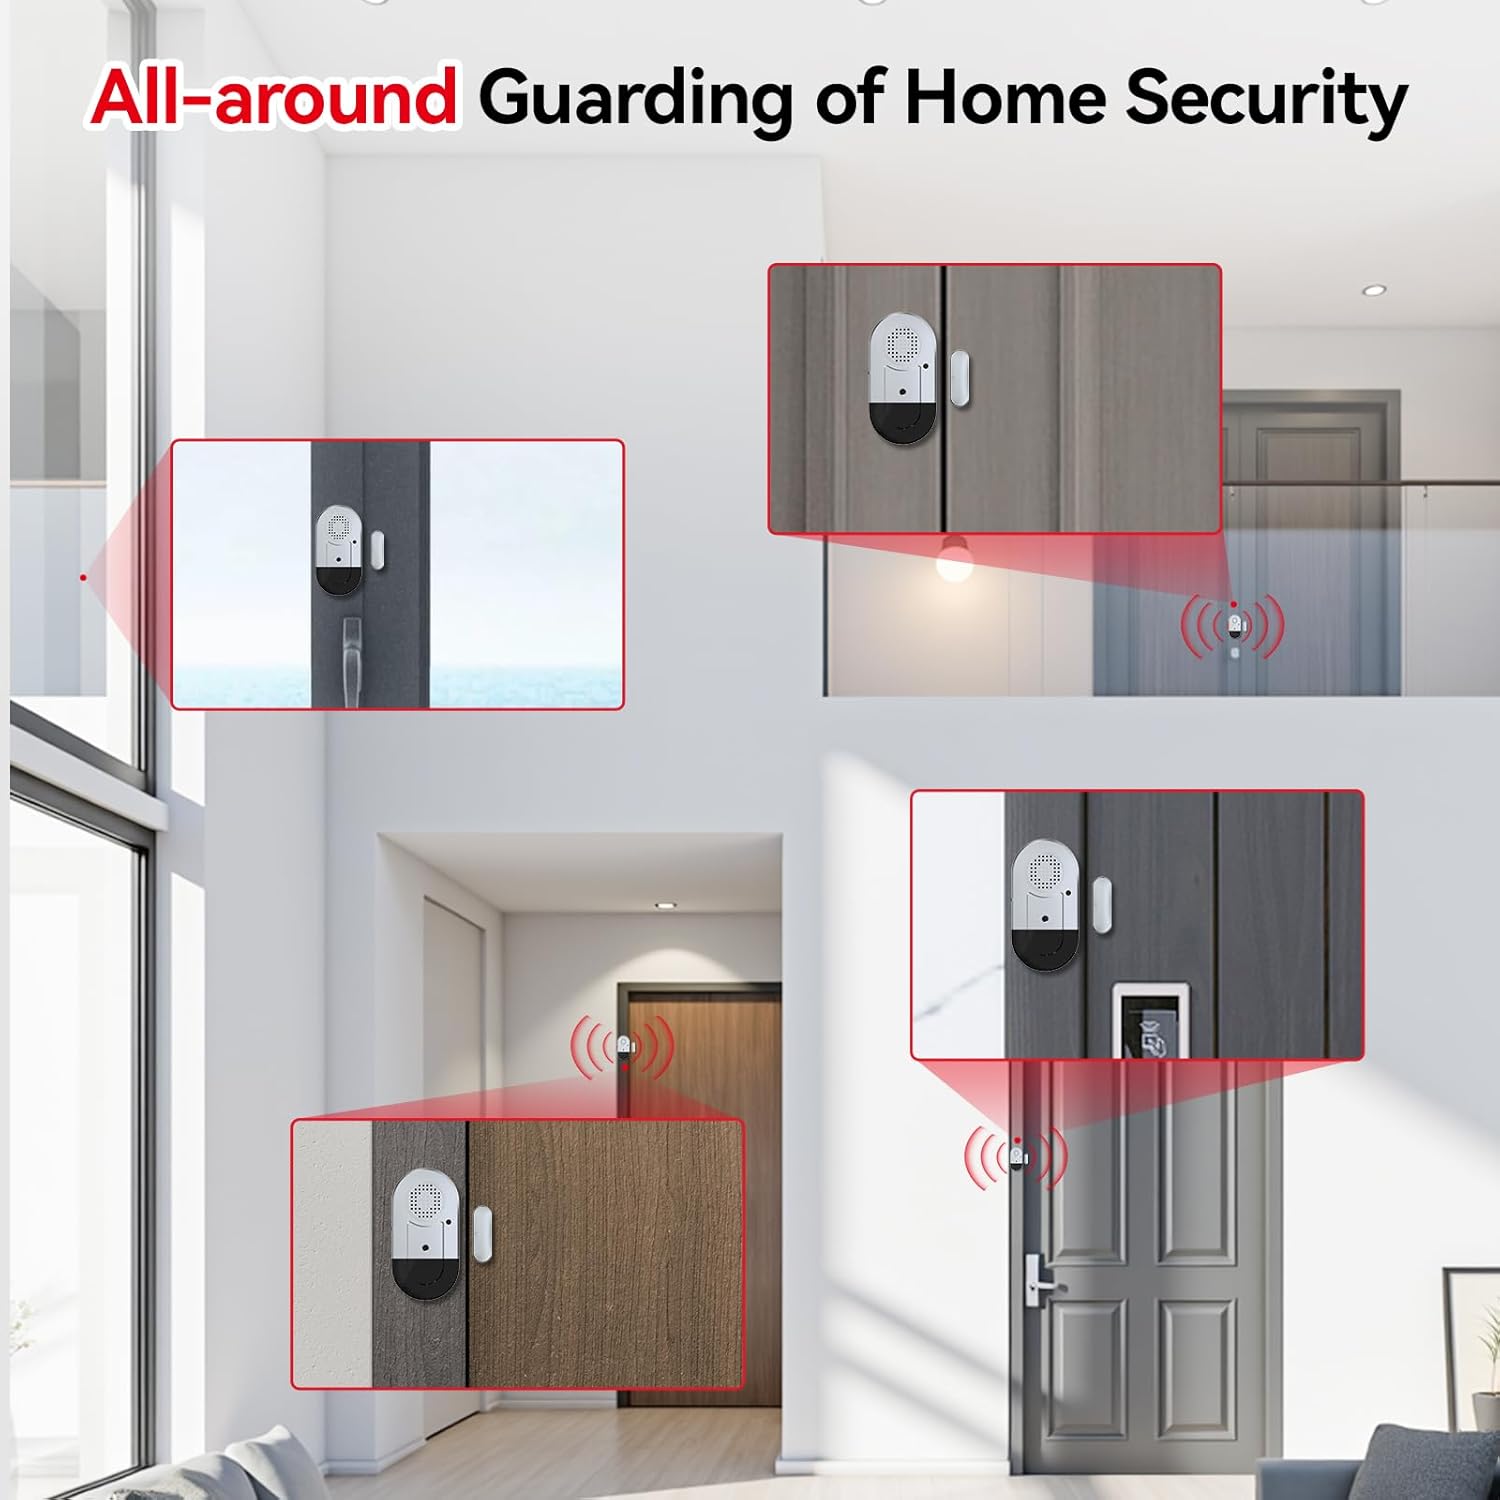
- ความสงบของจิตใจ: Guards your home's security and helps ensure the safety of children and the elderly.
- ใช้กันอย่างแพร่หลาย: Magnetic sensor triggers an alarm or chime when separated. Suitable for pools, homes, apartments, stores, offices, garages, RVs, warehouses, hotels, and can be installed on sliding doors/windows, cabinets, drawers, etc.
- ติดตั้งง่าย: Features 3M double-sided tape for quick, tool-free installation on doors or windows.
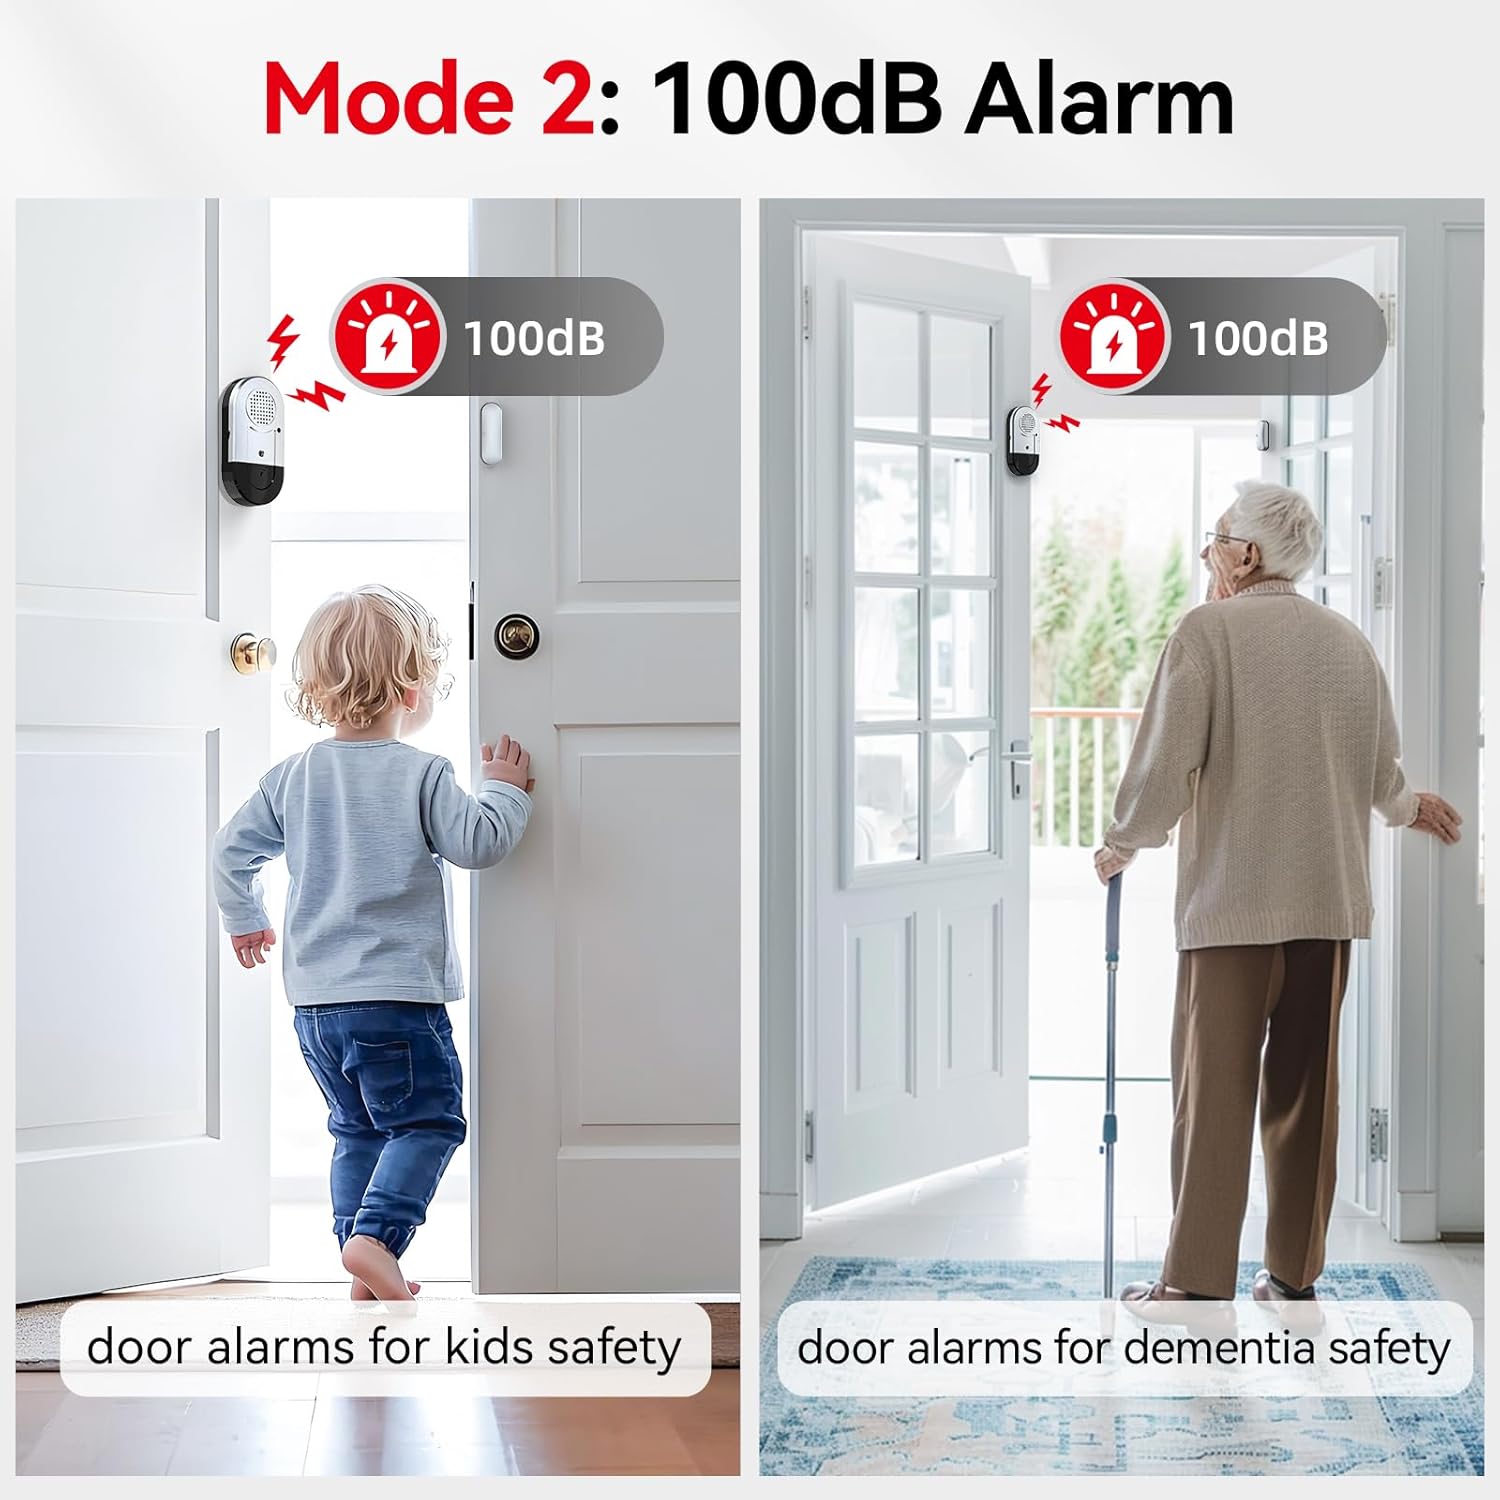
- การควบคุมระดับเสียง: Offers 3 modes: 125dB Alarm (loud), 100dB Alarm, and 100dB Chime (ding-dong 2 times). The alarm sounds continuously for 30 seconds and stops when the door/window is closed.
- อายุการใช้งานแบตเตอรี่ยาวนาน: Powered by 3 LR44 button batteries (included), providing up to 12 months of normal operation. A low battery indicator light will flash to alert you when replacement is needed.
3. เนื้อหาบรรจุภัณฑ์
- SanJie Door and Window Alarm Unit (x8)
- Magnetic Strip (x8)
- LR44 Button Batteries (3 per unit, pre-installed)
- Double-sided Adhesive Tape (pre-applied)
4. ส่วนประกอบมากกว่าview

- Main Alarm Unit: Contains the speaker, ON/OFF switch, setup key, and low battery indicator.
- แถบแม่เหล็ก: The smaller component that triggers the alarm when separated from the main unit.
- สวิตช์เปิด/ปิด: Located on the side of the main unit to power the device.
- Setup Key: A small button on the front of the main unit to cycle through alarm modes.
- ไฟแสดงสถานะแบตเตอรี่ต่ำ: An LED light that flashes to indicate low battery.
- ช่องใส่แบตเตอรี่: Located at the bottom of the main unit for LR44 battery access.
5. การตั้งค่าและการติดตั้ง
5.1 การติดตั้งแบตเตอรี่
The alarm units come with 3 LR44 button batteries pre-installed. Before first use, ensure any protective tabs are removed from the battery compartment if present. The low battery indicator will flash 5 times when batteries need replacement.
5.2 การติดตั้งระบบเตือนภัย
- ทำความสะอาดพื้นผิว: Ensure the surface where you plan to install the alarm and magnetic strip is clean, dry, and smooth.
- เตรียมกาว: The units come with double-sided adhesive tape pre-applied. Peel off the protective backing from both the main alarm unit and the magnetic strip.
- ตำแหน่งหน่วยหลัก: Attach the main alarm unit to the fixed part of your door or window frame.
- Position the Magnetic Strip: Attach the magnetic strip to the moving part of the door or window. Ensure the magnetic strip is aligned with the main alarm unit's marked triangle and the gap between them is no more than 0.4 inches (approximately 1 cm) when the door/window is closed.
- ทดสอบการติดตั้ง: Open and close the door/window to verify the alarm triggers and stops correctly.

Video 1: Demonstration of easy installation for door and window alarms.
6. คู่มือการใช้งาน
6.1 เปิด/ปิดเครื่อง
Locate the ON/OFF switch on the side of the main alarm unit. Slide the switch to the 'ON' position to activate the alarm, and to the 'OFF' position to deactivate it.
การเลือกโหมด 6.2
The alarm offers three distinct modes. To cycle through these modes, press the 'Setup key' button located on the front of the main alarm unit.
- Mode 1 (125dB Alarm): Provides a very loud alarm sound. Ideal for deterring intruders or alerting to critical access.
- Mode 2 (100dB Alarm): A loud alarm sound, suitable for general security and alerting to children or the elderly opening doors.
- Mode 3 (100dB Chime): A 'ding-dong' sound (2 times), perfect for notification when someone enters or exits, such as in a shop or for monitoring children without a startling alarm.


วิดีโอ 2: จบview of alarm modes and their applications for safety and security.
7. การบำรุงรักษา
7.1 การเปลี่ยนแบตเตอรี่
When the low battery indicator flashes 5 times, it's time to replace the batteries. Open the battery compartment at the bottom of the main unit, remove the old LR44 batteries, and insert 3 new LR44 batteries, ensuring correct polarity. Close the compartment securely.
7.2 การทำความสะอาด
Wipe the alarm units with a dry, soft cloth. Do not use liquid cleaners or abrasive materials, as this may damage the device.
8 การแก้ไขปัญหา
- สัญญาณเตือนไม่ทำงาน:
- ตรวจสอบให้แน่ใจว่าสวิตช์เปิด/ปิดอยู่ในตำแหน่ง 'เปิด'
- ตรวจสอบว่าแบตเตอรี่ติดตั้งอย่างถูกต้องและไม่หมด เปลี่ยนแบตเตอรี่หากจำเป็น
- Verify that the main unit and magnetic strip are aligned correctly and the gap is less than 0.4 inches when the door/window is closed.
- เสียงสัญญาณเตือนดังต่อเนื่อง:
- Ensure the door or window is fully closed and the magnetic strip is within 0.4 inches of the main unit.
- If the issue persists, try repositioning the units slightly.
- Volume too low or mode incorrect:
- Press the 'Setup key' button to cycle through the 3 available modes (125dB Alarm, 100dB Alarm, 100dB Chime) until the desired setting is reached.
9. ข้อมูลจำเพาะ
| หมายเลขรุ่น | DA03S-8 |
| แหล่งพลังงาน | 3 x LR44 Button Batteries |
| อายุการใช้งานแบตเตอรี่ | นานถึง 12 เดือน (ใช้งานปกติ) |
| ระดับเสียง | 100dB - 125dB (depending on mode) |
| Activation Gap | Separation greater than 0.4 inches (1 cm) |
| วิธีการติดตั้ง | มีกาวในตัว |
| วัสดุ | พลาสติก |
| สี | สีขาว |
| ขนาดผลิตภัณฑ์ (หน่วยหลัก) | 2.9"L x 1.5"H x 0.4"W (approx.) |
10. การรับประกันและการสนับสนุน
This SanJie product comes with a lifelong warranty, ensuring long-term reliability and customer satisfaction. For any questions, troubleshooting assistance, or warranty claims, please contact SanJie customer support through the retailer's platform or the official SanJie webเว็บไซต์.
โปรดเก็บใบเสร็จรับเงินไว้เป็นหลักฐานการซื้อเพื่อวัตถุประสงค์การรับประกัน
