
1. บทนำ
The StarTech.com SV231DPU34K is a 2-Port DisplayPort KVM Switch designed to allow control of two DisplayPort-enabled computers from a single monitor, keyboard, and mouse. This device supports high-resolution video up to 4K at 60Hz and includes an integrated USB 3.0 hub for sharing additional USB peripherals between connected systems. It also features 3.5mm analog audio switching and offers flexible control via front-panel push buttons or hotkey commands.
2. เนื้อหาบรรจุภัณฑ์
- 1x KVM Switch (SV231DPU34K)
- 1x Universal Power Adapter (NA/JP, EU, UK, ANZ)
- 4x Rubber Foot Pads
3. สินค้าหมดview
3.1 แผงด้านหน้า
The front panel provides convenient access to a USB HID port, a USB 3.0 port, and selection buttons for switching between connected computers.

ภาพที่ 1: Front Panel of the SV231DPU34K KVM Switch. Features include a USB HID port, a USB 3.0 port, and two computer selection buttons (1 and 2) with a 'SELECT' button.
3.2 แผงด้านหลัง
The rear panel houses the power input, console DisplayPort and USB HID ports, and dedicated DisplayPort, USB, and audio ports for each connected PC.
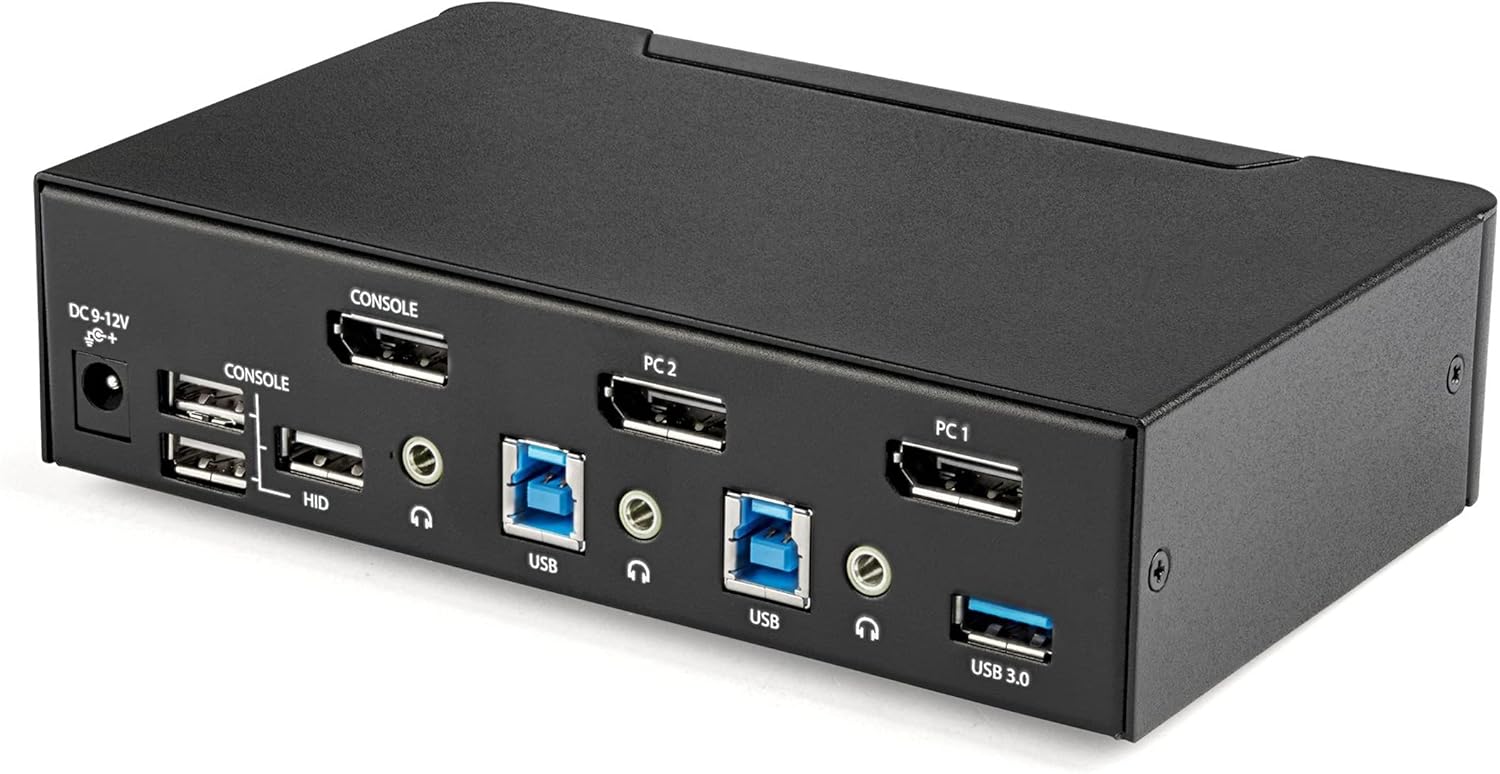
ภาพที่ 2: Rear Panel of the SV231DPU34K KVM Switch. Connections include DC 9-12V power, Console DisplayPort, Console USB HID ports, and individual DisplayPort, USB 3.0 Type-B, and 3.5mm audio jacks for PC1 and PC2.
3.3 Labeled Diagram
แผนภาพนี้ให้ข้อมูลที่ครอบคลุม view of all ports and their functions on both the front and rear panels.

ภาพที่ 3: Labeled diagram illustrating all ports on the SV231DPU34K KVM Switch, including console connections for monitor, keyboard, and mouse, and PC connections for two computers.
4. คำแนะนำในการตั้งค่า
Follow these steps to set up your StarTech.com SV231DPU34K KVM Switch:
- ปิดอุปกรณ์: Ensure all computers, monitors, and peripherals are powered off before beginning the installation.
- เชื่อมต่ออุปกรณ์คอนโซล:
- Connect your DisplayPort monitor to the CONSOLE DisplayPort on the rear of the KVM switch.
- เชื่อมต่อคีย์บอร์ดและเมาส์ USB ของคุณเข้ากับ... CONSOLE HID USB Type-A ports on the rear of the KVM switch.
- If using external speakers or a microphone, connect them to the CONSOLE 3.5mm audio jacks ที่ด้านหลัง
- Connect Computers (PC1 and PC2): สำหรับคอมพิวเตอร์แต่ละเครื่อง:
- Connect a DisplayPort cable from your computer's DisplayPort output to the corresponding PC1 DisplayPort or PC2 DisplayPort อินพุตบนสวิตช์ KVM
- Connect a USB 3.0 Type-A to Type-B cable from your computer's USB 3.0 port to the corresponding PC1 USB 3.0 Type-B or PC2 USB 3.0 Type-B อินพุตบนสวิตช์ KVM
- If using audio, connect 3.5mm audio cables from your computer's audio output/input to the corresponding PC1/PC2 3.5mm audio jacks.
- เชื่อมต่ออุปกรณ์ต่อพ่วง USB: Connect any additional USB 3.0 peripherals (e.g., USB hub, printer, flash drive) to the พอร์ต USB 3.0 Type-A on the front or rear of the KVM switch.
- เชื่อมต่อพลังงาน: Connect the included universal power adapter to the กำลังไฟเข้า DC 9-12V on the rear of the KVM switch, then plug it into a power outlet.
- เปิดเครื่อง: Power on the KVM switch, then power on your monitor, and finally power on your connected computers.
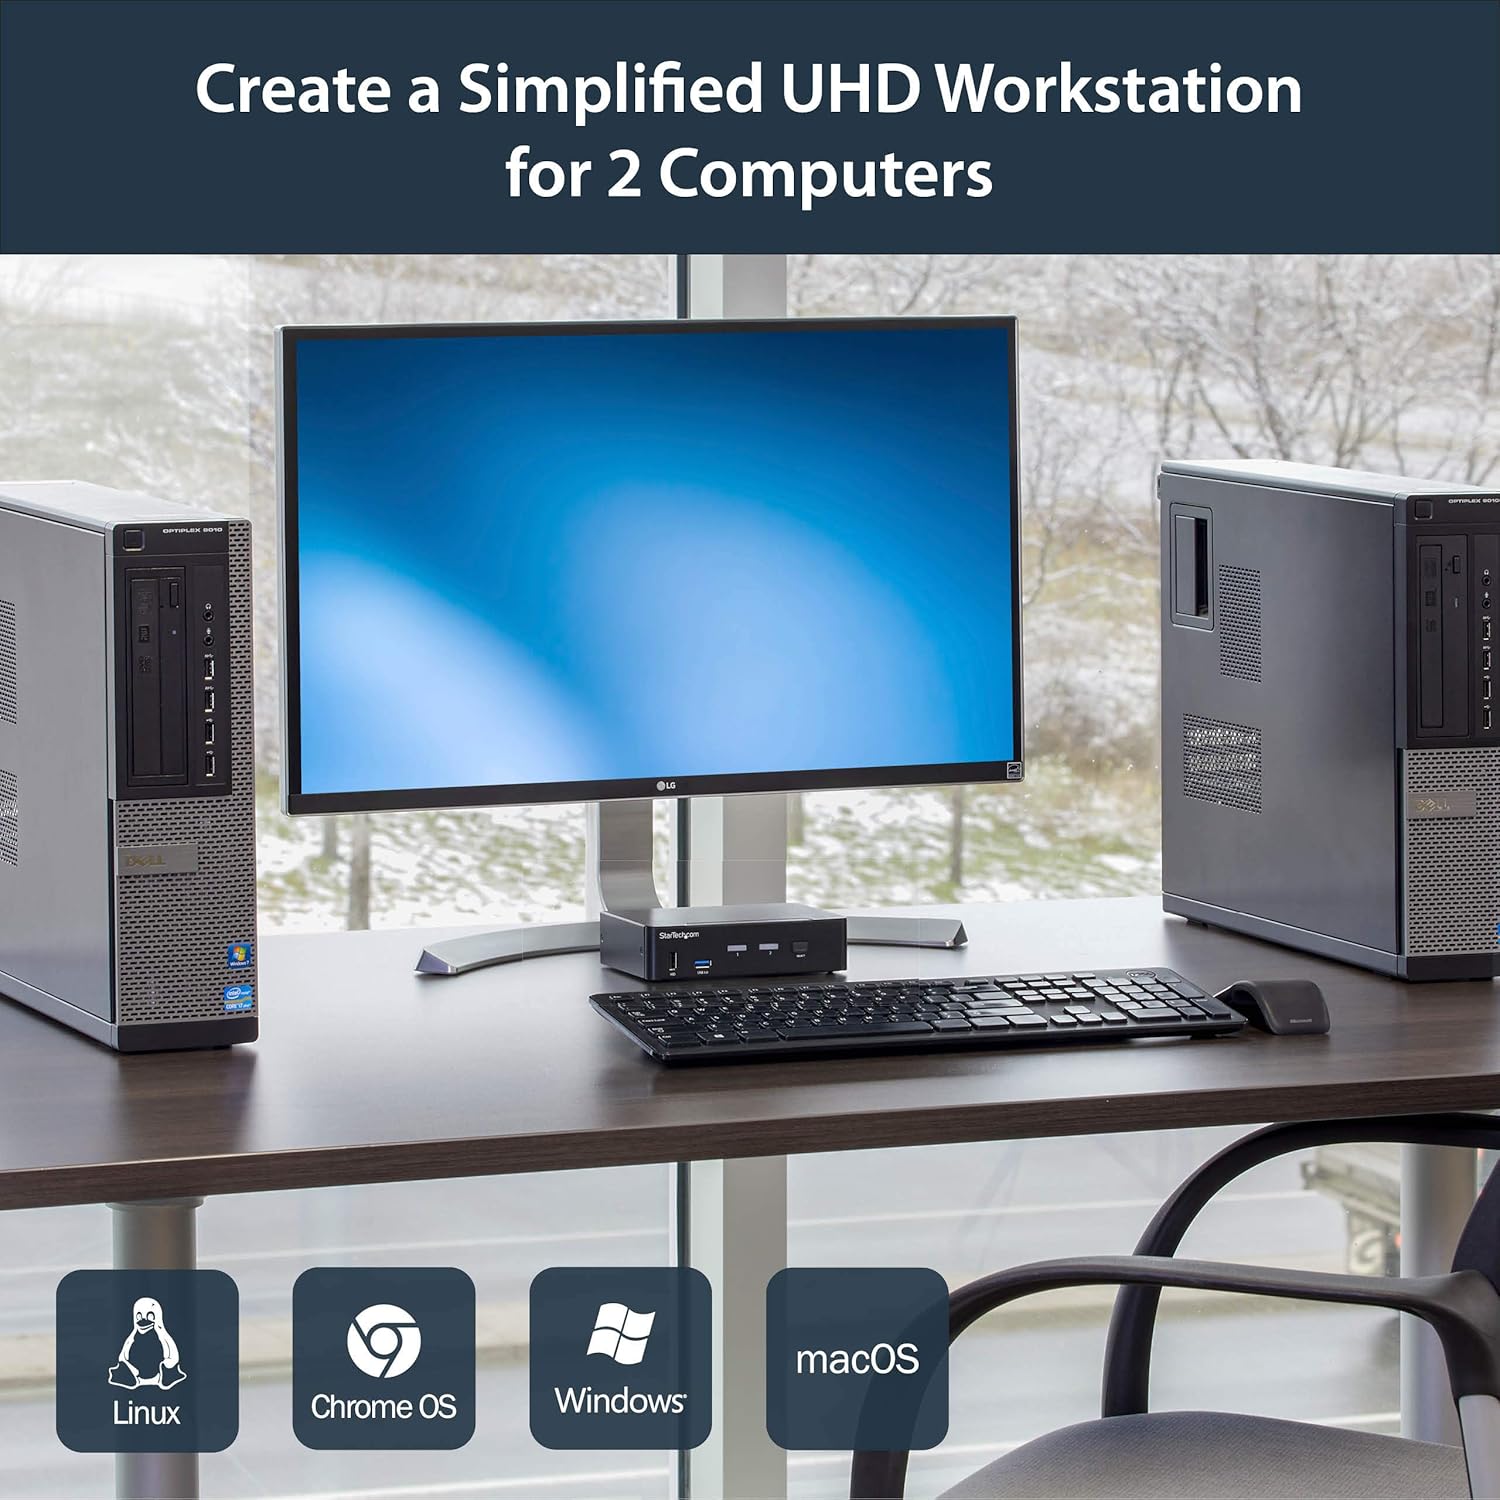
ภาพที่ 4: Connection diagram for the SV231DPU34K KVM Switch, showing how two computers share one display and peripherals.
5. คู่มือการใช้งาน
The SV231DPU34K KVM Switch offers two methods for switching between connected computers:
5.1 Front Panel Push Buttons
กดที่เกี่ยวข้อง เลือก button on the front panel of the KVM switch to switch to the desired computer (PC1 or PC2). The LED indicator for the selected computer will illuminate.
ภาพที่ 5: Front panel with computer selection buttons.
5.2 การสลับปุ่มลัด
The KVM switch supports hotkey commands for switching between computers. Refer to the quick start guide or the official StarTech.com product page for specific hotkey sequences.
6. การบำรุงรักษา
To ensure optimal performance and longevity of your KVM switch, follow these maintenance guidelines:
- การทำความสะอาด: Keep the device clean and free from dust. Use a soft, dry, lint-free cloth for cleaning. Avoid using liquid or aerosol cleaners.
- การระบายอากาศ : Ensure adequate airflow around the KVM switch to prevent overheating. Do not block any ventilation openings.
- การจัดการสายเคเบิล: จัดระเบียบสายเคเบิลเพื่อป้องกันแรงดึงที่พอร์ตและการหลุดการเชื่อมต่อโดยไม่ตั้งใจ
- สภาพแวดล้อม : Operate the device within its specified temperature and humidity ranges. Avoid extreme temperatures or moisture.
7 การแก้ไขปัญหา
หากคุณพบปัญหาเกี่ยวกับสวิตช์ KVM โปรดดูปัญหาและวิธีแก้ไขทั่วไปต่อไปนี้:
| ปัญหา | วิธีแก้ปัญหาที่เป็นไปได้ |
|---|---|
| No display or flickering display after switching. |
|
| แป้นพิมพ์หรือเมาส์ไม่ตอบสนอง |
|
| USB 3.0 devices not detected or working intermittently. |
|
| Audio issues (static, no sound). |
|
| G-Sync or FreeSync not working. |
|
8. ข้อมูลจำเพาะ
| คุณสมบัติ | รายละเอียด |
|---|---|
| แบบอย่าง | SV231DPU34K |
| ยี่ห้อ | StarTech.com |
| อินเตอร์เฟซวิดีโอ | ดิสเพย์พอร์ต 1.2 |
| ความละเอียดสูงสุด | 3840 x 2160 @ 60Hz (4K UHD) |
| MST Passthrough | รองรับ |
| ฮับ USB | ฮับ USB 2 3.0 พอร์ต |
| พอร์ต USB HID | 4x USB Type-A (for keyboard/mouse) |
| เสียง | 3.5mm Analog Audio Switching |
| วิธีการเปลี่ยน | Push Button, Hotkey |
| วัสดุ | เหล็ก |
| ขนาด (กว้าง x ยาว x สูง) | 3.9 x 6.3 x 1.6 นิ้ว (9.9 x 16.0 x 4.1 ซม.) |
| น้ำหนักสินค้า | 1.3 ปอนด์ (0.59 กก.) |
| กำลังไฟเข้า | DC 9-12V, 18 Watts |
| สี | สีดำ |
| อุณหภูมิในการทำงาน | 0°C ถึง 40°C (32°F ถึง 104°F) |
| อุณหภูมิในการจัดเก็บ | -20°C ถึง 60°C (-4°F ถึง 140°F) |
| ความชื้น | ความชื้นสัมพัทธ์ 0-80% (ไม่ควบแน่น) |
9. การรับประกันและการสนับสนุน
9.1 ข้อมูลการรับประกัน
ผลิตภัณฑ์ StarTech.com นี้ได้รับการสนับสนุนโดย รับประกัน 2 ปี. For detailed warranty terms and conditions, please refer to the official StarTech.com webเว็บไซต์.
9.2 การสนับสนุนด้านเทคนิค
For technical assistance, product documentation, or driver downloads, please visit the official StarTech.com support webเว็บไซต์: