
1. บทนำ
This manual provides detailed instructions for the Walfront E18-D80NK Infrared Obstacle Avoidance Sensor Switch. This sensor is designed for reliable detection of objects within a specified range, making it suitable for various applications including robotics, automation, and counting systems. Please read this manual thoroughly before installation and operation to ensure proper use and optimal performance.
2. สินค้าหมดview
The E18-D80NK is a compact photoelectric sensor that integrates both a transmitter and a receiver. It operates by emitting an infrared beam and detecting its reflection from an object. The detection distance is adjustable, offering flexibility for different application requirements. Its robust design ensures stable performance with minimal interference.
คุณสมบัติหลัก:
- Integrated transmitter and receiver for compact design.
- Adjustable detection distance from 3cm to 80cm.
- Low power consumption (5VDC, 100mA).
- ประกอบและใช้งานง่าย
- Suitable for various environments due to its robust construction.
การใช้งานทั่วไป:
- Robot obstacle avoidance systems.
- Automated production line counting equipment.
- Multi-reminder systems.
- Maze robot navigation.

Figure 2.1: The Walfront E18-D80NK Infrared Sensor Switch, showing its cylindrical body, sensor head, and connected wiring with a 3-pin connector.
3. ข้อมูลจำเพาะ
| พารามิเตอร์ | ค่า |
|---|---|
| แบบอย่าง | E18-D80NK |
| ปฏิบัติการฉบับที่tagสหภาพยุโรป) | 5VDC |
| Current Consumption (I) | 100มิลลิแอมป์ |
| Detection Distance (Sn) | 3cm - 80cm (Adjustable) |
| เส้นผ่านศูนย์กลาง | 18มม. / 0.71นิ้ว |
| ความยาวเซนเซอร์ | 45มม. / 1.77นิ้ว |
| ความยาวสาย | 45.5ซม. / 17.9นิ้ว |
| น้ำหนัก | 28g / 1.06 ออนซ์ |
| วัสดุ | พลาสติก ABS |

Figure 3.1: The sensor shown with its approximate wire length of 51cm (20 inches), indicating the overall reach of the connection cable.
4. การตั้งค่าและการติดตั้ง
Proper installation is crucial for the sensor's performance. Follow these steps for setup:
4.1 แผนผังการเดินสายไฟ
The E18-D80NK sensor typically comes with a 3-wire connection. The standard color coding is:
- สายสีน้ำตาล: +5VDC (Power Supply Positive)
- สายสีน้ำเงิน: GND (Ground / Power Supply Negative)
- สายสีดำ: OUT (Signal Output)
Connect the brown wire to your 5VDC power source, the blue wire to ground, and the black wire to the input pin of your microcontroller or control circuit.
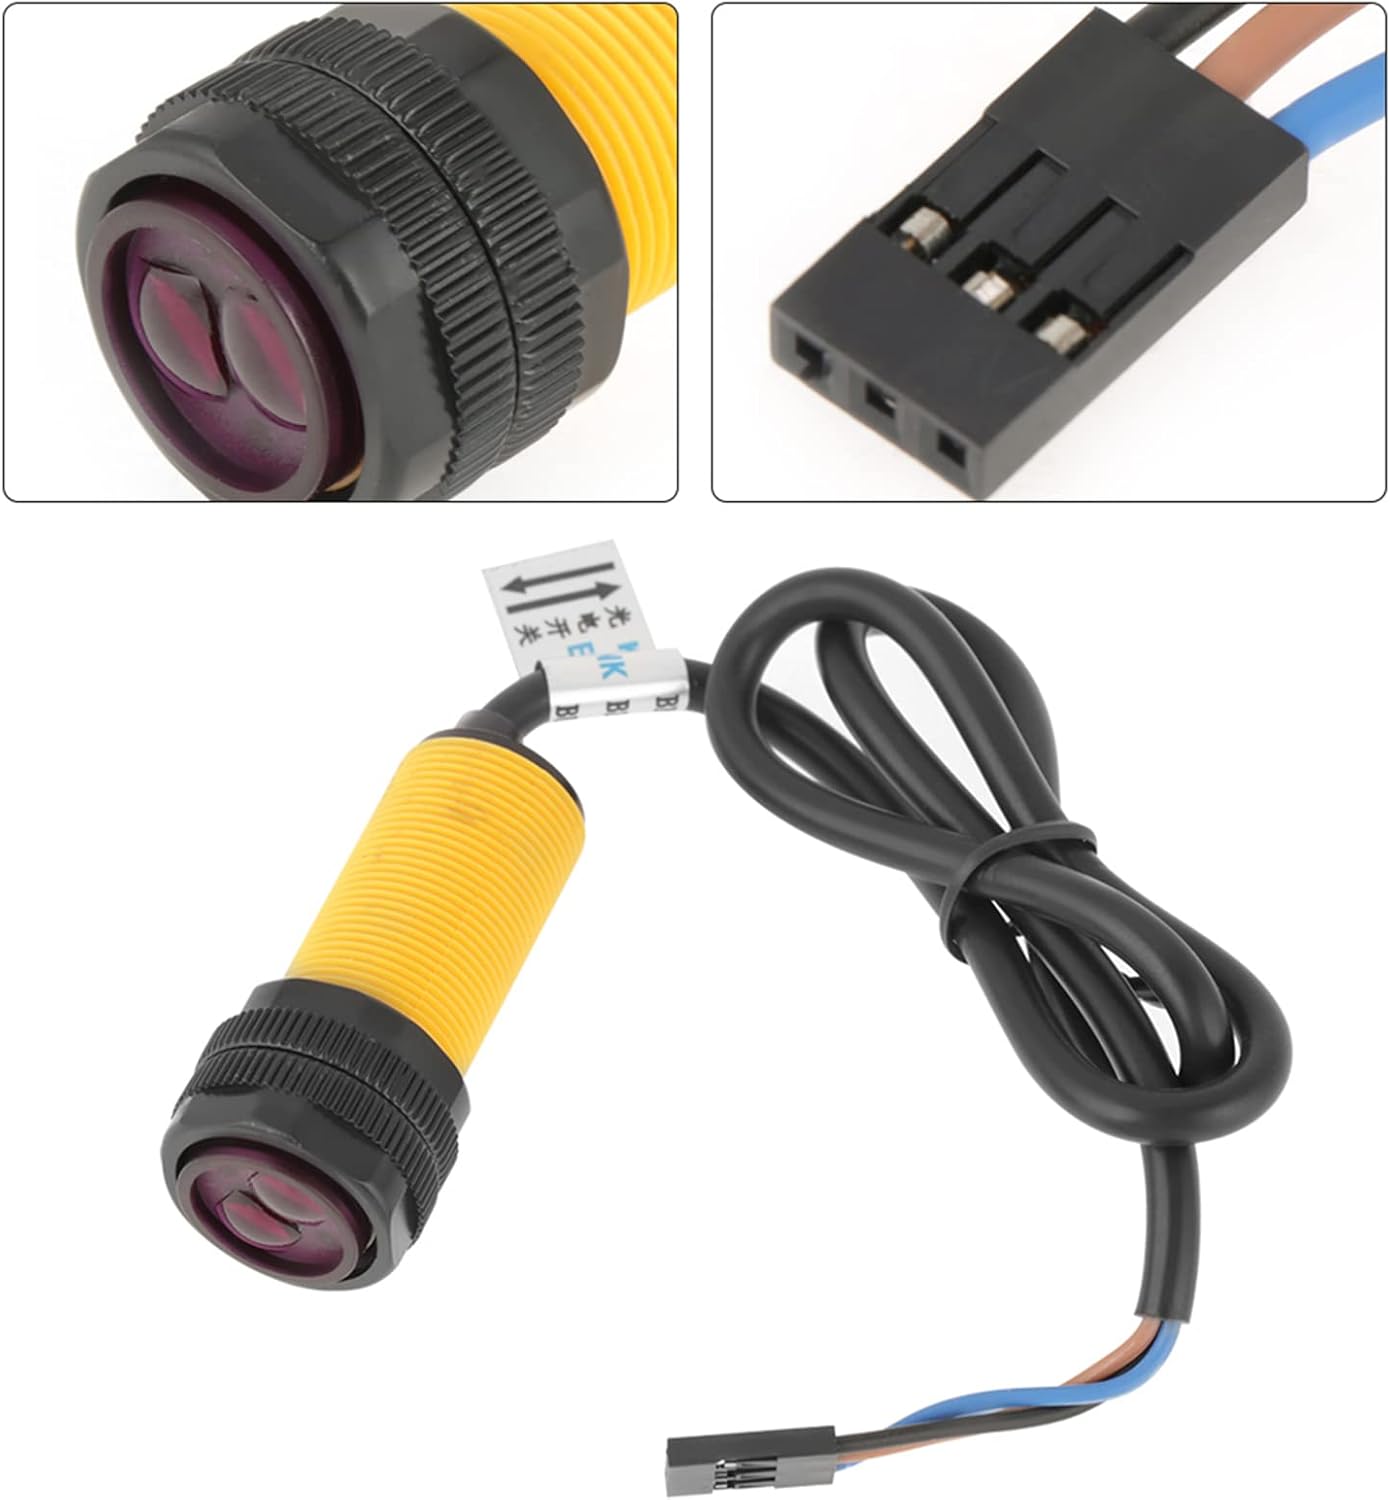
รูปที่ 4.1: ภาพระยะใกล้ view of the sensor's head and the 3-pin connector, illustrating the wiring for power and signal output.
4.2 การติดตั้งเซนเซอร์
- Choose a stable mounting location where the sensor's detection area is clear of obstructions, except for the objects you intend to detect.
- Ensure the sensor is securely fastened to prevent movement or vibration, which could affect detection accuracy.
- Position the sensor so that its infrared beam is directed towards the target detection zone.

Figure 4.2: The E18-D80NK sensor shown in a context suggesting integration with a circuit board, highlighting its application in electronic projects.
5. คู่มือการใช้งาน
Once the sensor is powered and correctly wired, it will begin to operate. The sensor provides a digital output signal (HIGH or LOW) indicating the presence or absence of an object.
5.1 Adjusting Detection Distance
The E18-D80NK features an adjustable detection range. To modify the detection distance:
- Locate the small potentiometer (adjustment screw) on the back or side of the sensor body.
- Using a small screwdriver, carefully turn the potentiometer clockwise to increase the detection distance or counter-clockwise to decrease it.
- Test the detection range with a target object at various distances to calibrate it to your specific needs.
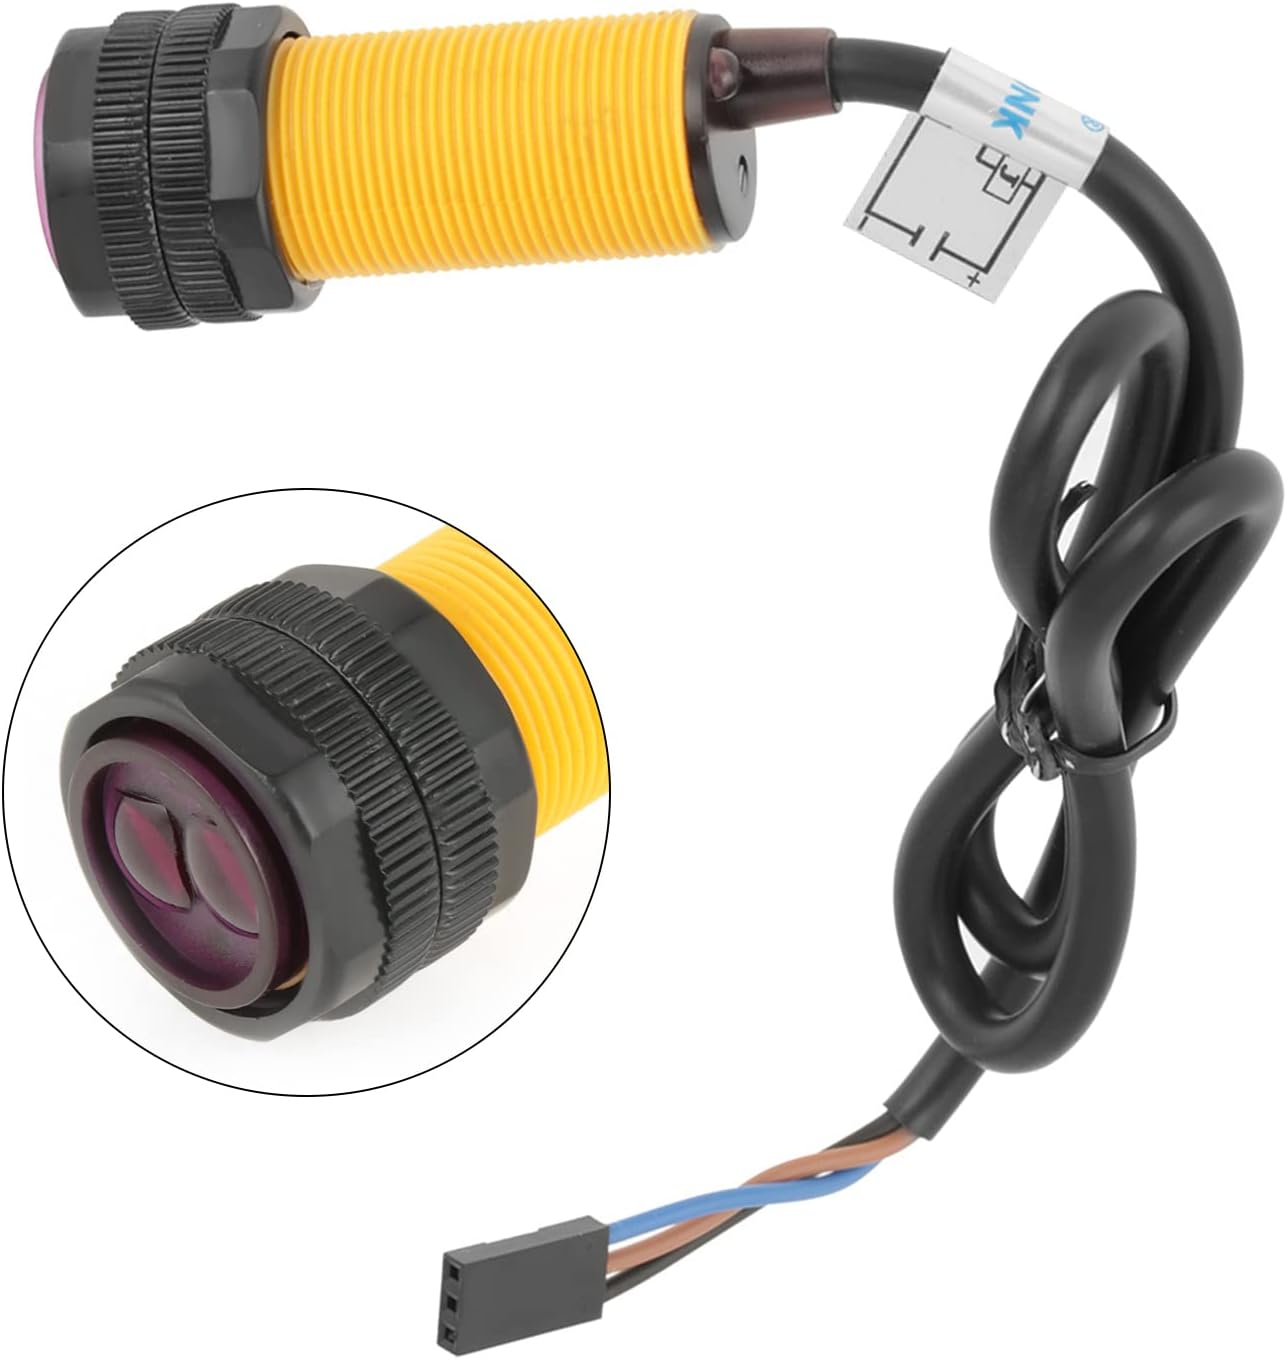
รูปที่ 5.1: รายละเอียด view of the sensor, highlighting the adjustment screw (potentiometer) used to set the detection range.
5.2 สัญญาณเอาต์พุต
The black output wire will typically provide a LOW signal when an object is detected within the set range and a HIGH signal when no object is detected, or vice-versa depending on the specific model's configuration. Refer to your specific sensor's datasheet for exact output logic if needed. An indicator LED on the sensor usually illuminates when an object is detected.
6. การบำรุงรักษา
The Walfront E18-D80NK sensor is designed for low maintenance. However, following these guidelines can help ensure its longevity and consistent performance:
- รักษาความสะอาด: Periodically clean the sensor's lens and body with a soft, dry cloth to remove dust, dirt, or debris that could interfere with detection. Avoid using abrasive cleaners or solvents.
- สภาพแวดล้อม : Operate the sensor within its specified temperature and humidity ranges. Avoid exposure to extreme temperatures, direct sunlight for prolonged periods, or corrosive environments.
- ความสมบูรณ์ของสายเคเบิล: Regularly inspect the connecting wires for any signs of damage, fraying, or loose connections. Ensure cables are not under excessive strain.
7 การแก้ไขปัญหา
If you encounter issues with your E18-D80NK sensor, refer to the following troubleshooting tips:
| ปัญหา | สาเหตุที่เป็นไปได้ | สารละลาย |
|---|---|---|
| เซ็นเซอร์ตรวจไม่พบวัตถุ | Incorrect wiring; Insufficient power; Detection distance too short; Obstruction on lens; Sensor misaligned. | Verify wiring (5VDC, GND, OUT); Ensure stable 5VDC power supply; Adjust detection distance clockwise; Clean sensor lens; Realign sensor towards target. |
| การตรวจจับที่ไม่สอดคล้องกัน | Ambient light interference; Vibrations; Unstable power supply; Reflective surfaces. | Shield sensor from strong ambient light; Securely mount sensor; Check power supply stability; Adjust sensor angle or use non-reflective targets. |
| Sensor always detects (LED always ON/OFF) | Detection distance too long (detecting background); Sensor too close to an object. | Adjust detection distance counter-clockwise; Ensure no unintended objects are within the minimum detection range. |
8. การรับประกันและการสนับสนุน
Walfront products are manufactured to high-quality standards. For any technical support, warranty claims, or inquiries regarding the E18-D80NK Infrared Obstacle Avoidance Sensor Switch, please contact Walfront customer service through the retailer where the product was purchased or visit the official Walfront webเว็บไซต์สำหรับข้อมูลการติดต่อ
โปรดเก็บหลักฐานการซื้อไว้เพื่อวัตถุประสงค์การรับประกัน