
1. บทนำ
This manual provides comprehensive instructions for the setup, operation, and maintenance of your Youshiko Radio Controlled Wall Clock, Model YK YC8025-W. This clock is designed to display precise time automatically, adjusting for seasonal changes without manual intervention. It features a large LCD screen for clear readability and includes additional information such as date, month, day of the week, indoor temperature, and moon phase.
คุณสมบัติที่สำคัญ ได้แก่:
- Radio-controlled time (MSF for UK/Ireland, automatic time checks).
- ปรับเวลาอัตโนมัติตามการเปลี่ยนแปลงของฤดูกาล
- Display of date, month, and day of the week.
- Indoor temperature display (Celsius or Fahrenheit).
- Moon phase indicator.
- 12/24-hour time format.
- ปลุกด้วยฟังก์ชั่นเลื่อนซ้ำ
- Wall-mountable or tabletop placement.
2. เนื้อหาบรรจุภัณฑ์
กรุณาตรวจสอบเนื้อหาในแพ็คเกจเพื่อให้แน่ใจว่ามีสินค้าครบทั้งหมด:
- Youshiko Radio Controlled Wall Clock (Model YK YC8025-W)
- คู่มือการใช้งาน (เอกสารนี้)
3. สินค้าหมดview
Familiarize yourself with the clock's display and control buttons.

รูปที่ 3.1: ด้านหน้า view of the Youshiko Radio Controlled Wall Clock. The display shows the time (10:30 AM), indoor temperature (25.0°C), date (30/12), day (MON), and moon phase. A radio signal icon and alarm icon are also visible.

รูปที่ 3.2: หลัง view of the clock, highlighting the battery compartment and control buttons: SET, ALARM, UP, DOWN, SNOOZE, and WAVE. A keyhole for wall mounting and a foldable stand are also visible.
รูปที่ 3.3: Dimensions of the clock. The overall width is 230mm and height is 160mm. Key display element heights are also indicated: main time digits (53mm) and lower information line (18mm).
4. การตั้งค่า
4.1 การติดตั้งแบตเตอรี่
- Locate the battery compartment on the back of the clock (refer to Figure 3.2).
- เปิดฝาช่องใส่แบตเตอรี่
- ใส่แบตเตอรี่ AA สอง (2) ก้อน โดยตรวจสอบให้แน่ใจว่าขั้วถูกต้อง (+ และ -) ไม่รวมแบตเตอรี่
- ปิดฝาช่องใส่แบตเตอรี่
4.2 Initial Power-On and Radio Signal Reception
Upon battery installation, the clock will automatically attempt to receive the radio time signal. This process may take several minutes. Ensure the clock is placed in an area with good signal reception, away from electronic interference.

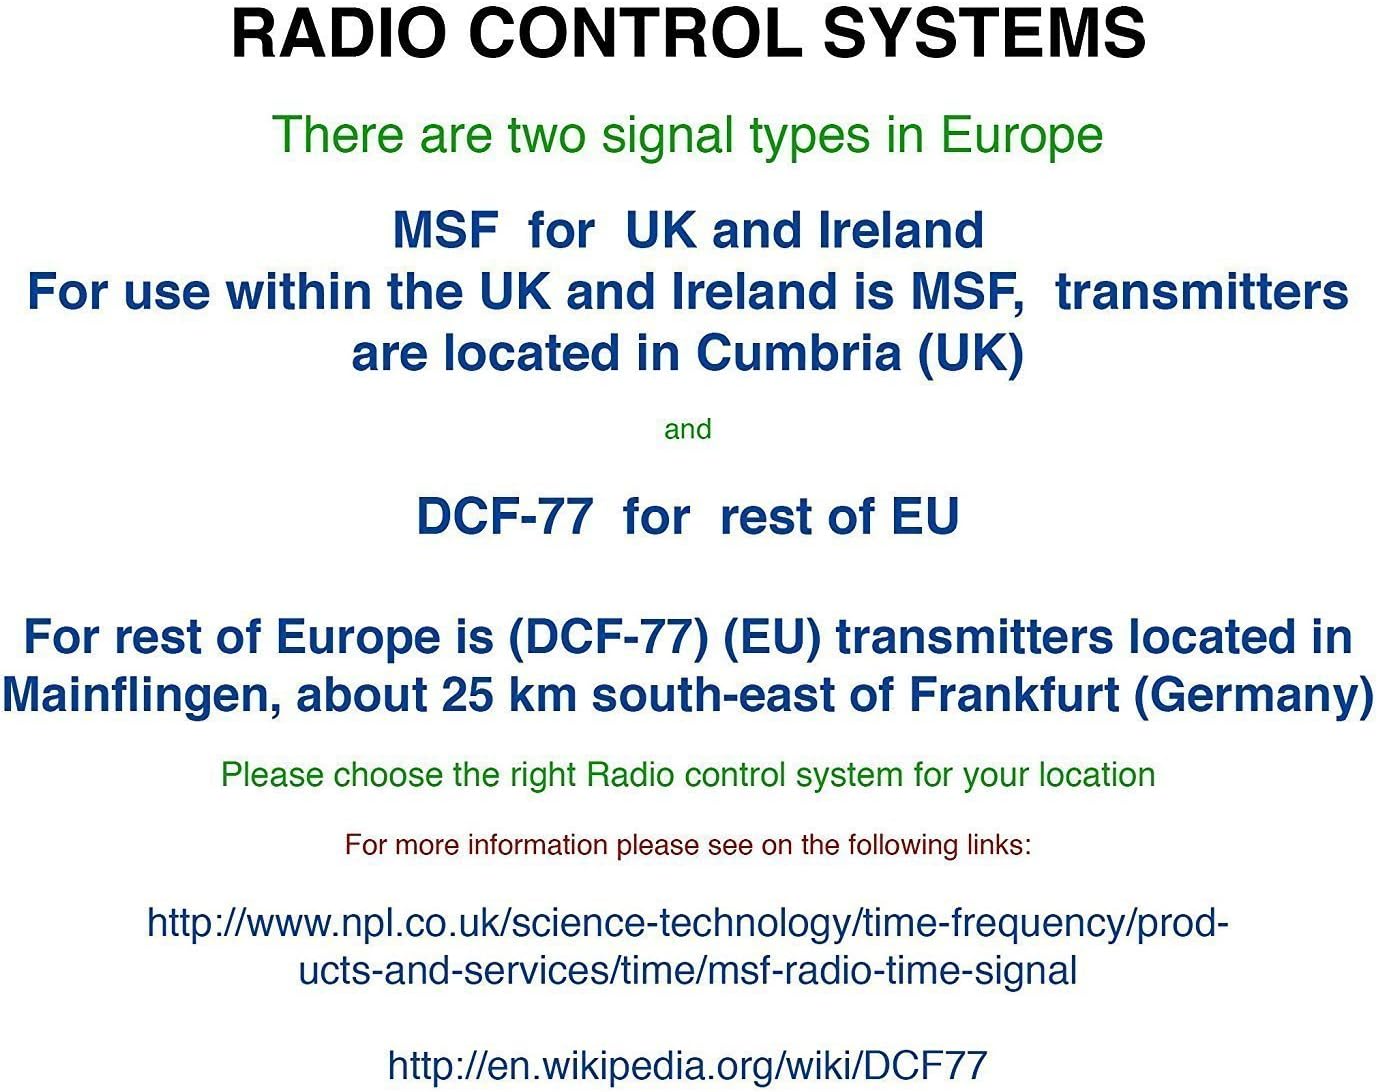
รูปที่ 4.1: Explanation of Radio Control Systems. MSF signal is for the UK and Ireland, transmitted from Cumbria. DCF-77 signal is for the rest of the EU, transmitted from Mainflingen, Germany. Ensure the correct system is selected for your region.
The clock supports two main radio control signal types in Europe:
- MSF: For use within the UK and Ireland. Transmitters are located in Cumbria (UK).
- DCF-77: For the rest of the European Union. Transmitters are located in Mainflingen, Germany.
The clock is designed to automatically detect and synchronize with the appropriate signal for your region. A radio signal icon on the display will indicate successful reception.
4.3 Manual Time Setting (If Required)
If the radio signal is weak or unavailable, you can set the time manually:
- กดปุ่มค้างไว้ ชุด กดปุ่มค้างไว้จนกว่าหน้าจอแสดงเวลาจะเริ่มกระพริบ
- ใช้ UP และ ลง ปุ่มเพื่อปรับชั่วโมง
- กด ชุด อีกครั้งเพื่อยืนยันชั่วโมงและเปลี่ยนเป็นนาที
- ใช้ UP และ ลง ปุ่มปรับนาที
- กดต่อไป ชุด to cycle through and adjust other settings like year, month, date, and 12/24-hour format.
- กด ชุด one last time or wait for a few seconds for the clock to exit manual setting mode.
5. คู่มือการใช้งาน
5.1 โหมดการแสดงผล
The clock displays time, date, day, indoor temperature, and moon phase simultaneously. The time can be displayed in either 12-hour (with AM/PM indicator) or 24-hour format. The temperature can be displayed in Celsius (°C) or Fahrenheit (°F).
5.2 Adjusting Temperature Unit
หากต้องการสลับระหว่างองศาเซลเซียสและองศาฟาเรนไฮต์ ให้กดปุ่ม ลง button briefly when in normal time display mode.
5.3 ฟังก์ชั่นปลุก
- กดปุ่ม เตือน ปุ่มหนึ่งครั้งเพื่อ view เวลาปลุกปัจจุบัน
- กดปุ่มค้างไว้ เตือน กดปุ่มค้างไว้จนกว่าเวลาปลุกจะเริ่มกระพริบ
- ใช้ UP และ ลง ปุ่มสำหรับตั้งเวลาปลุกที่ต้องการ
- กด เตือน อีกครั้งเพื่อยืนยันชั่วโมงและเปลี่ยนเป็นนาที
- ใช้ UP และ ลง ปุ่มสำหรับตั้งนาทีปลุกตามต้องการ
- กด เตือน one last time to confirm and activate the alarm. An alarm icon will appear on the display.
5.4 ฟังก์ชั่นเลื่อนซ้ำ
เมื่อเสียงปลุกดัง ให้กด เลื่อน button to temporarily silence the alarm. The alarm will sound again after a few minutes (typically 5-10 minutes, specific duration may vary). To turn off the alarm completely, press any other button (e.g., เตือน or ชุด).
5.5 Manual Radio Signal Search
If you wish to manually initiate a radio signal search, press the คลื่น button. The clock will attempt to receive the time signal. This is useful if you have moved the clock or suspect a temporary signal loss.
6. การบำรุงรักษา
6.1 การทำความสะอาด
To clean the clock, use a soft, dry cloth. Do not use abrasive cleaners, solvents, or chemical sprays, as these may damage the display or casing.
6.2 การเปลี่ยนแบตเตอรี่
When the display becomes dim or the clock stops functioning, it is time to replace the batteries. Follow the battery installation steps in Section 4.1. Always replace both batteries at the same time with new AA batteries.
6.3 พื้นที่จัดเก็บ
หากไม่ได้ใช้งานนาฬิกาเป็นเวลานาน ควรถอดแบตเตอรี่ออกเพื่อป้องกันการรั่วไหลและความเสียหายที่อาจเกิดขึ้นกับตัวเครื่อง
7 การแก้ไขปัญหา
- No time display or incorrect display:
ตรวจสอบให้แน่ใจว่าได้ติดตั้งแบตเตอรี่อย่างถูกต้องและแบตเตอรี่ไม่หมด หากจำเป็นให้เปลี่ยนแบตเตอรี่ใหม่ - นาฬิกาไม่ตั้งค่าอัตโนมัติ:
Verify that the clock is within range of the MSF (UK/Ireland) or DCF-77 (EU) radio signal. Place the clock near a window and away from potential sources of interference (e.g., TVs, computers, large metal objects). Initiate a manual signal search using the คลื่น button. Allow sufficient time (up to 24 hours) for initial synchronization. - Radio signal icon not showing:
This indicates that the clock is not currently receiving the radio signal. Follow the steps for 'Clock not setting automatically'. - การอ่านอุณหภูมิดูเหมือนจะไม่แม่นยำ:
Ensure the clock is not placed in direct sunlight or near heat sources/vents, which can affect the internal temperature sensor.
8. ข้อมูลจำเพาะ
| ยี่ห้อ | โยชิโกะ |
| หมายเลขรุ่น | YK YC8025-W |
| ขนาด (กว้าง x ยาว x สูง) | 25 x 18 x 3 ซม. (ประมาณ 230 x 160 x 25 มม.) |
| น้ำหนัก | 430 กรัม |
| แหล่งพลังงาน | แบตเตอรี่ AA 2 ก้อน (ไม่รวม) |
| ประเภทจอภาพ | จอ LCD ระบบดิจิตอล |
| คุณสมบัติพิเศษ | Temperature Display, Alarm, Radio Controlled, Moon Phase |
9. การรับประกันและการสนับสนุน
Youshiko products are manufactured to high-quality standards. For information regarding warranty coverage and customer support, please refer to the documentation provided with your purchase or visit the official Youshiko webไซต์ โปรดเก็บหลักฐานการซื้อไว้เพื่อใช้ในการเรียกร้องการรับประกัน