
1. สินค้าหมดview
The Roland DJ-202 is a two-channel, four-deck DJ controller designed for use with Serato DJ Lite and Serato DJ Pro software. It integrates iconic Roland drum machine sounds (TR-808, TR-909, TR-606) and a 16-step sequencer, offering a blend of traditional DJ control with modern beat-making capabilities. Its compact and lightweight design ensures portability without compromising on professional features like large, low-latency platters and a mic input with vocal effects.

รูปที่ 1.1: ด้านบน view of the Roland DJ-202 Compact DJ Controller, showcasing its two decks, central mixer, and performance pads.
วิดีโอ 1.1: การประชุมอย่างเป็นทางการview of the Roland DJ-202 Controller, demonstrating its key features and performance capabilities.
2. การตั้งค่าเริ่มต้น
2.1 ข้อกำหนดของระบบ
Ensure your computer meets the minimum requirements for Serato DJ Lite or Serato DJ Pro. The DJ-202 is compatible with devices featuring a USB port and RCA input.
- ระบบปฏิบัติการ: PC/Mac compatible.
- การเชื่อมต่อ: USB port for computer connection, RCA input for audio.
- ซอฟต์แวร์: Serato DJ Lite (included), Serato DJ Pro (upgrade ready).
2.2 Connecting the DJ-202
- Install Serato DJ Software: Download and install Serato DJ Lite or Pro on your computer.
- เชื่อมต่อ USB: Connect the DJ-202 to your computer using a USB cable.
- เชื่อมต่อเอาต์พุตเสียง: Connect the master RCA outputs of the DJ-202 to your ampเครื่องขยายเสียงหรือลำโพงที่มีกำลังขยาย
- เชื่อมต่อหูฟัง: เสียบหูฟังของคุณเข้ากับช่องเสียบหูฟังที่จัดไว้ให้สำหรับการฟังเสียง
- เปิดเครื่อง: Turn on the DJ-202 and launch the Serato DJ software.

รูปที่ 2.1: ด้านหลัง view of the Roland DJ-202, illustrating the various input and output ports for connecting to a computer, audio system, and microphone.
3. การควบคุมและฟังก์ชั่น
3.1 การจัดวางแผงด้านบน
The DJ-202 features an intuitive layout designed for seamless DJ performance and beat creation. Familiarize yourself with the main control areas:

รูปที่ 3.1: รายละเอียด view of the Roland DJ-202's top panel, highlighting the mixer section, jog wheels, and performance pads.
- ล้อหมุน: Large, low-latency platters for scratching, cueing, and track navigation.
- ส่วนเครื่องผสม: Central controls for master level, cue mixing, headphone level, and individual channel EQs (High, Mid, Low) and trims.
- แผ่นประสิทธิภาพ: Eight dedicated pads per deck for Hot Cue, Loop, Sequencer, and Sampโหมดต่างๆ
- FX Controls: Dedicated buttons and knobs for applying and adjusting effects.
- การควบคุมการขนส่ง: Play/Pause, Cue, Sync, and Shift buttons for precise track control.
4. Operating the DJ-202
4.1 Basic DJ Functions
- กำลังโหลดแทร็ก: Use the 'LOAD' buttons and browse knob to select and load tracks onto Deck 1 or Deck 2 in Serato DJ Lite.
- การให้สัญญาณ: Press the 'CUE' button to set a temporary cue point. Hold 'SHIFT' and press 'CUE' to return to the beginning of the track.
- การผสม: Adjust the channel faders, crossfader, and EQ knobs to blend tracks smoothly.
- Scratching: Utilize the large, low-latency jog wheels for precise scratching.
- การวนซ้ำ: Use the 'LOOP' pads to create and adjust loops on the fly.
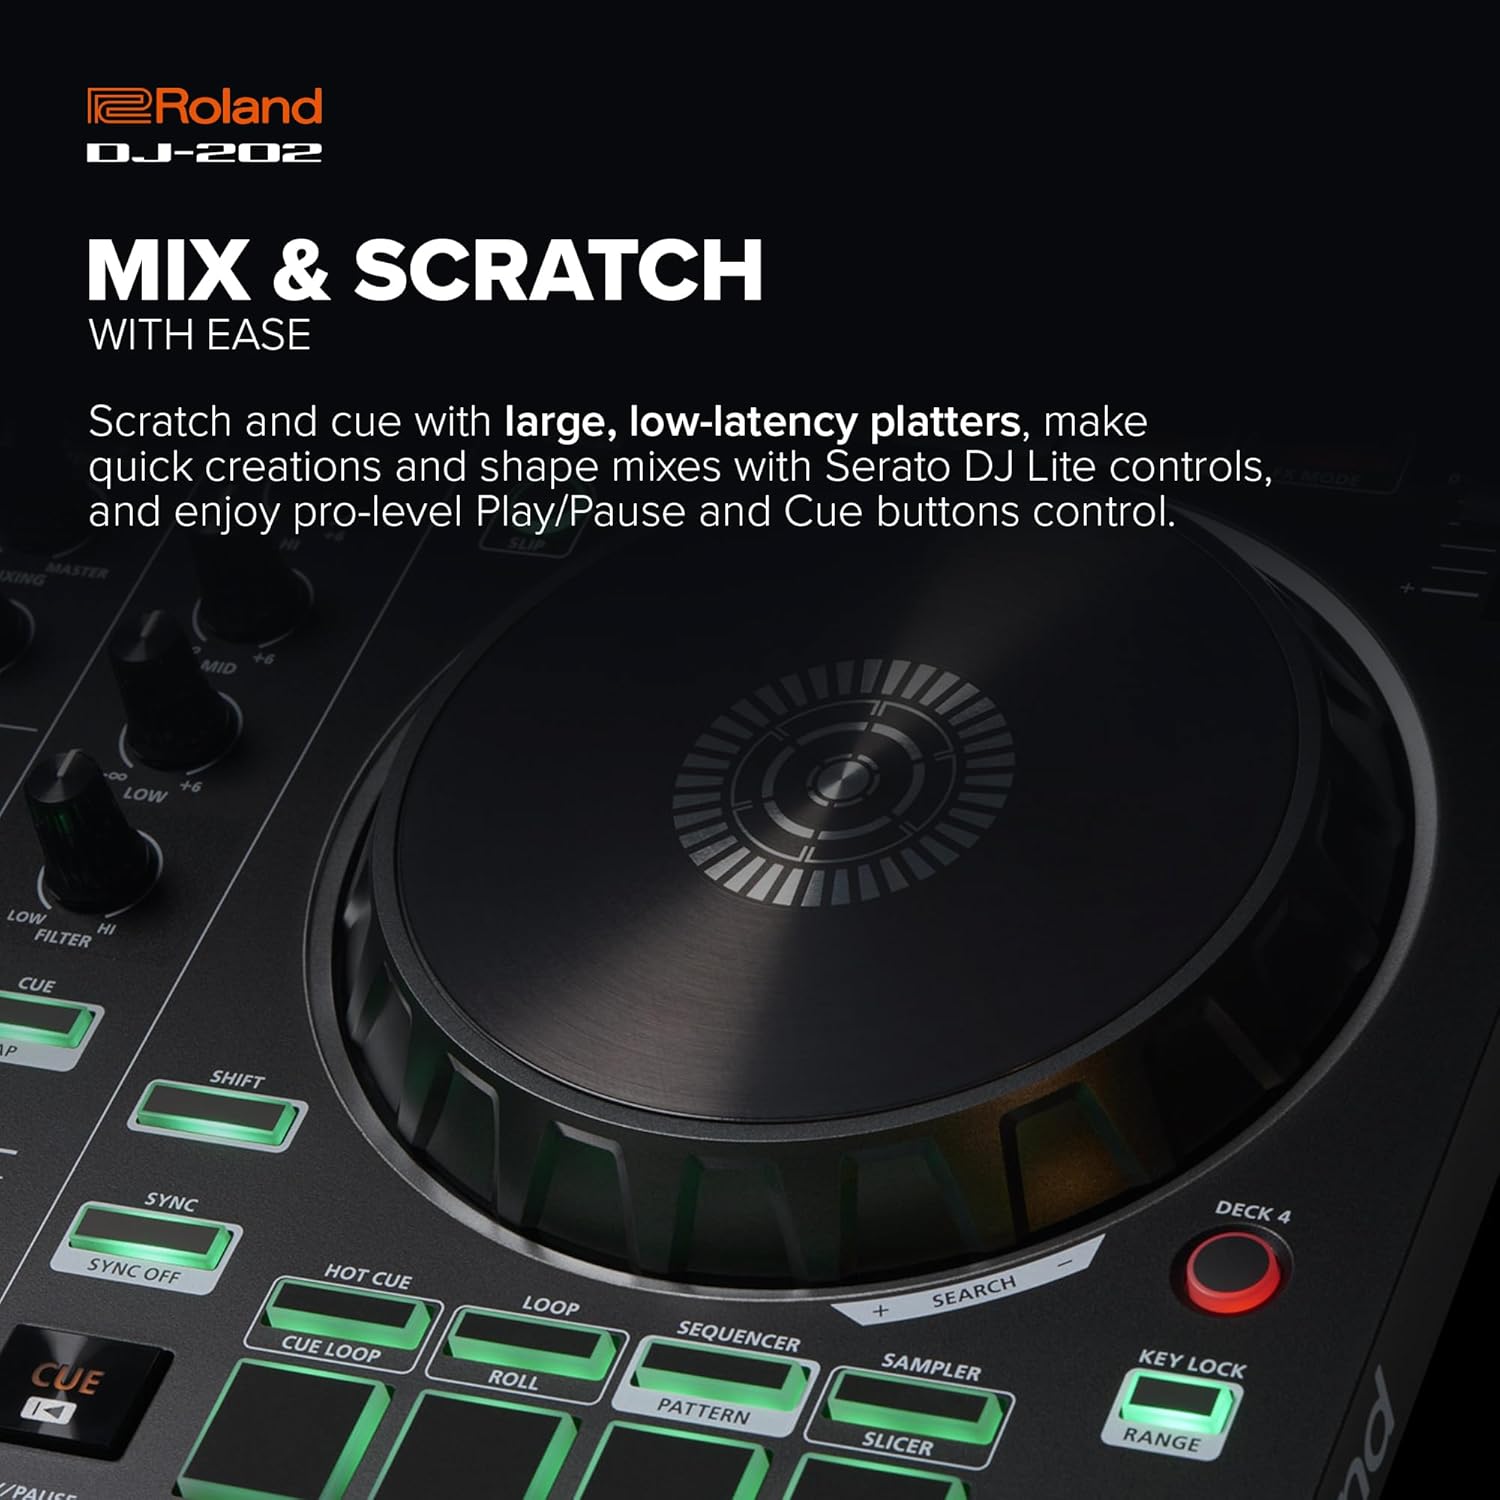
Figure 4.1: Close-up of a Roland DJ-202 jog wheel, highlighting its responsive surface for precise track manipulation and scratching.
5. TR Drum Machine and Sequencer
The DJ-202 features built-in drum kits from Roland's legendary TR-808, TR-909, and TR-606, powered by advanced ACB (Analog Circuit Behavior) technology. This allows for on-the-fly beat creation and sequencing.
5.1 Using the 16-Step Sequencer
- Activate Sequencer Mode: Press the 'SEQUENCER' button to enter sequencer mode. The performance pads will illuminate to represent the 16 steps.
- Select Drum Sound: ใช้ 'S'AMPLER' or 'SLICER' modes to select different drum sounds from the TR kits.
- Input Steps: Tap the pads to input drum hits into the 16-step sequence.
- Play/Stop Sequence: Use the 'START/STOP' button to play or stop the sequence.
- Inst-Rec Mode: Engage 'Inst-Rec' mode for real-time Serato Sampler sequencing.
- เอาท์พุต MIDI: Use the MIDI output to sync external MIDI-supported devices and instruments with your sequencer and Serato DJ Lite.

Figure 5.1: Close-up of the Roland DJ-202's performance pads, illustrating their use for sequencing, hot cues, loops, and sampฟังก์ชัน ler
6. Serato DJ Software Integration
The Roland DJ-202 is designed for seamless integration with Serato DJ Lite, with a free upgrade to Serato DJ Pro included for purchases in the U.S. This software provides comprehensive tools for managing your music library and enhancing your performances.
- Music Library Management: Organize and build your music libraries within Serato DJ Lite.
- Streaming Integration: Integrate songs from streaming services like Spotify (where supported by Serato).
- คุณสมบัติการทำงาน: Easily drag tracks to decks, set and trigger cues, loops, and samples, and apply basic effects directly from the controller.
7. การบำรุงรักษาและการดูแล
To ensure the longevity and optimal performance of your Roland DJ-202, follow these maintenance guidelines:
- การทำความสะอาด: ใช้ผ้าแห้งนุ่มๆ เช็ดทำความสะอาดตัวควบคุม หลีกเลี่ยงการใช้สารทำความสะอาดที่มีฤทธิ์กัดกร่อนหรือตัวทำละลาย
- พื้นที่จัดเก็บ: เก็บอุปกรณ์ไว้ในที่แห้งและเย็น หลีกเลี่ยงแสงแดดโดยตรงและอุณหภูมิที่สูงหรือต่ำเกินไป
- การป้องกัน: When transporting, use a protective case to prevent damage to knobs, faders, and jog wheels.
- พลัง: Always disconnect the power adapter when the unit is not in use for extended periods.
8 การแก้ไขปัญหา
โปรดดูตารางด้านล่างเพื่อดูปัญหาทั่วไปและวิธีแก้ไข:
| ปัญหา | สาเหตุที่เป็นไปได้ | สารละลาย |
|---|---|---|
| ไม่มีไฟฟ้า | สาย USB ไม่ได้เชื่อมต่อหรือชำรุด | Ensure USB cable is securely connected to both the controller and computer. Try a different USB port or cable. |
| ไม่มีเสียงออก | Incorrect audio connections or software settings. | Check RCA connections to speakers/amplifier. Verify audio output settings in Serato DJ software. Adjust master and channel levels. |
| Software not recognizing controller | Drivers not installed or software not updated. | Install the latest drivers from the Roland website. Update Serato DJ software to the latest version. Restart computer and controller. |
| Lag or latency during performance | Computer performance issues or incorrect buffer settings. | Close unnecessary applications on your computer. Adjust the USB buffer size (latency) in Serato DJ software settings. Ensure your computer meets minimum system requirements. |
9. ข้อมูลจำเพาะทางเทคนิค
- ชื่อรุ่น : ดีเจ-202
- น้ำหนักสินค้า: 4.6 ปอนด์ (2.09 กก.)
- ขนาดสินค้า : 18.8 x 11.7 x 2.4 นิ้ว (478 x 297 x 62 มม.)
- เทคโนโลยีการเชื่อมต่อ: ยูเอสบี
- ประเภทตัวเชื่อมต่อ: อาร์ซีเอ
- อินเทอร์เฟซฮาร์ดแวร์: ยูเอสบี
- ซอฟต์แวร์ที่รองรับ: Serato DJ Lite, Serato DJ Pro
- ปริมาณช่องมิกเซอร์: 4 (virtual decks in software)
- แพลตฟอร์มฮาร์ดแวร์: พีซี/แมค
- ประเภทวัสดุ : Stainless Steel (for certain components, main body is composite)
- คุณสมบัติพิเศษ: Lightweight, Built-in TR Drum Kits, 16-step Sequencer
10. อะไรอยู่ในกล่อง
Upon unboxing your Roland DJ-202, you should find the following items:
- Roland DJ-202 Controller
- คู่มือการติดตั้ง
- สาย USB
- ข้อมูลการดาวน์โหลดซอฟต์แวร์ Serato DJ Lite
- RCA stereo cables
- 1/4 inch microphone jack

Figure 10.1: An illustration detailing the contents typically found in the Roland DJ-202 packaging, along with its physical dimensions.
11. การสนับสนุนและการรับประกัน
For further assistance, technical support, or detailed warranty information, please visit the official Roland website. Product registration may be required to activate your warranty and access full support resources.
การสนับสนุนทางออนไลน์: www.roland.com/us/support/
การรับประกัน: Refer to the warranty card included with your product or the Roland webไซต์สำหรับข้อกำหนดและเงื่อนไขเฉพาะที่ใช้บังคับกับภูมิภาคของคุณ