
1. บทนำ
This instruction manual provides essential information for the proper installation, operation, and maintenance of the Master-Bilt 19-00816 Timer Unit on Bracket. This unit is designed for use in commercial refrigeration systems, specifically as a freezer part, to control operational cycles. Adherence to these instructions will ensure optimal performance and longevity of the timer unit.
2. สินค้าหมดview
The Master-Bilt 19-00816 is a timer unit pre-mounted on a bracket, facilitating easier installation into compatible refrigeration systems. It features a mechanical timer dial for setting operational schedules and includes necessary electrical connections for integration.
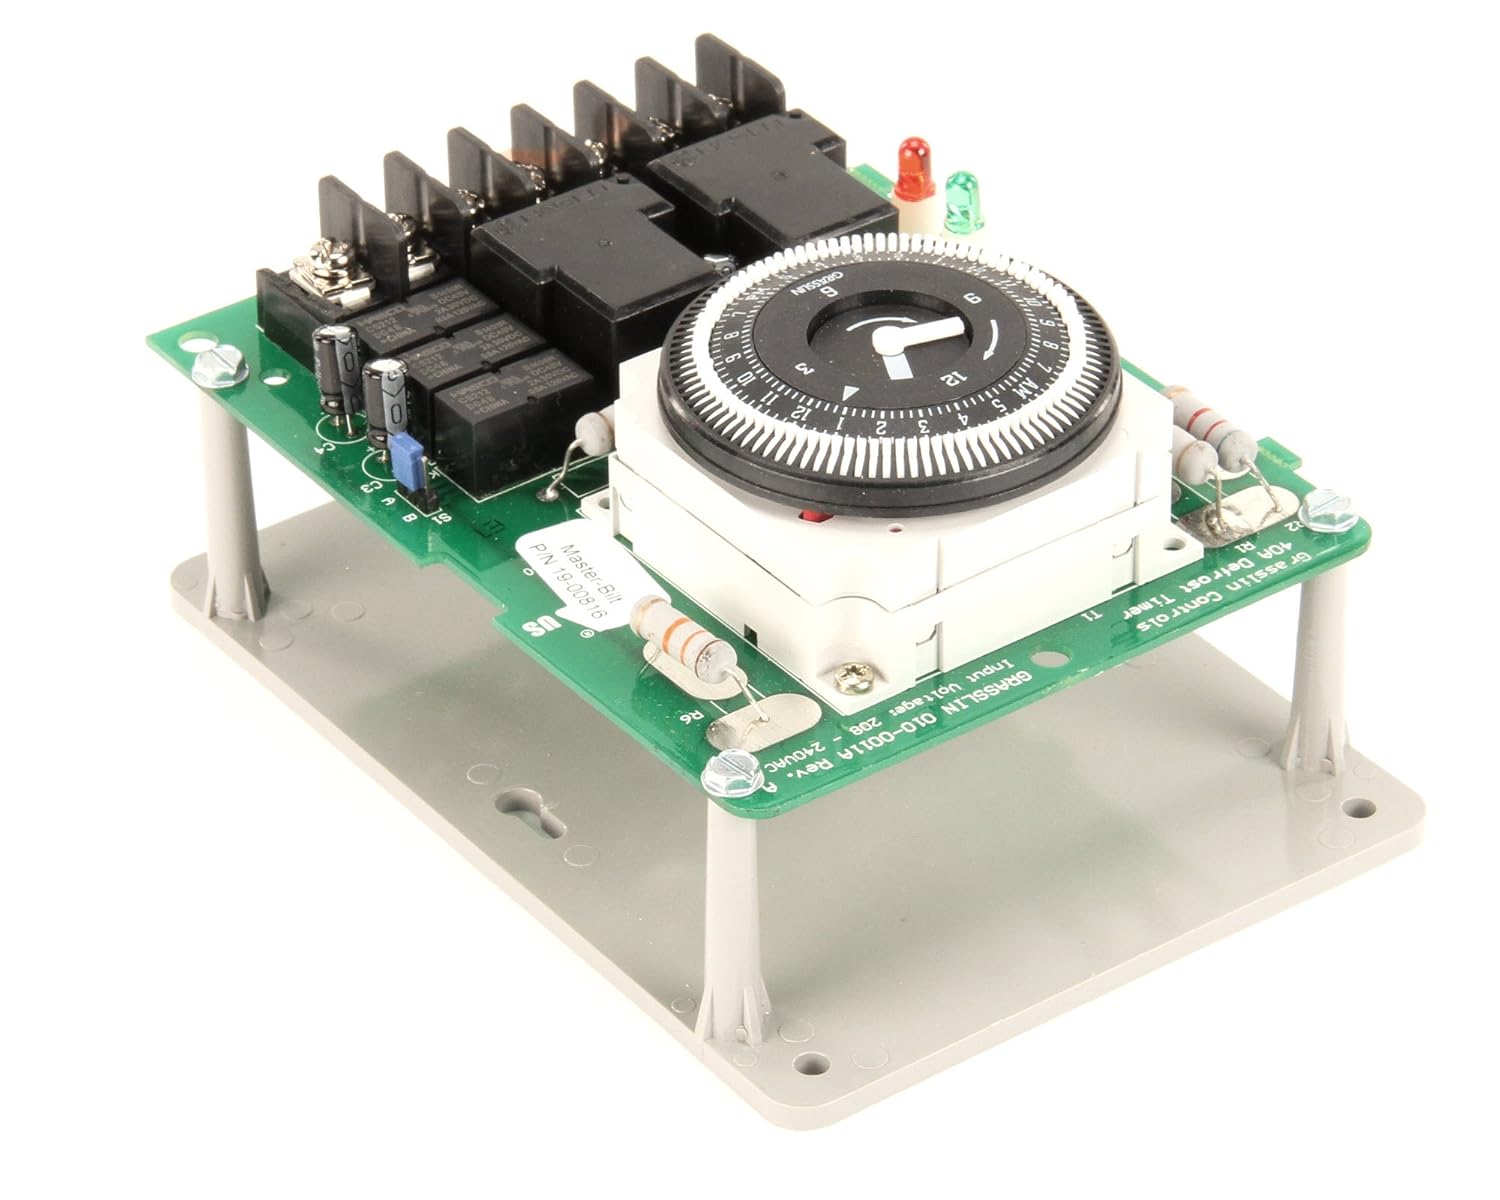
รูปที่ 2.1: โดยรวม view of the Master-Bilt 19-00816 Timer Unit on Bracket. This image displays the complete assembly, including the green circuit board, the central timer dial, relays, and the grey mounting bracket.

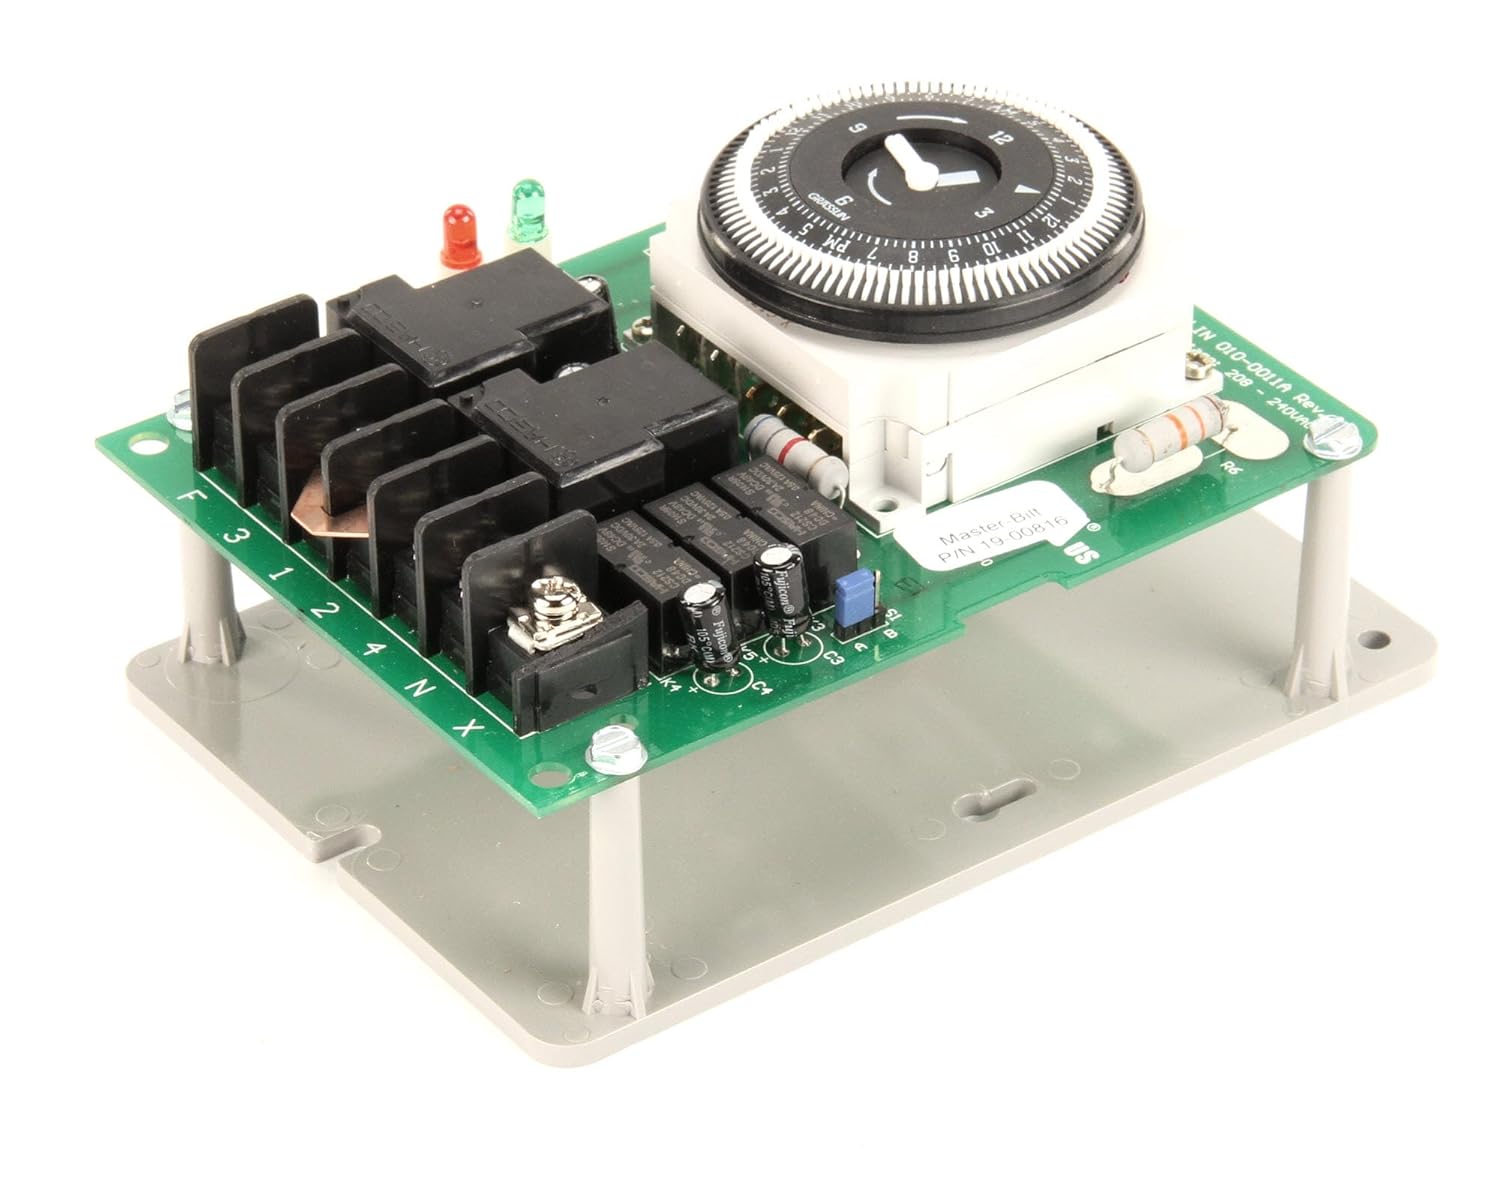
รูปที่ 2.2: ด้านข้าง view of the timer unit, illustrating the various electrical components such as relays and capacitors mounted on the circuit board, along with some terminal connections.
3. ข้อมูลด้านความปลอดภัย
- การติดตั้งโดยมืออาชีพ: Installation and servicing of this timer unit should only be performed by qualified and authorized personnel.
- อันตรายจากไฟฟ้า: Ensure that the power supply to the refrigeration system is completely disconnected before attempting any installation, wiring, or maintenance procedures. Failure to do so can result in serious injury or death.
- ความเข้ากันได้ของส่วนประกอบ: Verify that this timer unit is compatible with your specific refrigeration system model before installation. Refer to your system's documentation.
- สภาพแวดล้อม : Do not expose the timer unit to excessive moisture, extreme temperatures, or corrosive environments.
4. การตั้งค่าและการติดตั้ง
This section outlines the general steps for installing the timer unit. Specific wiring diagrams for your refrigeration system should be consulted.
- การตัดการเชื่อมต่อไฟฟ้า: Turn off and lock out the main power supply to the refrigeration unit. Confirm power is off using a voltagอีผู้ทดสอบ
- การติดตั้ง: Secure the timer unit's bracket to a stable surface within the refrigeration system's control panel using appropriate fasteners. Ensure the unit is mounted in an orientation that allows for easy access to the timer dial and wiring terminals.
- การเชื่อมต่อสายไฟ:
- Identify the appropriate wiring terminals on the timer unit and the corresponding wires from the refrigeration system.
- Connect the power input, load output, and any control wires as per the refrigeration system's wiring diagram. Ensure all connections are secure and properly insulated.
- Refer to the labels on the circuit board (e.g., F, 3, 1, 2, 4, N) for terminal identification.

รูปที่ 4.1: View of the timer unit highlighting the electrical terminal blocks. This image shows the screw terminals where system wiring connects to the timer unit for power and load control, with labels like F, 3, 1, 2, 4, N visible.
- การเพิ่มพลังเริ่มต้น: Once all connections are verified, restore power to the refrigeration system. Observe the timer unit for proper operation and any error indicators.
5. การดำเนินการ
The Master-Bilt 19-00816 Timer Unit utilizes a mechanical dial for setting operational cycles, typically for defrost or other timed functions within a refrigeration system.
- การตั้งเวลาของวัน: Rotate the outer dial of the timer until the current time aligns with the indicator arrow or mark on the timer's stationary housing.
- Setting ON/OFF Cycles: The timer dial features small pins or segments around its circumference.
- To set an "ON" period, push the corresponding pins/segments inwards.
- To set an "OFF" period, leave the corresponding pins/segments outwards.
- Each segment typically represents a specific time interval (e.g., 15 minutes). Consult the timer's markings for precise intervals.
- การแทนที่ด้วยตนเอง (ถ้ามี): Some timers may include a manual override switch or lever. Refer to the timer unit itself for any such feature and its operation.
รูปที่ 5.1: รายละเอียดจากบนลงล่าง view of the mechanical timer dial, showing the numbered segments and the central arrow indicator used for setting the time of day and programming ON/OFF cycles.
6. การบำรุงรักษา
Regular maintenance ensures the reliable operation of your timer unit.
- การตัดการเชื่อมต่อไฟฟ้า: ควรตัดการเชื่อมต่อไฟฟ้าทุกครั้งก่อนดำเนินการบำรุงรักษาใดๆ
- การทำความสะอาด: Periodically inspect the unit for dust, dirt, or debris accumulation. Clean the exterior with a soft, dry cloth. Do not use liquid cleaners directly on the unit.
- การตรวจสอบเทอร์มินัล: Annually, or as part of routine system maintenance, inspect all electrical connections for tightness and signs of corrosion. Re-tighten as necessary.
- การตรวจสอบภาพ: Check for any visible damage to the circuit board, relays, or wiring. Replace the unit if significant damage is observed.
7 การแก้ไขปัญหา
ส่วนนี้ให้คำแนะนำสำหรับปัญหาทั่วไป สำหรับปัญหาที่ซับซ้อนกว่านั้น โปรดติดต่อช่างเทคนิคผู้เชี่ยวชาญ
| ปัญหา | สาเหตุที่เป็นไปได้ | สารละลาย |
|---|---|---|
| Timer unit not operating (no movement, no output). | ไม่มีแหล่งจ่ายไฟ สายไฟไม่ถูกต้อง หน่วยชำรุด |
|
| Load (e.g., defrost heater) not turning ON/OFF as scheduled. | Incorrect timer settings; faulty relay; load issue. |
|
| Timer dial not advancing. | No power to the timer motor; mechanical obstruction; faulty motor. |
|
8. ข้อมูลจำเพาะ
| หมายเลขรุ่น | เอ็มบี19-00816 |
| ยี่ห้อ | มาสเตอร์-บิลท์ |
| ขนาดสินค้า | 7"D x 9"W x 7"H (approximate, based on package dimensions and product description) |
| น้ำหนักสินค้า | 1.01 ปอนด์ (0.46 กก.) |
| ประเทศต้นกำเนิด | ประเทศสหรัฐอเมริกา |
| ยูพีซี | 046843109531, 220215087423 |
9. การรับประกันและการสนับสนุน
Specific warranty information for the Master-Bilt 19-00816 Timer Unit on Bracket is not provided in the product details. Please refer to the original purchase documentation or contact Master-Bilt customer service for warranty details and technical support.
For further assistance, please visit the official Master-Bilt website or consult your authorized Master-Bilt dealer.


