
1. บทนำ
This manual provides detailed instructions for the setup, operation, and maintenance of your ELECROW 7 Inch 1024x600 IPS Capacitive Touchscreen Monitor. This display is designed for broad compatibility with devices such as Raspberry Pi (5/4/3B+/3B/2B+), BB Black, Banana Pi, Jetson Nano, and Windows 11/10/8/7 systems.
คุณสมบัติหลัก:
- ภาพ HD: 7-inch IPS screen with 1024x600 resolution and 170° wide viewing angle for consistent colors and clear viewการไอเอ็นจี
- Capacitive Touch: Supports up to 5-point touch functionality without requiring driver installation for most compatible systems.
- ปลั๊กแอนด์เพลย์: Simple connectivity via HD (HDMI) and Micro USB ports for immediate use.
- การใช้งานที่หลากหลาย: Suitable for use as a Raspberry Pi display, mini PC monitor, gaming console screen, or a computer temperature monitor.
2. อะไรอยู่ในกล่อง
โปรดตรวจสอบให้แน่ใจว่ามีส่วนประกอบครบถ้วนก่อนดำเนินการติดตั้ง
- 7 Inch Capacitive Display x 1
- สายเคเบิล HD x 1
- สาย USB x1
- Micro HD Adapter x 1
- Copper Screws Pack (4pcs) x 1
- DVD x 1 (Contains drivers and documentation)
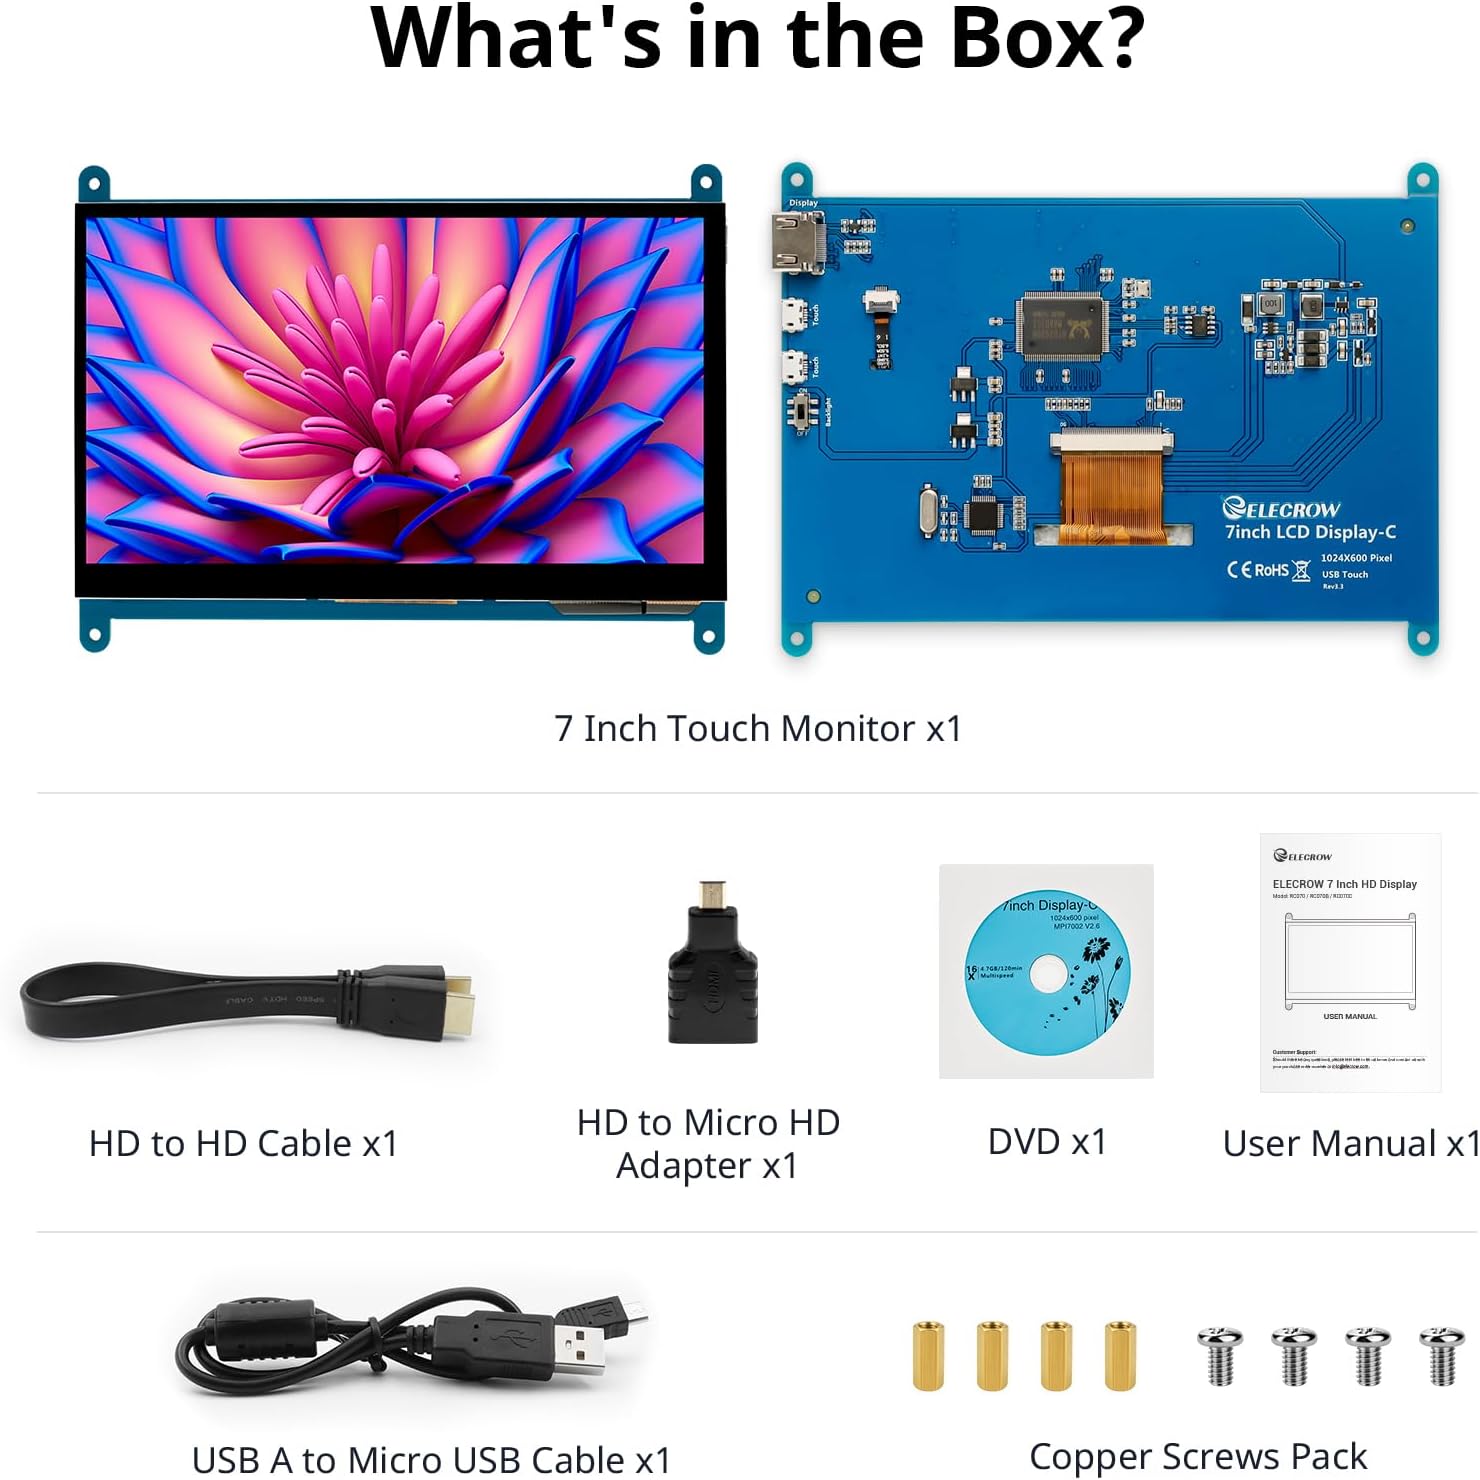
ภาพ: ส่วนประกอบทั้งหมดที่รวมอยู่ในบรรจุภัณฑ์ผลิตภัณฑ์
3. การตั้งค่าและการเชื่อมต่อ
Follow these steps to connect your ELECROW 7 Inch Touchscreen Monitor to your device.
3.1 ฮาร์ดแวร์เกินview

ภาพ: ด้านหลัง view of the monitor highlighting the Standard HD Port, Micro USB Port for touch and power, and Backlight switch.
- Standard HD Port: For video data transfer.
- พอร์ตไมโครยูเอสบี: สำหรับฟังก์ชั่นสัมผัสและแหล่งจ่ายไฟ
- สวิตช์แบ็คไลท์: To turn the display backlight on or off.
3.2 การเชื่อมต่อกับ Raspberry Pi
To connect the monitor to a Raspberry Pi, you will need both the HD cable for video and the USB cable for touch and power.
- Connect one end of the HD cable to the Standard HD Port on the monitor and the other end to the HDMI port on your Raspberry Pi. Use the Micro HD adapter if necessary for your Raspberry Pi model.
- Connect the Micro USB cable to the Micro USB Port on the monitor. Connect the other end of the USB cable to a USB port on your Raspberry Pi for power and touch data.
- Ensure the backlight switch on the monitor is in the 'On' position.
- Power on your Raspberry Pi. The display should automatically detect and show the output.
For touch functionality with Raspberry Pi, power can be supplied via the Raspberry Pi's USB port. If using an external power source for the Raspberry Pi, ensure it is sufficient. For optimal performance, especially with older Raspberry Pi models, an external power supply for the monitor might be beneficial if the Pi cannot provide enough current.
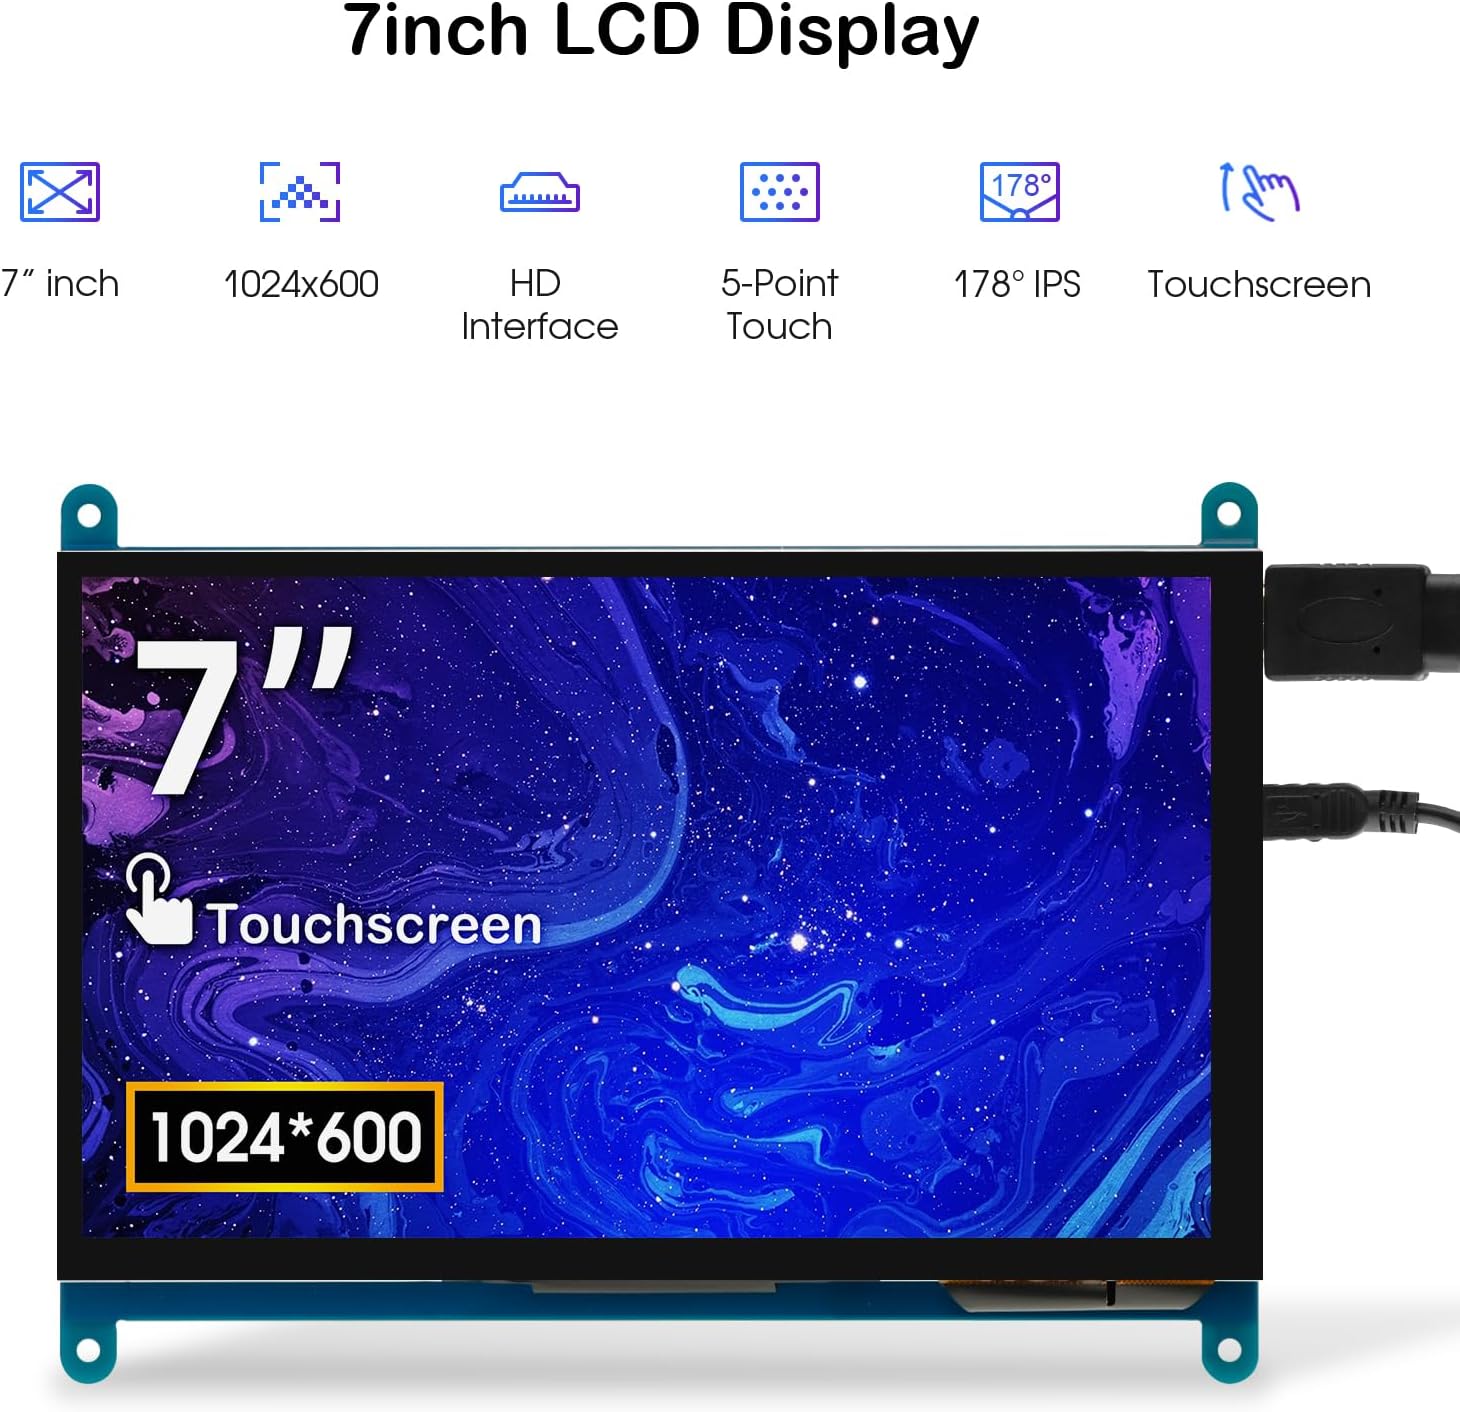
Image: The 7-inch touchscreen connected to a Raspberry Pi board, displaying a graphical user interface.
3.3 Connecting to Windows PC/Laptop
For Windows systems, the monitor functions as a plug-and-play display and touchscreen.
- Connect the HD cable from the monitor's Standard HD Port to an HDMI port on your PC or laptop.
- Connect the Micro USB cable from the monitor's Micro USB Port to a USB-A port on your PC or laptop. This provides power and enables touch functionality.
- Ensure the backlight switch is 'On'.
- Your Windows system should automatically detect the display and touchscreen. No additional drivers are typically required for Windows 7/8/10/11 for basic display and 5-point touch.

Image: The 7-inch touchscreen connected to a laptop, demonstrating seamless connectivity with various operating systems including Windows.
4. คู่มือการใช้งาน
4.1 ฟังก์ชันการสัมผัส
The monitor supports 5-point capacitive touch, allowing for various gestures.
- แตะ: Single touch for selection or activation.
- กด: Sustained touch for context menus or drag operations.
- ซูมเข้า/ออก: Pinch gestures with two fingers.
- Mouse Click: A single tap typically registers as a left-click.
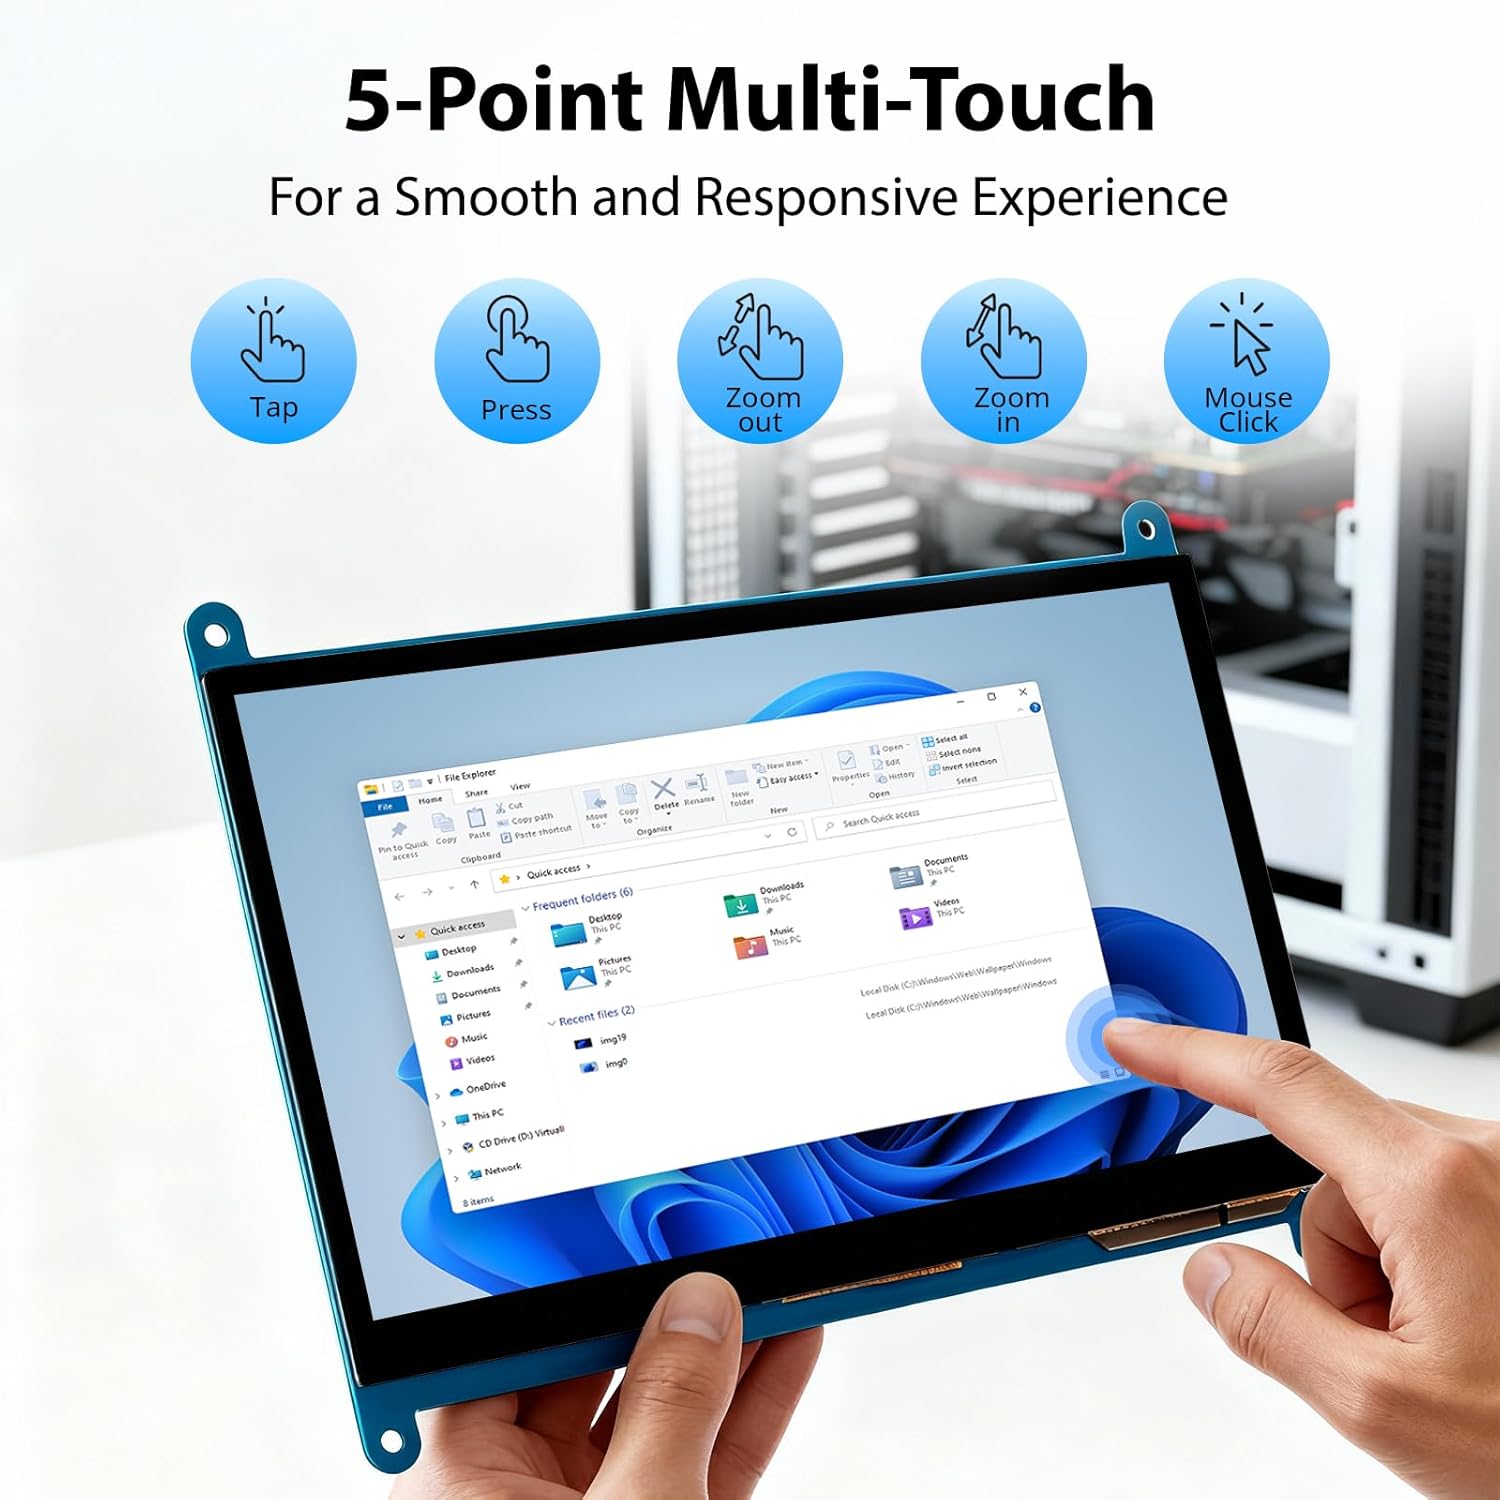
Image: Visual guide to the 5-point multi-touch capabilities of the screen, showing common gestures.
4.2 โหมดการแสดงผล
When connected to a computer, the monitor can operate in several display modes:
- โหมดซ้ำ: จอมอนิเตอร์จะแสดงเนื้อหาเดียวกับจอแสดงผลหลักของคุณ
- โหมดขยาย: The monitor acts as an extension of your primary display, providing additional screen space.
- โหมดหน้าจอที่สอง: The monitor functions as the sole display, with the primary display turned off.
These modes can typically be configured through your operating system's display settings.

Image: Illustrations demonstrating the three display modes: Duplicate, Extend, and Second Screen, showing how the monitor can be used with a laptop.
การควบคุมแบ็คไลท์ 4.3
The monitor features a physical switch to control the backlight. This allows you to turn the display illumination on or off without disconnecting power. Note that there is no granular brightness control; it is an on/off function only.
Video: This video demonstrates the backlight control switch on the ELECROW 7 Inch Touchscreen, showing how to turn the display illumination on and off.
5. การบำรุงรักษา
การบำรุงรักษาอย่างถูกต้องจะช่วยให้จอภาพของคุณมีอายุการใช้งานยาวนานและมีประสิทธิภาพเหมาะสมที่สุด
- การทำความสะอาดหน้าจอ: ใช้ผ้านุ่มไม่เป็นขุยเช็ดเล็กน้อยampened with water or a screen-cleaning solution. Avoid harsh chemicals or abrasive materials that could damage the screen surface.
- การดูแลทั่วไป: Keep the monitor in a clean, dry environment. Avoid exposing it to extreme temperatures, direct sunlight, or high humidity.
- การจัดการ: Handle the monitor by its edges. Avoid applying excessive pressure to the screen.
6 การแก้ไขปัญหา
หากคุณพบปัญหาเกี่ยวกับจอภาพ โปรดดูปัญหาและวิธีแก้ไขที่พบบ่อยต่อไปนี้
| ปัญหา | สาเหตุที่เป็นไปได้ | สารละลาย |
|---|---|---|
| ไม่มีจอแสดงผล/หน้าจอสีดำ |
|
|
| หน้าจอสัมผัสไม่ตอบสนอง |
|
|
| Display resolution incorrect |
|
|
| ไม่มีการควบคุมความสว่าง | The monitor only has an on/off switch for the backlight, not adjustable brightness. | This is expected behavior. The monitor does not support adjustable brightness. |
7. ข้อมูลจำเพาะ
Detailed technical specifications for the ELECROW 7 Inch Touchscreen Monitor.
| คุณสมบัติ | รายละเอียด |
|---|---|
| ยี่ห้อ | อิเล็คโทรโครว์ |
| ชื่อรุ่น | RC070 |
| ขนาดหน้าจอ | 7 นิ้ว |
| ความละเอียดการแสดงผลสูงสุด | 1024 x 600 |
| ความละเอียดดั้งเดิม | ขนาด 1024x600 |
| ประเภทจอภาพ | จอแอลซีดี |
| เทคโนโลยีการแสดงผล | ไอพีเอส |
| อัตราส่วนภาพ | 1.71:1 น. |
| อัตราการรีเฟรช | 60 เฮิรตซ์ |
| เวลาตอบสนอง | 8 มิลลิวินาที |
| อัตราส่วนคอนทราสต์ | 800:1 น. |
| ความสว่าง | 300 ลูเมน |
| Viewอิงแองเกิล | 170 องศา |
| คำอธิบายพื้นผิวหน้าจอ | มันเงา |
| เทคโนโลยีการเชื่อมต่อ | HDMI |
| การเชื่อมต่อฮาร์ดแวร์ | HDMI, ยูเอสบี |
| จำนวนพอร์ต HDMI ทั้งหมด | 1 |
| พอร์ต USB รวม | 2 (Micro USB for power/touch, USB-A for power/touch) |
| การใช้พลังงาน | 12.5 วัตต์ |
| เล่มที่tage | 5 โวลต์ |
| ขนาดสินค้า (ลึก x กว้าง x สูง) | ลึก 0.3 นิ้ว x กว้าง 6.1 นิ้ว x สูง 4.8 นิ้ว |
| น้ำหนักสินค้า | 7.36 ออนซ์ |
| อุปกรณ์ที่รองรับ | Raspberry Pi, BB Black, Banana Pi, Jetson Nano, Computers, Laptops, Gaming Consoles |
8. การรับประกันและการสนับสนุน
Your ELECROW 7 Inch Touchscreen Monitor comes with a manufacturer's warranty.
- ประเภทการรับประกัน: การรับประกันจากผู้ผลิต 1 ปี
- คำอธิบายการรับประกัน: ผู้ผลิต 1 ปี
For technical support or warranty claims, please contact ELECROW customer service through their official webเว็บไซต์หรือแพลตฟอร์มที่ซื้อผลิตภัณฑ์นั้น