
1. บทนำ
This manual provides detailed instructions for the installation, operation, and maintenance of the GeoVision GV-MFD2501-6F 2MP Mini Fixed Dome IP Security Camera. Please read this manual thoroughly before using the product to ensure proper setup and functionality. Keep this manual for future reference.
1.1 ผลิตภัณฑ์เกินview
The GV-MFD2501-6F is a compact 2-megapixel mini fixed dome IP camera designed for various surveillance applications. It features a 2.3mm lens, super low lux capabilities, and supports network connectivity for remote monitoring.
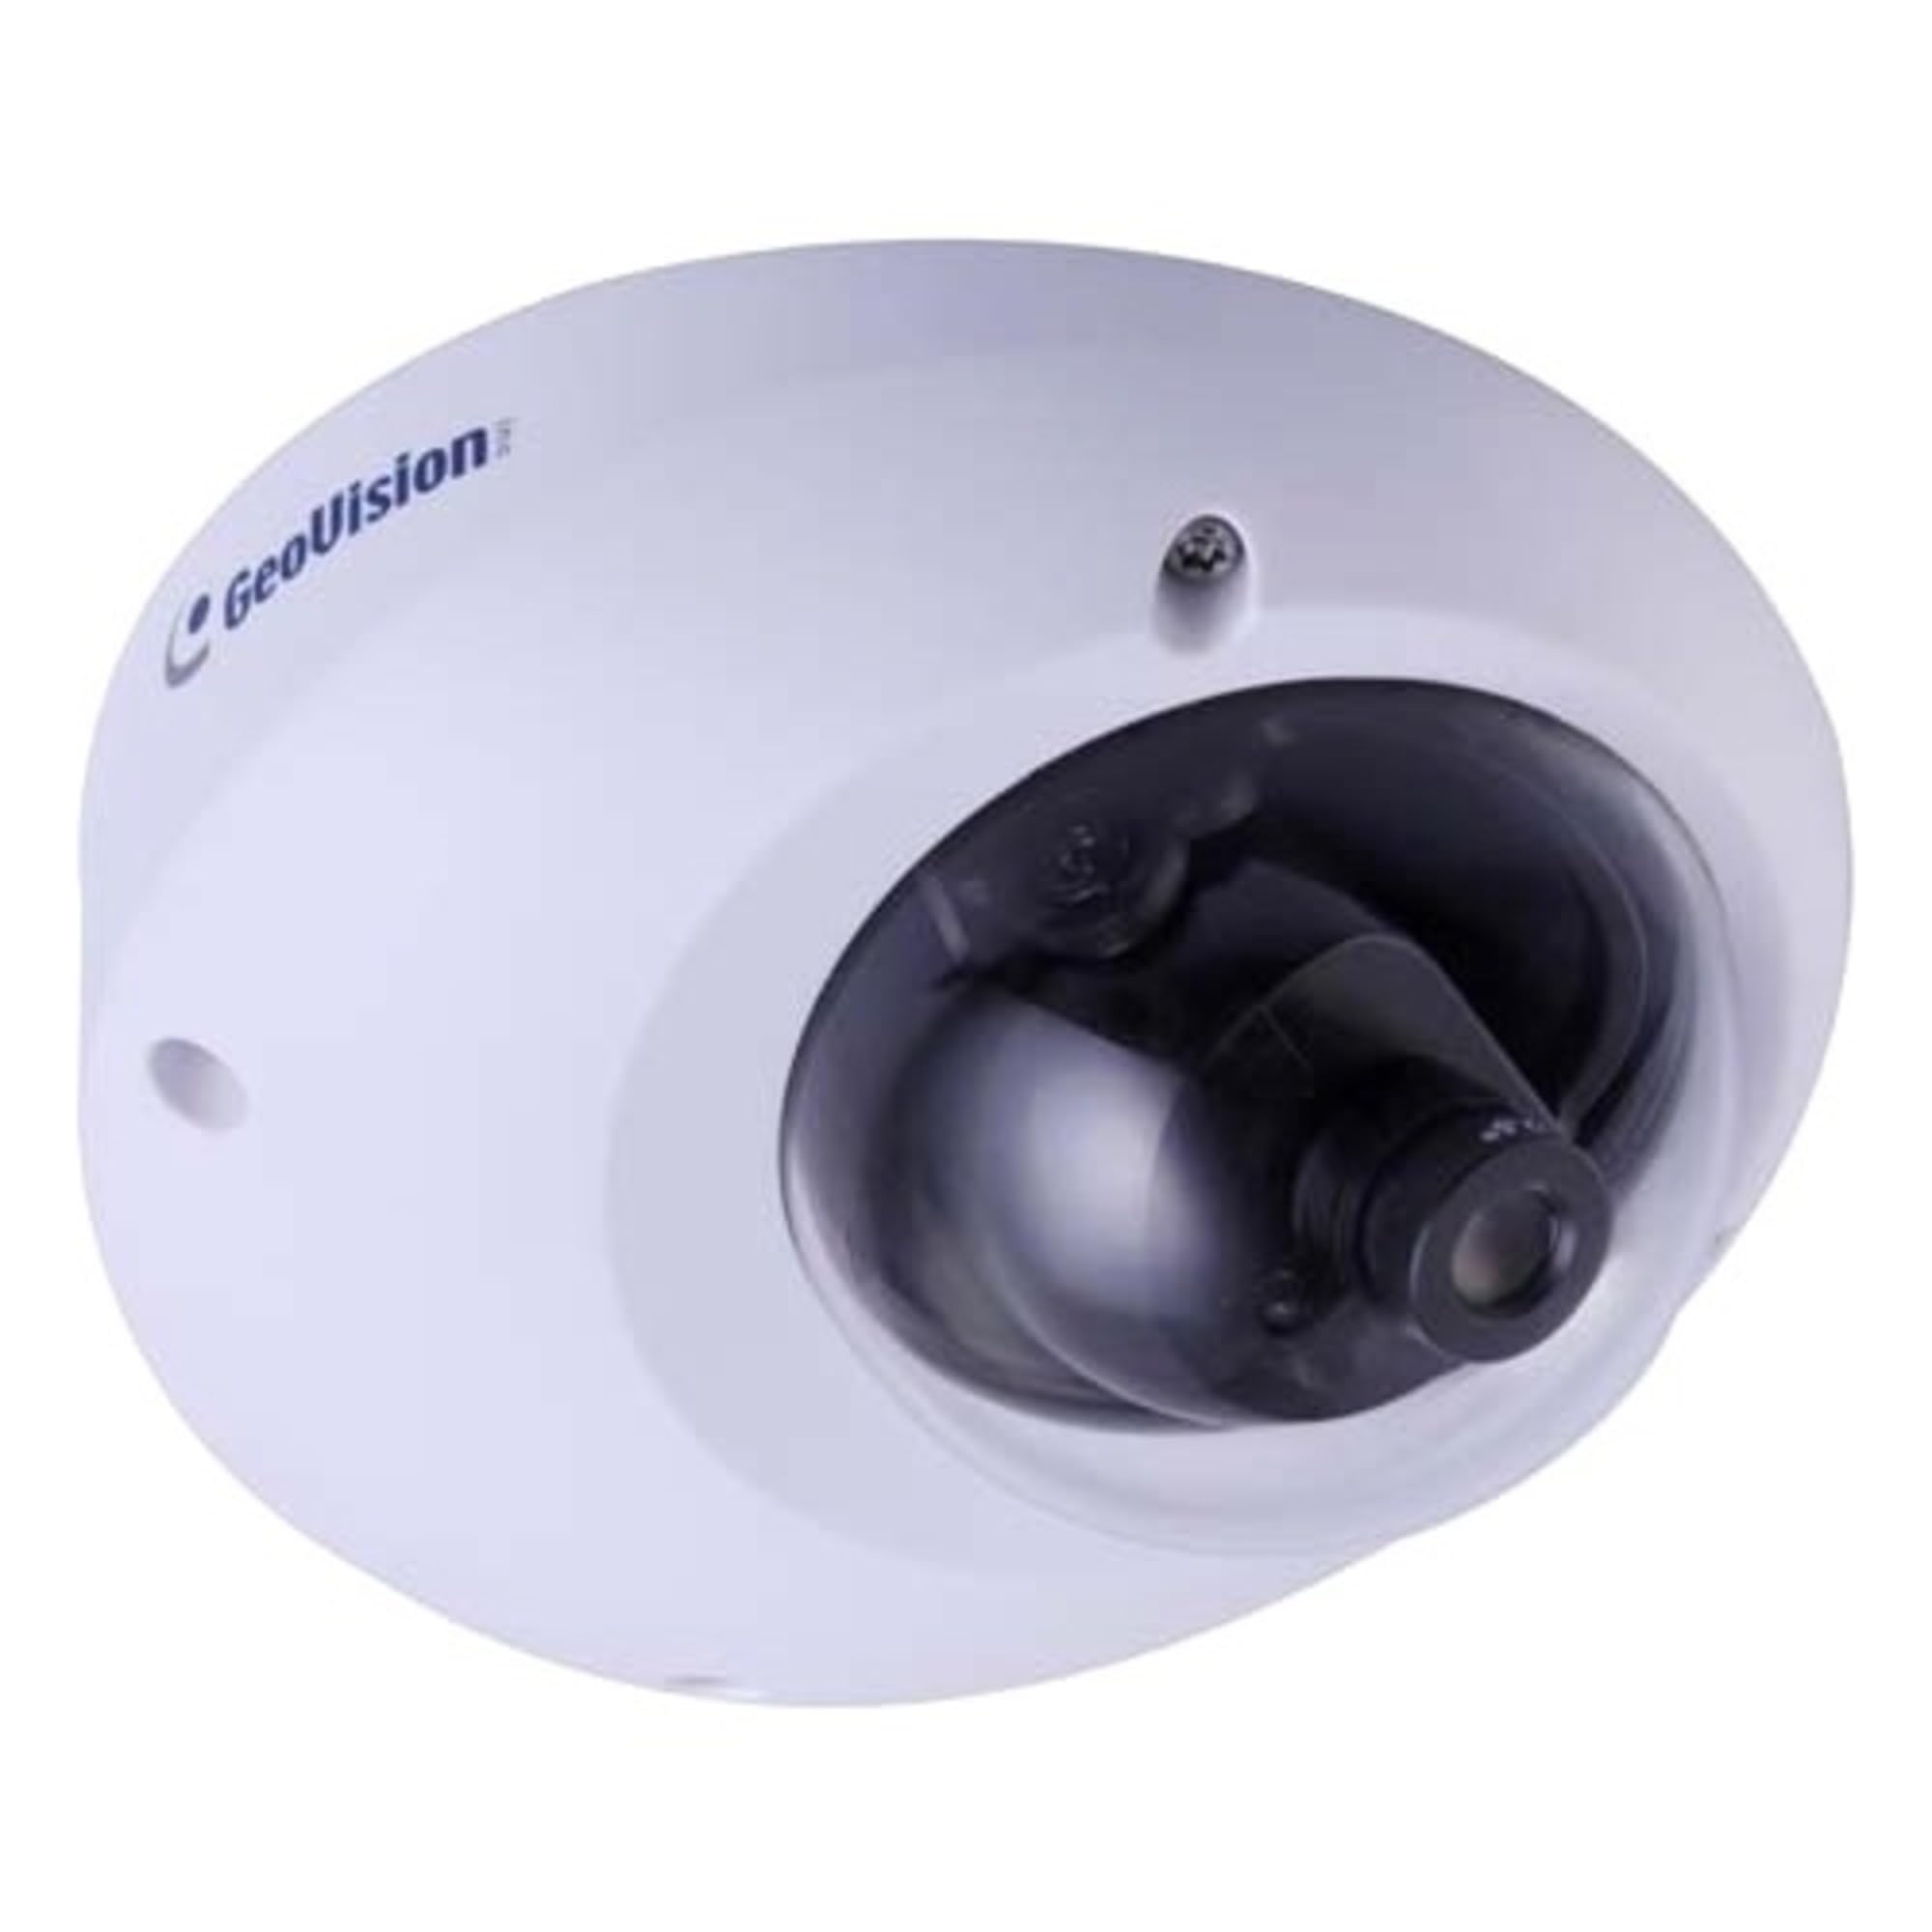
Figure 1.1: GeoVision GV-MFD2501-6F Mini Fixed Dome IP Security Camera. This image shows the compact design of the camera, highlighting its dome shape and lens.
1.2 เนื้อหาบรรจุภัณฑ์
ตรวจสอบว่าสินค้าทั้งหมดอยู่ในบรรจุภัณฑ์ครบถ้วน หากมีสินค้าใดขาดหายหรือเสียหาย โปรดติดต่อตัวแทนจำหน่ายของคุณทันที
- GV-MFD2501-6F IP Camera
- ชุดสกรูยึด
- คู่มือการติดตั้ง
- Software CD (or download link)
- ขั้วต่อกันน้ำ (ถ้ามี)
2. ข้อมูลด้านความปลอดภัย
WARNING: To prevent fire or shock hazard, do not expose this unit to rain or moisture.
- ใช้เฉพาะอะแดปเตอร์แปลงไฟที่ระบุไว้สำหรับอุปกรณ์นี้เท่านั้น
- Do not open the camera housing. Refer all servicing to qualified personnel.
- Avoid placing the camera in direct sunlight, near heat sources, or in areas with high humidity or dust.
- ตรวจสอบให้แน่ใจว่ามีการระบายอากาศที่เหมาะสมรอบๆ กล้อง
- ตัดการเชื่อมต่อไฟฟ้าก่อนทำความสะอาดหรือดำเนินการบำรุงรักษา
3. การตั้งค่า
3.1 การติดตั้งทางกายภาพ
The GV-MFD2501-6F is designed for indoor use. Choose a suitable mounting location that provides the desired field of view and is within reach of network and power cables.
- เตรียมพื้นผิวการติดตั้ง: Use the provided mounting template (if included) to mark drill holes.
- เจาะรู: เจาะรูนำสำหรับสกรูยึด
- รักษาความปลอดภัยกล้อง: Attach the camera base to the mounting surface using the provided screws.
- ปรับมุม: Loosen the adjustment screws to position the camera lens for the desired viewing angle, then tighten the screws to secure it.
Figure 3.1: Illustrative diagram of camera mounting. This image would typically show the steps for securing the camera to a ceiling or wall, including screw placement and cable routing.
3.2 การเดินสายและการเชื่อมต่อ
Connect the camera to your network and power source.
- สายอีเธอร์เน็ต: Connect an Ethernet cable from your network switch or router to the camera's RJ-45 port. If using Power over Ethernet (PoE), this single cable provides both power and data.
- Power Adapter (if not using PoE): If PoE is not available, connect a compatible 12V DC power adapter (not included) to the camera's power input port.
Figure 3.2: Diagram showing camera wiring connections. This image would illustrate how to connect the Ethernet cable and, if necessary, the power adapter to the camera's ports.
3.3 การกำหนดค่าเครือข่ายเริ่มต้น
After physical installation and connection, configure the camera for network access.
- เปิดเครื่อง: Connect the camera to power. The camera will perform a self-test.
- ค้นพบกล้องถ่ายรูป: Use the GeoVision GV-IP Device Utility (available on the GeoVision website) to discover the camera on your local network. The utility will display the camera's IP address.
- เข้าถึง Web อินเทอร์เฟซ: เปิด web เปิดเบราว์เซอร์ (เช่น Chrome, Firefox) แล้วป้อนที่อยู่ IP ของกล้องลงในแถบที่อยู่
- เข้าสู่ระบบ: Enter the default username (e.g., "admin") and password (e.g., "admin" or "1234"). You will be prompted to change the password upon first login for security.
- การตั้งค่าเครือข่าย: Navigate to the network settings to configure IP address (DHCP or Static), subnet mask, gateway, and DNS settings as required by your network environment.
4. คู่มือการใช้งาน
Once configured, the camera can be accessed and managed through its web interface or compatible GeoVision VMS software.
4.1 สด View
จาก web อินเทอร์เฟซ ให้ไปที่ "สด" View" section to see the real-time video feed from the camera. You can adjust video stream settings such as resolution, frame rate, and quality here.
4.2 การตั้งค่าการบันทึก
Configure recording schedules, motion detection recording, and continuous recording options. Recordings can be stored on a network-attached storage (NAS), local storage (if supported), or a GeoVision NVR/VMS.
4.3 การตรวจจับการเคลื่อนไหว
Set up motion detection zones and sensitivity levels. When motion is detected, the camera can trigger recording, send email alerts, or activate other alarm outputs.
4.4 การเข้าถึงระยะไกล
To access the camera remotely, ensure your network router is configured for port forwarding (if not using a VPN or cloud service). Refer to your router's manual for port forwarding instructions. GeoVision also offers mobile applications for remote viewการไอเอ็นจี
5. การบำรุงรักษา
5.1 การทำความสะอาดกล้อง
Regularly clean the camera lens and housing to ensure optimal image quality. Use a soft, dry cloth. For stubborn dirt, a slightly damp cloth with mild detergent can be used, followed by a dry cloth. Do not use abrasive cleaners or solvents.
การอัปเดตเฟิร์มแวร์ 5.2 รายการ
ตรวจสอบ GeoVision เป็นระยะ webเว็บไซต์สำหรับอัปเดตเฟิร์มแวร์ การอัปเดตเฟิร์มแวร์อาจเพิ่มคุณสมบัติใหม่ ปรับปรุงประสิทธิภาพ และเพิ่มความปลอดภัย โปรดปฏิบัติตามคำแนะนำที่ให้ไว้ในแพ็คเกจการอัปเดตเฟิร์มแวร์อย่างระมัดระวัง
5.3 การจัดการรหัสผ่าน
Regularly change your camera's password to a strong, unique password to prevent unauthorized access.
6 การแก้ไขปัญหา
| ปัญหา | สาเหตุที่เป็นไปได้ | สารละลาย |
|---|---|---|
| ไม่มีไฟเข้ากล้อง | Power adapter unplugged or faulty; PoE not active. | Check power connections. Ensure PoE switch/injector is active. Test with a known good power source. |
| ไม่มีฟีดวิดีโอ | Network cable disconnected; incorrect IP address; firewall blocking access. | Verify Ethernet cable connection. Use GV-IP Device Utility to find camera. Check network settings and firewall rules. |
| ไม่สามารถเข้าสู่ระบบได้ | Incorrect username/password. | Ensure correct credentials. If forgotten, refer to the GeoVision website for password reset procedures (may require physical access). |
| คุณภาพของภาพไม่ดี | Dirty lens; improper focus; low light conditions; incorrect video settings. | Clean the lens. Adjust focus if applicable. Ensure adequate lighting. Check resolution, frame rate, and compression settings. |
7. ข้อมูลจำเพาะ
The following are key specifications for the GeoVision GV-MFD2501-6F camera:
- แบบอย่าง: 84-MFD2501-6F1U
- ปณิธาน: 2 เมกะพิกเซล
- เลนส์: เลนส์คงที่ 2.3mm
- การเชื่อมต่อ: ไร้สาย Note: While "Wireless" is listed in specifications, this IP camera primarily uses wired Ethernet for reliable data transmission and PoE. Wireless functionality may refer to specific optional modules or control methods.
- พลัง: PoE (Power over Ethernet) หรือ 12V DC (ไม่รวมอะแดปเตอร์)
- ขนาด : ขนาดโดยประมาณ 21 x 18.6 x 9.3 ซม. (ขนาดพัสดุ)
- น้ำหนัก: Approximately 487 g (Parcel Weight)
- อุณหภูมิในการทำงาน: (Information not provided, typical range is -10°C to 50°C)
- ผู้ผลิต: จีโอวิชั่น
8. การรับประกันและการสนับสนุน
8.1 ข้อมูลการรับประกัน
GeoVision products typically come with a limited warranty. For specific warranty terms and conditions, please refer to the warranty card included with your product or visit the official GeoVision webไซต์นี้ โปรดเก็บหลักฐานการซื้อไว้เพื่อใช้ยืนยันการรับประกัน
8.2 การสนับสนุนด้านเทคนิค
For technical assistance, product inquiries, or troubleshooting beyond this manual, please contact GeoVision customer support or your authorized GeoVision dealer. Visit the official GeoVision webงาน (www.geovision.com.tw) for support resources, FAQs, and contact information.