
1. บทนำ
This manual provides essential information for the installation, operation, and maintenance of your PROFLO PF5114HE Jerrit Toilet Tank. This product is designed as a tank-only configuration, allowing you to pair it with a compatible toilet bowl. Please read these instructions thoroughly before proceeding with installation or use to ensure proper function and longevity of the product.
2. ข้อมูลด้านความปลอดภัย
โปรดปฏิบัติตามข้อควรระวังด้านความปลอดภัยดังต่อไปนี้:
- สวมอุปกรณ์ป้องกันส่วนบุคคล (PPE) ที่เหมาะสม เช่น ถุงมือและอุปกรณ์ป้องกันดวงตาเสมอในระหว่างการติดตั้ง
- ควรใช้งานชิ้นส่วนเซรามิกด้วยความระมัดระวังเพื่อป้องกันการบิ่นหรือแตกหัก
- ตรวจสอบให้แน่ใจว่าท่อน้ำประปาทั้งหมดถูกปิดก่อนเริ่มการติดตั้ง
- หากคุณไม่แน่ใจเกี่ยวกับขั้นตอนใด ๆ โปรดปรึกษาช่างประปาที่มีคุณสมบัติเหมาะสม
- อย่าขันข้อต่อแน่นเกินไป เพราะอาจทำให้เกิดความเสียหายได้
3. เนื้อหาบรรจุภัณฑ์
The PROFLO PF5114HE Jerrit Toilet Tank package includes:
- PROFLO PF5114HE Jerrit Toilet Tank (White)
- Internal tank components (fill valve, flush valve, trip lever)
- Tank-to-bowl hardware (bolts, washers, nuts, gasket)
บันทึก: This product is a tank-only configuration. A toilet bowl and toilet seat are ไม่ รวมอยู่และต้องซื้อแยกต่างหาก
4. การตั้งค่าและการติดตั้ง
This section outlines the general steps for installing the PROFLO PF5114HE Jerrit Toilet Tank onto a compatible toilet bowl. Professional installation is recommended.
4.1 การเตรียมตัว
- Ensure the water supply to the toilet area is turned off.
- Remove any existing toilet tank and clean the top surface of the toilet bowl where the tank will sit.
- Inspect the new tank for any visible damage.
4.2 การประกอบถังน้ำเข้ากับโถสุขภัณฑ์
- Place the large rubber tank-to-bowl gasket over the flush valve opening on the underside of the tank. Ensure it is seated properly.
- Carefully align the tank with the bolt holes on the back of the toilet bowl.
- Insert the tank-to-bowl bolts through the tank and the bowl holes.
- From underneath the bowl, place washers and nuts onto the bolts. Hand-tighten initially.
- Alternately tighten the nuts with a wrench, ensuring the tank is level and stable. Do not overtighten to avoid cracking the ceramic.
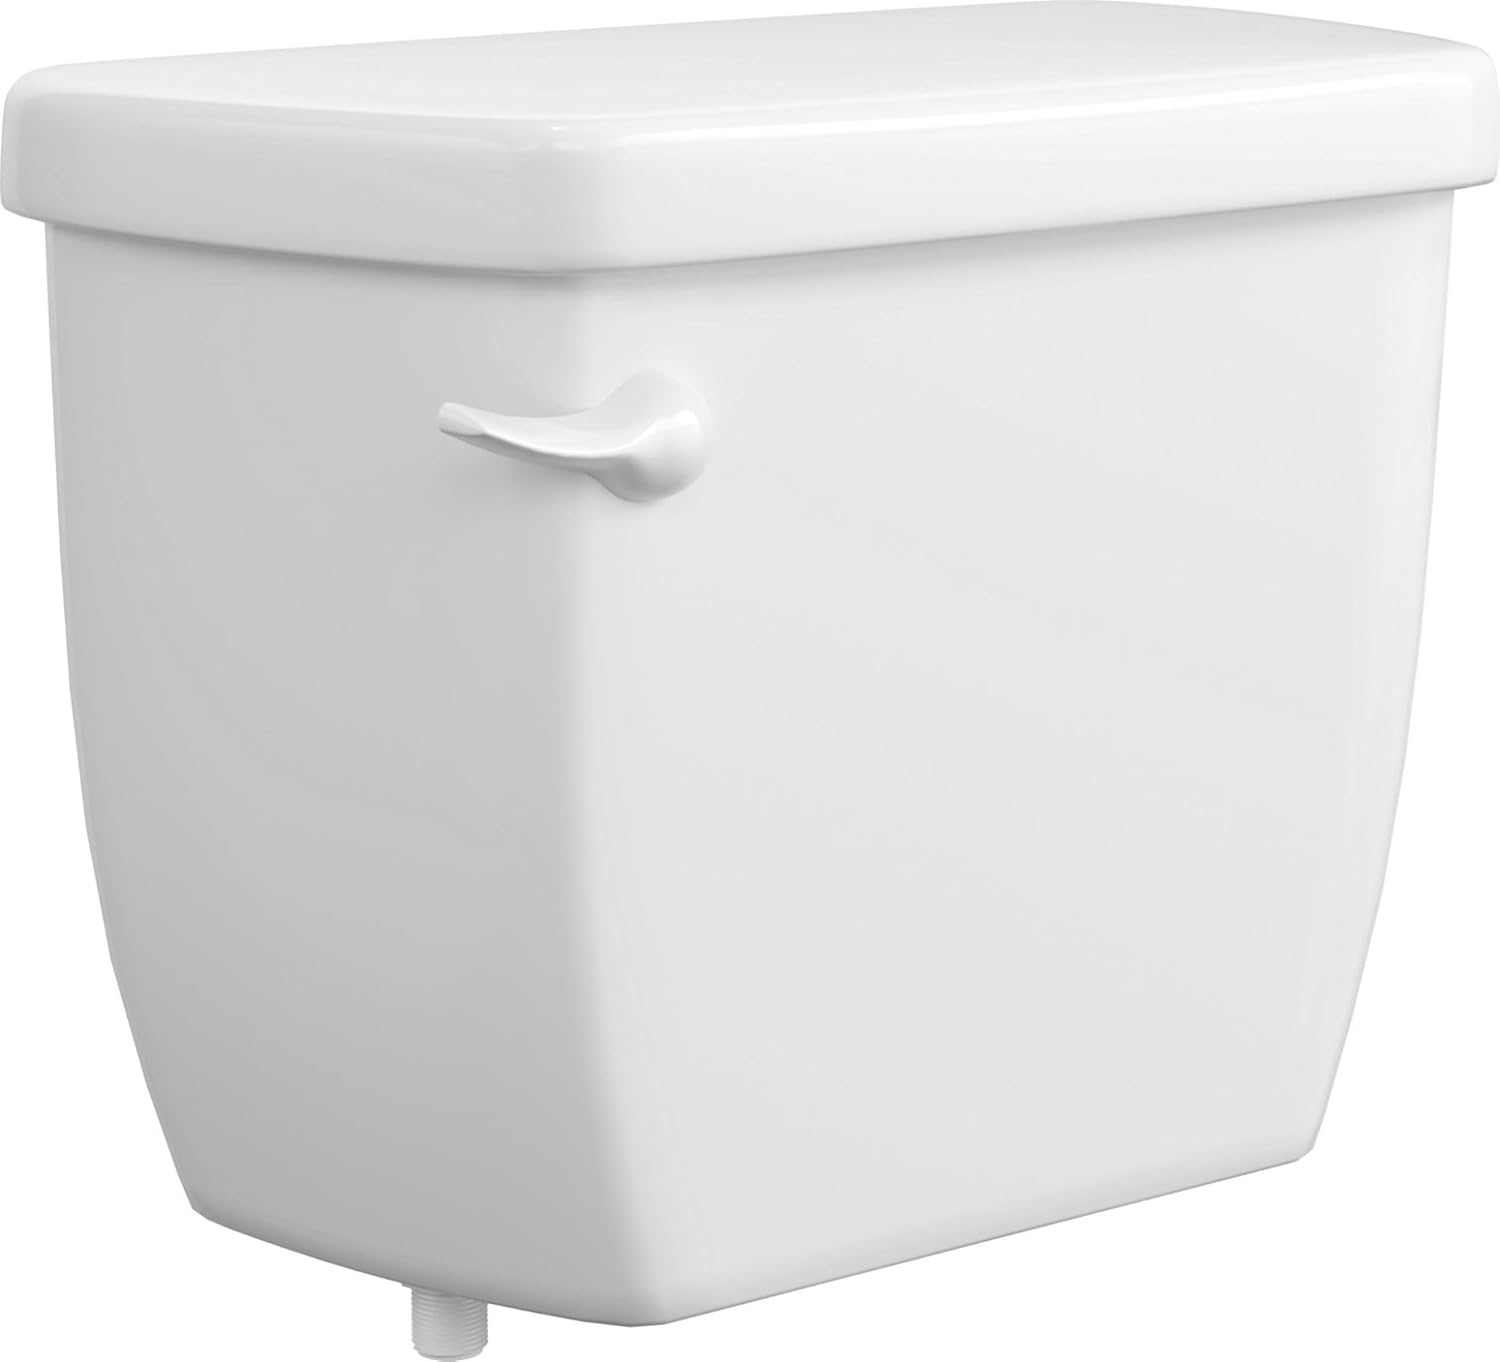
รูปที่ 1 : ด้านหน้า view of the PROFLO PF5114HE Jerrit Toilet Tank. This image shows the tank with its lid and flush lever, ready for installation onto a toilet bowl.
4.3 การเชื่อมต่อน้ำประปา
- Connect the flexible water supply line from the wall shut-off valve to the fill valve shank on the underside of the tank. Hand-tighten, then use a wrench for a final quarter-turn. Do not overtighten.
- Slowly turn on the water supply valve. Check for leaks at all connections.
- Allow the tank to fill. The fill valve will automatically shut off when the water level reaches the designated line inside the tank.

Figure 2: The PROFLO PF5114HE Jerrit Toilet Tank shown installed on a compatible toilet bowl. This illustrates the complete assembly of the tank and bowl.
5. คู่มือการใช้งาน
The PROFLO PF5114HE Jerrit Toilet Tank operates with a standard flush mechanism. To flush the toilet:
- Press down firmly on the flush lever located on the front of the tank.
- Hold the lever down briefly until the water in the tank begins to empty into the bowl.
- Release the lever. The tank will then refill automatically to the proper water level.
This tank is designed for a 1.28 gallons-per-flush (GPF) flow rate, ensuring efficient water usage.
6. การบำรุงรักษา
6.1 การทำความสะอาด
- Clean the exterior of the tank with a soft cloth and mild, non-abrasive cleaner.
- Avoid using harsh chemicals, abrasive pads, or strong detergents, as these can damage the finish.
- For internal cleaning, periodically inspect the fill valve and flush valve for mineral buildup. If necessary, turn off the water supply, drain the tank, and gently clean components with a soft brush.
6.2 การตรวจสอบชิ้นส่วน
- Regularly check the tank-to-bowl connection for any signs of leaks.
- Inspect the flapper or flush valve seal for wear. A worn seal can cause continuous running water.
- Ensure the fill valve is functioning correctly and the water level is set appropriately.
7 การแก้ไขปัญหา
ต่อไปนี้เป็นวิธีแก้ไขปัญหาทั่วไปที่คุณอาจพบเจอ:
| ปัญหา | สาเหตุที่เป็นไปได้ | สารละลาย |
|---|---|---|
| Tank leaks at base | Loose tank-to-bowl bolts, worn gasket | Gently tighten tank-to-bowl bolts. If leak persists, replace the tank-to-bowl gasket. |
| โถสุขภัณฑ์ทำงานอย่างต่อเนื่อง | Worn flapper/flush valve seal, misaligned fill valve, incorrect water level | Inspect and replace flapper/seal if worn. Adjust fill valve to ensure proper water level. Check for obstructions. |
| การล้างที่ไม่สมบูรณ์หรือไม่มีประสิทธิภาพ | Low water level, clogged siphon jet in bowl (not tank issue), flapper closing too quickly | Adjust water level higher in tank. Ensure flapper stays open long enough. Consult bowl manual for siphon jet cleaning. |
| Tank does not fill | Water supply off, clogged fill valve, faulty fill valve | Check water supply valve. Clean or replace fill valve if necessary. |
If these steps do not resolve the issue, please contact PROFLO customer support or a qualified plumber.
8. ข้อมูลจำเพาะ
| คุณสมบัติ | รายละเอียด |
|---|---|
| หมายเลขรุ่น | PF5114HE |
| สี | สีขาว |
| ขนาดสินค้า (ลึก x กว้าง x สูง) | 19" x 18" x 14" |
| วัสดุ | Plastic (internal components), Ceramic (tank body) |
| น้ำหนักสินค้า | 35.01 ปอนด์ |
| ประเภทการติดตั้ง | Floor Mounted (tank to bowl) |
| อัตราการไหล | 1.28 แกลลอนต่อการกดชักโครกหนึ่งครั้ง (GPF) |
| ยูพีซี | 781889237168 |
9. การรับประกันและการสนับสนุน
For warranty information, technical assistance, or to purchase replacement parts, please contact PROFLO customer support directly. Refer to the official PROFLO webเว็บไซต์หรือเอกสารการสั่งซื้อของคุณสำหรับรายละเอียดการติดต่อและเงื่อนไขการรับประกันที่เฉพาะเจาะจงซึ่งใช้ได้กับภูมิภาคของคุณ
When contacting support, please have your model number (PF5114HE) and date of purchase readily available.