
การแนะนำ
This manual provides detailed instructions for the setup, operation, and maintenance of your Taylor 1512 Wireless Digital Weather Station. This device is designed to accurately monitor both indoor and outdoor temperatures, offering convenience and essential weather information at a glance. Please read this manual thoroughly before using the device to ensure proper function and longevity.
ข้อมูลด้านความปลอดภัย
- Do not expose the main unit or remote sensor to extreme temperatures, direct sunlight, or excessive moisture.
- หลีกเลี่ยงการทำอุปกรณ์หล่นหรือกระแทกอย่างรุนแรง
- อย่าใช้แบตเตอรี่เก่าและใหม่ผสมกัน หรือแบตเตอรี่ประเภทต่างๆ
- ทิ้งแบตเตอรี่ที่ใช้แล้วอย่างรับผิดชอบตามข้อบังคับท้องถิ่น
- เก็บอุปกรณ์ให้พ้นจากมือเด็ก
เนื้อหาแพ็คเกจ
ตรวจสอบว่ามีส่วนประกอบทั้งหมดอยู่ในแพ็คเกจ:
- Taylor 1512 Main Display Unit
- เซนเซอร์รีโมทไร้สาย
- คู่มือการใช้งาน (เอกสารนี้)
สินค้าเกินview
The Taylor 1512 Wireless Digital Weather Station consists of a main display unit for indoor use and a remote sensor for outdoor temperature monitoring. The main unit features a clear LCD display showing time, date, indoor temperature, and outdoor temperature.
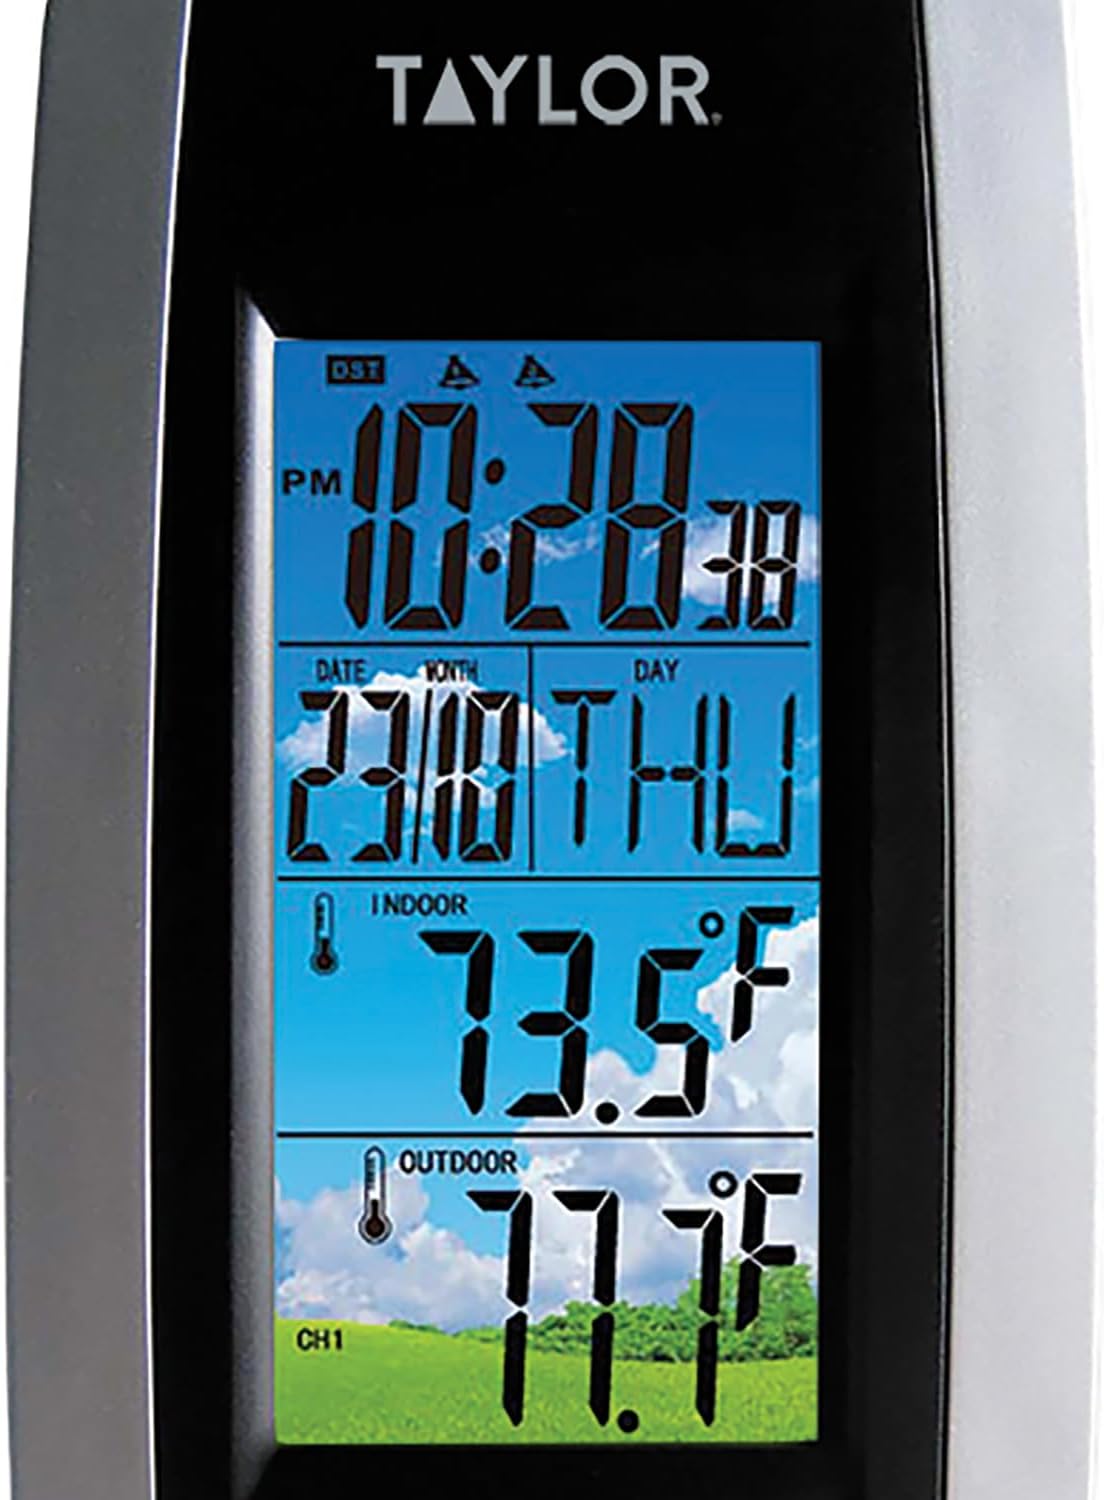
ภาพ: ด้านหน้า view of the main display unit. This image shows the digital display with time, date, indoor temperature (73.5°F), and outdoor temperature (77.7°F) clearly visible. The unit has a black and silver design.
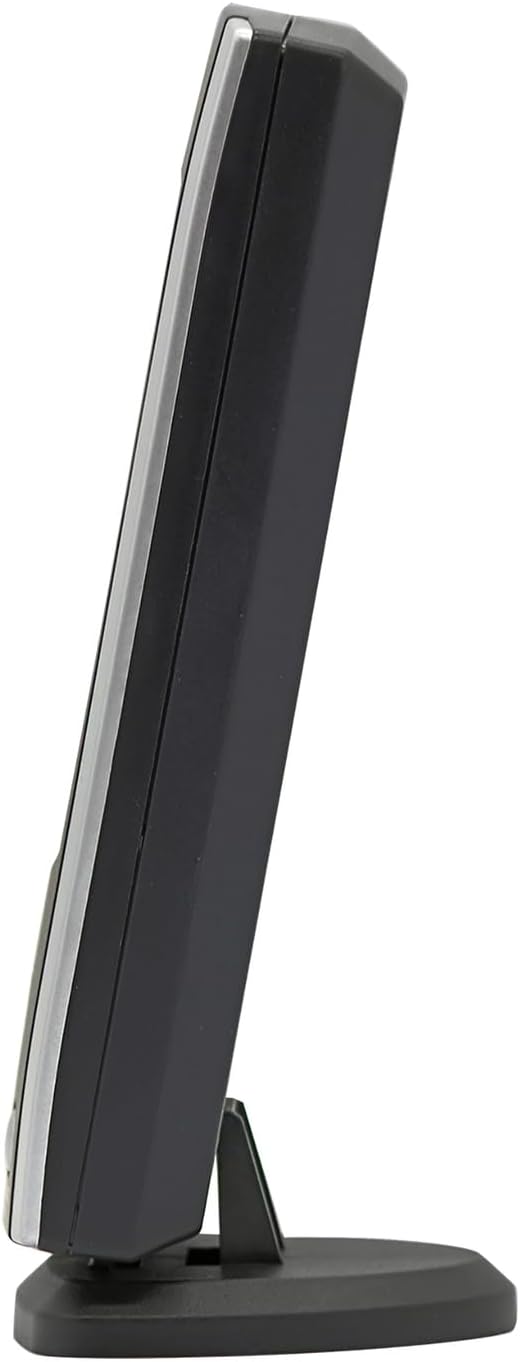
ภาพ: ด้านโปรfile of the main display unit. This view ไฮไลท์สลิมโปรfile of the weather station and its integrated kickstand for desktop placement.

ภาพ: ด้านหน้า view of the wireless remote sensor. The sensor is white with a black central panel and a small circular display showing temperature (73.5°F) and humidity (45%). It indicates 433MHz transmission.
การตั้งค่า
1. การติดตั้งแบตเตอรี่
สำหรับจอแสดงผลหลัก:
- เปิดฝาช่องใส่แบตเตอรี่ที่ด้านหลังของตัวเครื่องหลัก
- Insert the required batteries (e.g., 2x AAA, not included) according to the polarity markings (+ and -).
- ปิดฝาช่องใส่แบตเตอรี่ให้แน่น
For the Wireless Remote Sensor:
- เปิดฝาช่องใส่แบตเตอรี่ด้านหลังของเซ็นเซอร์ระยะไกล
- Insert the required batteries (e.g., 2x AAA, not included) according to the polarity markings (+ and -).
- ปิดฝาช่องใส่แบตเตอรี่ให้แน่น
2. การวางตำแหน่งเซนเซอร์
- Place the main display unit indoors, away from direct sunlight and heat sources, ensuring good ventilation.
- Mount the wireless remote sensor outdoors in a shaded area, protected from direct rain and sunlight, to ensure accurate temperature readings. The sensor transmits up to 100 feet (30 meters).
- Ensure the sensor is within the 100-foot transmission range of the main unit and free from major obstructions like thick walls or large metal objects that could interfere with the wireless signal.
3 การซิงโครไนซ์เบื้องต้น
After installing batteries in both units, the main display unit will automatically attempt to connect with the remote sensor. This process may take a few minutes. Once connected, the outdoor temperature will appear on the main display.
คำแนะนำการใช้งาน
1. แสดงข้อมูล
หน้าจอแสดงผลหลักจะแสดงข้อมูลดังต่อไปนี้:
- เวลา: Current time (hour, minute, second).
- วันที่: Month, day, and day of the week.
- อุณหภูมิในร่ม: Temperature measured by the main unit.
- อุณหภูมิภายนอก: Temperature transmitted by the wireless remote sensor.
2. Temperature Unit Selection (Fahrenheit/Celsius)
To switch between Fahrenheit (°F) and Celsius (°C) temperature readings, locate the "F/C" button (or similar) on the back or side of the main display unit. Press this button to toggle between the two units.
3. การตั้งเวลาและวันที่
Specific buttons for setting time and date are usually located on the back of the main unit. Look for buttons labeled "MODE", "SET", "ADJ", or similar. Follow these general steps:
- Press the "MODE" or "SET" button to enter time/date setting mode.
- Use "ADJ" or arrow buttons to adjust the flashing value (e.g., hour, minute, year, month, day).
- Press "MODE" or "SET" again to confirm the setting and move to the next value.
- Exit setting mode by pressing "MODE" or "SET" until the display returns to normal, or by leaving it idle for a few seconds.
การซ่อมบำรุง
- การทำความสะอาด: เช็ดทำความสะอาดตัวเครื่องหลักและเซ็นเซอร์ด้วยผ้าเนื้อนุ่มและแห้งamp ผ้า ห้ามใช้สารทำความสะอาดที่มีฤทธิ์กัดกร่อนหรือตัวทำละลาย
- การเปลี่ยนแบตเตอรี่: Replace batteries in both units when the low battery indicator appears on the display, or if the display becomes dim or unresponsive. Always replace all batteries at the same time.
- การจัดเก็บระยะยาว: If the device will not be used for an extended period, remove all batteries to prevent leakage.
การแก้ไขปัญหา
| ปัญหา | สาเหตุที่เป็นไปได้ | สารละลาย |
|---|---|---|
| ไม่มีหน้าจอแสดงผลบนตัวเครื่องหลัก | แบตเตอรี่หมดหรือใส่ไม่ถูกต้อง | ตรวจสอบขั้วแบตเตอรี่และเปลี่ยนแบตเตอรี่ใหม่ |
| อุณหภูมิภายนอกไม่แสดงผลหรือแสดงผลไม่ถูกต้อง |
|
|
| หน้าจอแสดงผลมืดหรืออ่านยาก | แบตเตอรี่ในตัวเครื่องหลักเหลือน้อย | เปลี่ยนแบตเตอรี่ในตัวเครื่องหลัก |
ข้อมูลจำเพาะ
- แบบอย่าง: 1512
- ประเภทจอภาพ: จอแอลซีดี
- ช่วงอุณหภูมิในร่ม: โดยทั่วไปอุณหภูมิจะอยู่ระหว่าง 32 ถึง 122 องศาฟาเรนไฮต์ (0 ถึง 50 องศาเซลเซียส)
- ช่วงอุณหภูมิกลางแจ้ง: โดยทั่วไปอุณหภูมิจะอยู่ระหว่าง -4°F ถึง 158°F (-20°C ถึง 70°C)
- ความแม่นยำของอุณหภูมิ: ±1 องศาเซลเซียส (±1.8 องศาฟาเรนไฮต์)
- ช่วงการส่งสัญญาณไร้สาย: Up to 100 feet (30 meters) in open air.
- เทคโนโลยีการเชื่อมต่อ: ไร้สาย (433MHz)
- แหล่งพลังงาน:
- Main Unit: AC adapter (not specified if included)
- Remote Sensor: Batteries (e.g., 2x AAA, not included)
- วัสดุ: พลาสติก
- สี: สีดำและสีเงิน
- น้ำหนักสินค้า: 7.2 ounces (main unit)
การรับประกันและการสนับสนุน
This product comes with a manufacturer's warranty. For specific details regarding the warranty period and coverage, please refer to the documentation included with your purchase or contact Taylor customer support. For technical assistance or further inquiries, please visit the official Taylor webเว็บไซต์หรือติดต่อฝ่ายบริการลูกค้าของพวกเขา
รายละเอียดการรับประกัน: การรับประกัน