1. บทนำ
ขอบคุณสำหรับการซื้อasing the Lexon LR98R1 Onoff LCD Alarm Clock. This manual provides detailed instructions for the proper setup, operation, and maintenance of your device. Please read this manual thoroughly before use and retain it for future reference.
The Lexon Onoff alarm clock features a unique design where flipping the clock activates or deactivates the alarm. It includes an LCD display with a blue electroluminescent backlight for clear visibility.
2. ข้อมูลด้านความปลอดภัย
- อย่าให้เครื่องสัมผัสกับอุณหภูมิที่สูงหรือต่ำเกินไป แสงแดดโดยตรง หรือความชื้นสูง
- หลีกเลี่ยงการทำอุปกรณ์หล่นหรือกระแทกอย่างรุนแรง
- Do not attempt to disassemble or modify the alarm clock. This will void the warranty.
- เก็บอุปกรณ์ให้ห่างจากน้ำและของเหลวอื่นๆ
- ทิ้งแบตเตอรี่ที่ใช้แล้วอย่างรับผิดชอบตามข้อบังคับท้องถิ่น
- ใช้เฉพาะแบตเตอรี่ชนิดที่ระบุเท่านั้น (AAA 2 ก้อน)
3. เนื้อหาบรรจุภัณฑ์
ตรวจสอบให้แน่ใจว่ามีรายการทั้งหมดอยู่ในบรรจุภัณฑ์:
- Lexon LR98R1 Onoff LCD Alarm Clock
- คู่มือการใช้งาน (เอกสารนี้)
หมายเหตุ: ไม่รวมแบตเตอรี่ AAA ต้องซื้อแยกต่างหาก
4. สินค้าหมดview
Familiarize yourself with the components of your Lexon Onoff alarm clock.
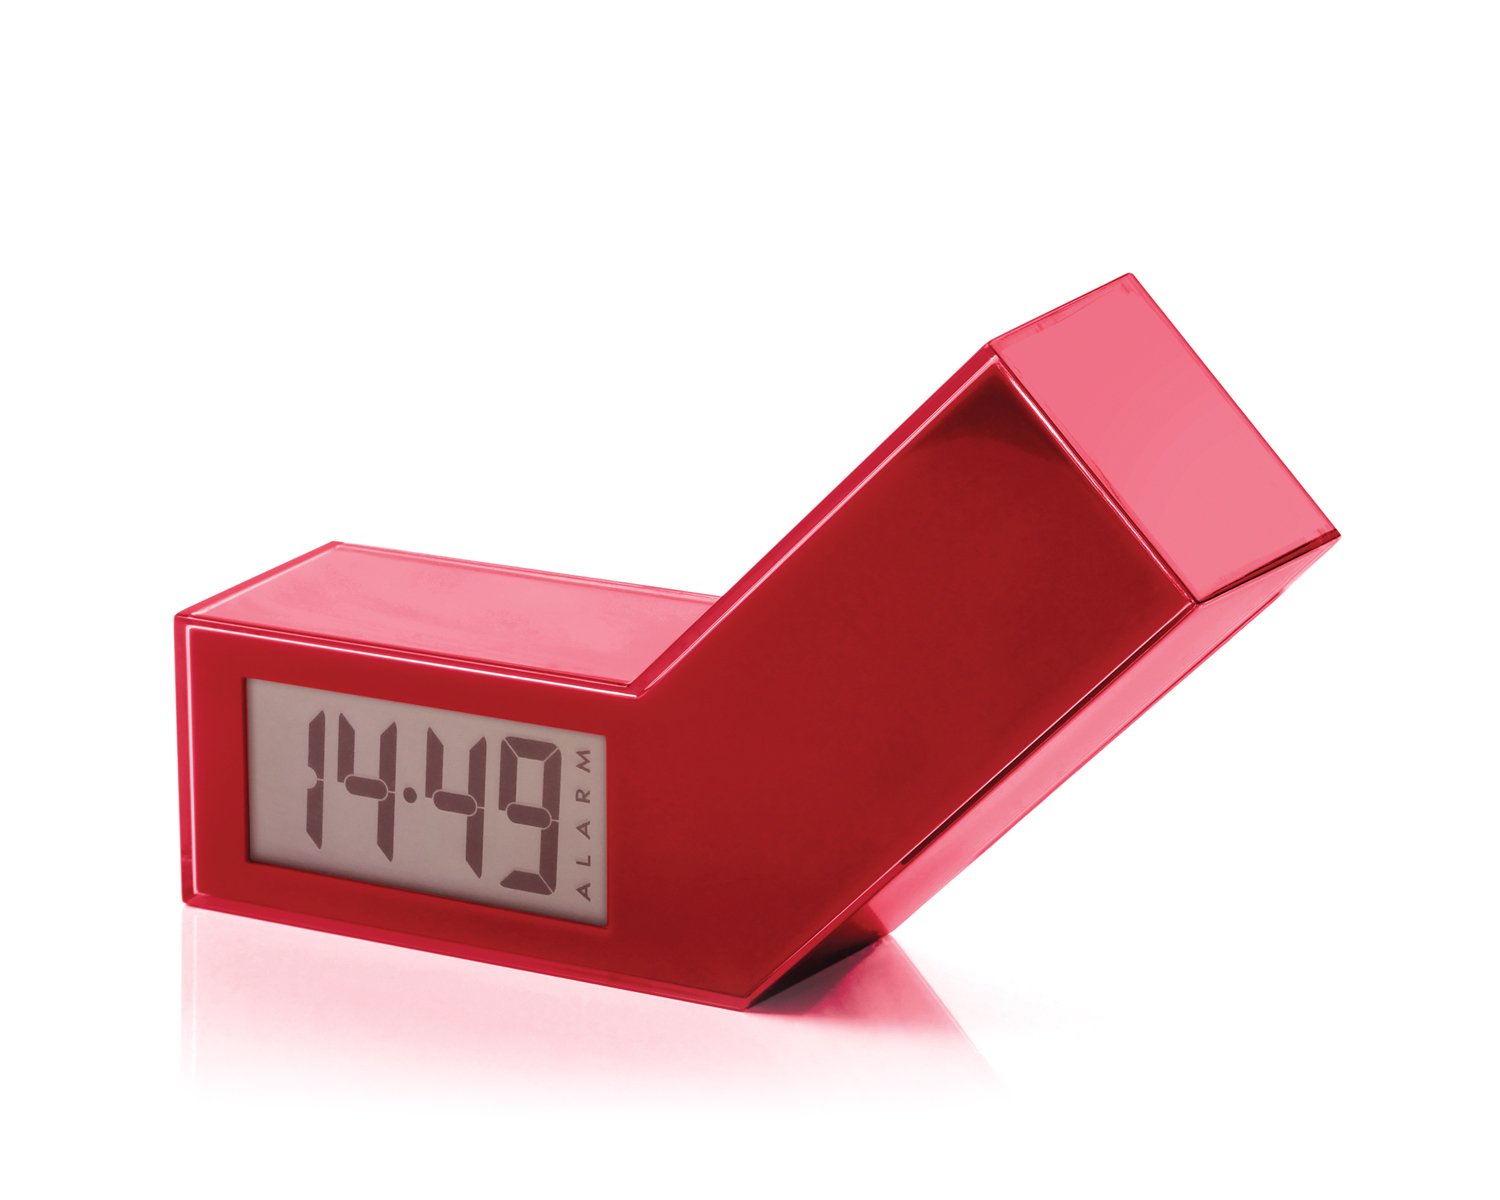
รูปที่ 1 : ด้านหน้า view of the Lexon LR98R1 Onoff LCD Alarm Clock. The image displays the alarm clock in its red casing, with the LCD screen visible. The side labeled 'ON' is facing upwards, indicating the alarm is active. The clock has a minimalist rectangular design.
While specific button labels are not visible in the provided image, typical alarm clock controls are usually located on the back or sides. These generally include:
- ปุ่มตั้งเวลา: To adjust the current time.
- ปุ่มตั้งค่านาฬิกาปลุก: To adjust the alarm time.
- Hour/Minute Adjustment Buttons: To change hour and minute values.
- ปุ่มเลื่อน/ไฟ: To temporarily silence the alarm or activate the backlight.
- ช่องใส่แบตเตอรี่: Located on the back or bottom.
5. การตั้งค่า
5.1 การติดตั้งแบตเตอรี่
- Locate the battery compartment cover on the back or bottom of the alarm clock.
- เลื่อนหรือยกฝาขึ้นเพื่อเปิดช่อง
- ใส่แบตเตอรี่ AAA สอง (2) ก้อน โดยตรวจสอบให้แน่ใจว่าขั้วถูกต้อง (+ และ -) ตามที่ระบุไว้ภายในช่องใส่แบตเตอรี่
- ใส่ฝาปิดช่องใส่แบตเตอรี่กลับเข้าที่อย่างแน่นหนา
Note: Batteries are not included. Please use new AAA alkaline batteries for optimal performance.
5.2 การเปิดเครื่องครั้งแรก
Once batteries are installed, the LCD display should illuminate, and the clock will typically start at a default time (e.g., 12:00 AM). You will then need to set the current time and alarm.
6. คู่มือการใช้งาน
6.1 การตั้งเวลาปัจจุบัน
- กดปุ่มค้างไว้ ตั้งเวลา button (or similar, refer to device markings) until the hour digits begin to flash.
- ใช้ ชั่วโมง และ นาที adjustment buttons to set the correct hour and minute.
- กด ตั้งเวลา อีกครั้งเพื่อยืนยันและออกจากโหมดตั้งเวลา
6.2 การตั้งเวลาปลุก
- กดปุ่มค้างไว้ ตั้งปลุก button (or similar) until the alarm hour digits begin to flash.
- ใช้ ชั่วโมง และ นาที adjustment buttons to set your desired alarm time.
- กด ตั้งปลุก again to confirm and exit alarm setting mode.
6.3 Activating/Deactivating the Alarm (Onoff Feature)
The Lexon Onoff alarm clock features a unique flip mechanism:
- ถึง เปิดใช้งาน the alarm, place the clock with the side labeled "ON" facing upwards. An alarm icon should appear on the LCD display.
- ถึง ปิดการใช้งาน the alarm, flip the clock so the side labeled "ปิด" is facing upwards. The alarm icon should disappear from the display.
6.4 Silencing the Alarm / Snooze Function
- เมื่อเสียงปลุกดัง ให้กด สนูซ / ไลท์ button (usually a large button on top) to temporarily silence the alarm. The alarm will sound again after a few minutes (typically 5-10 minutes).
- To completely turn off the alarm for the day, flip the clock to the "ปิด" position.
6.5 ไฟแบ็คไลท์ของจอแสดงผล
กดปุ่ม สนูซ / ไลท์ button to activate the blue electroluminescent backlight for a few seconds, allowing you to view ระยะเวลาในสภาพแสงน้อย
7. การบำรุงรักษา
7.1 การทำความสะอาด
Wipe the surface of the alarm clock with a soft, dry cloth. Do not use abrasive cleaners, solvents, or chemical sprays, as these may damage the finish or electronic components.
7.2 การเปลี่ยนแบตเตอรี่
When the display dims or the alarm function becomes unreliable, it is time to replace the batteries. Follow the battery installation steps in Section 5.1. Always replace both AAA batteries at the same time.
8 การแก้ไขปัญหา
| ปัญหา | สาเหตุที่เป็นไปได้ | สารละลาย |
|---|---|---|
| จอแสดงผลว่างเปล่าหรือมืดลง | แบตเตอรี่หมดหรือติดตั้งไม่ถูกต้อง | เปลี่ยนแบตเตอรี่ด้วยแบตเตอรี่ AAA ใหม่ โดยตรวจสอบให้แน่ใจว่าใส่ขั้วถูกต้อง |
| สัญญาณเตือนภัยไม่ดัง | Alarm is not activated (clock is in "OFF" position) or alarm time is not set. | Flip the clock to the "ON" position. Verify the alarm time is set correctly (Section 6.2). Ensure batteries are not low. |
| เวลาไม่ถูกต้อง | เวลาไม่ได้ถูกตั้งเวลาให้ถูกต้อง หรือแบตเตอรี่ถูกถอด/เปลี่ยน | Reset the current time (Section 6.1). |
| Backlight does not work. | แบตเตอรี่อ่อน | เปลี่ยนแบตเตอรี่ |
9. ข้อมูลจำเพาะ
| หมายเลขรุ่น | LR98R1 |
| ยี่ห้อ | เลกซอน |
| ประเภทจอภาพ | LCD with Blue Electroluminescent Backlight |
| แหล่งพลังงาน | 2 x แบตเตอรี่ AAA (ไม่รวม) |
| วัสดุ | ABS / Injected Polycarbonate |
| ขนาด (กว้าง x ยาว x สูง) | 13.5 x 3.5 x 8 ซม. (ประมาณ 5.3 x 1.4 x 3.1 นิ้ว) |
| ประเภทการเคลื่อนไหว | ควอตซ์ |
| คุณสมบัติพิเศษ | Onoff flip alarm activation/deactivation, Snooze function |
10. การรับประกันและการสนับสนุน
The Lexon LR98R1 Onoff LCD Alarm Clock comes with a การรับประกันจากผู้ผลิต 2 ปี ตั้งแต่วันที่ซื้อ การรับประกันนี้ครอบคลุมถึงข้อบกพร่องในวัสดุและฝีมือการผลิตภายใต้การใช้งานปกติ
การรับประกันไม่ครอบคลุมถึง:
- ความเสียหายที่เกิดจากอุบัติเหตุ การใช้งานในทางที่ผิด น้ำท่วม ไฟไหม้ แผ่นดินไหว หรือสาเหตุภายนอกอื่นๆ
- Damage caused by operating the product outside the permitted or intended uses described in this manual.
- Damage caused by service performed by anyone who is not an authorized representative of Lexon.
- Products or parts that have been modified to alter functionality or capability without the written permission of Lexon.
For warranty claims or technical support, please contact Lexon customer service through their official website or your retailer. Please have your proof of purchase and model number (LR98R1) ready.