การแนะนำ
This manual provides essential instructions for the setup, operation, and maintenance of your Craig Electronics CVD508 Digital to Analog Broadcast Converter. This device is designed to convert digital television (ATSC) signals for display on analog (NTSC) televisions, allowing older TVs to receive modern broadcast signals.
ข้อมูลด้านความปลอดภัย
- อย่าให้เครื่องโดนฝนหรือความชื้นเพื่อป้องกันไฟไหม้หรือไฟฟ้าช็อต
- อย่าเปิดcasinก. ส่งต่อการบริการทั้งหมดให้กับบุคลากรที่มีคุณสมบัติเหมาะสม
- ตรวจสอบให้แน่ใจว่ามีการระบายอากาศที่เหมาะสมรอบๆ ตัวเครื่องเพื่อป้องกันความร้อนสูงเกินไป
- ใช้เฉพาะอะแดปเตอร์ AC/DC ที่ให้มาเท่านั้น
- ควรวางอุปกรณ์ให้ห่างจากแสงแดดโดยตรง แหล่งความร้อน และสนามแม่เหล็กแรงสูง
เนื้อหาแพ็คเกจ
โปรดตรวจสอบว่ารายการทั้งหมดที่ระบุไว้ด้านล่างรวมอยู่ในแพ็คเกจของคุณหรือไม่:
- Craig Electronics CVD508 Digital to Analog Broadcast Converter
- Remote Control (requires 2 x 'AAA' batteries, included)
- อะแดปเตอร์ AC/DC
- สายโคแอกเชียล RF
- อาร์ซีเอเคเบิ้ล
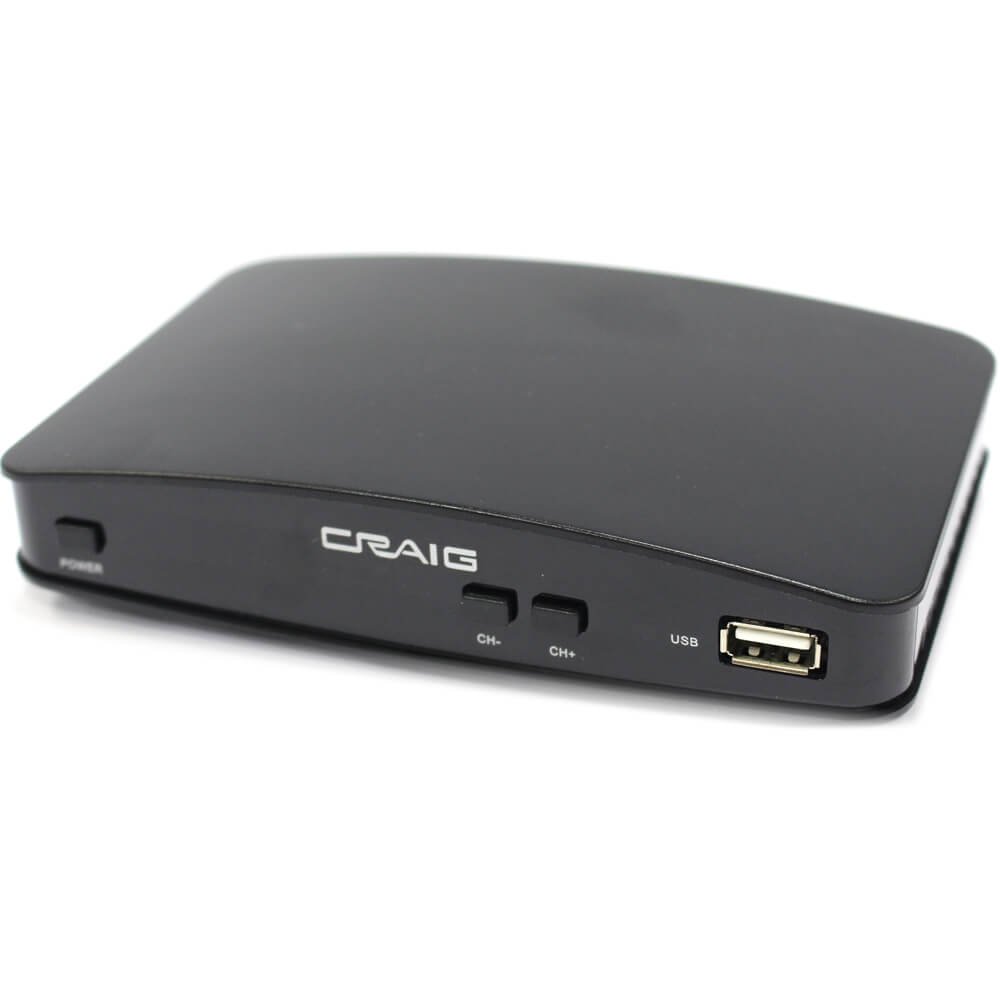
สินค้าเกินview
The Craig Electronics CVD508 converter features various ports for connectivity to your television and antenna. Familiarize yourself with the device's layout before setup.
ภาพ: หลัง view of the Craig Electronics CVD508 Digital to Analog Broadcast Converter. From left to right, the ports include two coaxial inputs/outputs, an HDMI output, an audio output jack, and three RCA (composite video and stereo audio) outputs, followed by the DC power input.
คำแนะนำการตั้งค่า
- เชื่อมต่อเสาอากาศ: Connect your outdoor or indoor antenna to the 'ANT IN' coaxial port on the converter using an RF coaxial cable.
- เชื่อมต่อกับทีวี:
- Using RCA Cables (Recommended for Analog TVs): Connect the yellow (video), white (left audio), and red (right audio) RCA cables from the converter's 'VIDEO OUT' and 'AUDIO L/R' ports to the corresponding input ports on your analog television.
- Using RF Coaxial Cable (Alternative for Analog TVs): Connect an RF coaxial cable from the converter's 'RF OUT' port to the 'ANT IN' or 'CABLE IN' port on your television. Tune your TV to channel 3 or 4.
- การเชื่อมต่อไฟฟ้า: Connect the AC/DC adapter to the 'DC IN' port on the converter, then plug the adapter into a standard electrical outlet.
- เปิดเครื่อง: Turn on your television and the converter. Select the correct input source (e.g., AV, Video 1, TV/Antenna) on your television that corresponds to the connection you made.
- การสแกนช่องเริ่มต้น: Navigate to the converter's menu (usually by pressing the 'MENU' button on the remote) and select the 'Channel Search' or 'Auto Scan' option. The converter will scan for available digital broadcast channels. This process may take several minutes.
คำแนะนำการใช้งาน
ฟังก์ชั่นการควบคุมระยะไกล
The included remote control allows you to navigate menus, change channels, adjust volume, and access various features. Ensure the 'AAA' batteries are correctly inserted.
การทำงานพื้นฐาน
- การเลือกช่อง: Use the 'CH+' / 'CH-' buttons or the numeric keypad on the remote to change channels.
- การควบคุมระดับเสียง: Use the 'VOL+' / 'VOL-' buttons to adjust the audio volume.
- การแสดงผลบนหน้าจอ (OSD): Press the 'MENU' button to access the main menu. Here you can configure settings such as:
- ภาษา: Select your preferred language for the OSD.
- Closed Captioning (CCD): Enable or disable closed captions for programs that support them.
- คู่มือโปรแกรมอิเล็กทรอนิกส์ (EPG): View program schedules and information for available channels.
- ล็อคโดยผู้ปกครอง: Set up a password to restrict access to certain channels or programs.
- อัตราส่วนภาพ: Adjust the display aspect ratio (Full, Letterbox, Center) to best fit your television screen. This option is typically found in the 'Display' or 'Picture' settings within the OSD.
- Audio Output Tracks: If available from the TV broadcast, you can select different audio output tracks (e.g., primary audio, secondary audio, descriptive audio) through the OSD settings.
การซ่อมบำรุง
- การทำความสะอาด: Use a soft, dry cloth to clean the exterior of the converter. Do not use liquid cleaners or abrasive materials.
- พื้นที่จัดเก็บ: หากจะจัดเก็บเครื่องเป็นเวลานาน ควรถอดปลั๊กออกและเก็บไว้ในที่แห้งและเย็น
- แบตเตอรี่ควบคุมระยะไกล: Replace the 'AAA' batteries in the remote control when its performance diminishes.
การแก้ไขปัญหา
| ปัญหา | สาเหตุที่เป็นไปได้ | สารละลาย |
|---|---|---|
| ไม่มีภาพหรือเสียง | Incorrect input source selected on TV; loose cable connections; converter not powered on. | Ensure TV is on correct input (AV, Video 1, TV/Antenna). Check all cable connections. Verify converter is plugged in and powered on. |
| ข้อความ "ไม่มีสัญญาณ" | Antenna not connected or positioned correctly; channel scan not performed or incomplete. | Check antenna connection and position. Perform a channel scan through the converter's menu. |
| Picture freezing or pixelated | Weak antenna signal; interference. | Adjust antenna position. Consider using an amplified antenna or repositioning the converter away from other electronics. |
| รีโมตคอนโทรลไม่ทำงาน | Dead batteries; obstruction between remote and converter; remote not pointed at IR sensor. | Replace batteries. Remove any obstructions. Point remote directly at the converter's front panel. |
| Cannot access all channels | Incomplete channel scan; weak signal for certain channels. | Perform another channel scan. Adjust antenna direction and try scanning again. |
ข้อมูลจำเพาะ
- แบบอย่าง: CVD508
- ยี่ห้อ: เครก
- การทำงาน: Digital (ATSC) to Analog (NTSC) Broadcast Converter
- ประเภทอินเทอร์เฟซ: โคแอกเชียล RCA
- วัสดุ: พลาสติก
- พลัง: AC Operation (AC Adapter Included)
- คุณสมบัติ: Multi-language OSD, Closed Captioning (CCD), Loop Through, Electronic Program Guide (EPG), Parental Lock, Aspect Ratio Support (Full, Letter, Center), Stereo Audio Output, Selectable Multi Audio Output Tracks.
- เครื่องประดับ: Remote Control, AC/DC Adapter, RF Coaxial Cable, RCA Cable
การรับประกันและการสนับสนุน
For warranty information or technical support, please refer to the documentation provided with your purchase or contact Craig Electronics customer service. Keep your purchase receipt as proof of purchase.