1. บทนำ
This manual provides detailed instructions for the installation, operation, and maintenance of the Pentair 195008 O-Ring Tank. This O-ring is specifically designed for use with Pentair FNS pool and spa D.E. filters, including models FNS 24, FNS 36, FNS 48, and FNS 60. Proper installation and maintenance are crucial for ensuring a watertight seal and optimal filter performance.
The Pentair 195008 is a replacement O-ring for the main tank body, ensuring a secure seal between the filter tank halves. It is important to verify that your filter requires a trapezoidal-shaped O-ring, as this model is designed with that specific profile.
2. สินค้าหมดview
The Pentair 195008 O-Ring Tank is a critical component for maintaining the integrity of your D.E. filter system. Its primary function is to create a leak-proof seal, preventing water bypass and ensuring efficient filtration.
- หมายเลขชิ้นส่วน: 195008
- ความเข้ากันได้: Pentair FNS 24, FNS 36, FNS 48, FNS 60 D.E. Filters
- การทำงาน: Tank O-Ring Replacement
- รูปร่าง: รูปทรงสี่เหลี่ยมคางหมู
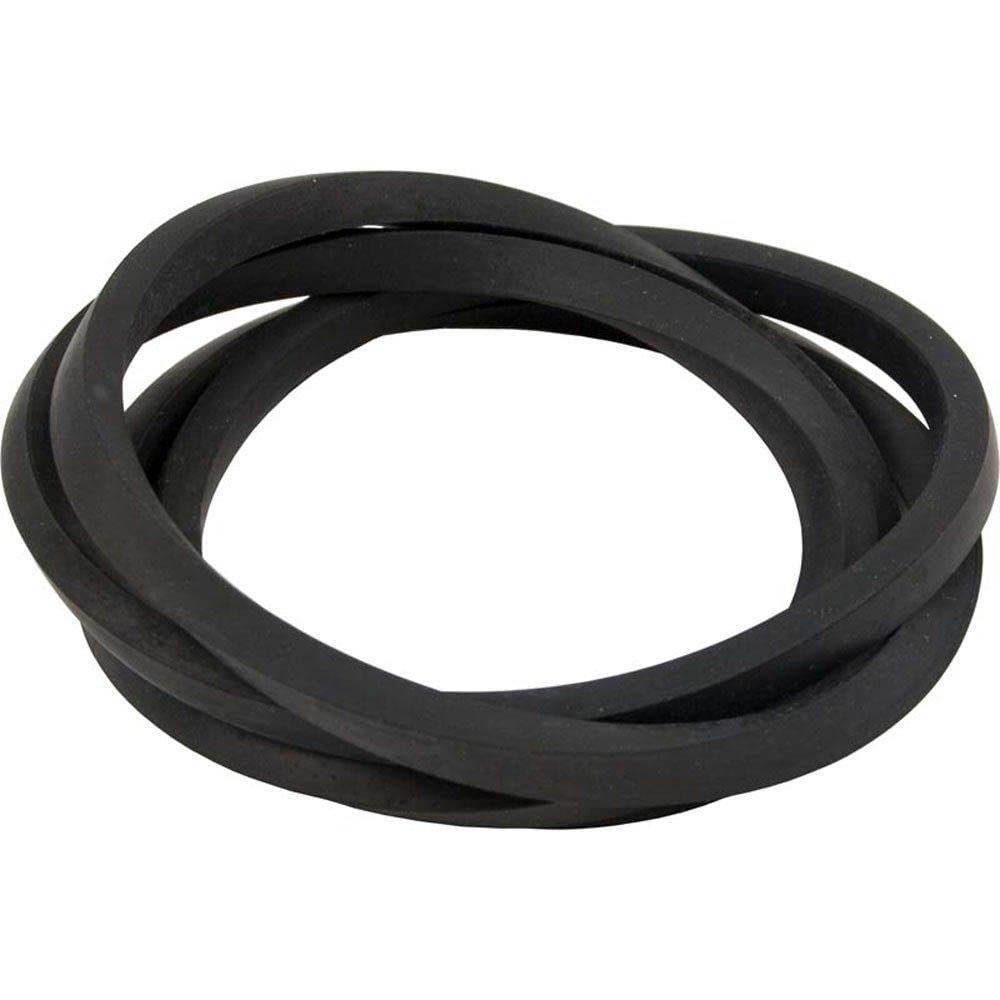
Image 1: The Pentair 195008 O-Ring Tank Replacement. This image shows the black, trapezoidal-shaped O-ring, which is essential for sealing the filter tank.
3. การตั้งค่าและการติดตั้ง
Follow these steps carefully to replace the O-ring and ensure a proper seal.
ข้อควรระวังเพื่อความปลอดภัย:
- Always turn off the pool pump and disconnect power before servicing the filter.
- Relieve all pressure from the filter tank before attempting to open it. Refer to your filter's main manual for specific pressure relief procedures.
- สวมอุปกรณ์ป้องกันส่วนบุคคลที่เหมาะสม เช่น ถุงมือและอุปกรณ์ป้องกันดวงตา
ขั้นตอนการติดตั้ง:
- เตรียมตัวกรอง: Turn off the pool pump and disconnect its power. Open the air relief valve on top of the filter to release any trapped air and pressure. Drain the filter tank completely by opening the drain plug at the bottom.
- Open the Filter Tank: ถอด clamp that holds the two halves of the filter tank together. Carefully separate the upper and lower tank halves.
- ถอดโอริงเก่าออก: Locate the old O-ring seated in the groove between the tank halves. Carefully remove it. Inspect the old O-ring for signs of wear, cracking, or flattening.
- ทำความสะอาดร่อง: Thoroughly clean the O-ring groove on both tank halves. Remove any debris, dirt, or old lubricant. A clean surface is essential for a proper seal.
- ทาจาระบีที่โอริงใหม่: Apply a thin, even coat of a silicone-based lubricant specifically designed for pool O-rings to the new Pentair 195008 O-ring. Do not use petroleum-based lubricants, as they can damage the O-ring material.
- ติดตั้งโอริงใหม่: Carefully seat the lubricated O-ring into the groove on the lower filter tank half. Ensure it is evenly seated and not twisted or stretched. Confirm that the trapezoidal shape of the O-ring aligns correctly with the tank's design.
- Reassemble Tank: Carefully place the upper filter tank half onto the lower half, ensuring the O-ring remains properly seated. Reinstall the tank clamp, making sure it is centered and tightened according to your filter's specific instructions. Typically, the clamp should be tightened until the spring is compressed or to a specified torque.
- เริ่มระบบใหม่: Close the filter drain plug and ensure the air relief valve is open. Turn on the pool pump. Once water begins to flow from the air relief valve, close the valve. Check for any leaks around the tank clamp.
4. ปฏิบัติการ
Once installed, the Pentair 195008 O-Ring operates passively by maintaining a watertight seal within the filter tank. Its proper function is critical for the filter to hold pressure and prevent water from bypassing the D.E. filter grids. No specific operational steps are required for the O-ring itself beyond ensuring its correct installation.
5. การบำรุงรักษา
Regular maintenance of the O-ring extends its lifespan and prevents leaks.
- การตรวจสอบ: Each time the filter tank is opened for cleaning or D.E. grid maintenance, inspect the O-ring for any signs of wear, cracks, flattening, or damage. Replace the O-ring if any damage is observed.
- การทำความสะอาด: Clean the O-ring and its groove thoroughly during filter servicing. Remove any accumulated debris or D.E. powder.
- การหล่อลื่น: Re-lubricate the O-ring with a silicone-based lubricant every time the filter tank is opened and reassembled. This helps maintain its flexibility and sealing properties.
- พื้นที่จัดเก็บ: If storing a spare O-ring, keep it in a cool, dry place away from direct sunlight and chemicals that could degrade the material.
6 การแก้ไขปัญหา
If you experience issues after replacing the O-ring, consider the following:
- Leaks from the Tank Clamp:
- การจัดที่นั่งไม่เหมาะสม: The O-ring may not be seated correctly in its groove or could be twisted. Disassemble, inspect, and re-seat the O-ring carefully.
- การหล่อลื่นไม่เพียงพอ: A dry O-ring can prevent a proper seal. Ensure it is adequately lubricated with silicone-based lubricant.
- Damaged O-Ring: The O-ring may have been damaged during installation or could be faulty. Inspect for cuts, nicks, or flat spots. Replace if damaged.
- Incorrect O-Ring Type: Ensure you have the correct trapezoidal O-ring (Pentair 195008) for your specific Pentair FNS filter model. Using a round O-ring where a trapezoidal one is required will result in leaks.
- Cl ไม่เหมาะสมamp กระชับ: ถังเก็บน้ำamp may not be tightened sufficiently or evenly. Refer to your filter's manual for correct tightening procedures.
- การสูญเสียความดัน: While less common for an O-ring issue alone, a compromised seal can contribute to pressure loss. Verify the O-ring's integrity and proper installation.
7. ข้อมูลจำเพาะ
| ยี่ห้อ | เพนแทร์ |
| หมายเลขรุ่น | 195008 |
| หมายเลขชิ้นส่วน | 195008 |
| UPC / GTIN | 788379693374 |
| สี | สีดำ |
| น้ำหนักสินค้า | 3.2 ออนซ์ |
| ส่วนประกอบที่รวมอยู่ | O-Ring Tank |
8. การรับประกันและการสนับสนุน
Specific warranty information for the Pentair 195008 O-Ring Tank Replacement is not available in the provided product data. For warranty details or technical support, please refer to the official Pentair website or contact Pentair customer service directly. Always retain your proof of purchase for any warranty claims.