
1. บทนำ
This manual provides essential information for the safe and efficient operation of your Technaxx Wireless CarPlay & Android Car Monitor TX-361. Please read this manual thoroughly before using the device and retain it for future reference. The TX-361 is designed to integrate modern smartphone connectivity, including Apple CarPlay and Android Auto, into your vehicle without requiring a complex car radio replacement. It also features an integrated DAB digital radio for enhanced audio experience.
2. ข้อมูลด้านความปลอดภัย
- โปรดใช้งานอุปกรณ์อย่างมีความรับผิดชอบและสอดคล้องกับกฎจราจรท้องถิ่นอยู่เสมอ การขับขี่โดยขาดสมาธิอาจนำไปสู่อุบัติเหตุได้
- ห้ามถอดประกอบหรือดัดแปลงอุปกรณ์ การกระทำดังกล่าวอาจทำให้การรับประกันเป็นโมฆะและก่อให้เกิดความเสี่ยงด้านความปลอดภัย
- เก็บอุปกรณ์ให้ห่างจากอุณหภูมิที่สูงหรือต่ำมาก แสงแดดโดยตรง และความชื้น
- ตรวจสอบให้แน่ใจว่าอุปกรณ์ติดตั้งอย่างแน่นหนาและไม่กีดขวางทางเดินของคุณ view หรือรบกวนการควบคุมรถ
- ใช้เฉพาะสายไฟและอุปกรณ์เสริมที่ให้มาเท่านั้น
- If the device malfunctions, disconnect it from the power source and contact customer support.
3. เนื้อหาบรรจุภัณฑ์
ตรวจสอบว่ารายการทั้งหมดที่ระบุไว้ด้านล่างนี้รวมอยู่ในแพ็คเกจของคุณ:
- DAB 7-inch CarPlay with Touch Screen TX-361
- Power Supply (USB-A to USB-C, 1.5m cable)
- สาย AUX (1 เมตร)
- DAB เสาอากาศ
- Holder (Mounting Bracket)
- คู่มือการใช้งาน
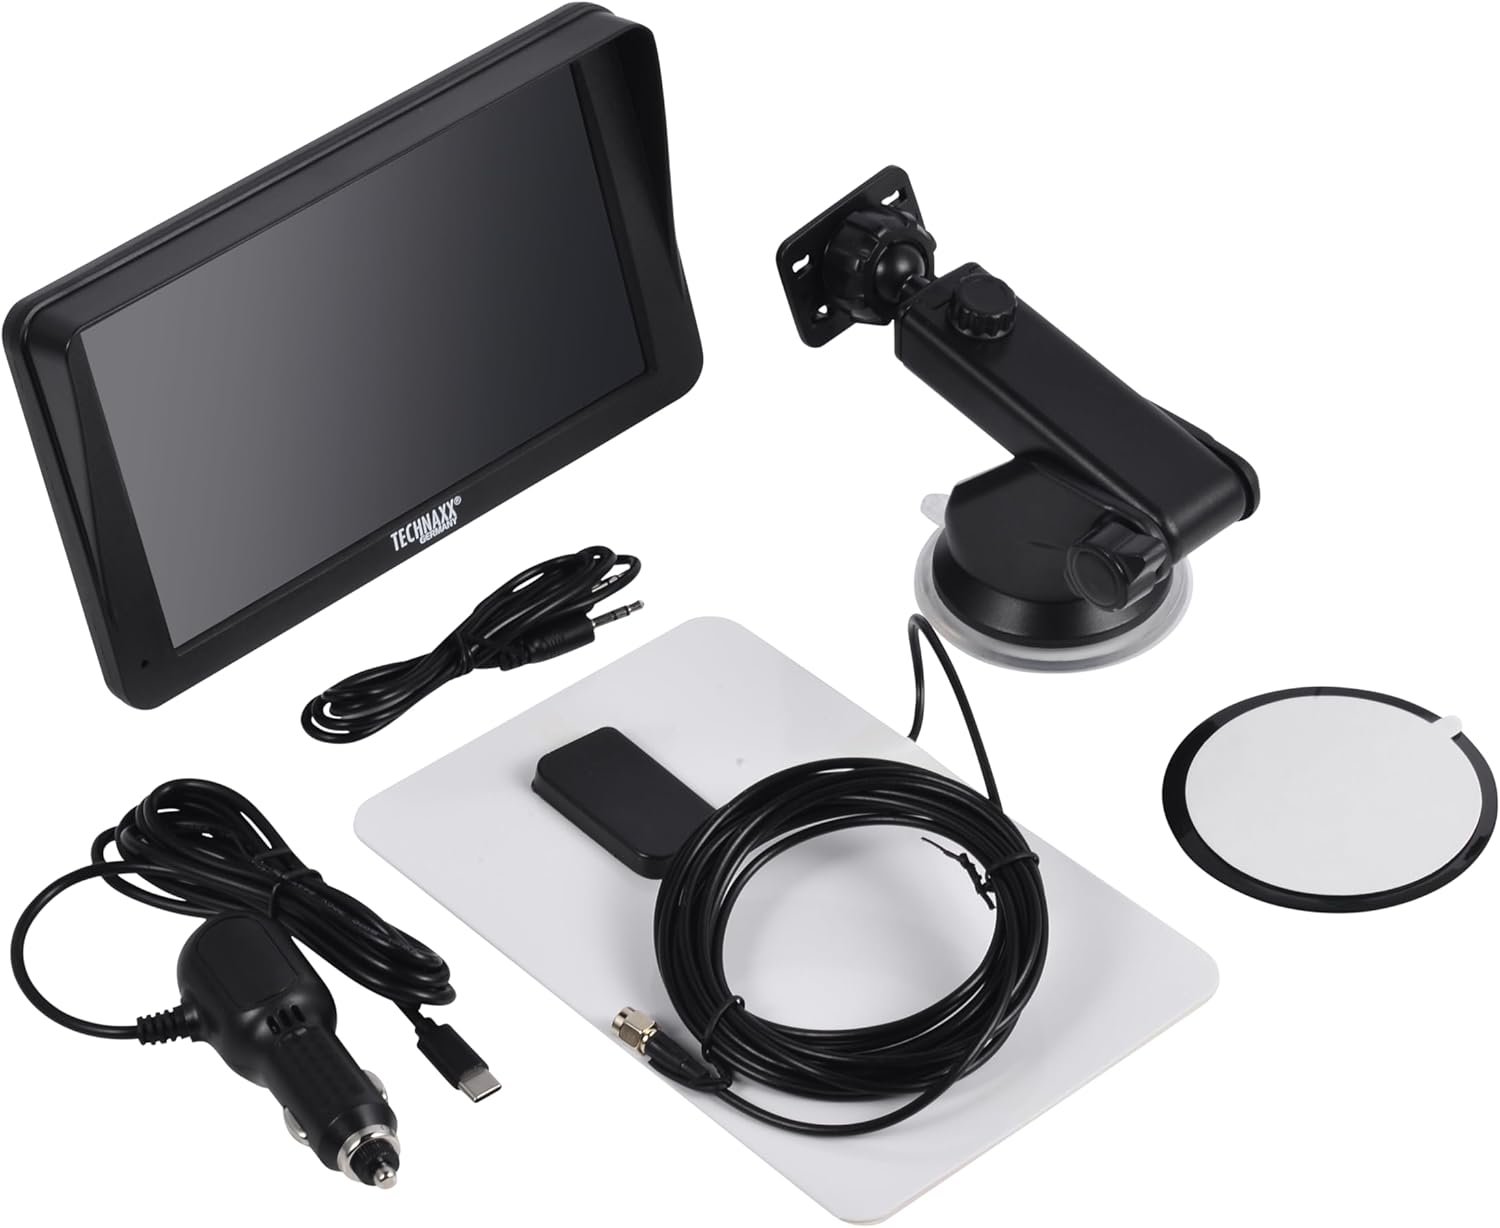
Image: All components included in the Technaxx TX-361 package, neatly laid out.
4. สินค้าหมดview
Familiarize yourself with the main components of your TX-361 monitor.
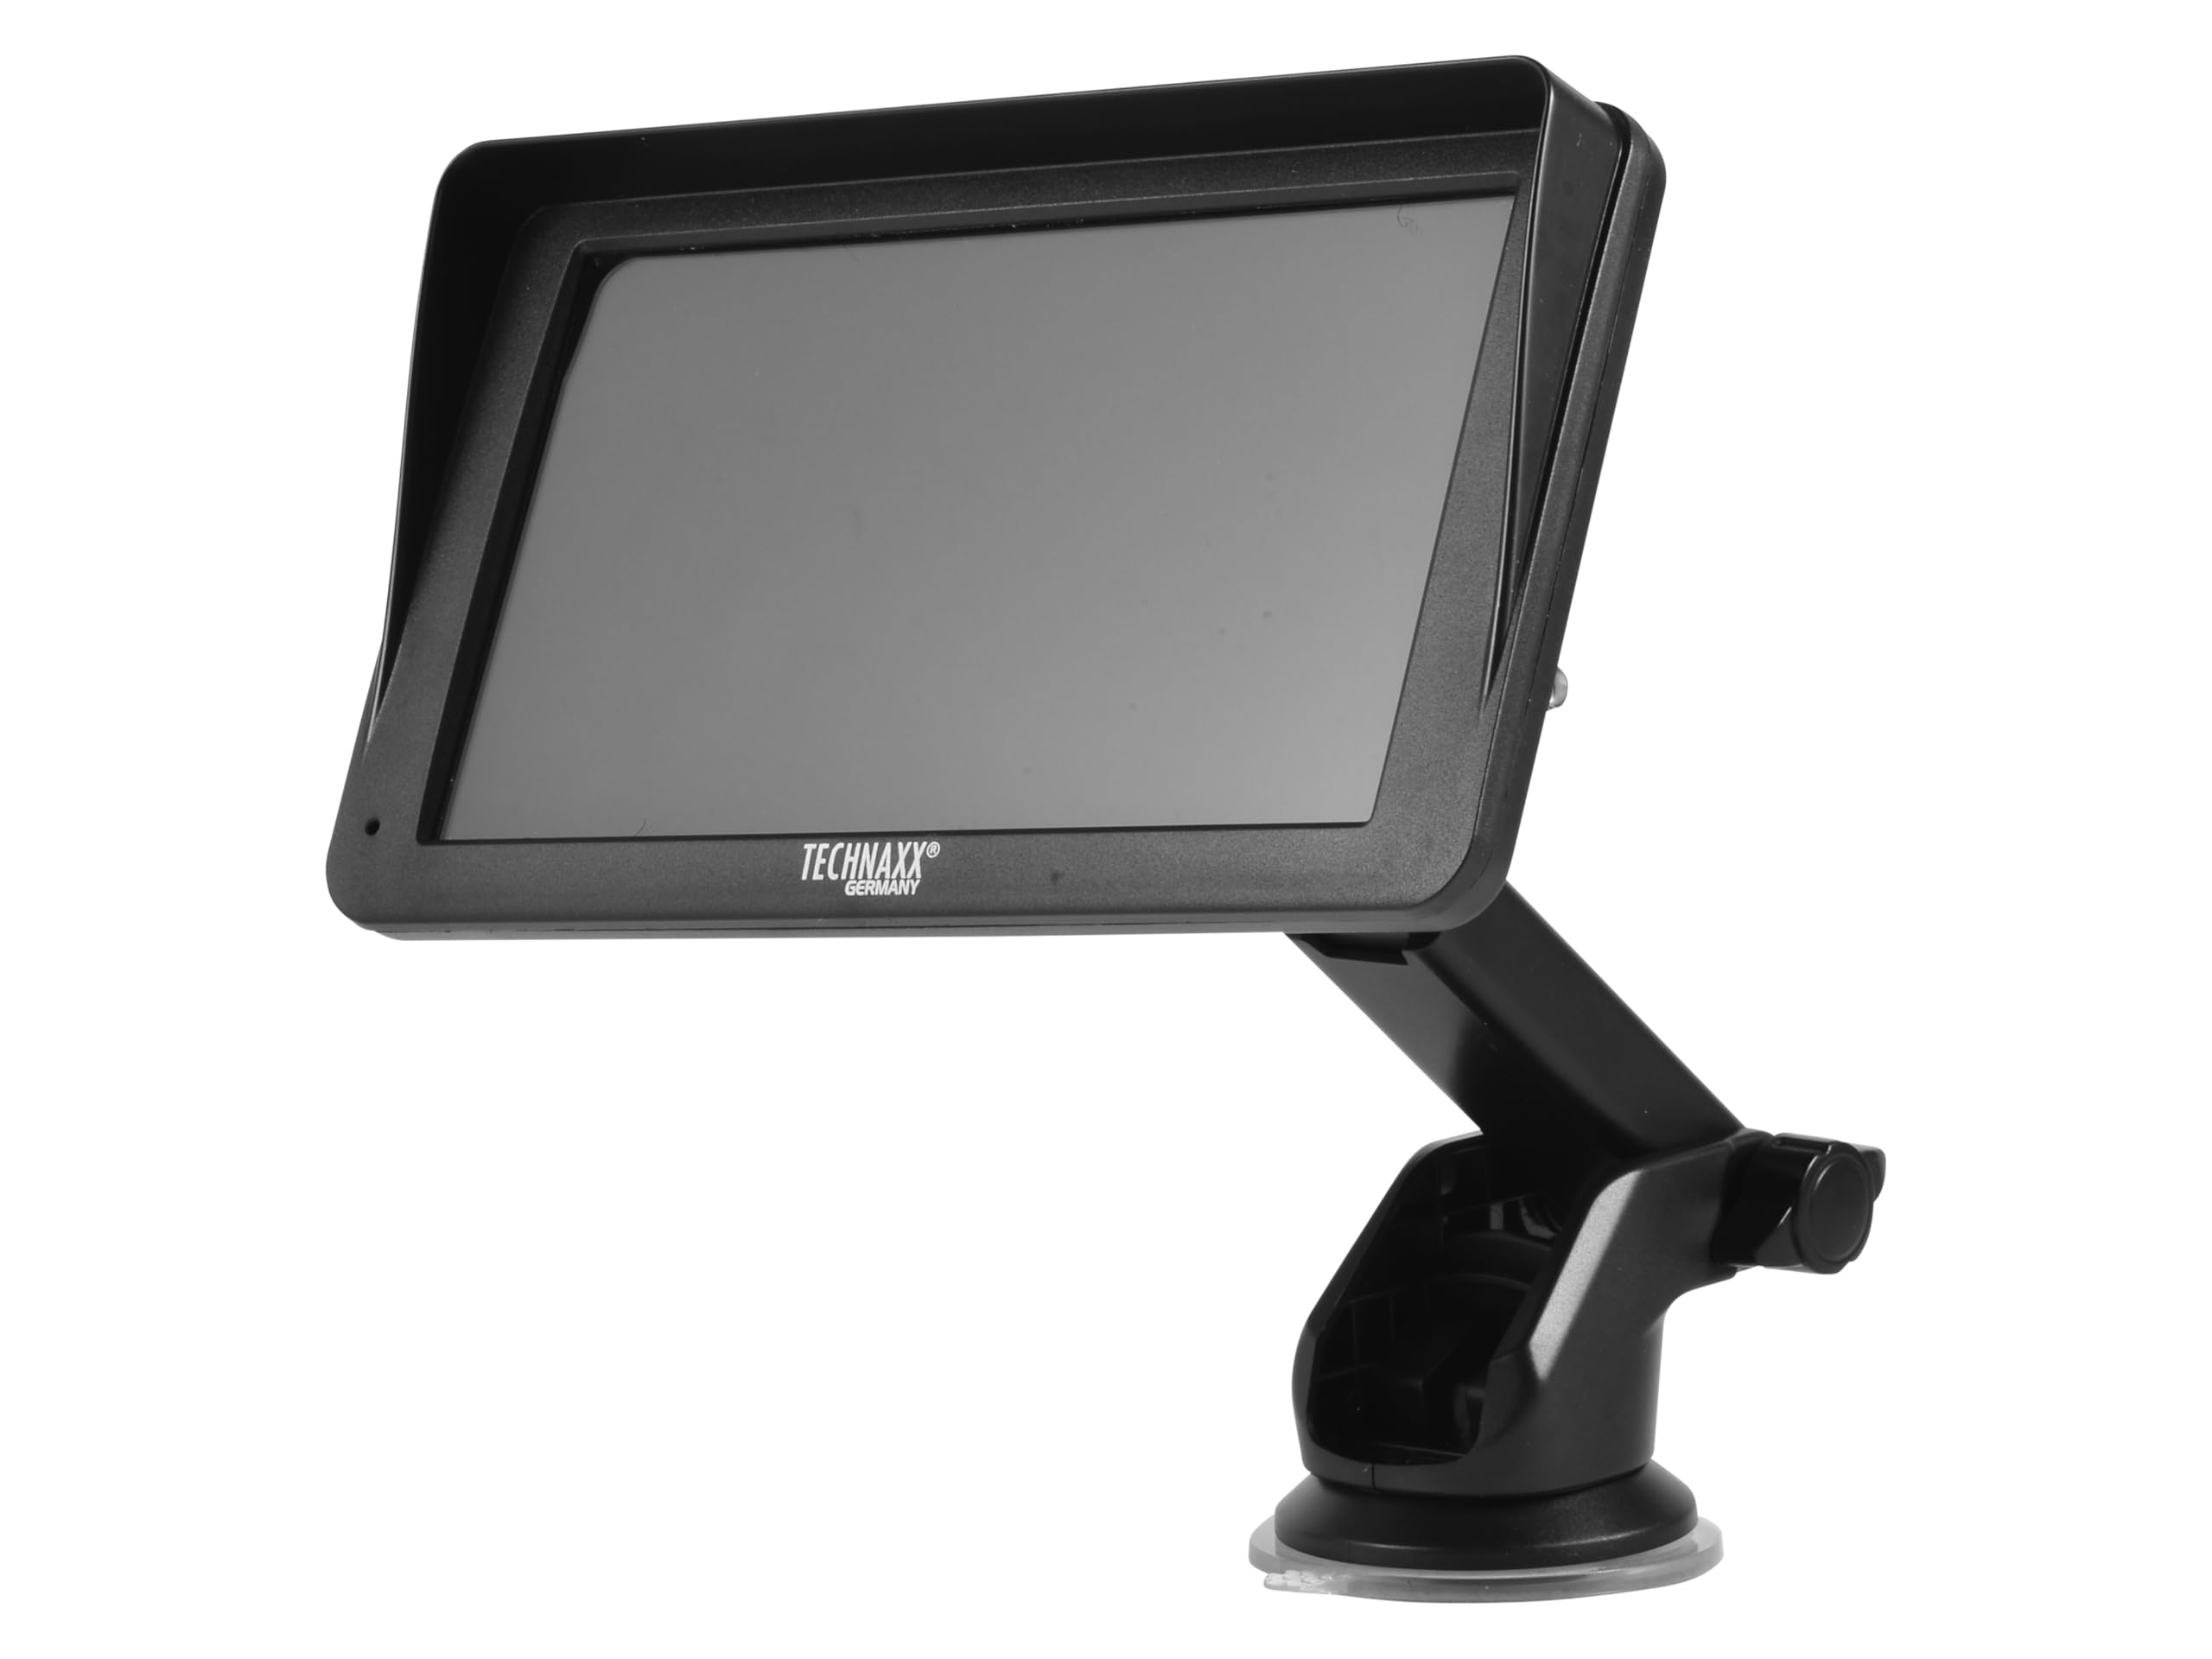
ภาพ: ด้านหน้า view of the TX-361 monitor with its 7-inch display and 'TECHN AXX GERMANY' branding, attached to the adjustable mounting stand.

ภาพ: ด้านหลัง view of the TX-361 monitor, highlighting the ventilation grilles and the attachment point for the mounting bracket.

ภาพ: รายละเอียด view of the right side of the TX-361 monitor, showing the power button, reset button, USB-C power input, AUX output, and USB-A port.
4.1. ส่วนประกอบของอุปกรณ์
- หน้าจอสัมผัสแบบ Capacitive ขนาด 7 นิ้ว: Main display for all functions.
- ปุ่มเปิด/ปิด: Located on the top right side.
- ปุ่มรีเซ็ต: Small pinhole button for system reset.
- พอร์ต USB-C: สำหรับป้อนพลังงาน
- เอาต์พุต AUX: 3.5mm jack for wired audio transmission.
- พอร์ต USB-A: For media playback or charging external devices.
- ช่องรับสัญญาณเสาอากาศ DAB: Connector for the external DAB antenna.
- ลำโพงในตัว: สำหรับการเล่นเสียงโดยตรง
5. การตั้งค่า
5.1. การติดตั้งอุปกรณ์
The TX-361 can be mounted on your vehicle's windscreen or dashboard using the provided holder.
- Attach the monitor to the mounting bracket.
- For Windscreen Mounting: Clean the desired area on the windscreen. Press the suction cup firmly against the glass and engage the lever to secure it.
- For Dashboard Mounting: Clean the desired area on the dashboard. If necessary, use the adhesive disc provided for a more secure attachment point for the suction cup. Press the suction cup firmly and engage the lever.
- ปรับมุมของจอภาพให้เหมาะสมที่สุด viewโดยไม่กีดขวางการขับขี่ของคุณ view.

Image: The TX-361 monitor securely mounted on a car dashboard, showing its position relative to the driver's view.

Image: The TX-361 monitor mounted on a car windscreen, demonstrating an alternative placement option.
5.2. การเชื่อมต่อไฟฟ้า
- Connect the USB-C end of the power cable to the USB-C port on the monitor.
- Plug the USB-A end of the power cable into the provided 12V/24V cigarette lighter adapter.
- Insert the cigarette lighter adapter into your vehicle's 12V/24V power socket. The device will power on automatically or can be turned on using the power button.
5.3. DAB Antenna Connection
For optimal DAB radio reception, connect the included DAB antenna:
- Connect the DAB antenna cable to the dedicated DAB antenna input on the monitor.
- Mount the DAB antenna on your windscreen or another suitable location, ensuring it has clear line of sight for best signal reception.
6. คู่มือการใช้งาน
6.1. การเปิด/ปิดเครื่อง
- เปิดเครื่อง: The device typically powers on automatically when connected to the vehicle's power. If not, press and hold the power button on the top right side.
- หมดแรง: Press and hold the power button until the device shuts down. A short press will turn the screen off/on.
6.2. Initial Setup and Smartphone Connection
The TX-361 supports wireless Apple CarPlay and Android Auto via Wi-Fi and Bluetooth 5.0.
- โปรดตรวจสอบให้แน่ใจว่าได้เปิดใช้งาน Wi-Fi และ Bluetooth บนสมาร์ทโฟนของคุณแล้ว
- On the TX-361 monitor, navigate to the CarPlay or Android Auto section.
- The monitor will display a Bluetooth name. On your smartphone, search for and connect to this Bluetooth device.
- Once connected via Bluetooth, the device will prompt you to enable Wi-Fi for CarPlay/Android Auto functionality. Confirm the connection on your phone.
- After successful pairing, Apple CarPlay or Android Auto will launch automatically on the monitor.
6.3. การใช้งานหน้าจอสัมผัส
The 7-inch capacitive touchscreen allows for intuitive control:
- แตะ: เลือกรายการหรือยืนยันการดำเนินการ
- ปัด: Navigate through menus or lists.
- บีบเพื่อซูม: (Where supported, e.g., in navigation apps) Adjust map zoom levels.
6.4. DAB Digital Radio
To use the integrated DAB digital radio:
- Ensure the DAB antenna is properly connected.
- From the main menu, select the 'DAB Radio' option.
- The device will automatically scan for available DAB stations.
- Select your desired station from the list.
6.5. วิทยุ FM
For traditional FM radio reception:
- From the main menu, select the 'FM Radio' option.
- ใช้ปุ่มควบคุมบนหน้าจอเพื่อค้นหาสถานี หรือปรับจูนไปยังความถี่ที่ต้องการด้วยตนเอง
6.6. ตัวเลือกเอาต์พุตเสียง
The TX-361 offers several ways to transmit audio to your vehicle's sound system:
- ลำโพงในตัว: Audio will play directly from the monitor's built-in speaker.
- สาย AUX: Connect the provided 3.5mm AUX cable from the monitor's AUX output to your car's AUX input. Select 'AUX' as the input source on your car radio.
- การส่งสัญญาณ FM: Select an unused FM frequency on the TX-361 and tune your car radio to the same frequency. Audio will be transmitted wirelessly to your car's speakers.
7. การบำรุงรักษา
- การทำความสะอาด: ใช้ผ้าแห้งนุ่มเช็ดทำความสะอาดหน้าจอและภายนอกตัวเครื่อง ห้ามใช้สารทำความสะอาดที่มีฤทธิ์กัดกร่อนหรือตัวทำละลาย
- พื้นที่จัดเก็บ: หากต้องเก็บรักษาอุปกรณ์เป็นเวลานาน ควรตัดการเชื่อมต่อจากแหล่งจ่ายไฟและเก็บไว้ในที่แห้งและเย็น
- การอัปเดตซอฟต์แวร์: ตรวจสอบผู้ผลิตเป็นระยะ webไซต์สำหรับการอัปเดตเฟิร์มแวร์ที่มีอยู่เพื่อให้มั่นใจถึงประสิทธิภาพที่ดีที่สุด
8 การแก้ไขปัญหา
| ปัญหา | วิธีแก้ปัญหาที่เป็นไปได้ |
|---|---|
| อุปกรณ์ไม่เปิดเครื่อง |
|
| ไม่สามารถเชื่อมต่อกับ CarPlay/Android Auto ได้ |
|
| Poor DAB/FM radio reception. |
|
| ไม่มีเอาต์พุตเสียง |
|
9. ข้อมูลจำเพาะ
| คุณสมบัติ | ข้อมูลจำเพาะ |
|---|---|
| หมายเลขรุ่น | 5361 |
| แสดง | หน้าจอสัมผัสแบบคาปาซิทีฟขนาด 7 นิ้ว |
| เทคโนโลยีการเชื่อมต่อ | Wi-Fi (Dual-band 2.4 / 5 GHz), Bluetooth 5.0 |
| คุณสมบัติพิเศษ | Wireless CarPlay & Android Auto, DAB Digital Radio, FM Radio, Touchscreen Display |
| ช่วงความถี่ DAB | Band III: 174-240 MHz |
| เอาท์พุตเสียง | AUX, FM Transmission, Integrated Speaker |
| แหล่งจ่ายไฟ | 12V/24V via Cigarette Lighter |
| ขนาดสินค้า (ลึก x กว้าง x สูง) | 18.8D x 10.8W x 3.5H เซนติเมตร |
| น้ำหนักสินค้า | 0.58 ปอนด์ (ประมาณ 263 กรัม) |
10. การรับประกันและการสนับสนุน
Technaxx products are covered by a manufacturer's warranty. For detailed warranty information, please refer to the warranty card included with your product or visit the official Technaxx website. For technical support, troubleshooting assistance, or service inquiries, please contact Technaxx customer support through their official channels.
คุณมักจะพบแหล่งข้อมูลเพิ่มเติม คำถามที่พบบ่อย และข้อมูลติดต่อได้ในเว็บไซต์เหล่านี้ Technaxx official webเว็บไซต์.