
1. บทนำ
This manual provides detailed instructions for the proper installation and maintenance of the Kohler 20 841 01-S Cylinder Head Gasket Kit. This kit is designed to replace worn or damaged cylinder head gaskets and associated components in compatible Kohler 4-stroke, gas-powered engines, ensuring optimal engine performance and preventing oil leaks.
2. ข้อมูลด้านความปลอดภัย
Always prioritize safety when working on engines. Failure to follow these safety guidelines may result in serious injury or damage to the equipment.
- Ensure the engine is completely cool before beginning any work.
- ถอดสายหัวเทียนออกเพื่อป้องกันการสตาร์ทเครื่องยนต์โดยไม่ตั้งใจ
- สวมใส่อุปกรณ์ป้องกันส่วนบุคคล (PPE) ที่เหมาะสม รวมถึงแว่นตาและถุงมือเพื่อความปลอดภัย
- ทำงานในที่ที่มีการระบายอากาศที่ดี
- Refer to your engine's specific service manual for additional safety precautions and detailed disassembly/assembly procedures.
- เก็บชิ้นส่วนและเครื่องมือทั้งหมดให้ห่างจากเด็กและสัตว์เลี้ยง
3. เนื้อหาบรรจุภัณฑ์
The Kohler 20 841 01-S Cylinder Head Gasket Kit typically includes the following components:
- Cylinder Head Gasket (carbon over steel)
- Valve Cover Gasket (cork)
- Carburetor Gaskets
- Exhaust Down Pipe Gasket (steel)
- New Head Bolts
- New Exhaust Bolts and Lock Washers
- Detailed Installation Instructions (often included with torque specifications, timing, and valve lash details)

Image 1: The main cylinder head gasket from the kit.

Image 2: An assortment of various gaskets provided in the kit, including carburetor and valve cover gaskets.
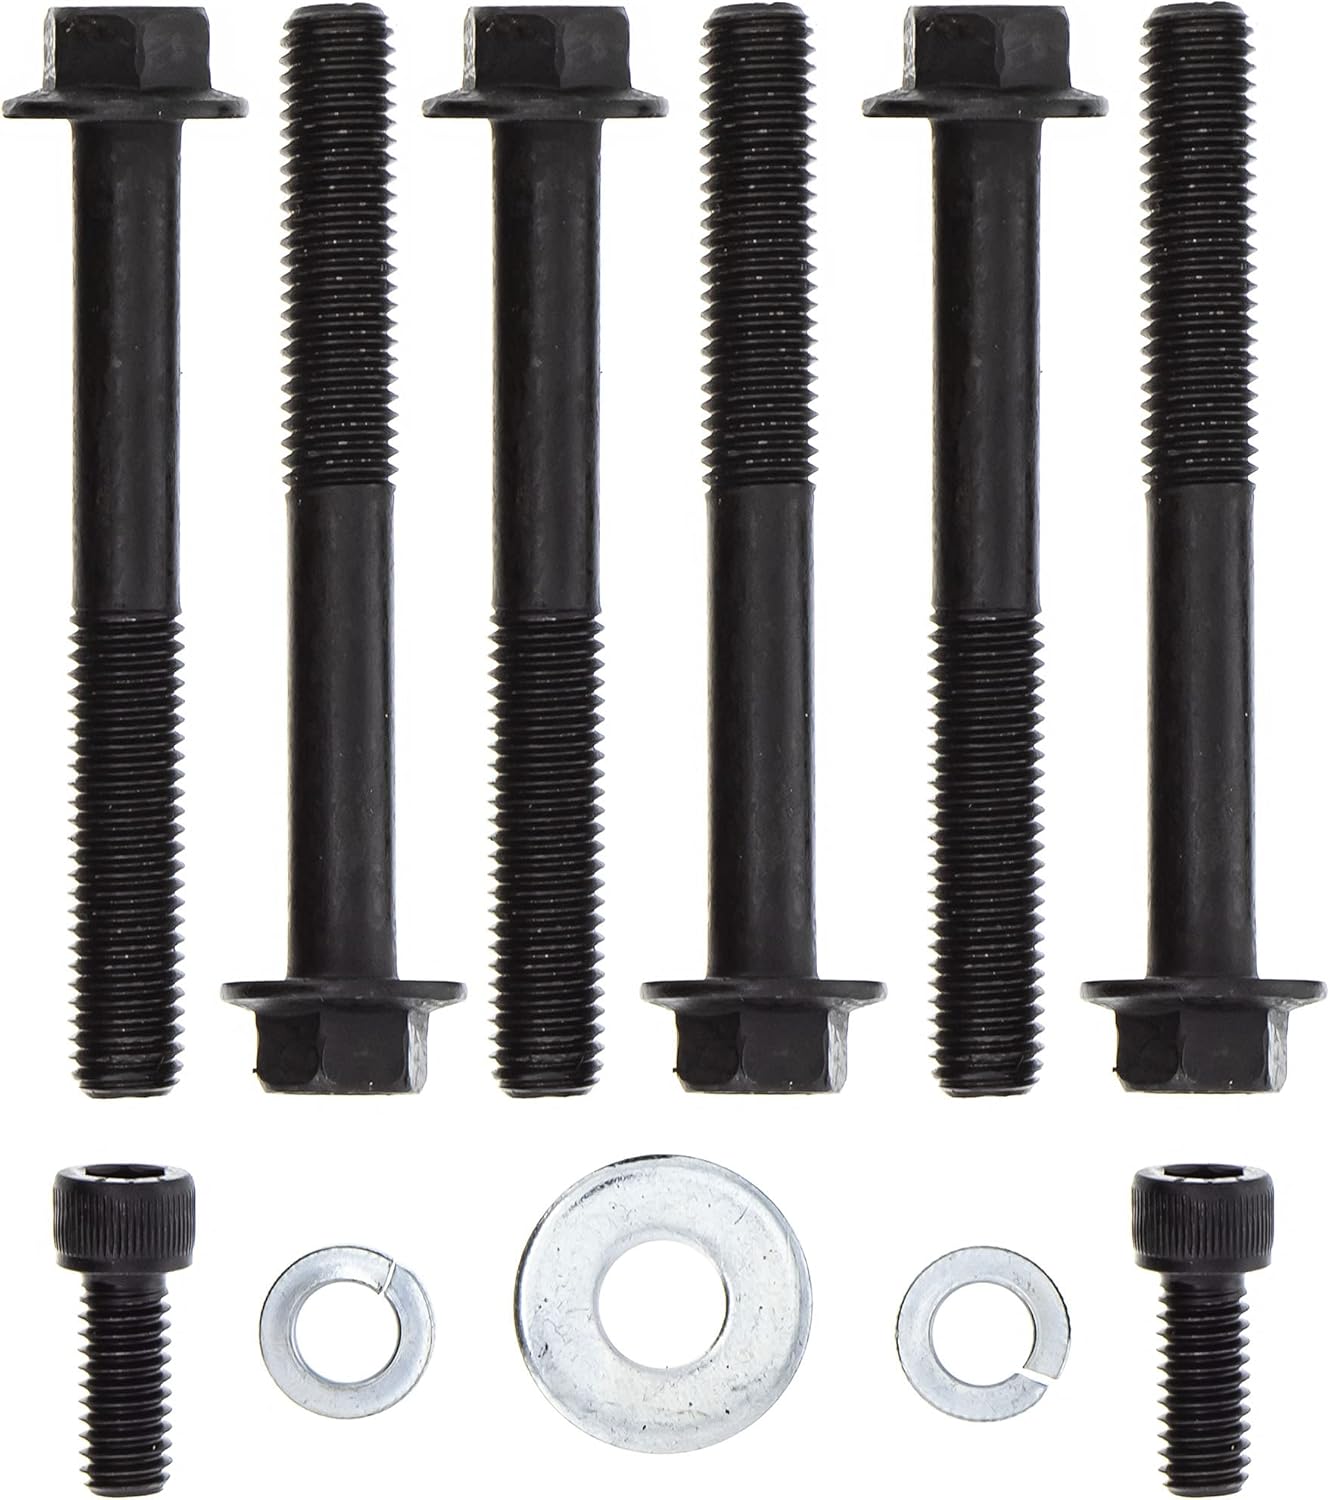
Image 3: New head bolts and washers, essential for proper cylinder head reassembly.
4. การติดตั้ง
This section outlines the general steps for replacing the cylinder head gasket. Always refer to your specific engine's service manual for precise torque specifications and detailed procedures.
4.1 การเตรียมตัว
- คลายความร้อน: Allow the engine to cool completely before starting.
- การตัดการเชื่อมต่อ: Disconnect the spark plug wire(s) and the battery (if applicable).
- ของเหลวที่ระบายออก: If necessary, drain engine oil and coolant (if liquid-cooled).
- ลบส่วนประกอบ: Carefully remove any components obstructing access to the cylinder head, such as the air cleaner assembly, carburetor, exhaust manifold, and valve cover.
- พื้นผิวที่สะอาด: Thoroughly clean all mating surfaces on the engine block and cylinder head to remove old gasket material, carbon deposits, and oil residue. Use a plastic scraper or fine abrasive pad to avoid damaging the metal surfaces. Ensure surfaces are dry and free of debris.
4.2 Gasket and Head Installation
- ตำแหน่งปะเก็น: Place the new cylinder head gasket onto the engine block, ensuring it is correctly oriented and all bolt holes align.
- Install Cylinder Head: Carefully lower the cylinder head onto the engine block, aligning it with the gasket and dowel pins (if present).
- ติดตั้งหัวน็อต: Insert the new head bolts. Hand-tighten them initially.
- Torque Head Bolts: Follow the engine manufacturer's specified torque sequence and values. This is critical for proper sealing and preventing head warpage. Torque in stages, typically in a crisscross pattern.
- Install Valve Cover Gasket: Place the new cork valve cover gasket onto the valve cover or cylinder head, ensuring a proper seal. Some users apply a thin layer of Permatex aviation sealant to prevent future leaks.
- ประกอบส่วนประกอบใหม่: Reinstall the valve cover, carburetor with new gaskets, exhaust manifold with new gasket and bolts, and any other removed components.
- Adjust Valve Lash and Timing: If your engine's service manual recommends, adjust valve lash and check engine timing after cylinder head reassembly.
5. การตรวจสอบหลังการติดตั้ง
หลังจากติดตั้งเสร็จแล้ว ให้ทำการตรวจสอบต่อไปนี้ก่อนสตาร์ทเครื่องยนต์:
- ระดับของเหลว: Refill engine oil and coolant (if applicable) to the correct levels.
- การเชื่อมต่อ: Double-check all electrical connections, fuel lines, and vacuum hoses.
- ความแน่น: Ensure all bolts and fasteners are properly tightened.
- สตาร์ทเครื่องยนต์: Reconnect the spark plug wire(s) and battery. Start the engine and allow it to warm up.
- ตรวจสอบการรั่วไหล: Carefully inspect for any oil, fuel, or coolant leaks around the new gaskets and connections.
- ประสิทธิภาพการทำงานของจอภาพ: Listen for unusual noises and observe engine performance.
6. การบำรุงรักษา
Proper engine maintenance helps extend the life of your gaskets and engine components.
- Regularly check engine oil levels and change oil according to the manufacturer's schedule.
- Ensure the cooling system (if applicable) is functioning correctly to prevent overheating, which can damage head gaskets.
- Periodically inspect for any signs of leaks around engine gaskets.
- Keep the engine clean to easily spot potential issues.
7 การแก้ไขปัญหา
If you encounter issues after installing the gasket kit, consider the following:
- Oil/Coolant Leaks: Recheck torque on head bolts. Ensure mating surfaces were perfectly clean and free of old gasket material. Verify gaskets are correctly seated.
- เครื่องยนต์ร้อนจัด: Could indicate a faulty head gasket installation, air in the cooling system, or other cooling system issues.
- Loss of Power/Rough Running: May suggest improper valve lash adjustment, incorrect timing, or a persistent compression leak due to an improperly sealed head gasket.
- Smoke from Exhaust: Blue smoke indicates burning oil (possibly valve stem seals or piston rings, but can be related to head gasket if oil passages are compromised). White smoke indicates burning coolant.
For persistent issues, consult a qualified engine mechanic or refer to your engine's comprehensive service manual.
8. ข้อมูลจำเพาะ
| คุณสมบัติ | ข้อมูลจำเพาะ |
|---|---|
| ยี่ห้อ | โคห์เลอร์ |
| หมายเลขรุ่น | 20 841 01-ส |
| หมายเลขชิ้นส่วน | 20 841 01-ส |
| Engine Type Compatibility | 4 จังหวะ |
| ความเข้ากันได้ของแหล่งพลังงาน | ขับเคลื่อนด้วยก๊าซ |
| Head Gasket Material | Carbon over Steel |
| Valve Cover Gasket Material | จุกไม้ก๊อก |
| ยูพีซี/จีทีอิน | 087206990106, 716080135944 |
9. การรับประกันและการสนับสนุน
9.1 ข้อมูลการรับประกัน
This Kohler product is covered by a warranty of 90 วัน against defects in materials or workmanship from the date of purchase. Please retain your proof of purchase for warranty claims.
9.2 การสนับสนุนลูกค้า
For technical assistance, warranty claims, or to locate authorized service centers, please visit the official Kohler website or contact Kohler customer service directly. Always provide your product model number (20 841 01-S) when seeking support.